


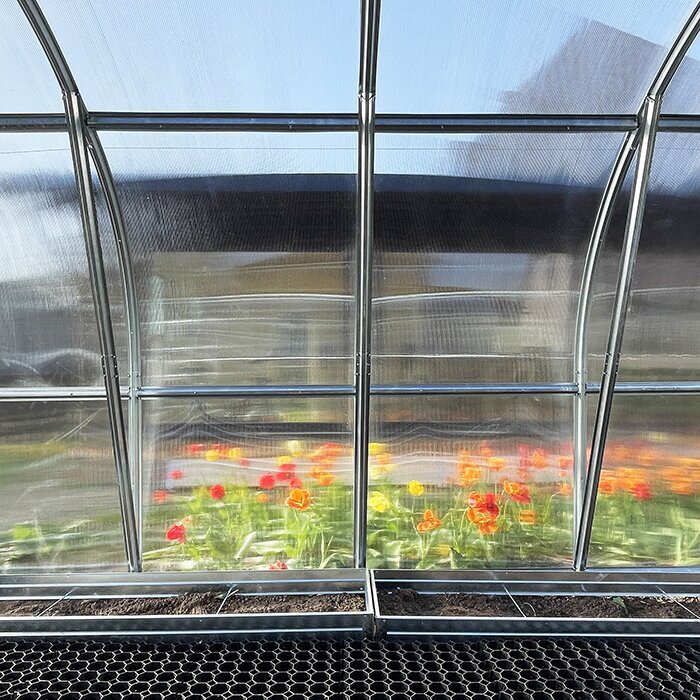
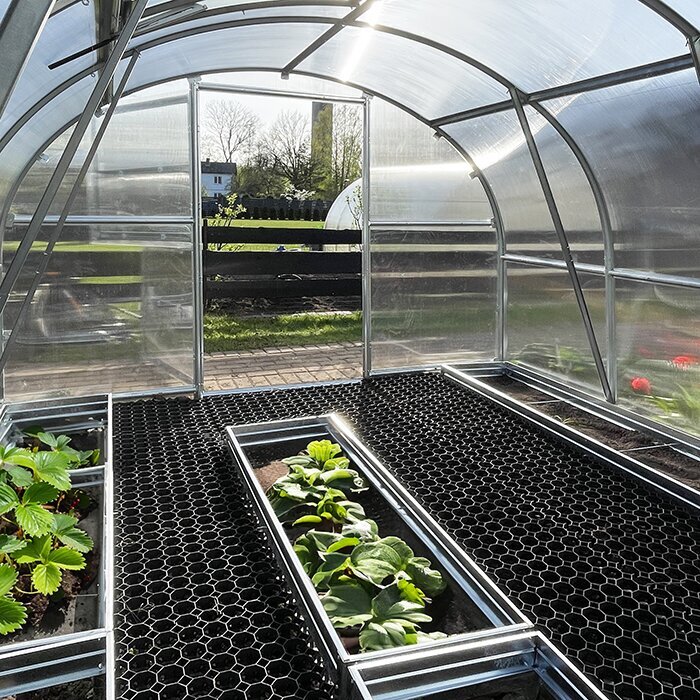
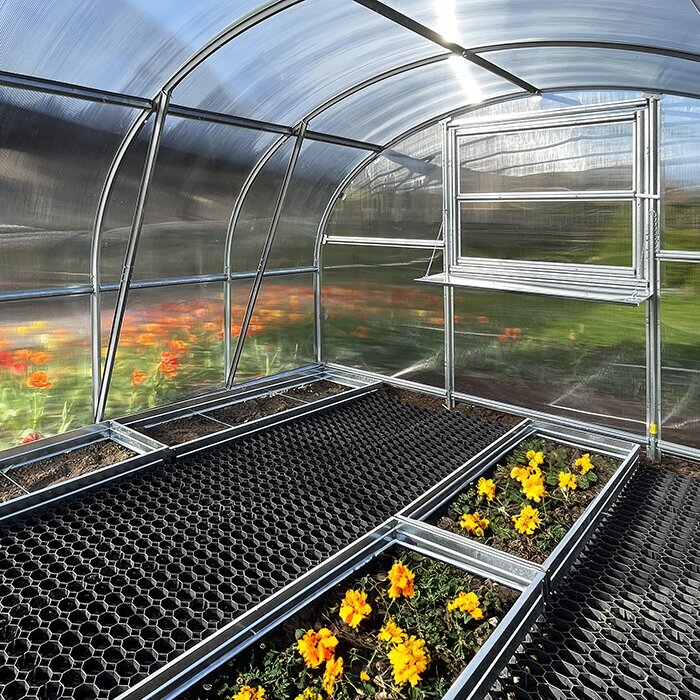
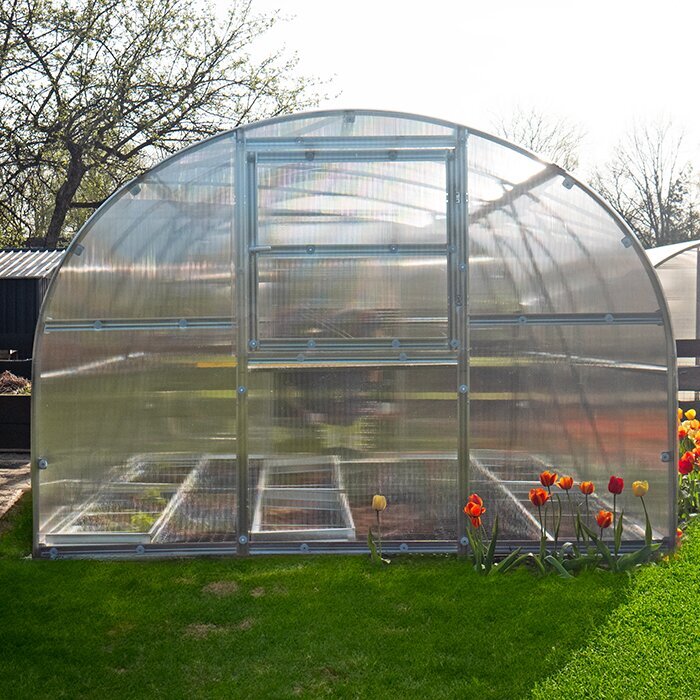
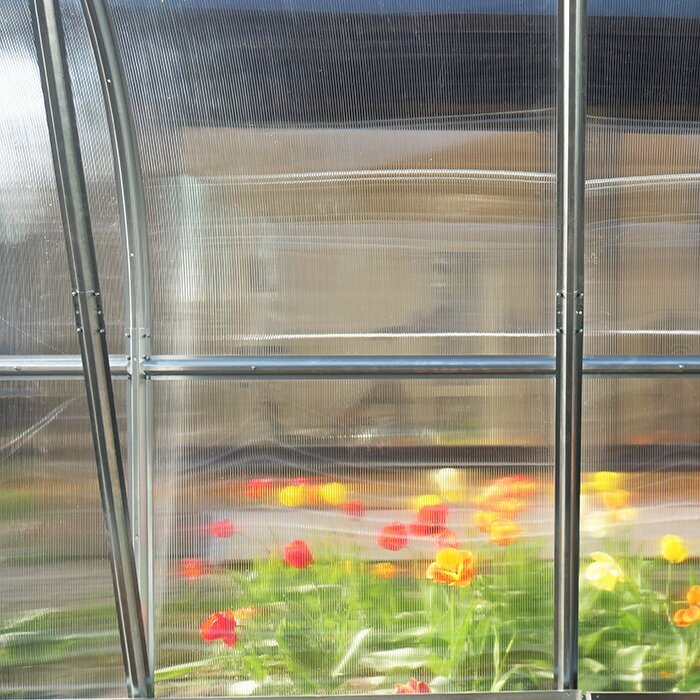


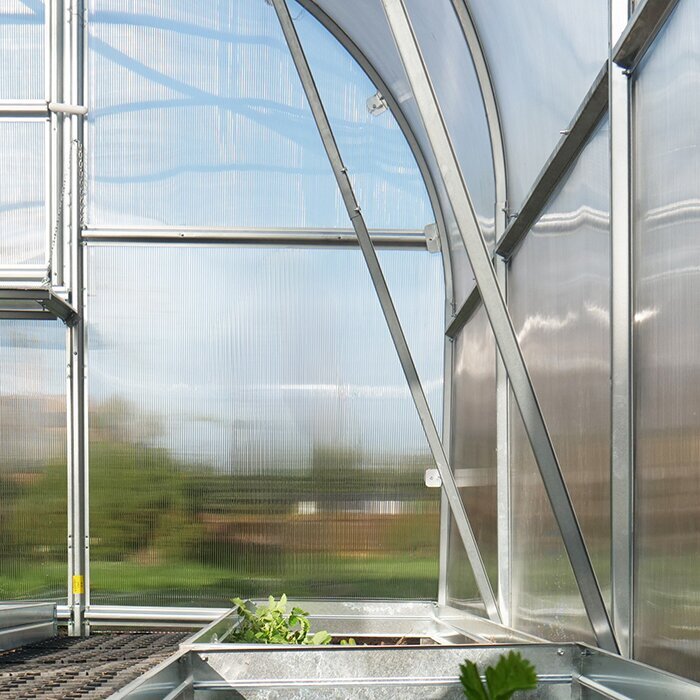




Polycarbonate high tunnel greenhouse
Robust high tunnel greenhouse with ample protected growing space for vegetables, young plants and a longer gardening season
Our Bloomcabin polycarbonate high tunnel greenhouse is designed for gardeners who need a generous, permanently protected growing area for vegetables, young plants and heat-loving crops. The three-metre-wide tunnel shape provides a practical footprint for arranging beds, a working path and irrigation clearly. Unlike a flexible film cover, the six-millimetre polycarbonate panels form a fixed covering on the galvanised steel structure.
The basic length is 4 metres and can be adapted to the required growing space with suitable extension sections. The galvanised steel frame is anchored in the ground through its arches. Together with the permanently fitted polycarbonate cover it creates a stable, protected growing area. Discover our greenhouses and conservatories as well as our guides and planning advice.
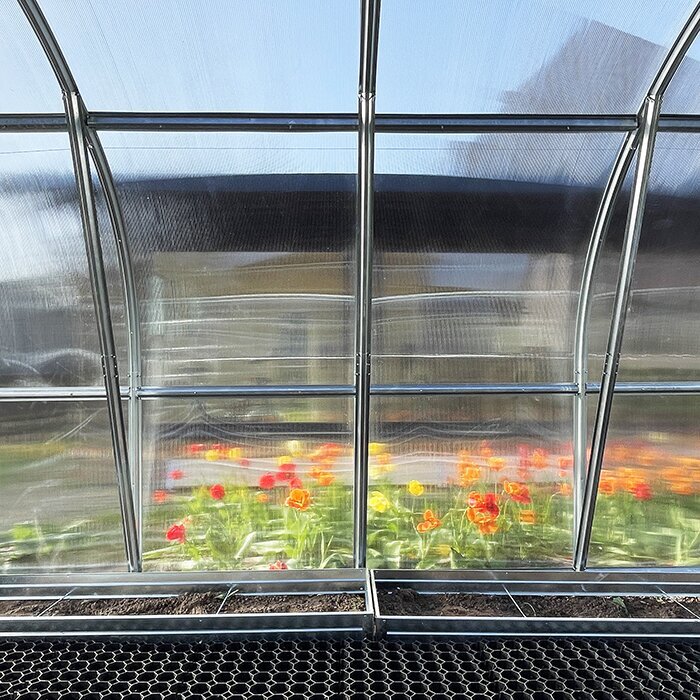
Stable galvanised steel frame
Assembling and accurately aligning the galvanised steel frame
The frame is made from galvanised steel. Its 56 mm-wide, 1 mm-thick Omega profiles form the tunnel’s load-bearing structure. Before assembly, sort all components and lay them out in the installation sequence. This makes it easier to identify arches, longitudinal connections and reinforcements before bolting the structure together. Galvanised surfaces resist corrosion, but should not be unnecessarily scratched or worked with unsuitable tools.
The arches are spaced 1 m apart. The specified reinforcements help distribute loads across the frame. Align the tunnel precisely over its full length: errors in the first section continue into extensions and can make later fitting of panels, door and windows more difficult. Before final tightening, check the width, straightness and even alignment of every arch again.
Each arch is anchored around 35 cm into the ground. This requires a load-bearing base that permits that installation depth. Check loose fill, concealed services and permanently waterlogged areas before assembly. The anchoring works only with the fully assembled frame and correctly secured cover. The greenhouse is designed for wind speeds up to 30 m/s, provided all specified components are used and the assembly instructions are followed.
Why choose a polycarbonate high tunnel?
More protection than a simple film tunnel – and considerably more growing space than many compact garden greenhouses
This model suits anyone intending to use the space regularly for growing vegetables and plants. It provides room for permanent beds and working paths, while its selectable length can still be tailored to the plot and the actual area required.
3 m width
The width allows a clear division between crop beds and a continuous working path, so beds largely remain unstepped on during care and harvesting.
Modular extension
The basic model starts at 4 m. Further 2 m sections allow a length suited to the available space and the realistic amount of care.
Even with an extended version, all specified frame, anchoring and fixing parts must be fully installed.
6 mm polycarbonate
The UV-resistant cover keeps direct rainfall off crops and creates a light-transmitting, protected growing environment.
6 mm polycarbonate instead of thin film
Fitting, checking and gently cleaning the fixed polycarbonate panels
Temperature and humidity can change quickly beneath the fixed cover. Check the internal climate regularly and use the side windows as needed. Moisture can form on the inside of the panels when temperature and humidity differ; use this as a reason to review ventilation and watering practice.
The panels are fixed to the frame with M5 screws and D40 plastic washers. Fit them in the intended orientation without stress. Tighten connections evenly rather than fully tightening individual screws immediately. Then inspect every fixing point and correct missing washers, angled screws or panels that do not sit cleanly.
For routine care, gentle cleaning with water, a soft cloth or a non-abrasive sponge is generally sufficient. Hard brushes, sharp-edged tools and aggressive agents can damage the surface. Remove adhering soil, plant debris and algae without scratching the panels. A clean exterior improves light entry, while clean joints and fixings also make visual inspection easier.
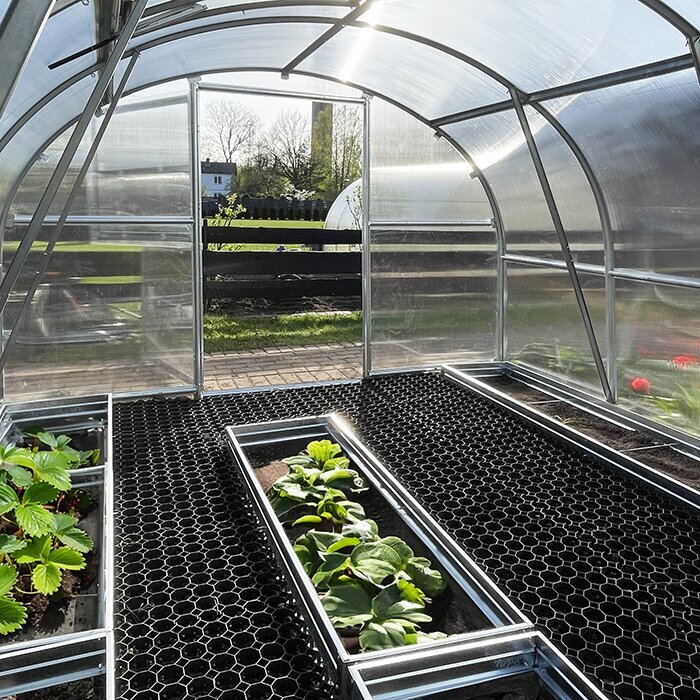
Technical data
Key details of the Bloomcabin high tunnel greenhouse
Width: 3.00 m.
Height: 2.10 m.
Length: Basic model 4 m; extensions in 2 m increments.
Frame: Galvanised steel, 1 mm material thickness.
Profile: Omega profile, 56 mm wide.
Arch spacing: 1 m between arches.
Snow load: 210 kg/m².
Ground anchoring: Each arch extends approx. 35 cm into the ground.
Cover: 6 mm polycarbonate with UV protection.
Access: One door at the front.
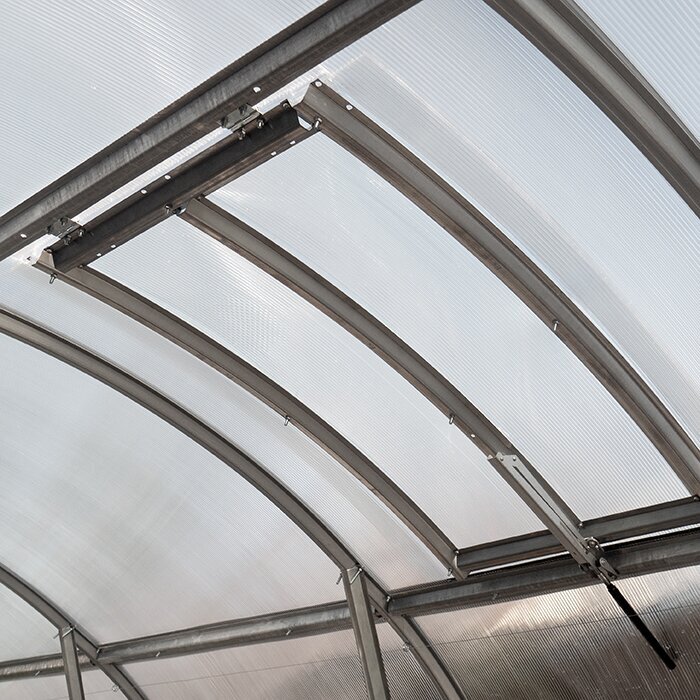
Ventilation: Two side windows to regulate temperature and air exchange.
Guarantee: 12 years, subject to the applicable guarantee terms.
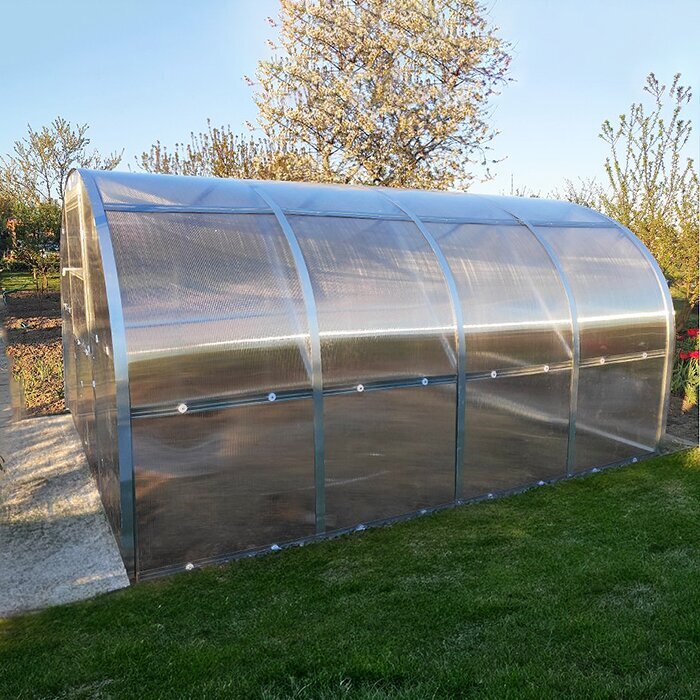
Ventilation and access
A front door and two side windows make access and internal climate control easier
The internal height makes upright work easier and provides space for tall crops such as tomatoes or cucumbers. The front door is the main entrance. Keep the area immediately behind it clear, so watering cans, harvest containers and garden tools can be carried in and out without damaging plants.
Both side windows must remain freely accessible inside and out. Position plants, supports and stored items so the windows can be operated fully. When planning beds, also check that the windows will remain reachable when crops are mature.
Open and close the door and windows regularly to check they work properly. Remove soil and plant debris from moving areas. If a component sticks, investigate the cause first instead of forcing it.
Organise the space by care needs
Arrange crops for short routes and easy access
When dividing the interior, consider not only plant type but also growth height, inspection needs and harvesting frequency. This helps make sensible use of the available space and access to every crop.
Tall-growing crops
Use the interior height for trained plants, placing supports so side windows and neighbouring rows remain accessible.
Keep young plants in view
Group young plants in an easily reached area. Their development and moisture needs can then be checked without unnecessarily stepping into other bed sections.
Frequently harvested vegetables
Crops that need regular care or harvesting are especially practical near the entrance. Harvest containers then do not have to be carried through the entire tunnel.
Lower-maintenance crops
Plants needing less frequent checks can stand further back. Access should still remain clear, so maintenance and harvesting are possible without rearranging anything.
Plan before assembly
Plan the location, ground and future use before installation
Measure the footprint for the chosen tunnel length and prepare as level an area as possible. Sufficient working room is needed around the structure to position arches and polycarbonate panels safely. Also plan surface-water drainage: rainfall from the fixed cover must not collect at the structure’s edge or in front of the door.
As the arches extend about 35 cm into the ground, establish the route of underground electricity, water and drainage services before work begins. Do not wait until assembly to remove large stones or other obstacles. On uneven ground, prepare the area so all arches stand on one line and can reach the specified installation depth.
Plan how components will travel from the delivery point to the prepared site. Access must stay clear during assembly; soil, compost and garden tools must not obstruct the work area. Remember that both long sides must remain accessible from outside after installation for inspections and care.
Find further planning and ordering advice in our guides and planning advice.
High tunnel or classic greenhouse?
When is a high tunnel the better choice than a classic aluminium greenhouse?
A classic aluminium greenhouse offers a straight-lined appearance, different design possibilities and can become a visible feature in the garden.
With a high tunnel, the priority is a large continuous growing area, robust construction and the option of modular extension.
Choose the high tunnel when you need as much protected space as possible for productive growing. A classic greenhouse is a better fit where a rectilinear form and visual integration into the garden matter more.
Growing in Malta
Adapt use and care to your site and local weather conditions
Gardening conditions vary considerably between locations and plots in Malta. Exposed gardens may be windier, while sheltered sites can retain more heat and humidity. Use the high tunnel according to your garden’s microclimate rather than a fixed calendar. Monitor conditions locally and ventilate early during warm, bright weather.
For early crops, the protected space can offer a useful advantage in cooler periods. Later in the season, heat-loving plants benefit when rain and wind affect leaves and fruit less directly. Harvesting can continue into milder autumn conditions as long as light, temperature and plant health remain suitable.
During the first season, note unusual temperature patterns, humid periods and areas of weaker plant growth. These records help tailor crop placement and care routines more precisely to the site the following year.
Finding the right location
Choose a sunny position and leave sufficient room for air exchange
A sunny position is particularly useful in cooler growing periods. Observe when buildings, walls, hedges and trees cast shade across the intended area. At the same time, leave enough distance from obstacles for both side windows to ventilate effectively.
At wind-exposed sites, observe the prevailing wind direction and avoid unnecessary wind channels between buildings. Natural shelter at a suitable distance can help, but must not permanently shade the tunnel or block air circulation.
Also consider future maintenance when selecting the site. The front door must be easy to reach, and there should be enough room along both sides to inspect windows, polycarbonate panels and fixings from outside.
Crop planning
Arrange tomatoes, cucumbers, peppers and early salads sensibly across 3 m width
The fixed 3 m width works well for two side bed rows with a central working path, or three narrower growing zones. Place tall plants such as tomatoes and cucumbers so they do not unnecessarily shade lower crops. If using strings or supports, plan their fixing points before planting.
In cooler periods, salads, kohlrabi, radishes, herbs and young plants can use the protected space before heat-loving summer crops take over. After the main season, part of the tunnel can again be used for sturdy leafy vegetables or later herbs.
Mark occupied bed sections and record which crops were grown there. This makes planning the next planting easier without having to reorganise paths or ventilation areas.
Summer ventilation
Act early on hot days before heat and high humidity build up
In Malta, a closed tunnel can heat up very quickly on sunny days. Open the side windows before plants show signs of heat stress. Early ventilation softens temperature peaks and moves humid air out of dense planting.
Especially with tomatoes, it is useful to keep foliage as dry as possible and avoid unnecessarily encouraging condensation. Ventilate on mild days too, when outdoor air allows good exchange. After watering, excess moisture should be able to leave the crop area.
During extended hot spells, adjusted watering times and, where needed, temporary shading can help. The right measures depend on location, orientation and the crop canopy.
Watering
Bring water directly to roots instead of dampening the whole interior
The polycarbonate cover keeps natural rainfall largely away from the beds. Water supply therefore needs to be managed deliberately. Drip hoses or spot watering are particularly practical because they bring water directly to the root zone and help keep leaves drier.
Watering frequency depends greatly on soil type, temperature, crop size and density, and the time of year. Heavy soil stores water differently from sandy ground or a raised bed. Do not water by a rigid weekly schedule; check the actual soil moisture instead.
Collected rainwater can be used to irrigate beds. Place containers and run lines so that paths and access to the front door remain clear.
Choose the length flexibly
Start with 4 m and match extensions to the space genuinely needed
The basic length already provides space for several crops in many private gardens. Additional sections make sense where more cultivable bed area is permanently needed. In this way, the high tunnel can grow with vegetable production or the gradual development of the plot.
Before first assembly, it is still worth considering the possible final length. Paths, irrigation lines, compost space and neighbouring beds are easier to plan when a future extension direction remains free.
For smaller self-sufficiency gardens, a longer version can be attractive when several crop groups are to be separated. Choose the extra area only if it can genuinely be cared for, watered and planted.
Winter in Malta
Check frame and fixings before winter and after severe weather
Wind-driven debris, heavy rain and changing temperatures can place uneven demands on the structure and cover.
Inspect the tunnel externally after severe weather and strong winds. Unusual deformation, loosened fixings or debris collecting on one side should be checked and addressed promptly. Remove debris only in a way that does not damage polycarbonate panels or the steel frame. Do not use sharp tools or walk on the cover. Avoid creating a heavily one-sided load while clearing.
Before the wetter, cooler season, systematically inspect M5 screws, D40 plastic washers, side windows, door and ground anchoring. Clean transitions between frame and panels, remove plant debris and make sure all moving parts close. Loose pots, tools or support elements must not stand inside where they can strike the panels. Work from the entrance to the tunnel end so less visible areas are included.
Changing crops and ending the season
Replant beds methodically and use the cleared tunnel for inspection
Set the sequence of planned crops early. A bed can then be prepared specifically for the next planting after harvest without disrupting neighbouring crops or the working path.
Clear harvested sections completely before the next crop moves in. Remove diseased plant parts from the tunnel and prepare the soil for the intended follow-on crop. At the same time, check supports and irrigation components in the relevant bed area.
After the final clearance, remove tying materials, empty pots and labels, and clean working areas. Check irrigation for blockages or damage. Then use the open interior for a thorough visual inspection of the frame, fixings and panels, as these areas are easier to access without dense foliage.
For allotment and home gardens
Ample protected growing area for allotment and home gardens
The high tunnel suits larger home gardens as well as plots where efficient use of available growing space matters more than the decorative appearance of a classic greenhouse. Its functional form puts protected plant space first.
Before assembly, have a perit check the Planning Authority classification for your proposal, including footprint, height, enclosure, land designation and any existing permit conditions. A domestic garden location or removable kit does not itself establish permission.
The consistent width makes paths, beds and irrigation easy to divide clearly and repeatably, even when extending later.
Frequently asked questions
FAQ – Bloomcabin high tunnel greenhouse
What should be prepared before delivery and assembly?
Before delivery, provide a clear transport route and a dry, protected storage place for components. The installation area must be prepared before assembly begins. Then sort every component and check it against the supplied documentation.
Can the tunnel be assembled without planning the beds first?
Yes. Beds can be created after assembly. First establish how access from the front door to the side windows will remain clear; the rest of the layout can then be adapted to the selected crops.
Is the greenhouse automatically frost-free in winter?
No. The polycarbonate cover protects from direct weather but does not guarantee frost-free internal temperatures. Protect, move or harvest sensitive plants in good time according to measured conditions.
Is condensation on the inside of the panels a defect?
Not necessarily. Condensation can form when temperature and humidity differ. In this case, check soil moisture, watering quantity and air exchange. Avoid permanently wet leaves and keep dense planting sufficiently airy.
Does the polycarbonate cover remain fitted all year?
Yes. The fixed polycarbonate panels remain attached to the frame throughout the seasons. Clean the cover gently and check panel edges, plastic washers and screw connections regularly.
How can the rear area remain accessible in a longer version?
Plan a continuous working path from the front door to the end of the tunnel. Arrange beds, irrigation lines and supports so every crop remains reachable and neither windows nor the path are blocked.
What should be checked if the door or windows no longer close properly?
First check whether the frame remains straight and whether screws, fixing washers or adjacent panels are loose. Also check whether plants, supports or stored items obstruct moving parts. Rectify the cause before operating the door or windows again.
Which documents are needed for a guarantee claim?
Keep the proof of purchase and product-specific documents. Also follow the conditions, exclusions and steps described there for making a claim.
Bloomcabin high tunnel greenhouse
Choose a length that keeps assembly, access and continuing care practical over time
Before ordering, compare the available space with the desired growing area. Consider component transport, clear access to the front door and enough working room around the structure. The following checklist supports final preparation.
Compare the high tunnel with our other greenhouses and conservatories.
Checklist before ordering and assembly
✓ Check the selected tunnel length again before completing the order
✓ Keep the delivery and transport route to the installation site clear
✓ Sort all components fully against the documentation before assembly
✓ Establish the assembly sequence for frame, panels, door and windows according to instructions
✓ Allow adequate clear working space for positioning the panels
✓ Check all connections and moving parts after assembly
Plan your high tunnel