
Planning an Outdoor Sauna on Sloping Ground
Outdoor sauna site planning
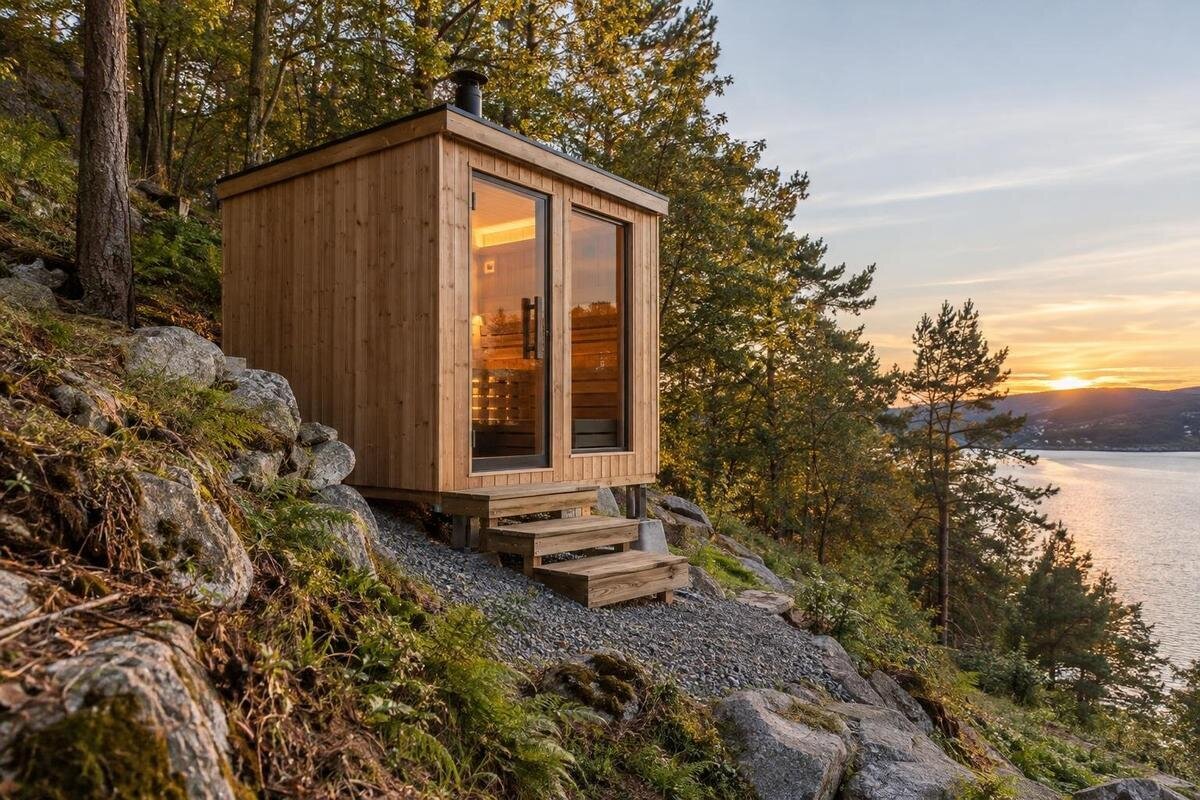
An outdoor sauna can be planned on sloping ground, but the site’s fall affects more than the height of the base. It can change where water runs, how the structure is supported and how people reach the door. Before ordering or altering the ground, record the levels and have support and drainage assessed for the exact sauna and site.
01
Measure the slope across the proposed site
An area that looks nearly flat from the house can still fall enough to change the entry height, the amount of support exposed downhill and the clearance beneath the sauna. Record which way the ground falls and the relative levels at the intended base edges, at the proposed door and on the approach path. A measured survey gives a designer more useful information than a photograph or a quick level check across one small patch. Note whether the fall runs across the sauna, along its length or diagonally; compare the effect of rotating the unit rather than assuming one orientation is best. This is about mapping levels, not selecting a base.
Extend the site sketch beyond the sauna itself. Show the uphill bank, any break in slope, retaining walls, paths, fences, drains, trees and nearby buildings. Mark visible signs of water movement—channels, ponding, softened ground or washed soil—especially after rain, and note where people already walk. These observations help a structural or drainage professional understand the setting; they do not establish ground-bearing capacity or prove the site drains adequately. Take photographs from more than one angle and note when conditions were observed. A hand sketch is useful for an initial assessment, but not for setting out construction work. Mention known fill, excavation or previous landscaping at the first assessment.
Allow for the sauna, its supports and access
Keep three outlines separate on the plan: the sauna’s external dimensions, the supports required beneath it and the space needed to enter, operate and maintain it. Use current manufacturer drawings and the manual for the chosen model and configuration to verify its base dimensions, support points, door position, opening clearance and any equipment or servicing clearances. A stated floor area or product photograph cannot answer all of these. Plot those outlines against measured levels. That reveals whether the door would face a steep drop, whether an end crowds a path or whether an access side is squeezed against an embankment. If a drawing does not make clear which dimensions it shows, ask for clarification.
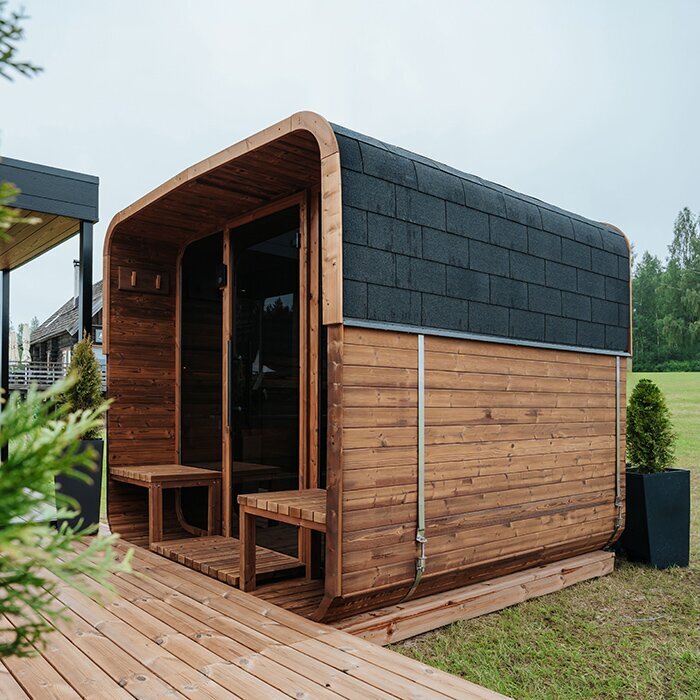
Compare actual models rather than using generic dimensions for a barrel sauna. When considering the Sauna LC-260 product details, request current assembly and installation information for the configuration you intend to order. Pass that information to the site designer so the layout uses the correct dimensions. On the same surveyed plan, compare possible orientations and include an entry landing, the route to it and room for future access; the sauna footprint is only one part of the space that needs to work. Where the model has configuration choices, confirm which one the documents describe before preparing the ground.
02
Check the ground beneath the surface
An apparently firm patch of lawn may cover a mix of topsoil, natural ground and material left from earlier landscaping. Look for clues that levels have been changed: a terrace cut into a bank, a filled hollow, an old garden edge, a retaining wall or uneven settlement. A surface inspection cannot tell you how the ground will behave under the chosen support, and an old wall may have been built for a different purpose. If you have records of past work, share them; if you do not, say so rather than guessing. Do not assume a flat-looking terrace is natural ground or a reliable platform. Conditions can vary across the intended footprint, so one visible patch is not a guide to every support location.
Give those observations, the measured levels and any available site history to a qualified structural engineer or other structural professional; a geotechnical assessment may also be needed where conditions warrant it. Ask what assumptions can be made, what information is missing, and whether further investigation is needed before a support design is settled. If you are considering the Sauna HCF-300, identify it in the brief alongside the proposed position and orientation. Keep the product documents and site findings together so the assessment addresses both. The aim is to identify uncertainties before the design is finalised, not to judge ground conditions by sight.
Design the support for the chosen model
The support arrangement has to suit both the ground and the exact sauna’s installation requirements. Ask the manufacturer which support locations, geometry, level tolerance, fixings and clearances apply; do not infer them from a photograph or from a similar-looking model. A site designer then needs to assess how those requirements can be met on the measured slope. An uneven or twisted support can leave components outside the position intended by the manufacturer and make assembly or operation difficult, so levelling the visible top is not the whole design. The ground beneath each designed support point matters, not just the highest and lowest edges. Keep the manufacturer’s information specific to the chosen configuration.
There is no single base detail or maximum slope that can be recommended from a brief description. A purpose-designed solution may need to account for different ground levels at the ends, access at the entrance, drainage and any nearby retaining structure. For a model such as the Sauna LCF-300, obtain matching installation instructions so the professional can specify the complete arrangement for the surveyed location. Ask the designer to explain what to do if site conditions differ during installation. Do not improvise by packing or changing supports after the design is agreed; refer changes to the designer and installer. A written support layout gives the installation team a clear reference.
03
Treat earthworks and retaining walls as part of the design
Creating a level area by changing the ground can alter the slope as well as the sauna position. Cutting into the uphill side, adding material on the lower side or shaping a terrace can affect how soil is supported and where rainwater travels. Fill that looks compact at the surface is not proof of a stable support area; a neat, level pad does not show how its edges are retained. The lower edge may also become more exposed to runoff or erosion after surrounding levels change. Have earthworks considered as part of the overall site design, not as cosmetic preparation after the sauna has been chosen.
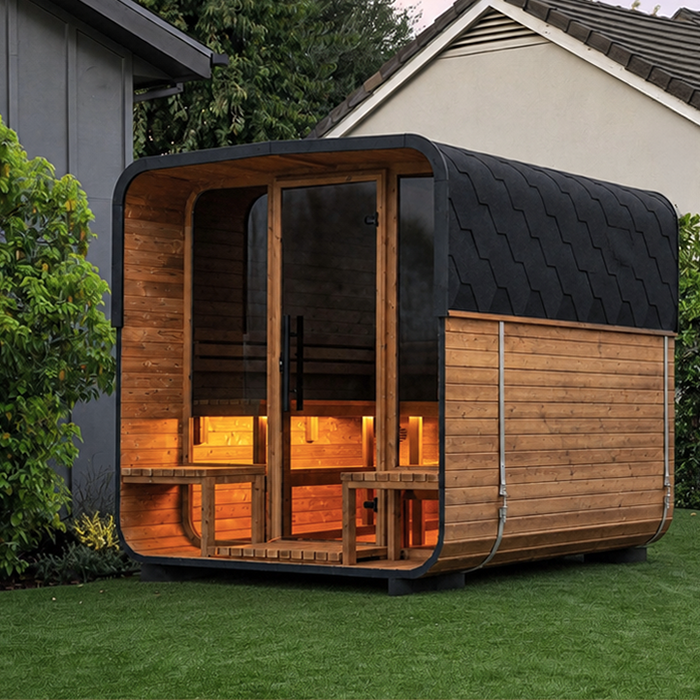
Existing retaining walls need particular care. A wall beside or below the proposed sauna should not automatically be used as a support, and excavation close to it may change the conditions a designer needs to assess. Share visible cracking, leaning, bulging, repairs or known drainage issues with the professional; do not cover these signs while preparing the site. Even when considering a model with a smaller listed floor area, such as the Sauna S-140, have the relationship between the wall, ground and proposed support assessed. Show the wall’s position and visible condition on the site plan. The wall, sauna support and any earthworks need to be considered together.
Trace surface water before planning drainage
Map where water arrives as well as where it leaves. Runoff may come from the uphill slope, a roof or downpipe, a paved area or another part of the garden; the low side of the sauna is not necessarily a safe place for it to collect. After rain, note visible channels, pooling, seepage and soft patches, and tell the drainage adviser whether they are frequent or occasional. Include where existing drains discharge if you know it. Seasonal observations are useful because a dry-day inspection can miss a route that appears only during heavier rain. Record planned changes to paving or landscaping as well.
Have a drainage professional assess how water can be managed without weakening or saturating the support area, eroding the slope or concentrating flow against a retaining structure. The route and receiving point matter as much as the drain itself, so do not choose a trench, soakage point or outlet by rule of thumb. If the Sauna HC-150 is on your shortlist, show its proposed position on the runoff plan so drainage advice relates to the intended layout. Include roof water, surface runoff and temporary construction runoff, and agree who is responsible for each. The designer can advise whether temporary measures are needed during work.
04
Plan a practical route to the door
Plan the route you will use, not only the route an installer might take. From the house or changing area, consider changes in level, steps, slopes, gate openings and the ground immediately outside the sauna door. A doorway reached from the downhill side may sit higher than surrounding ground, while a position near the uphill bank can restrict the approach. Think about people who may find steep steps difficult, and how the route feels in low light or wet weather; these everyday conditions can shape a better position. Mark turning points and transitions where the path meets a steeper part of the section.
Set the final door orientation and entry level on the plan, then ask a competent designer or installer to resolve any change in level with access features suited to the users and site. Do not assume that a clear path on a flat drawing will be comfortable or safe when built. For the Sauna HC-225, request current door and assembly drawings and use them alongside the surveyed levels. Allow clear space at the entrance for people to pause, turn and open the door. Check the position of proposed steps and any handrail against both the door and the main path, rather than adding them after the support is built.
Check delivery access on the slope
Delivery has its own level problem: the unloading point may be well away from the final support, and the route can cross a steeper or softer part of the section. Describe changes in level, steps, tight turns, surface conditions and distance to the installer or transport provider. Ask how the specific sauna is supplied, what must be moved across the site and what access the installation crew needs. A product photograph shows an assembled unit, not how a delivery can be handled on your property. Confirm route details before a date is fixed, especially if the ground changes in wet weather. Include where a vehicle can stop and whether the route crosses other work areas; flag any soft patches or areas that cannot be used for staging.
Plan where unloading and temporary staging could take place without blocking access, runoff routes or the work area, and without placing materials on ground that has not been assessed. Agree who will decide whether the route and ground are ready on the day and what happens if conditions differ. When discussing delivery of the Sauna N-210, request current package and handling information rather than estimating from the assembled product image. Keep the delivery route separate from the permanent footprint on the plan, while checking that both fit within the same site layout. Mark the staging space rather than assuming it will be available.
05
Coordinate services and future maintenance
Plan service routes after selecting the actual heater and configuration, not by assuming all outdoor saunas use the same equipment. Check the relevant manual for requirements around electrical supply, a flue or other components where applicable, and have the appropriate qualified installer assess how those services can reach the unit. Do not assume a cable, pipe or flue can pass through a support, retaining wall or bank; those details require product instructions and professional coordination. Keep required clearances and any service access in the site plan before support or drainage work begins. Coordinate the routes with designed drainage rather than fitting them around finished work.
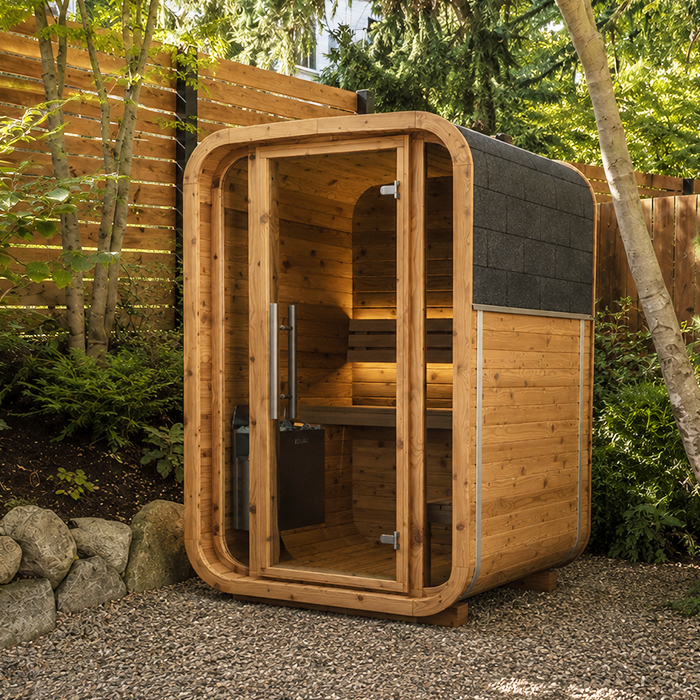
On a slope, the downhill side may be more exposed than the uphill side, so consider how the support and nearby ground can be inspected after installation. Preserve access required by the design to check for erosion, water movement or movement of retaining elements, and to carry out routine maintenance. Landscaping, decking or storage added later should not hide signs of change or block a designed component. If choosing the Sauna N-250, keep its current manual with the final site documents for later servicing. Confirm who will maintain any engineered support or drainage elements, and do not alter them without professional advice.
Bring the site and product plans together
Before groundworks or an order is locked in, bring the information into one coordinated plan: measured levels, the exact model and configuration, manufacturer support details, entry and service access, runoff routes, delivery path and any retaining or earthwork proposals. The structural and drainage advice should refer to the same position and sauna, so a change in model or orientation is not missed. Ask each professional to list the assumptions their advice depends on and identify what changes would require a fresh review. A plan view alone may not make uphill and downhill heights clear; the designer can decide whether extra elevations or a section through the slope are needed.
Check that the people arranging supply, support, drainage and installation know who is responsible for each interface. A site plan can look resolved while the entry landing, surface-water route or delivery staging area has not been assigned to anyone. Confirm finished levels and the design handover before earthworks begin, and give the installer the agreed documents. If the site differs from the survey or unexpected ground appears, pause and seek a revised assessment rather than adapting the support on the spot. Keep the final version available to everyone working on the project, and make sure any agreed changes are recorded for the whole team.
Frequently asked questions
Can an outdoor sauna be installed on sloping ground?
It may be possible if a stable support arrangement and drainage are designed for the site’s measured levels, ground conditions and chosen model. The slope alone cannot confirm suitability, and there is no universal gradient or base type for every property. Have the site assessed before setting out supports or changing the ground, and consider access and runoff at the same time.
Does the sauna itself need to be level?
Follow the current installation instructions for the exact model and configuration. Confirm the required support geometry and level tolerance with the manufacturer rather than assuming that a barrel shape or product photograph means uneven support is acceptable. A structural professional can then design how the stated requirements can be met on the slope. If a detail is unclear, get it confirmed before site work begins.
Can I put the sauna on an existing retaining wall?
Not automatically. A structural engineer should assess the wall, its foundation, the surrounding ground and the proposed sauna position before anyone relies on it for support or changes adjacent levels. A wall’s age, appearance or original purpose does not establish that it can accommodate the proposed use. Have the wall and sauna support considered together.
How should I check drainage on the uphill side?
Note where water runs or pools, including after rain, and share those observations with a drainage professional. They can assess the flow route and receiving point in relation to the support design, slope and existing structures. A trench, soakage point or outlet is not a universal fix; the whole route needs to suit the property.
How steep is too steep for an outdoor sauna?
There is no single maximum gradient for every sauna. The answer depends on measured levels, ground conditions, retaining features, runoff, access and the exact manufacturer’s support requirements. A structural professional—and, where needed, a drainage or geotechnical specialist—can assess the actual site. A visual estimate of the slope is not enough to specify a support arrangement.
On sloping ground, the sauna’s position, support, runoff and route to the door are one site-planning problem. Measured levels and the exact product documents give structural and drainage professionals a sound basis for a site-specific design; delivery and maintenance access belong on that same plan. With those pieces coordinated before earthworks, you can judge whether the proposed location is workable without relying on a generic base detail or an estimate of the slope.
