
Planning a Sauna Beside a Swimming Pool
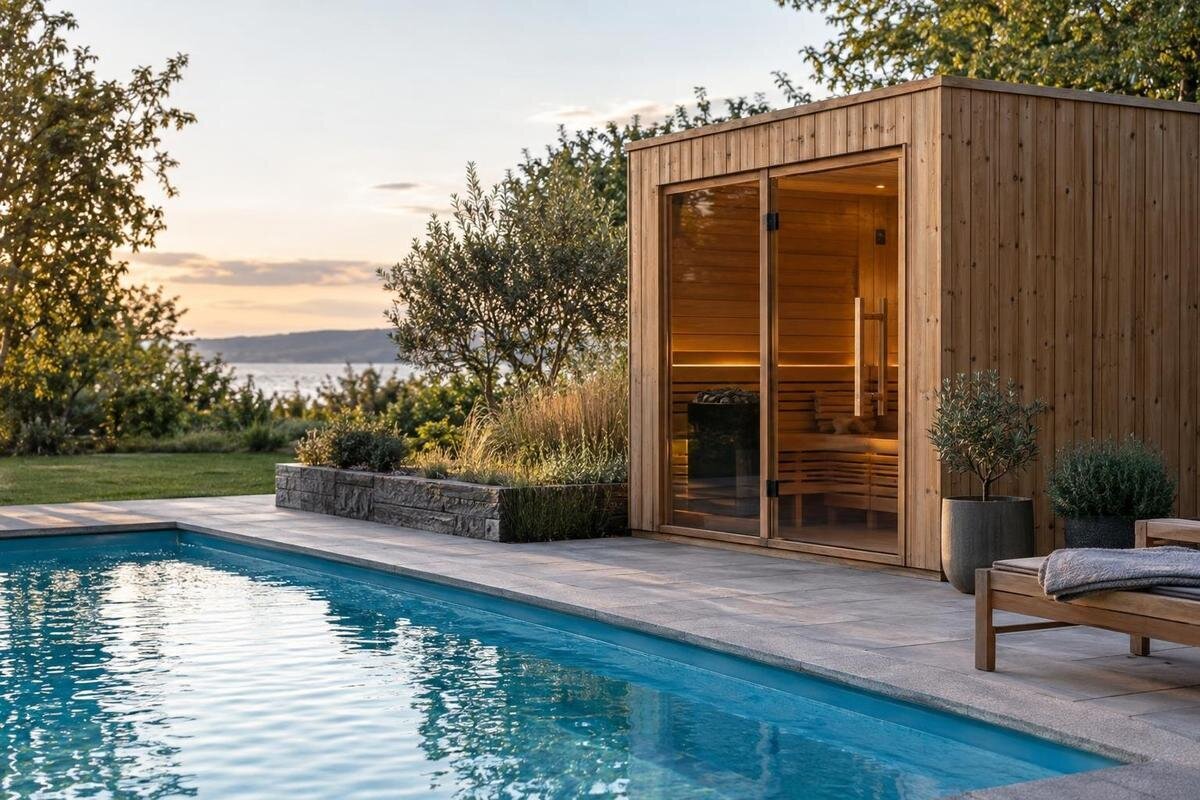
POOLSIDE SAUNA PLANNING
Planning a sauna beside a swimming pool is about more than finding a spare patch of paving. The position has to work with how people move through a wet outdoor area, where water goes, and how pool and sauna equipment can be reached. A doorway or gate can change the available route; a new base or service connection can affect drainage and other work. Sketch the whole space, use the chosen configuration’s documentation, and have local professionals review the proposed position before ordering or preparing the site.
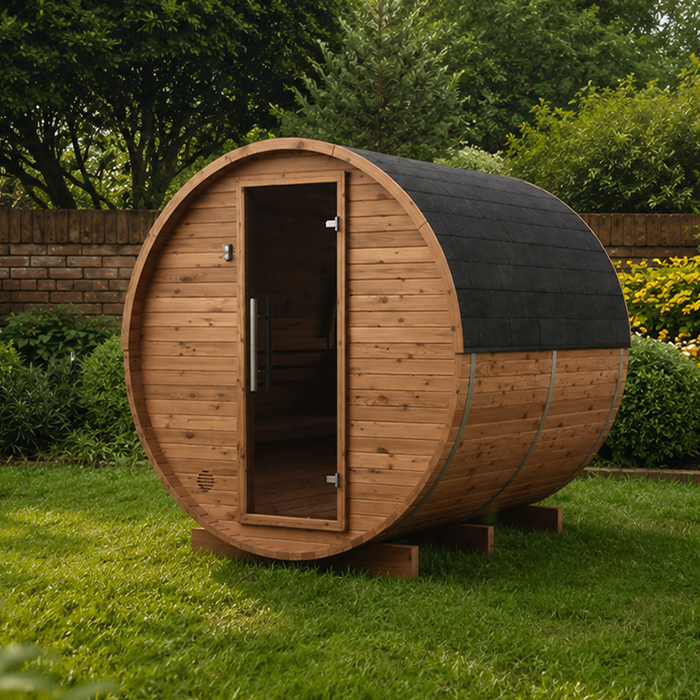
Map the routes between the pool and sauna
Begin with a measured sketch of the whole pool area, rather than drawing a box for the sauna alone. Mark the pool edge, access steps or ladder, pool barrier and gate, outdoor shower, pool equipment, house doors, storage and the routes people use from the house and garden. Trace separately the path of someone going to the sauna, someone coming out, and someone crossing between the house and pool without using it. This shows where journeys cross or funnel into a narrow corner. Measure the clear width at those pinch points, including any reduction caused by a gate swing or fixed furniture; a wide-looking paved area can have a surprisingly narrow usable route.
Walk those routes at the times the pool is busiest. Notice where people stop to dry off, change footwear, collect towels or wait for a turn; those pauses need space too. Keep access to the pool gate and equipment that must remain reachable, rather than treating a service area as a shortcut or storage zone. Try the proposed path while carrying a towel and opening nearby gates or doors, and include regular pool users in the walk-through. Repeat the check with any pool furniture in its usual position. A temporary outline in tape or chalk can help compare locations before ground is altered. The route should work for sauna users and for people using the pool without entering the sauna.
Give the sauna entrance a clear landing
Give the sauna entrance a clear landing, rather than measuring only its distance from the water. Use the selected configuration’s drawing to mark the doorway and door movement; do not infer these from a product photograph. Leave a clear space outside the threshold so a person can step out, pause or wait without blocking the main path, standing in a gate swing or having to step straight into pool traffic. Mark nearby door and gate movements at the same time, and check that a person waiting does not narrow the through-route. Consider the pool steps or ladder, outdoor shower, furniture and other doors. The right position depends on the actual layout and local requirements, so there is no single distance from the pool that answers every siting question.
The store lists Sauna S-140 at 1.93 m². Treat that figure as a comparison point, not a complete layout: a listed area does not establish external dimensions, door movement, an entry projection or the space needed outside. Get the drawing and installation instructions for the exact configuration, then mark its full outline, threshold and door swing on your site plan. Add the approach and landing separately, using the manufacturer’s clearance guidance and local review where required. Keep the landing distinct from any changing or storage space, so belongings do not occupy the area intended for entering and leaving.
Make room for towels, changing and waiting
Plan what happens before and after sauna use as well as the time inside. Decide where towels, robes, footwear and personal items will go, and whether people change in a dedicated space, in the house or elsewhere. If you want a bench, hooks or storage, draw each item at its actual size rather than adding it after the sauna is placed. Keeping belongings out of the walking line helps prevent a pause turning into a bottleneck. Consider privacy and weather exposure in the changing arrangement, but do not put a screen or cupboard where it blocks an entrance, pool access or a service route. Include a place to set items down without narrowing the route.
The store lists the HC-150 sauna at 2.97 m², but that figure does not tell you how much usable space a particular arrangement leaves for changing or personal items. Check the selected configuration’s drawing before deciding what can be kept inside, and do not count its listed area as a changing room. If changing happens outside, draw that separate space and its route to the sauna; if it happens elsewhere, make towels and footwear accessible without crossing the busiest pool path. Keep any waiting point clear of the doorway, so one person can leave while another approaches or collects their belongings.
Choose a surface for wet, barefoot use
Choose the route surface for repeated wet, barefoot use, not only for its appearance beside the pool. Aim for an even, stable walking surface with no unexpected lip, loose edge or abrupt change in level between the pool area and sauna entrance. Include transitions at drain covers, edging and any change from one surface type to another. Ask suppliers what documentation supports use of a particular surface outdoors in wet, barefoot conditions, how its slip-resistance information was assessed, and what maintenance it needs. A generic description such as “non-slip” does not show that a product suits this specific location. Consider cleaning, wear and pool-water exposure using supplier guidance rather than assuming every paving or decking option behaves alike.
Treat the landing and the whole route as one plan, including points where splash, shower water or rain may reach the surface. Check that drain covers, joints and transitions sit securely and do not create an unexpected trip point; if you use matting, confirm it is suitable for the setting and that its edges cannot catch feet or obstruct a door. The store lists the HC-225 sauna at 4.4 m²; this is not the amount of surrounding path or paving to provide. Confirm external dimensions from the model drawing, then measure the route and landing separately. A surface supplier or local designer can help assess the finish and its maintenance needs.
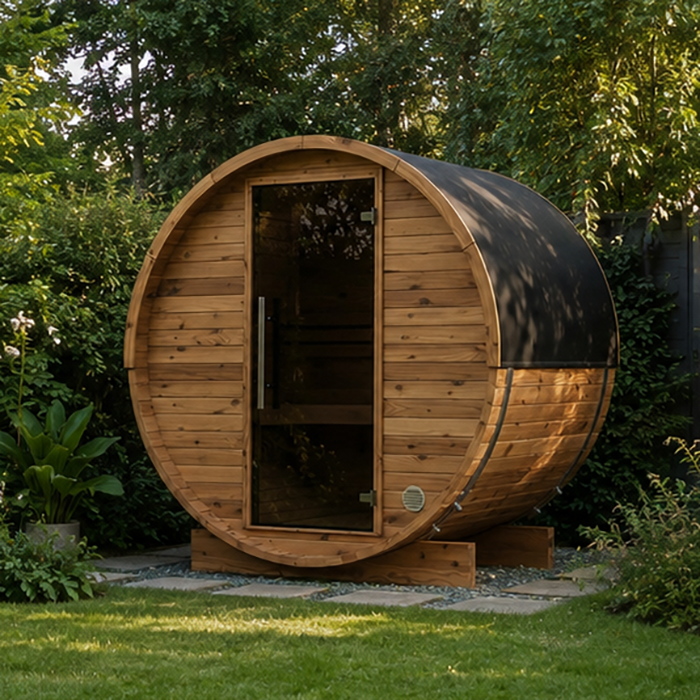
Plan drainage for rain and pool water
Observe where water goes after rain, pool use, showering, hose-downs and irrigation. A dry-day inspection can miss puddles or a flow line that crosses the usual route. Mark existing drains, channels, downpipes and low points on the site sketch, then note where run-off currently travels and where it is intended to discharge. Consider both the sauna approach and the ground around the proposed base; water that collects near the entrance can make the route harder to use and affect surrounding surfaces. If possible, observe the area in different weather conditions. Ask a qualified drainage professional to assess any change to levels or drainage rather than trying to solve it by shifting the sauna a little.
When comparing the N-210 sauna, listed at 4.43 m², include the surrounding ground and drainage on the plan as well as the model’s external dimensions. Confirm those dimensions from the manufacturer’s drawing and discuss drainage with a local contractor. Do not assume a pool drain, existing channel or stormwater connection is suitable for extra water from a new tap, shower or cleaning area. If plumbing is planned, settle its route and discharge point before paving or forming the base. Confirm access for drain maintenance too, so future clearing does not require moving the sauna or dismantling the path.
Check ground conditions and base requirements
Check the ground and support requirements before fixing a position. Existing pool paving, a deck or a lawn may look convenient, but appearance does not show whether the proposed base meets the manufacturer’s requirements for the chosen sauna. Get the manual or installation drawing for the exact configuration and ask a suitable local builder or structural professional to assess the site. They can account for the actual support and any alterations; do not estimate loads or assume an existing deck is adequate because it already carries ordinary foot traffic. Record level changes, drainage channels and any buried services that could be affected by preparation work, and have those locations checked before excavation.
At the doorway, plan how the approach will meet the sauna base without creating a lip or awkward transition from the pool path. Whether the site needs a levelled, raised or otherwise prepared base must come from the manufacturer’s instructions and local assessment, not a generic rule. The store lists the N-250 model at 5.27 m²; that figure is not a foundation size, support specification or load rating. Compare the model’s full dimensions with the proposed base, and have the person responsible for site preparation confirm suitability before excavation, paving changes or deck work begins.
Plan electrical and other services early
Establish service requirements before committing to a position. Confirm the actual heating and electrical configuration for the sauna under consideration; do not infer connection needs from a photograph or product name. Have a qualified electrician familiar with pool installations assess the proposed location in relation to the pool and existing electrical equipment. Ask them to confirm all applicable local requirements, including any separation, protection and isolation provisions for the selected setup. Do not choose a spot using a generic distance or by copying another property’s arrangement. If the model, equipment or location changes, check whether the electrical design needs review.
Also mark the pool pump and filter, control panels, switches and any planned lighting, tap, shower or drain, using actual site plans where available. Note which equipment needs routine access, including the space needed to open or work around it, and avoid placing the sauna where its approach blocks that access. A plumber or drainage professional should review planned water connections and discharge. For the LC-260 sauna, listed at 5.12 m², use the exact model documentation to identify service locations and required clearances for the selected setup. Include confirmed access needs on the plan and coordinate contractors’ proposed routes before paving is complete.
Check pool-barrier and local requirements
Treat the pool barrier and gate as fixed constraints in the layout. Ask the local council or a suitably qualified pool or building professional which current requirements apply to the property and proposed work. Have them check whether the sauna, its doorway, steps, nearby furniture or stored items could obstruct access, affect barrier function or make inspection and maintenance harder. Consider whether the gate can operate as intended with the sauna in place. Do not judge this from a product photograph or by copying an arrangement from another pool. The relationship between the sauna, pool and barrier has to be assessed on the actual site and its everyday walking routes.
Ask as well whether the structure, base work, electrical changes or new drainage need approval or inspection in your circumstances. If you are considering the HCF-300 model, listed at 6.89 m², show its full external dimensions and installed configuration on the plan used for this review. Record its position relative to the gate and barrier, along with any limits identified by the reviewer. If the planned spot compromises a barrier, access route or service area, revise the layout before ordering or starting site work. Do not assume a small shift resolves a compliance issue without another check.
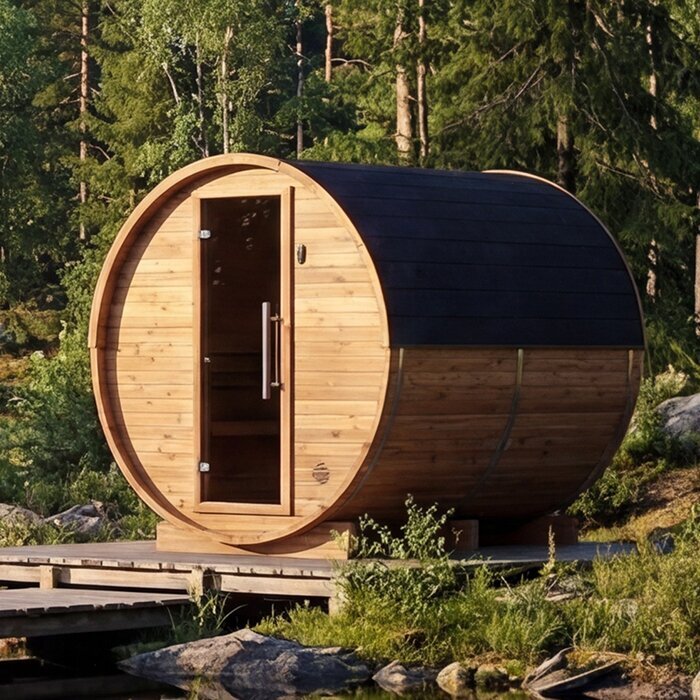
Preserve access for maintenance and installation
Allow working room around the sauna for inspection and upkeep specified by its manufacturer. The amount and location of access can depend on the construction and chosen configuration, so obtain it from the relevant manual rather than choosing an arbitrary gap. Keep accessible any parts that require servicing and consider whether a technician can reach the site without crossing the pool, blocking the gate or moving permanent furniture. If planting, a screen or storage is planned, place it only after mapping required access and the route between the sauna and other pool equipment. Leave room to maintain nearby surfaces as advised by their suppliers, rather than relying on temporary access through a narrow gap.
Check delivery and assembly access as well as daily use. Confirm packaged dimensions, installation method and site access needs with the supplier or installer; do not assume a product can be carried through a gate, around a tight turn or down existing steps. The store lists the LCF-300 model at 6.89 m², but delivery planning needs the dimensions of what will actually arrive, not the catalogue area. Use current drawings and installation information to check the gate opening and route to the chosen site. Agree with the installer how delivery and assembly access will be managed without damaging pool surfaces or obstructing essential access, before landscaping or placing permanent screens.
Put the full layout on a measured plan
Put the decisions on one measured site plan before comparing final positions. Include the pool edge, barrier and gate swing, house access, doors and their swings, shower, pool equipment, drains and known service routes. Add the sauna’s full external outline from the current manufacturer’s drawing, its doorway and door swing, the base requirements, confirmed service clearances, walking route and separate areas for towels or changing. Note level changes and where water currently flows. Measure fixed features on site rather than relying on approximate dimensions from a photograph or catalogue area. If a drawing lacks a dimension needed to assess the site, ask the supplier for it instead of estimating.
Then test the plan on site with tape or a temporary outline. Walk the route both ways, open each gate and nearby door, and check whether another person can reach the pool or its equipment while the sauna area is in use. Have a local builder or structural professional review the base and site preparation, a qualified electrician review the poolside electrical proposal, and a plumber or drainage specialist review planned water services. Ask the local authority or building professional about approvals and barrier requirements. Keep the drawings and review notes with the plan, and make adjustments before site work begins.
Frequently asked questions
How close can a sauna be to a swimming pool?
There is no single distance that can be applied safely to every site. The answer depends on the pool and barrier layout, the sauna configuration and the current requirements that apply. Ask a qualified electrician and local pool or building professional to assess the proposed position rather than relying on a generic measurement.
Can I put a sauna on an existing pool deck?
Do not assume the deck meets the sauna manufacturer’s support requirements because it is already used for walking. Have a suitable local building or structural professional assess the deck and proposed base, using the instructions for the exact configuration. Check drainage and service access at the same time.
Is the listed sauna area enough to plan the base?
No. A catalogue area does not necessarily show the full external dimensions, installed base, entry clearance or maintenance space. Use the manufacturer’s drawing and manual for the chosen configuration, then add the path, landing and any confirmed service clearances to your site plan.
What should the path surface be like?
Choose a stable, even surface intended for outdoor wet, barefoot use. Ask the supplier for relevant performance and maintenance information, and consider the whole route, including where run-off goes and how surfaces meet. A local designer or surface supplier can help assess the options for your site.
Who should review the site plan?
Ask the local council or a building professional about approvals and pool-barrier requirements. A qualified electrician should review the poolside electrical proposal; a suitable builder or structural professional can assess the base; and a plumber or drainage specialist should review planned water services.
A well-positioned poolside sauna is easy to reach without taking over the routes and working space the pool already needs. A measured plan brings the entrance, walking surfaces, drainage, base, barrier and services together, making the trade-offs between possible locations easier to see. Combine the documentation for your chosen configuration with local professional advice on the relevant parts of the plan. Distance from the water is only one part of choosing a position that works for the whole pool area.
