
Creating Privacy Around a Glass-Fronted Sauna Without Losing the View
SAUNA PRIVACY
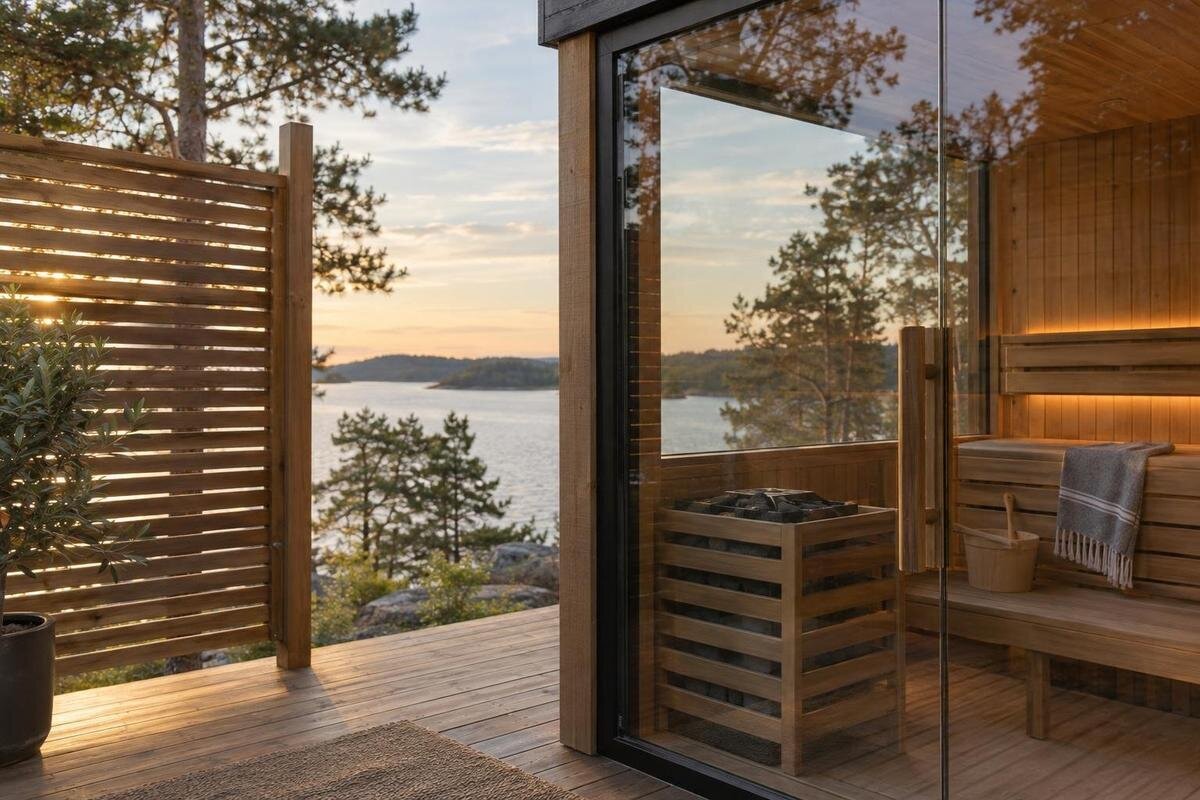
A glass front can connect a sauna to the garden, but it also creates a clear line of sight into and out of the space. Privacy does not have to mean turning away from a favourite outlook or screening the whole garden. First identify who can see the front, the entrance and the seating area; then orient the sauna to frame the view you want to keep. Use planting or a separate screen to interrupt unwanted sight lines from outside. This guide covers site layout and landscape screening, not which front construction to choose. Confirm the exact model configuration and installation requirements from current manufacturer information.
Glass-front construction and garden screening
A glazed front provides an outlook but also allows views into the occupied space, so privacy is not simply a question of how far the sauna sits from a boundary. Start by identifying the actual concern: a neighbour’s upstairs window, a patio at ground level, a shared path or several viewpoints. Each has a different viewing angle and height, so a fence that hides the sauna from one garden may not screen it from above. Separate the views you want to keep—trees, garden or sky—from those you want to interrupt. This prevents a broad screen from solving the wrong problem. It also clarifies whether privacy matters while seated, at the doorway or across the whole garden-facing side.
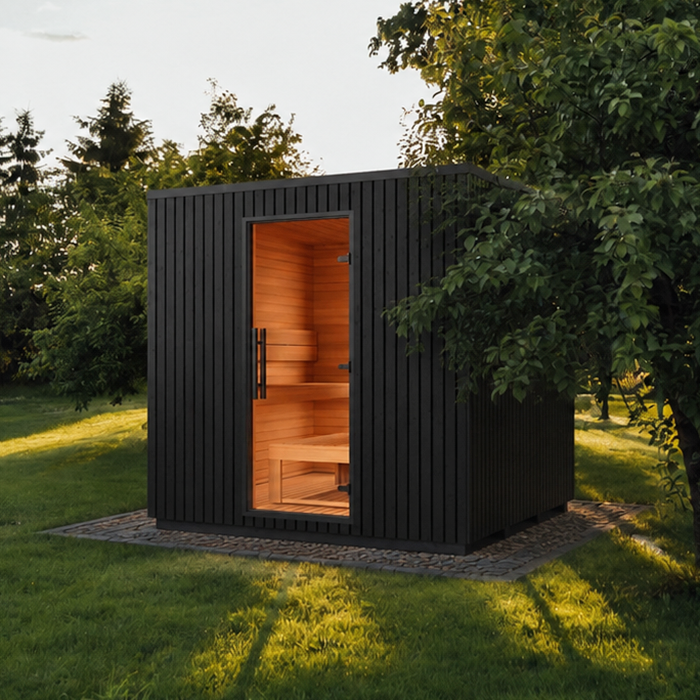
Keep the landscape decision separate from the choice of sauna front. A hedge, existing fence or freestanding screen changes the surroundings; glazing, door arrangement and any model-specific treatment belong to the sauna specification. Do not infer those details from a generic photograph or from another model in a range. Plan the site around the outlook and privacy you want, then confirm the exact front and installation information for the chosen model. External screening should interrupt specific sight lines rather than promise complete concealment from every angle. It should not depend on an assumption that the glass itself will hide occupants.
Map sight lines from windows, decks and paths
Sketch the sauna, boundary and nearby routes on a simple site plan, then mark windows, balconies, decks and ground-floor places from which someone could look towards it. Include the view from your own house as well as neighbouring properties: privacy may concern people approaching as well as neighbours next door. Draw a separate line from each viewpoint towards the proposed glass front and the area where people will sit. Note any existing fence or planting that already interrupts a view. This reveals which angles remain open instead of treating the whole perimeter as equally exposed. For a path, mark the length of the route, not just one point.
Check more than one viewing height and distance. A ground-level walk-through can miss an upstairs window, while standing beside a boundary may exaggerate what a person sees from their usual seat. Mark each viewpoint and check its relationship to the intended seats, doorway and approach route; repeat the test as you move along a path. Once you have a model shortlist, set out its actual outline from the current manufacturer drawing rather than scaling a catalogue image. Use the LC-260 model page to identify that option in your comparison, then record its outline on the site plan. Label each sight line as clear, partly blocked or screened so you can compare positions consistently.
Turn the front towards the view you want to keep
Orientation is about the face of the sauna, not just its compass position. On the plan, rotate the front through a few plausible angles and note what each one frames: trees, garden, a distant outlook or the blank side of another building. Then check which neighbour-facing windows or paths fall opposite the glass. A small turn may put a planted area or side boundary between an observer and the front while keeping the desired outlook across the open part of the garden. There is no universal best direction; the site’s topography and sight lines determine the useful angle. A compass point cannot account for nearby walls, fences or trees.
Also show the entrance in each trial position. A rotation that improves privacy at the glass may put the entrance directly in view or make the approach less convenient, so judge the whole arrangement rather than the front in isolation. When comparing an option such as the HCF-300 sauna, mark its front and entry position on the same plan used for the other candidates. Compare what each orientation preserves and what it exposes from the intended seated area. Keep the garden features and viewing points in the same places on every version so the comparison remains useful. If the ground slopes, assess the higher and lower viewing points separately.
Check the outlook from the seating position
Assess the view from the planned seating position, rather than only from the lawn or doorway. A seated occupant has a different view of the garden and nearby windows from someone standing at the entrance. Use the intended interior layout, when available, to mark a representative seat position; if it is not final yet, use a movable chair as an approximation. Look towards the centre and sides of the proposed glazed front, and note which parts of the garden remain visible when you shift naturally in the seat. Check more than one seating place if the planned layout allows it. This tests the outlook people will experience, rather than just how the sauna will look from outside.
Then reverse the check: from each likely viewing point, look towards the front and the occupied area. Treat glazing as a window, not an automatic privacy barrier; reflections and apparent visibility can change with light and angle. Do not depend on a bright reflection or an assumed one-way effect. For a shortlisted LCF-300 sauna, confirm the actual front arrangement and any privacy treatment through its specific product information. That establishes what the proposed layout needs to screen. Avoid adding films, curtains or other changes unless the manufacturer confirms they are suitable. Comparing the inward and outward views can reveal where a narrow screen would help without blocking the whole outlook.
Place screens across unwanted sight lines
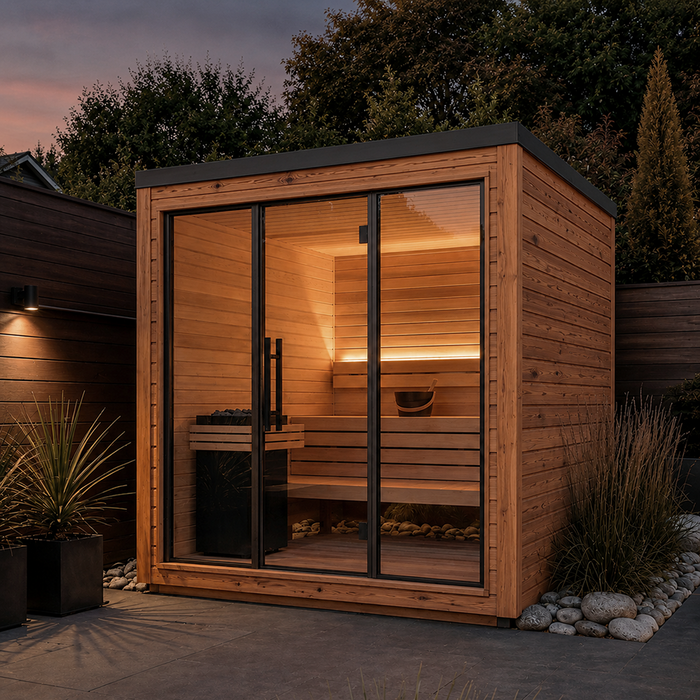
Once you know which line is exposed, place screening between that observer and the glass instead of automatically building a barrier around the entire garden. The useful position may be near the sauna, along part of a boundary or at a bend in a path; compare these positions on the plan and in a temporary on-site trial. Moving a screen changes how much of the landscape it blocks. A panel closer to the front might interrupt one direct angle while leaving the view beyond it visible from elsewhere, whereas a long boundary screen can close down more of the outlook than necessary. A broad screen can also hide a view you meant to keep.
Try a short return or angled panel where the concern comes from one side, then check it from both seated and standing viewpoints. A screen that masks a neighbour’s window from the lawn may still leave the interior visible from an upper level, so test every line you mapped. Because slope and viewing height matter, do not copy the height of a nearby fence as a universal answer. On a layout for a candidate such as the S-140 sauna, compare a side panel with a longer boundary screen. Note which exposed views each option blocks and which parts of the garden it obscures. Choose the position that addresses the identified sight lines while preserving the outlook.
Choose planting for its mature size and changing seasons
Planting can soften a direct view and sit naturally in a garden, but it rarely provides instant screening. A young hedge may leave clear gaps for several seasons, while deciduous plants can screen one part of the year and open up in another. Consider foliage density at eye level, mature height and spread, growth time and pruning needs. A layered mix can give a more graduated boundary than one solid row, but the right choice depends on local conditions such as sun, wind, soil and water. Ask a local nursery or landscape professional about plants suited to the site rather than choosing from a photograph. Assess both the initial gaps and the eventual size of the planting.
Place planting where it breaks the mapped sight line without standing directly in front of the outlook through the sauna. Mark each plant at its expected mature spread, not just the pot size, and leave room for access, pruning and any clearance required by the manufacturer. Roots and growth can affect nearby paving or services, so check positions with a professional where those are close. On a plan that includes the HC-150 model, show the planting bed separately from the sauna outline so you can assess the space between them. Temporary screening can cover gaps while plants establish. Position it to protect the exposed view without occupying the space needed for the planting to grow.
Use built screens for sight lines planting cannot cover
An external panel, fence or purpose-designed privacy screen can provide a more immediate visual barrier than new planting. It may suit a single exposed angle, but position and shape matter as much as opacity: a short return can block a view from a path while leaving an open side towards the garden. Existing boundary fencing may already handle low views, leaving only higher windows to consider. Slatted or open designs may filter a view rather than obscure it fully, so assess them from the observer’s actual direction. Sketch the line before choosing a long solid screen; a change of angle can preserve more of the outlook without leaving a gap directly on the line you need to hide.
Do not assume a screen belongs against the sauna or can be fixed to it. Keep an independent structure outside the sauna’s required installation area and have a suitably qualified professional specify a permanent screen, especially on an exposed site. Check any relevant property or local requirements with the council or a qualified adviser rather than guessing from another fence. If you are considering the HC-225 sauna, use its installation information to identify the area that must remain clear, then position the screen separately on the plan. Distinguish the screen’s supports from the panel itself when discussing the layout with the professional, so the whole structure is accounted for.
Check privacy after dark and through the seasons
Privacy is not static across a day. Reflections and the contrast between interior and exterior can change after sunset, so a view that seems private in bright daylight may feel more exposed when the sauna is used later. Check the proposed position at the times you expect to use it, from the same windows, patios and paths identified earlier. You do not need to enter anyone else’s property: use your own vantage points or ask permission. If a helper sits inside while you observe from your garden, the trial can show what a screen actually hides. Repeat from the seated position as well as the approach, because they may have different exposure.
Repeat the check at different stages of the planting cycle. Leaf drop, new growth and pruning can alter the amount of screening; a mature hedge may also become wider or taller than its first-season outline. Plan for the season when planting offers the least cover, not only the day you mark out the garden, and note where the view remains open. Keep the sauna position consistent in these comparisons. For a shortlisted model such as the N-210 sauna, use the same marked outline while assessing changing foliage. Record which sight lines depend on leaves and which are blocked by a permanent screen, then revisit the assessment as the planting develops.
Protect the entrance and maintenance access
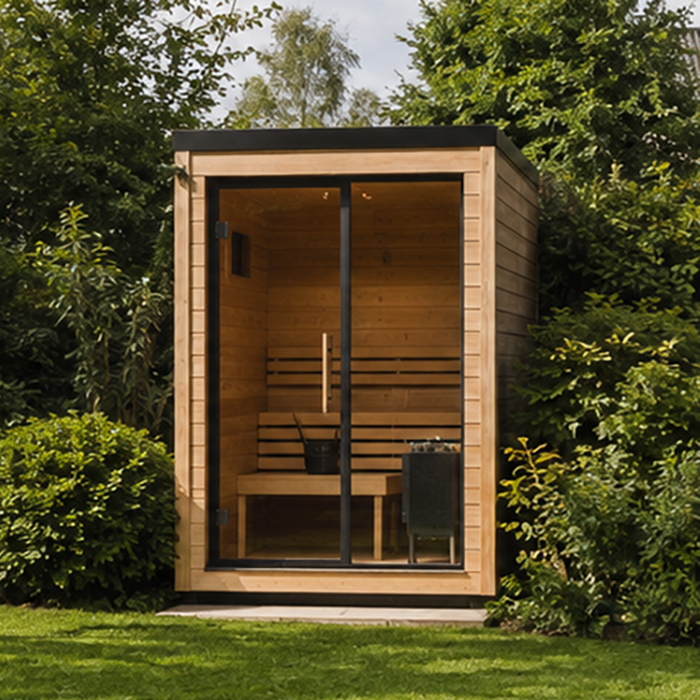
Privacy involves the route to the sauna and the doorway as well as time spent inside. A person walking from the house may be visible for a few steps even if the seated area is screened; a planted return or separate screen alongside part of the approach can reduce that exposure without enclosing the whole space. Check whether a visitor approaching the door will be directly in view from a neighbour’s patio or a shared path, and whether turning the entrance away from that line would make access awkward. Keep a clear, natural route and avoid creating a tight or hidden corner. Include the point where people pause to open the door, not just the path.
Leave room to reach the sauna and surrounding area for cleaning and maintenance, and do not let planting or a screen intrude on clearances stated by the manufacturer. Those distances depend on the exact model and installation, not a generic garden sketch. Mark the door’s movement from the actual drawings too, where relevant, so a privacy panel does not occupy the entry space. For a candidate such as the N-250 sauna, show the path edge, fence return and planting bed alongside the entry layout. Walk the approach in the mock-up and pause where you would open the door. This checks whether the screening protects that stopping point while keeping access clear.
Mock up the layout before making it permanent
Before committing to permanent landscaping, bring the earlier checks together in one full-size mock-up. Mark the proposed sauna outline and indicate the glass front, door and intended seating orientation. Use ground markers for the corners and a temporary, separate screen at its proposed location; a sheet or movable panel can represent the part of the view you intend to block. Sit where the occupants would sit, then walk the mapped sight lines and approach route. Check that the desired view remains open and adjust the front or screen in small steps. Repeat from each accessible viewpoint, allowing for the higher views identified on the plan. Assess the screen from both sides rather than judging it only from the seating position.
Record the successful layout on the plan, including the view to preserve, the sight lines to interrupt, seasonal gaps and access needs. Keep notes of any adjustments made during the trial so the permanent landscaping follows the tested arrangement rather than an earlier sketch. Identify which parts of the privacy plan depend on ongoing pruning or on new planting filling out; those are the areas to revisit as the garden changes. The aim is a specific, testable layout, not total concealment from every angle or an unnecessarily closed garden. Once the mock-up works at the viewpoints and times that matter, you can finalise the landscape plan.
Frequently asked questions
Does a glass sauna front provide privacy by itself?
Not necessarily. Visibility depends on the chosen glazing and the viewing conditions, so reflections should not be treated as a reliable screen. Check the exact configuration and plan external screening around real sight lines into the occupied area.
Which direction should the glass front face?
Point it towards the outlook you want to keep, then compare sight lines from neighbouring windows, paths and decks. Check the view from the intended seating position and include the entrance and installation layout before settling on an angle.
Will a hedge screen the sauna?
It can, but a new hedge may take time to fill in, and deciduous growth can leave gaps in some seasons. Choose plants for their mature spread and local site conditions, and consider a separate screen while planting establishes.
Can I attach a privacy screen to the sauna?
Do not assume you can. Follow the manufacturer’s instructions for the sauna’s installation area and any permitted attachments. Treat a freestanding screen as a separate structure and have permanent screens appropriately specified.
How can I test sight lines before installation?
Mark out the model’s actual outline from current drawings, indicate the front and seating position, and use a temporary panel to test the view. Check from inside and from mapped viewpoints in daylight and at dusk, without entering neighbouring property.
Focus on the views worth keeping and the sight lines that expose the seating area or entrance. Use orientation, planting or a separate screen where each addresses a specific view, and allow for changes in light and foliage. The sauna’s front configuration and the surrounding landscape remain separate decisions, but they need to work together in the final layout. A carefully tested arrangement can preserve the garden outlook without enclosing the whole sauna area.
