
Sauna Bench Levels: What to Compare Before Buying
Sauna buying guide
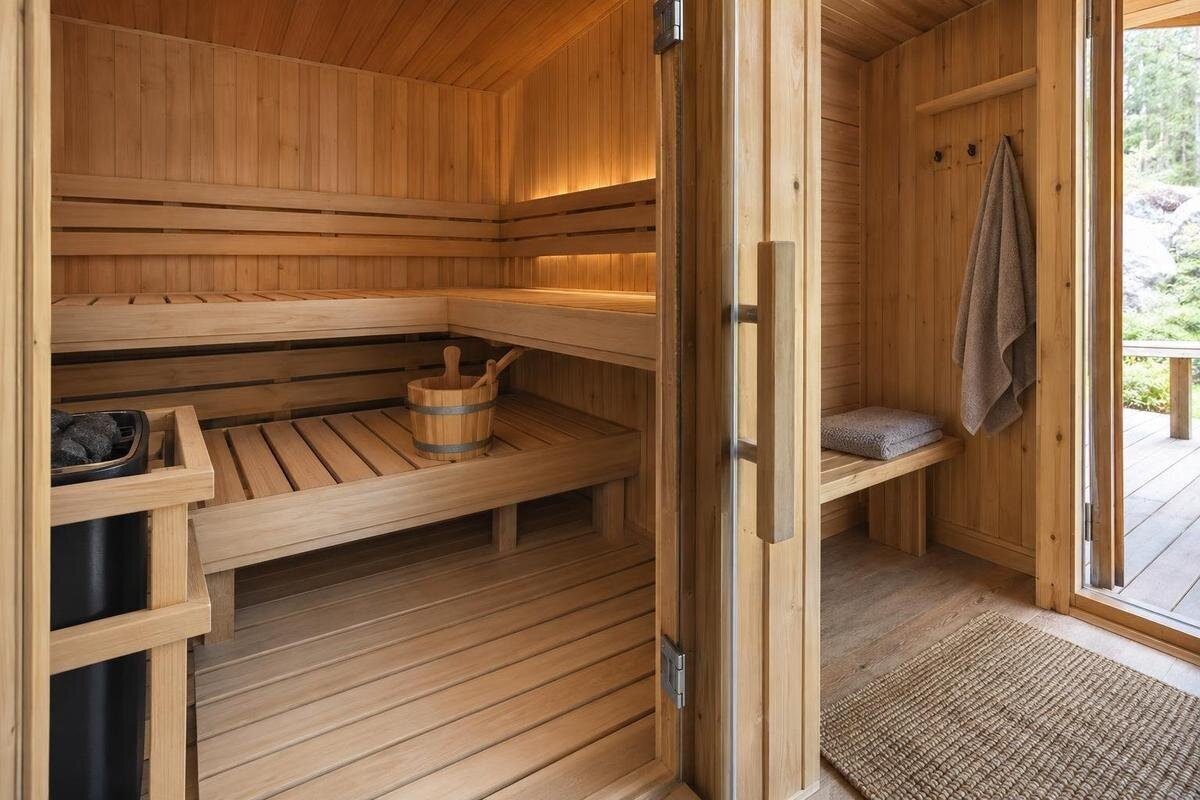
Bench levels shape more than the number of seats shown in a sauna photograph. They set where people sit in relation to the floor, ceiling, heater and one another, and affect headroom, foot support and movement through the cabin. Two interiors that look similar can have different bench heights, usable seat depths and routes between the door and the seating. Before choosing, compare the dimensioned plan and vertical section for the exact model and configuration. A product name, floor-area figure or perspective image cannot establish those measurements. This guide explains how to read the drawings and what to ask when key details are missing.
01
Bench height changes the seating experience
Bench height determines a seated person's position in relation to the floor, ceiling, heater and other people. A low seat is closer to the floor; a raised one changes the space available above and below the sitter. With more than one level, people can choose between different positions, but the number of levels alone does not tell you whether each seat will be comfortable. Each needs enough usable space, and the distance above it matters. A higher seat may bring the head closer to the ceiling, while a lower one changes the position of the legs and feet. These are relationships to check in the layout, rather than reasons to look for one ideal height.
The temperature a person experiences can also vary with height in a sauna, but the pattern depends on the cabin, heater and air movement. Do not assume that a raised seat guarantees a particular temperature or that two tiered designs will feel alike. Compare the intended sitting positions with the manufacturer's guidance for the exact sauna and heater combination. If the drawing does not identify the bench levels or space around them, ask for that information rather than estimating from a photo. That keeps the choice grounded in details you can verify, not an appearance or a promise the available information cannot support.
Use a vertical section to compare bench heights
An overhead floor plan shows where benches sit along the cabin footprint, but it cannot show how high they rise or how much headroom remains. Look for a cross-section or internal elevation that shows the bench and ceiling together. Check that it labels the finished interior floor, the top of each sitting surface and the ceiling, or another clearly named reference point. A measurement taken from a base, frame or outside surface is not automatically a height above the finished floor. Confirm the measurement points before comparing figures; otherwise, two numbers that look alike may describe different things.
Make sure the drawing describes the model and interior arrangement you intend to buy, not a generic illustration or a different option. For the Sauna HCF-300 listing, the model name identifies the sauna in the catalogue; it does not tell you the bench elevations. Match each drawing to the chosen configuration and ask the seller or manufacturer to explain any unclear dimensions. A comparison table can record each bench's surface height, depth, length and headroom, with the reference point beside each measurement. If a figure is missing, mark it as unknown instead of estimating from product photography.
02
Choose between one seating level and several
A single-level layout gives people one consistent sitting height and avoids a change of level between benches, but it offers no alternative seat elevation. A second level can provide another sitting position and may give people a choice of how high they sit in the cabin. It also introduces a step to negotiate. Check where feet would land, how wide the transition is and whether it sits in the natural route through the cabin. A drawing should make clear whether the apparent second tier is a full sitting surface, a narrower upper bench or a separate foot support.
Do not treat the word tiered as a capacity figure. Two levels may have different lengths, share a narrow seating run or be arranged around a corner; the plan and section show what is actually usable. Decide whether different sitting heights matter to the people who will use the sauna and whether the level change suits them. When reviewing Sauna LCF-300, compare the seating levels shown in its drawings with the arrangement your household would prefer. Mark which surfaces you would use for sitting and which would support feet or provide access to another level. This helps distinguish an additional sitting place from a surface needed to reach or use the seat above.
Check usable seat space, not just cabin area
The cabin's floor area is not the same as the space available for sitting. For each bench, compare the continuous usable length, seat depth and any gaps or interruptions shown in the plan. A corner, end panel or area beside the heater may make part of a bench less useful as a place to sit, so do not count it automatically as an uninterrupted seat. Depth matters too: the distance from the front edge to the back of the seat affects how a person can sit and whether their feet can rest on the same surface. For a corner arrangement, check whether the quoted length is measured along each usable run or given as one overall figure.
Think about the people who will use the sauna, not just the maximum number that might fit in a photograph. On a scaled plan, mark where each person would sit, which way they would face and whether they could sit down or stand up without displacing someone already seated. Leave the personal space that suits your household. A published capacity, if provided, may not describe the arrangement you prefer. When comparing the seating layout of Sauna S-140, check whether the usable bench run accommodates your preferred positions. For a shared bench, consider the space between those positions as well as the overall length, rather than treating every part of the run as equally useful.
03
Allow for the curve of a barrel sauna
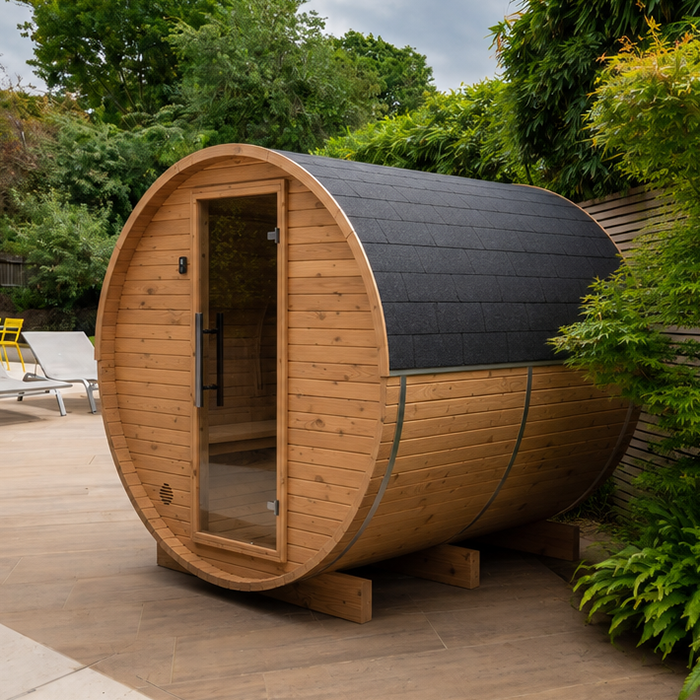
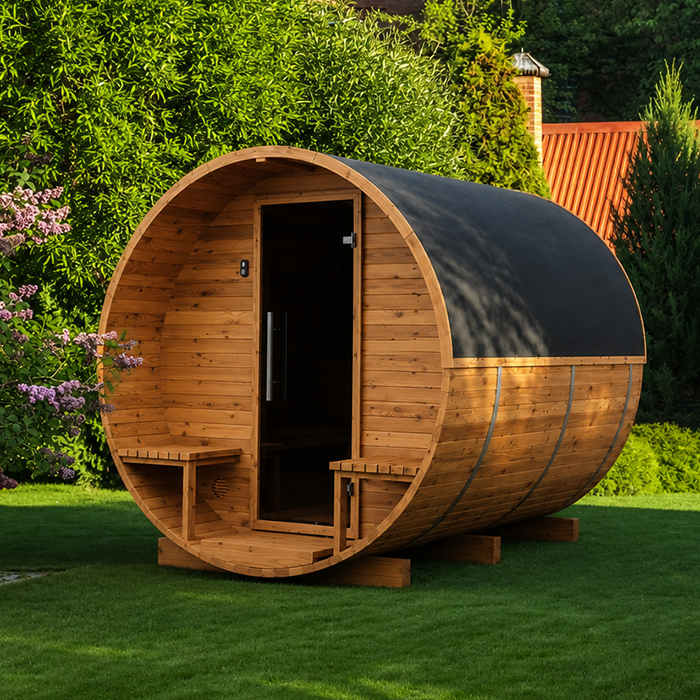
Barrel-shaped walls make the vertical section especially useful. The ceiling curves down towards the sides, so headroom changes across the cabin rather than staying constant across its width. A seat nearer the middle and one nearer the wall can therefore leave different space above a seated person's head, even if their bench surfaces are at the same height. The useful comparison is not only bench height from the floor; it is also the position of the sitting surface across the cabin and the ceiling profile above it. Use the cross-section to check both.
Imagine someone sitting upright at each position marked on the drawing and check the headroom directly above that seat. Do not judge it from a perspective photograph, which can distort scale. If you expect to use a backrest, consider the space the drawing allows for that posture rather than measuring only to the ceiling's highest point. When examining the Sauna HC-150 layout, use the section to relate the bench position to the curved roof. Compare the clearance where someone would actually sit, not just at the centre of the cabin. This keeps the headroom comparison focused on usable sitting positions rather than nominal cabin height.
Trace movement between the door and the seats
Bench arrangement affects how people move once inside. On the floor plan, trace a route from the doorway to each sitting place and note where someone needs to turn, step up or pass another person. Check whether a projecting bench edge narrows the route and whether there is room to approach the seat from the side or front shown in the layout. The aim is not to calculate a universal aisle width; it is to check the actual clear space against the drawing and the way your household will use the cabin. Treat threshold and opening measurements as a separate entry check.
Also locate the heater, guard and any marked keep-clear areas in the manufacturer's documents. A bench can look well placed in a photograph, but an image does not establish whether the required heater clearances are met. For Sauna HC-225, compare the selected heater's installation instructions with the seating plan and ask a suitably qualified installer to resolve any uncertainty. Keep the route to each bench in view during that comparison: a sitting position and the space used to approach it are separate considerations. Assess both with the heater and guard shown, rather than considering the benches in isolation or relying on the apparent openness of a photograph.
04
Plan for the people who will use the benches
People may prefer different seat heights and postures, so think about your group rather than relying on a capacity number. Some may prefer a higher seat, while others may find a lower one easier to reach. A tiered layout offers that choice only if both surfaces are genuinely usable and the route between them makes sense. Consider whether people will sit facing the same way, talk across a corner or need to pass while someone remains seated. These preferences can affect whether a straight run, a corner or separate bench positions suit your routines. Check that the drawing shows the relationship between all the seats instead of trying to infer it from an exterior image.
Ask practical questions: can each person sit without blocking someone else's knees? Can a person get down without stepping over another bather's feet? Is there a place to rest feet that matches the intended seat, if the design includes one? Use those questions when considering Sauna N-210 for shared use, marking the preferred sitting positions and the space between them on its plan. The answers depend on the actual seat height, depth and spacing. If anyone in the household has specific mobility needs, do not infer suitability from a photo or a general product label; ask for measured seating and access details, and seek qualified advice where necessary.
Confirm what the bench drawing includes
Look beyond the outline of a bench. A drawing or product description may show a seat surface, backrest, foot support, step, divider or guard, but a pictured component is not automatically included in the purchase. Check the written inclusions for the model and configuration you intend to order, and ask whether optional pieces would change the usable bench area. Confirm whether quoted measurements refer to the seat itself or include a backrest or support. That distinction matters when you assess depth, legroom and where someone can lean. Do not assume that two products with similar-looking interiors come with the same fittings.
Construction and care details can affect how the layout works day to day. Check whether the manual explains which parts are fixed or removable and how the manufacturer expects the interior to be cleaned and cared for. Do not assume a platform can be lifted or moved simply because it appears separate in a picture. When checking the fittings supplied with Sauna N-250, distinguish the seating arrangement shown from any optional components described alongside it. Note whether your preferred layout depends on one of those components. If a step or support appears in a photo but not in the drawing, ask the supplier to confirm what will be supplied and how it fits into the arrangement.
05
Compare the same measurements across models
For a fair comparison, record the same measurements for each sauna: usable bench length and depth, the top of each sitting surface from the same reference floor, headroom at each sitting position and the height difference between levels. Add the clear route through the cabin and note any features that limit a seat. Keep the units and reference points consistent. A model with more floor area does not automatically have a longer or higher bench, and a model number is not a dimension. Figures from separate drawings can only be compared sensibly if both refer to the model and options you intend to order.
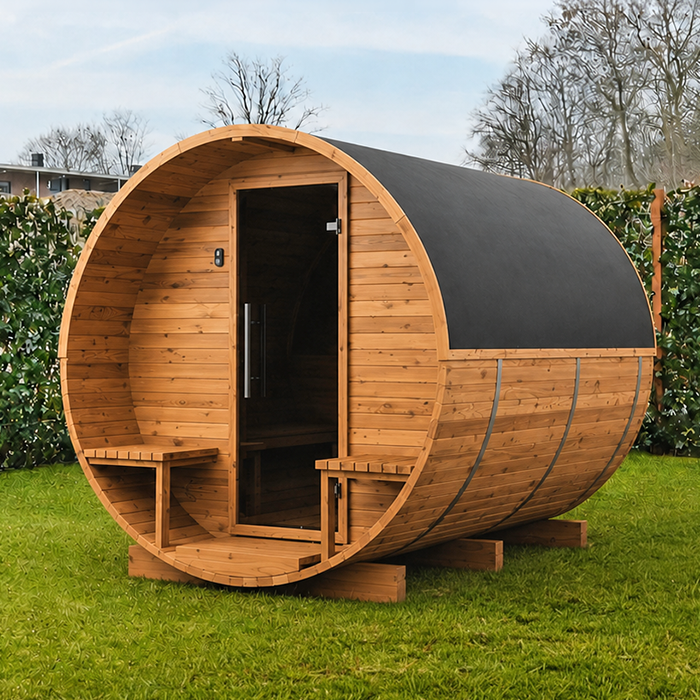
Product images help show general appearance, but perspective, lens angle and an open door can make an interior look more spacious or conceal a change of level. Give priority to dimensioned plans and the manufacturer's written specifications. When adding Sauna LC-260 to your comparison, keep measurements from the same configuration together rather than combining figures from different document versions. Separate confirmed dimensions from unknowns so that a missing measurement does not look like an advantage or disadvantage. Read the completed comparison across several features: extra bench length may matter to your group, while another arrangement may better match the sitting heights or headroom you prefer.
Resolve gaps in the bench comparison
Before making a shortlist, separate missing details that could change your choice from those that do not affect your intended seating arrangement. An unknown bench depth matters if you are comparing sitting positions; an unclear height difference matters if you need to assess movement between levels. Send the seller a focused question tied to the relevant part of the drawing, rather than asking only whether the sauna is spacious or comfortable. Request the missing measurement and its reference points. If two documents appear to disagree, ask which applies to the version you intend to order, and keep that answer with your comparison.
Once those gaps are resolved, compare the trade-offs that matter to your household. Would you use a second sitting height, or would you prefer everyone on one level? Does the layout provide the usable bench space you want without making it awkward to pass or change seats? Keep the confirmed inclusions beside the measurements so you are assessing the arrangement you would actually receive. Where an unresolved question concerns installation or heater clearances, refer it to a suitably qualified professional. Where it concerns personal seating preferences, return to the marked sitting positions on your plan. A useful final choice accounts for both the dimensions and how you expect to share the benches.
Frequently asked questions
Which bench height should I choose?
There is no universal height that suits every sauna or household. Compare the space above each seat, the usable seat dimensions and the route between levels, then consider who will use the cabin. Base the decision on drawings for the exact model rather than a typical measurement borrowed from another sauna.
Is the upper bench always hotter?
Not necessarily. Temperature can vary with height, but the effect depends on the cabin, heater and air movement. Check the manufacturer's guidance for the specific sauna and heater; a tiered layout alone cannot tell you what temperature each seat will reach.
Can I estimate seating capacity from the cabin's floor area?
No. Floor area does not show the usable length and depth of the benches, interruptions in a seating run or space between people. Use the dimensioned plan to assess the arrangement, and check that any stated capacity relates to the model and configuration you are considering.
Which drawings should I ask to see?
Ask for a dimensioned floor plan and a vertical section or elevation for the exact model and configuration. The drawings should identify the finished floor, the top of each bench and the ceiling, as well as usable bench dimensions and the space above each sitting position.
Are product photos enough to compare bench layouts?
No. Perspective can distort scale, and a photo may show a different configuration or components that are not included. Use dimensioned drawings and written inclusion details to check the actual bench positions, sizes and fittings.
A useful bench comparison brings the seat positions, usable space, headroom, level changes and route through the cabin together. Once a drawing identifies those details for the configuration you intend to buy, you can judge whether the arrangement suits the way you expect to use the sauna. If an important measurement is missing, leave it as an open question; neither a model name nor a product photograph supplies it. Comparing verified seating details is more reliable than choosing by bench count alone.
