
How to Compare Sauna Benches for Lying Down
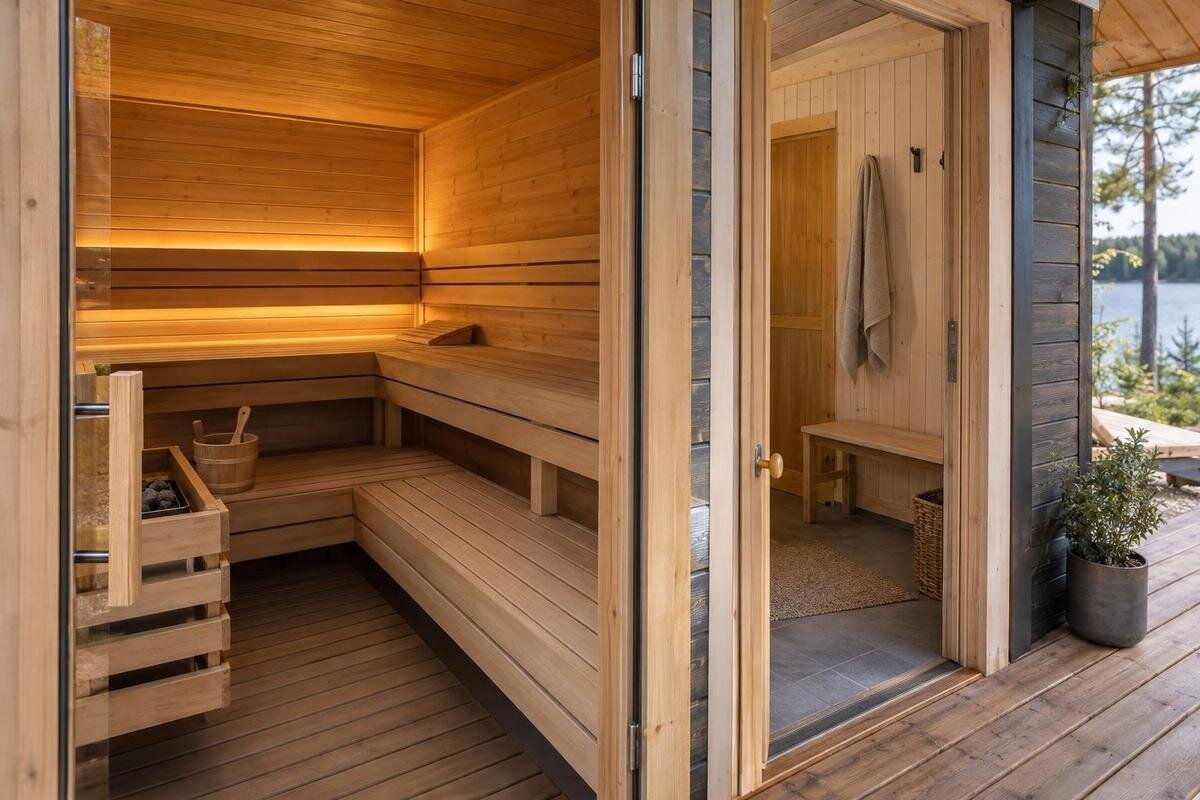
Sauna layout guide
Wanting to lie down changes what matters in a sauna layout. A seat count or catalogue area does not show whether one bench provides a long, broad, uninterrupted surface. Compare the usable bench top with the posture you intend, then check where corners, tiers, entrances and other people use the same space. This guide explains which measurements to request and how to test them against your own needs.
01
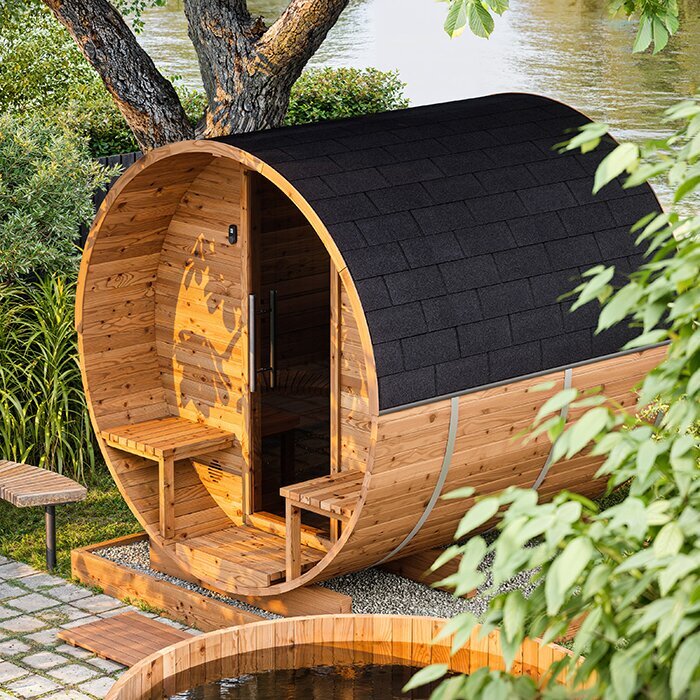
Why seat count does not show lying-down space
Seat count and lying-down space answer different questions. A number of seats indicates how a cabin is intended to accommodate people sitting; it does not tell you whether one person has a continuous, level surface long enough to stretch out. Benches may run along different walls, have separate tiers or be interrupted by an entrance or heater area. The cabin’s overall area can also include space for standing or moving around, not just the bench top. For reclining, examine one specific bench surface in the direction you want to lie. Count only the flat, usable top: exclude gaps between sections, a change of level, an aisle and any area that cannot be occupied. This keeps the comparison focused on body space, not broad capacity.
The catalogue entry for Sauna HC-150 listing shows 2.97 m². Keep that figure as general product information rather than converting it into a bench estimate: it does not describe the shape of the resting surface. For this comparison, the useful starting point is an internal plan showing where the benches begin and end. Identify the section you would actually lie on before looking at its measurements. If a product page offers only an exterior view or total area, a dimensioned plan will be more useful than a photograph, where perspective can make surfaces appear larger or smaller.
Set a personal length and width target
Before comparing models, decide whose reclining space needs to fit and how that person actually rests. Measure from head to heel in the posture you would use: legs straight, slightly bent or on your side. If you expect to lie on your back with your arms beside you, include them in the width check; if you prefer a curled position, note that separately. A tape measure along the body, or a simple outline on a flat floor, can make the target clearer than relying on height alone. Standing height is only a rough guide because leg position changes the body outline. If several people will take turns lying down, measure each person whose fit matters.
Then decide what extra space matters to you at the head and feet and around the shoulders; there is no single allowance that suits every body or posture. A bench that matches a body measurement exactly may feel constrained when shifting, while a much longer one may be unnecessary for your chosen use. Write down target length and width separately, and note whether your arms will rest beside your torso or beyond the bench. Treat those figures as your own selection criteria, not as a claim that a particular size is right for everyone. This prevents a seat count from standing in for the fit you actually want.
02
Measure the uninterrupted sauna bench length
On a dimensioned plan, follow one bench top from one clear end to the other and measure the uninterrupted length in the direction of the body outline. A listed bench run can be longer than the area you can actually use if an end is taken up by a wall return, rail, gap or other fixed feature. Do not add lengths from separate sides of a corner, or from upper and lower tiers; they are different surfaces. A person lying straight needs the chosen posture to fit on one level, continuous portion. Where the bench tapers, check the dimensions at the narrow part too, because the longest line may not describe the usable resting shape. Look for the clear span, not just a headline bench length.
When reviewing the Sauna HC-225 catalogue entry, keep its 4.4 m² area label separate from your length comparison. The measurement you need runs between the actual ends of the usable bench top. Check whether end fittings are included in a stated length and whether the surface stops short of the wall. For a curved or angled layout, distinguish the length around the perimeter from the straight space available to your body. If the dimension line follows a turn, it does not describe one straight lying position. Record the clear length of the chosen section rather than the combined length of adjoining benches.
Check usable bench width
A suitable length can still leave too little room for shoulders or a comfortable side-lying posture. Compare the clear front-to-back depth with your resting width, including the arm position you expect. Your body’s widest point may be across the shoulders when lying on your back, while a side-lying posture changes the outline; measure what you intend to do rather than relying on a generic figure. Check how much of the platform is genuinely flat and usable: a backrest, raised edge or other fitting can reduce the surface compared with the nominal bench depth. If the top narrows towards one end, use the narrowest part crossed by your body, not just the widest measurement shown elsewhere.
For Sauna N-210 listing, note the catalogue area of 4.43 m² separately from the bench-width measurement. On the drawing, examine where the width dimension starts and finishes. A measurement extending to the wall may include a gap or space occupied by a backrest, rather than just the top you can lie on. Compare the usable surface boundary with your shoulder and arm outline. If a fitting reduces the width only at one end, check whether that is where your upper body would rest. This makes the width check specific to your intended position rather than simply accepting the largest dimension shown.
03
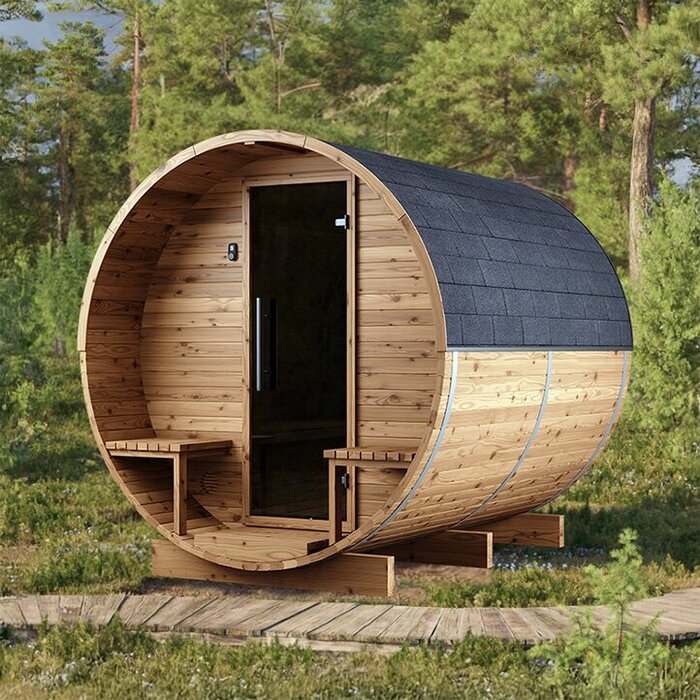
Account for corners, tiers and other breaks
Draw the bench shape, not just its longest dimension. A corner can add bench run in total without creating a single straight area for a person to recline. Likewise, a step between tiers, a gap at a join or a change in bench direction breaks the lying surface. A diagonal position may work in some layouts, but check the whole body outline against one flat, unobstructed area; do not assume that the corner’s two sides combine. Mark the door opening, entry step, heater and guard wherever they encroach on the bench or approach. Their positions matter more than a visual impression of spaciousness. A top view is especially useful for identifying these interruptions.
The Sauna N-250 product page is labelled 5.27 m². To understand the bench arrangement within that space, read the top view alongside a side view wherever a join or change of level is unclear. The top view shows where surfaces turn or meet; the side view helps distinguish a continuous platform from separate tiers. Mark each level separately on your outline so a step or landing is not accidentally included in the resting area. Also distinguish the bench from adjacent access space: a clear patch of floor may help someone get in, but it cannot extend the surface supporting their body.
Plan for simultaneous reclining
Decide whether the requirement is one person lying down, two people reclining at once, or one reclining while another sits. Those are different layouts, even when the cabin’s total bench length appears generous. For two people, place two realistic body outlines on the same plan and check each person’s clear length and width independently. Side-by-side use needs enough depth for both across the bench; end-to-end use needs both lengths on the same uninterrupted level run. An outline that overlaps a heater guard, another person’s body or a gap does not fit, even if a seat count suggests that the cabin holds that many occupants. Include the posture each person is likely to choose.
Use the Sauna LC-260 listing, labelled 5.12 m², as an option to assess against your intended arrangement, not as confirmation that two people can recline. For one person lying down and another sitting, mark the seated position as well as the reclining outline. Check whether the seated person occupies the same bench section or blocks the route to it. For two people lying down, consider whether either must move before the other can get onto or off the bench. These arrangements may use the same benches differently, so record which combination you have assessed rather than giving the layout a general pass for shared use.
04
Read internal bench dimensions on drawings
Use drawings that give internal dimensions of the assembled sauna, not just an external footprint or promotional perspective. A plan view helps locate the bench relative to the entrance and heater; a side view or section shows different levels and whether a wall profile narrows the surface. Look for measurements at the bench top and for clear length and depth, rather than cabin length, wall-to-wall width or total area. If documents list only overall measurements, ask what is included and whether a bench, backrest or guard changes the usable surface. Check that the drawing matches the precise model name and offered configuration. A generic image may not show the arrangement supplied with a particular listing.
On the Sauna HCF-300 catalogue entry, the stated area is 6.89 m². For the bench measurements, ask the seller or manufacturer for a dimensioned drawing or manual matching the exact model and configuration. Make the request precise: you need the clear length and usable depth of the bench top, with any end fittings, backrests and gaps identified. Have unclear terms such as overall length or bench depth defined, including the endpoints used for each measurement. Keep any unanswered dimension marked as unknown. That leaves a clear record of what the supplied information establishes and what still needs clarification.
Compare layouts using the same measurements
Compare shortlisted layouts in a simple table. Give each one separate entries for uninterrupted bench length, usable width, surface breaks or level changes, the position of other benches, and the approach space that remains. Record the source of each dimension and whether it is confirmed for the exact model. Keep room dimensions, product area and seat count in separate columns; none is a substitute for clear bench measurements. A blank cell is useful because it shows what needs checking. It is less misleading than turning a broad measurement into a guessed bench length or marking a model as suitable without evidence. Use the same units throughout, such as metres or millimetres.
Both the Sauna LCF-300 listing and the HCF-300 catalogue entry carry a 6.89 m² area figure, but matching area labels do not prove that their bench layouts or clear resting dimensions match. Compare drawings, not model names or equal totals. Use the same definition for every entry: surface length from clear end to clear end, and width across the usable bench top. If the numbers were measured differently or the relevant layout is not shown, note that instead of ranking models on a false like-for-like basis. Keep an unconfirmed measurement separate from one supplied on a dimensioned plan.
05
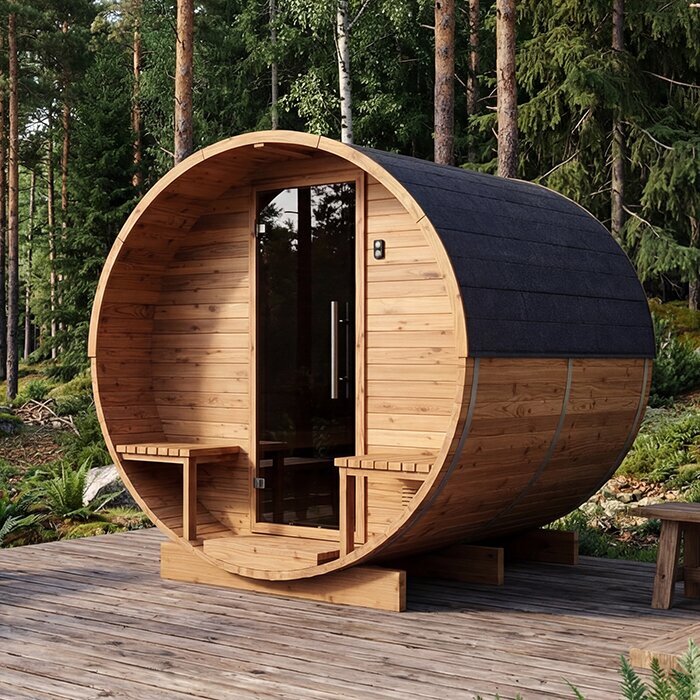
Test the bench outline against your body
Once you have a dimensioned plan, turn it into a simple fit test. Draw the bench to scale on paper or mark its outline with tape, then place a cut-out or outline representing the person in the posture you intend. Mark breaks, tiers, edges and fittings so you cannot accidentally count them as bench. This does not validate a manufacturer’s dimensions; it helps you see what those dimensions mean for your body and whether the outline fits within one continuous surface. For more than one recliner, repeat with both outlines in the intended positions rather than assuming they can share the same footprint. Mark the approach path separately.
For an option such as the Sauna S-140 catalogue entry, which shows 1.93 m², use the internal bench outline rather than the area figure for this exercise. Test each posture you genuinely expect to use: lying straight, on your side or with bent knees. Keep the same bench boundary while changing the body outline, so you can see whether one posture fits where another does not. If the outline crosses an edge, step or passage, that position falls outside the continuous surface. Note any position that fits only tightly, then compare it with the personal head, foot and shoulder allowances you chose earlier.
Keep access and heater clearances separate
A reclining spot also needs a usable way to reach it. Keep the entry and any route used by another person separate from the bench footprint; floor space beside the platform cannot be counted as lying space. On the plan, mark the door opening, access path and any heater area or guard so you can see whether someone can get onto the bench without using another person’s resting place. This matters when one person is reclining and someone else needs to enter or sit down. Treat this as a layout check, not a reason to adjust sauna components.
Check any manufacturer-specified clearances around the heater and keep the required spaces clear; do not reclaim them as extra bench width or length. If the manual or plan does not show how a proposed position interacts with the heater, guard or access route, confirm the exact arrangement with the supplier and a qualified sauna installer before deciding. You do not need to calculate clearances yourself. The useful comparison remains straightforward: the resting outline must fit on the bench, and the intended route and specified clearances must remain available alongside it. That avoids choosing a layout that works only on paper.
Frequently asked questions
How long should a sauna bench be for lying down?
Measure the intended user from head to heel in the posture they plan to use, then compare that with one uninterrupted, level bench section. Allow whatever extra space feels comfortable at the head and feet; there is no single measurement that suits everyone. Check the clear bench length on a dimensioned plan, not the cabin’s overall length.
Can I use the sauna’s floor area to judge reclining space?
No. An area figure does not show the shape of the room or how much of it is bench surface. It cannot confirm the length or width of a continuous place to lie down, or show whether a corner, tier or entrance interrupts the bench.
Does a corner bench count as one long bench?
Not automatically. The lengths on either side of a corner do not usually make one straight lying surface. Check whether your full body outline fits on a single level area. If you plan to lie diagonally, test that position on a dimensioned plan rather than adding the two bench lengths together.
How can I check whether two people can lie down at once?
Place two body outlines on the bench plan in the positions you expect to use. Check each person’s clear length and width, and whether either outline overlaps a gap, another person or an obstruction. Include a separate route for getting onto and off the bench.
What measurements should I ask the seller for?
Ask for a dimensioned internal plan and, where tiers or changes of level are unclear, a side view or section. Confirm the uninterrupted length and usable width of the actual bench top, the positions of breaks and obstructions, and that the drawing matches the exact model and configuration.
Compare a sauna bench as a usable shape, not a headline number: one continuous length, enough clear width, no corner or level break through the resting space, and room for each intended user. Begin with the posture and people that matter, verify the dimensions on drawings for the exact model, then account for access and any manufacturer-specified clearances. If a listing gives only area and capacity, treat lying-down fit as unconfirmed rather than guessing from the footprint or a photograph.
