
Siting a Sauna in a Wet or Humid Garden
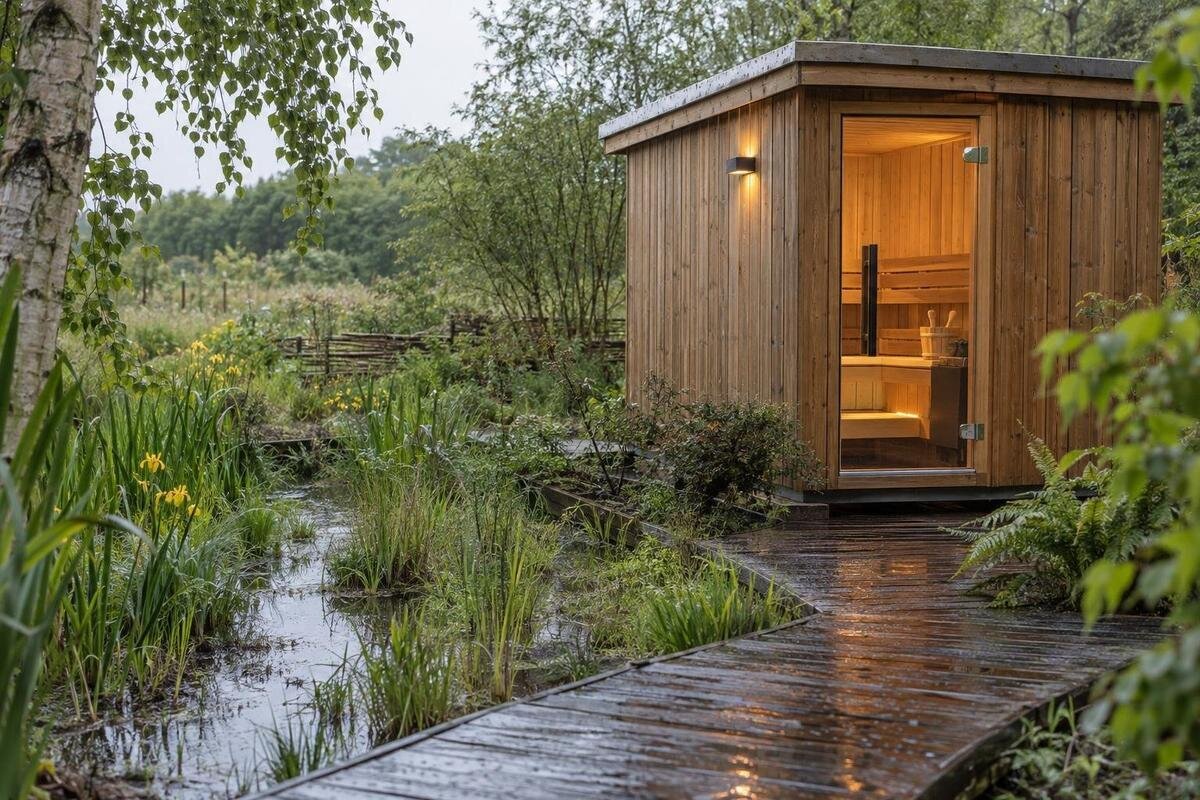
Outdoor sauna site planning
A garden that feels humid is not necessarily waterlogged, but a position that stays wet underfoot needs a different assessment from one that simply receives regular rain. Before choosing a place for an outdoor sauna, watch where water arrives, how it moves and how quickly the ground dries. Check runoff, support, splash, surrounding vegetation, outside airflow and the route you will use in wet weather. The goal is to understand the site and match it to the selected model’s instructions. This guide covers moisture around the sauna; it does not replace the model-specific installation or cabin-ventilation guidance.
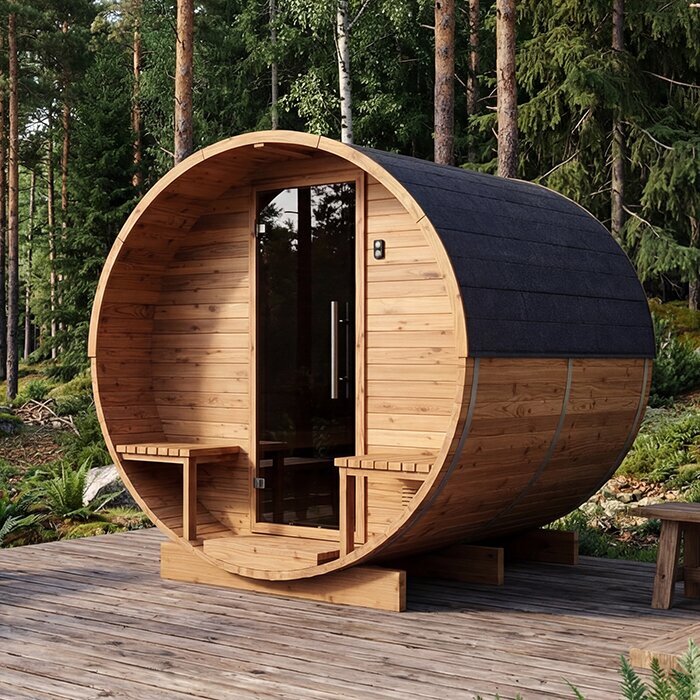
Observe the site in wet weather
Visit the proposed position while it is raining, if practical, and again after the rain has eased. Note where puddles appear, where water crosses the lawn and which patches remain soft after the surface looks dry. Include water arriving from higher parts of the garden, paths and roof edges, not just the footprint you have in mind. Mark wet areas and flow directions on a rough plan, with photos from the same viewpoints. If possible, compare a brief shower with a longer spell of rain; gutters may overflow only in heavier conditions. Repeating the check during a wetter part of the year gives a better picture than relying on one dry-day visit.
Compare the proposed area with the rest of the garden. Is the dampness widespread, or does it collect in one low corner? Does water stand on the ground, run across it or seem to seep up? Dew, shaded grass and humid air are not the same as saturated ground, so check the soil and surfaces at the base location itself. Note whether the patch dries from the surface down or is repeatedly rewetted; rain, irrigation and seepage may have different causes. A spot that stays wet long after surrounding ground has dried deserves attention. Avoid disguising it with topsoil, bark or decorative gravel before you know why it is wet.
Trace roof and surface runoff
Trace every source that could send water towards the sauna: gutters and downpipes, sloping ground, paved areas, paths, retaining edges and garden drains. Check the flow during rain and where it slows or ponds afterwards. Hard surfaces can carry water beyond the point where it falls, so include the whole route on your sketch. Note whether a downpipe or overflow releases water close to the proposed position. If a drain, channel or soakage area is part of the plan, confirm that it has a suitable outlet for the site rather than assuming that catching water solves the problem. Persistent flows or an unclear discharge route call for a drainage professional’s assessment before you choose a base.
Set the model’s actual outline against this water map. The Sauna N-210 listing gives an area of 4.43 m², but you need the dimensioned drawing to mark its external footprint on the ground. Check which parts extend beyond the listed area, then plot the base, roof edges, access and required clearances. Compare these with the routes water takes across the garden, including runoff from nearby paving. This shows where the proposed structure and existing water flows could overlap. Before shifting the sauna to avoid one wet patch, trace where that water would go instead; a short move may leave it in the same runoff path.
Check how the ground behaves when saturated
Look for evidence of how the ground responds after it has been wet for a while: soft or spongy patches, deep footprints, ruts, settled pavers, small washouts or water that keeps returning to the same place. These signs do not diagnose the soil, but they help distinguish a firm surface from one that changes underfoot. Check after a spell of dry weather as well; a garden can look settled until the ground becomes wet again. Be cautious if the site is on known fill, close to a bank or beside ground that has visibly moved. Record what you see rather than trying to correct it before the cause is understood.
Where the ground stays soft, water seeps through or there is a history of settlement, ask a builder or drainage professional to assess it before buying or preparing a base. Give them your observations from both wet and dry weather, along with the selected sauna’s support information. For example, the Sauna N-250 product details list 5.27 m², but ground assessment also requires information about support points and weight distribution. Those details allow the proposed installation to be considered against the conditions you have recorded. Avoid guessing at a base design or using loose packing to compensate for movement without understanding why the ground is changing.
Match the base to the site
Treat the base as a separate design question from drainage. Grass, topsoil, loose gravel, pavers, an existing concrete slab and a timber platform behave differently; the fact that one is already present does not establish that it provides the support and geometry a sauna needs. Check the manufacturer’s guidance for support points, level requirements, permitted base types and any clearance around the base. Consider the whole structure’s outline, not just the patch where the floor appears to sit. Keep the question focused on the exact model and configuration. If the instructions are unclear, ask the supplier or a builder to clarify them instead of copying a detail from another sauna.
A raised platform may lift a sauna away from ground splash, but its supports, drainage underneath and wet-weather approach still need attention. An existing garden deck needs the same scrutiny; adding boards does not establish that it can support the installation. When considering Sauna LC-260, use its installation information to assess the proposed base rather than relying on the listed area of 5.12 m². Compare the required support arrangement with the existing slab or deck, including its dimensions and condition. Have a competent professional verify the design where structural capacity or changing ground is a concern, and keep the space beneath a raised platform in the drainage assessment.
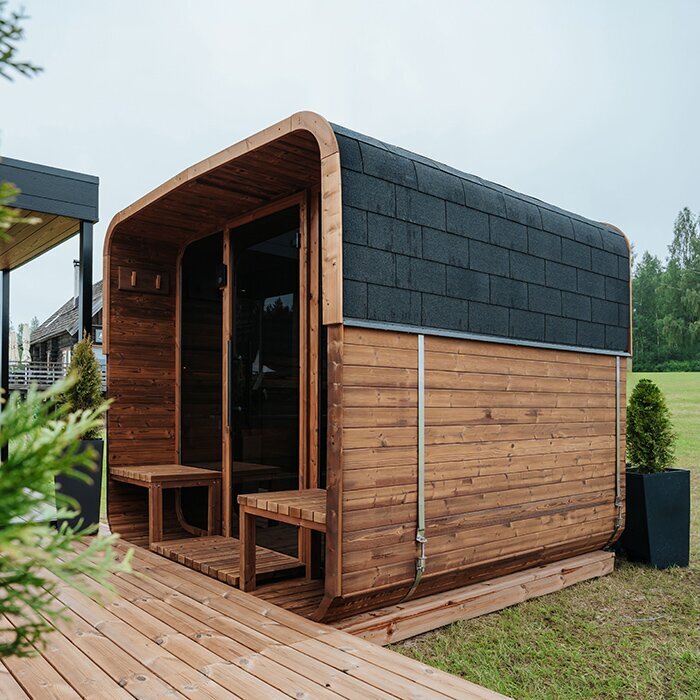
Limit splash from roofs, paving and irrigation
Rain can reach a sauna indirectly as well as fall on it. Water may drip from an eave or downpipe, bounce off paving, run along a retaining edge, or be sprayed by irrigation and a hose. Walk around the candidate position during rain and look at the direction of splash, including water arriving from adjacent surfaces. Note sprinklers that repeatedly hit the same wall and places where puddles leave mud or debris against the base. Check whether wind-driven rain reaches one side more often than another. Adjusting a watering pattern or choosing a different position may remove a local source, but small changes should not be used to mask a larger flow across the site.
Match your observations of splash and exposure to the selected model’s exterior-care guidance. For the Sauna HCF-300, the listed area of 6.89 m² helps identify the catalogue entry, but does not describe its exterior finish or maintenance needs. Ask for those details and consider which surfaces would face recurring spray, roof drips or wind-driven rain in your proposed position. Check the installation clearances and exterior-protection guidance alongside the care instructions. Where possible, keep irrigation and roof runoff away from the structure rather than treating routine maintenance as a solution to constant wetting. A product name or photograph alone cannot establish tolerance for splash or ground contact.
Leave room for outside surfaces to dry
Air movement around the outside can help the area dry and makes it easier to inspect the walls and base, but dense planting and tight screens can obstruct both. Check whether shrubs, fences, stored garden gear or a nearby wall would trap leaves and moisture beside the sauna. Allow enough room to reach the surfaces for cleaning and maintenance, and keep vegetation from leaning against or growing over the structure. Use the manufacturer’s model-specific clearance requirements, including any space needed for assembly or servicing, rather than choosing a gap from a generic diagram. Prune plants only where appropriate for your garden; creating a clear perimeter should not cause new runoff or ground problems.
Keep two separate questions in view: can the outside surfaces dry, and how must the cabin itself be ventilated? Garden airflow cannot correct a wet base or replace the cabin’s specified ventilation arrangement. If you are considering Sauna LCF-300, use its current installation instructions to establish the required clearances and ventilation provisions; the listed 6.89 m² is not a specification for either. Keep the garden plan focused on spacing, vegetation and access around the structure, while using the model’s technical guidance for the cabin. Where a wall, fence or other site constraint appears to conflict with those instructions, ask the manufacturer or a qualified installer to clarify it before deciding.
Consider shade, shelter and exposure together
Shade and shelter can make a wet patch take longer to dry, but sunshine is not a substitute for sound drainage. Observe how the candidate area changes through the day and across the wetter months. Note overhanging canopy, a wall that blocks moving air or a sheltered corner where dampness lingers. Wind may help surfaces dry in some conditions and drive rain onto them in others, so assess the position rather than relying on a simple rule that more shelter is better. If the sunniest spot lies in a runoff path, deal with the water route first; do not trade a visible damp area for a less obvious drainage problem.
Plan planting around the sauna with mature growth in mind. Consider where branches, fallen leaves and dense foliage could obstruct access, restrict air movement or keep the ground shaded. Also check whether removing plants would expose the area to more wind-driven rain. Even when considering a model with a smaller listed area, such as the 1.93 m² Sauna S-140, allow for the complete installation rather than fitting it tightly into a gap in the planting. Use the actual drawing and required clearances to assess the position. Leave room for vegetation to grow without closing off inspection access, and consider how the balance of shade and shelter changes through the year.
Keep the route usable after rain
Plan the route from the house as carefully as the sauna position. Walk it after rain and look for puddles, mud, loose surfaces, leaf build-up and places where runoff crosses the path. A route that works in summer may be awkward when wet, particularly if it also has to carry materials or maintenance equipment. Choose a stable walking surface and a layout that can be kept clear without diverting water towards the base. Include lighting and enough space to approach, open the door and carry out routine checks, using the model’s drawings rather than estimating these clearances from a product image.
Check access at two scales: the everyday approach to the door and the route needed for delivery and installation. The Sauna HC-150 listing gives an area of 2.97 m², but you need its dimensioned drawing to assess external dimensions, door opening and maintenance access. Put that drawing over your garden plan, then trace the route from the property entrance to the intended position, including turns and narrow gates. If delivery involves a slope, a confined passage or crossing existing services, have the arrangements assessed before committing. Finally, check that the planned layout still leaves a usable approach after rain, rather than solving delivery access while overlooking the path you will use regularly.
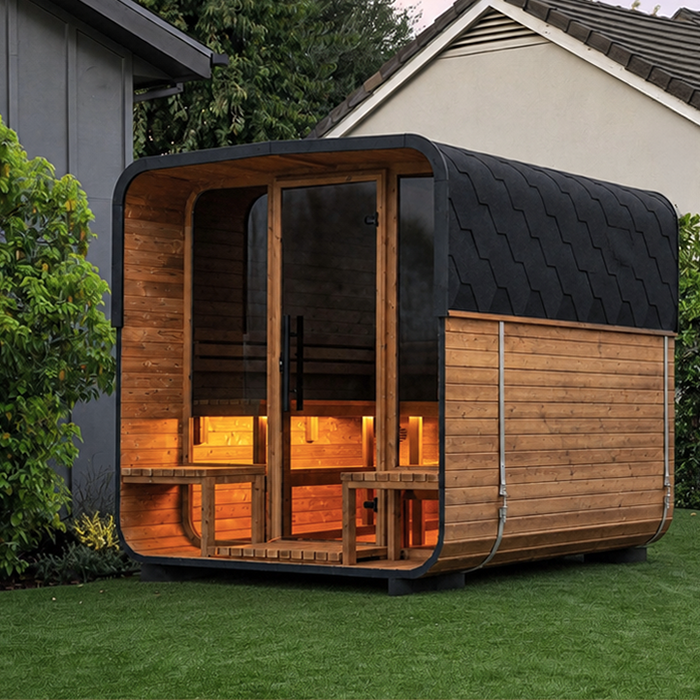
Check the exact model’s documents
Before ordering, collect the documents for the exact model and configuration, not just a generic brochure. Look for a dimensioned drawing, base and support requirements, installation clearances and exterior-care guidance; confirm which details apply to the version you are considering. Ask what the manufacturer says about outdoor exposure and any preparation or ongoing maintenance needed in a damp setting. Heating equipment and services have their own requirements, so have those checked by a qualified installer using the relevant instructions; this guide does not set clearances or installation methods. A photograph, model name or area figure cannot answer those questions.
Keep the product listing and technical documents together so you can confirm that they describe the same model and configuration. For Sauna HC-225, the catalogue area is 4.4 m²; the drawing and manual should provide the separate footprint, support and installation details needed for planning. Verify local configuration and availability before finalising the layout, especially if you have been comparing several models. Record any unanswered questions about the garden’s exposure, drainage or base and resolve them before site preparation. Direct model-specific questions to the manufacturer or supplier, and questions about soil, structural support or services to the appropriate professional, so each part of the plan is addressed by someone equipped to assess it.
Plan for maintenance and changing conditions
Include upkeep in the site plan, not just the day the sauna is installed. Leave practical access to clear leaves from drainage paths, cut back vegetation, inspect the base and deal with new sources of splash. Follow the maker’s instructions for the actual exterior finish and routine care rather than applying a generic treatment or assuming that a named material needs no attention. After installation, watch the area through a wet spell and note any new ponding, softened ground or recurring water against the structure. If a change appears, investigate its source early instead of covering it with mulch or adding a drain whose suitability has not been checked.
Set a clear threshold for pausing the project. Persistent standing water, recurring seepage, soft ground that does not firm up or runoff with no confirmed destination are reasons to resolve the site issue before building the sauna base. Ask an appropriate drainage or building professional to assess what is happening; where structural support is uncertain, do not improvise a platform. If you improve drainage or change the layout, observe the revised position in wet weather before treating the problem as solved. A workable site is one where water can be managed, support and access match the instructions, and regular inspection remains possible.
Frequently asked questions
Is a humid garden automatically unsuitable for an outdoor sauna?
No. Humid air and waterlogged ground are different conditions, so assess the proposed base area and drainage separately. Persistent pooling, seepage, soft ground or water flowing towards the site needs attention before you settle on a position.
Is a concrete pad enough to solve a wet-site problem?
Not by itself. A slab still needs to meet the selected model’s support, dimensions, level and drainage requirements. It will not automatically resolve runoff crossing the area or moisture coming through the ground.
Can I use an existing garden deck as the base?
Only after confirming that the specific sauna can be installed on it and a competent professional has checked its support and wet-weather performance. A garden deck is not automatically an appropriate base, and a raised platform can leave water trapped underneath.
How much space should I leave around a sauna?
Use the current drawing and manual for the chosen model. Allow for its outside dimensions and manufacturer clearances, plus access for assembly, inspection and the door. A listed area figure or generic gap is not a substitute.
Does airflow around the sauna replace cabin ventilation?
No. Air moving around the outside can help surfaces dry, but it does not remove standing water or stabilise wet ground. The cabin’s ventilation is a separate, model-specific matter covered by the manufacturer’s technical instructions.
Plan the sauna as part of the garden’s drainage and access layout rather than choosing a patch simply because it looks firm in dry weather. Observe the site in rain, trace runoff and splash, and establish the support, clearances and upkeep required for the chosen model. Where water persists or the ground is uncertain, resolve the site assessment before preparing a base. The aim is a position with manageable wet-weather conditions, reliable access and enough room for ongoing inspection and care.
