
How Much Clear Space Should You Leave Around a Summer House?
SUMMER HOUSE PLANNING
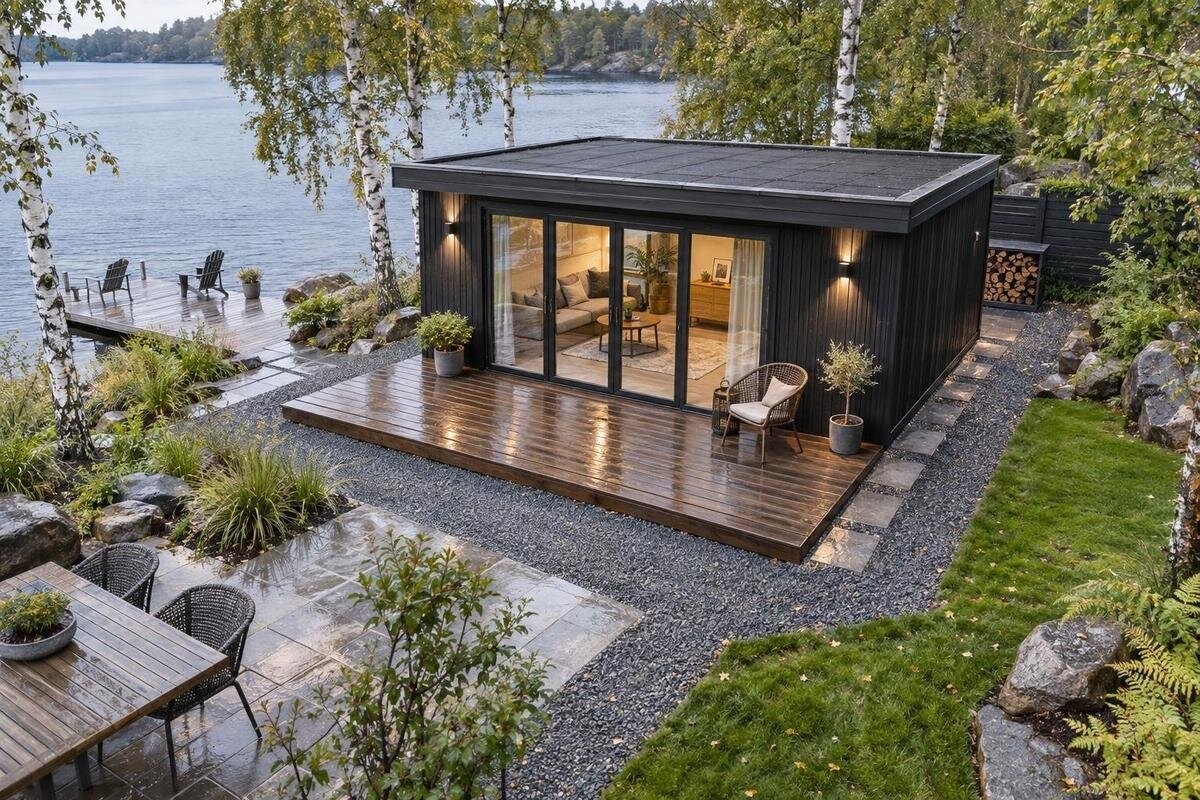
Planning the space around a summer house is not just a matter of leaving a neat border. You need to account for the building’s outside dimensions, the way its entrance opens, how it will be assembled and which sides you may need to reach later. A structure can fit between a fence and a patio yet leave no usable path or room to carry furniture through the door. There is no single clearance figure that suits every garden. Use practical allowances to sketch the layout, then check the chosen model’s dimensions and instructions before you commit.
01
How much clearance is a useful starting point?
Use different allowances for different tasks. About 600 mm (60 cm) can be a narrow inspection gap on a side you only need to reach occasionally, but it may feel cramped when you are carrying tools and is not a generous walking route. Around 900 mm (90 cm) is a more practical starting point for regular passage. At the entrance, or where you need to pause with a bag, chair or garden equipment, allow about 1 m or more if the plot permits. Increase the space if people need to pass, turn a bulky item or use the route in a particular way. These are planning figures, not universal installation requirements.
Do not turn those figures into a rule that every side must have an identical empty strip. Label each side on your plan: entrance, route, maintenance access or no routine access. A side that is difficult to reach may still need room for assembly, airflow, inspection or another purpose specified in the instructions. If a requirement exists, preserve it. Otherwise, the space may serve another garden use, provided it does not obstruct the entrance or leave something you need to reach behind a narrow, awkward gap. The useful clearance is the space that supports real tasks, not simply a symmetrical outline.
Measure the full outside envelope
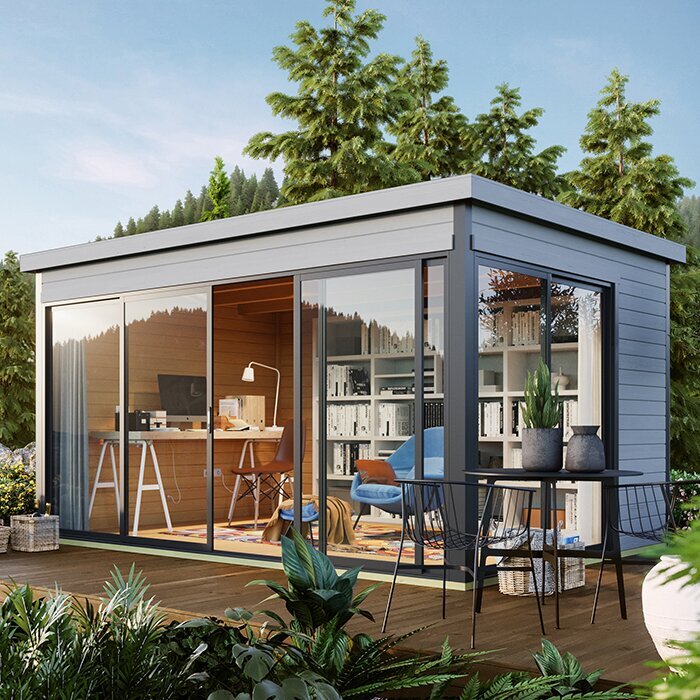
Start with a dimensioned drawing for the exact model and variant, not a photograph or a model name. Check whether the stated width and depth refer to the base, external walls or roof edge; those outlines can differ. Note any projecting features shown on the drawing if they would affect a route. For a shortlisted Verdana 1 summer house, use the product page to identify the precise model, then look for current dimensions and installation guidance. If a measurement is unclear, confirm it before ordering. A listing image may help you recognise a design, but it is not a reliable scale drawing and cannot show how much working room to leave.
Measure the available space between fixed features, not just the garden’s broadest width. Check more than one point if a fence angles, a wall projects or a gatepost narrows the route; the tightest point may determine whether the path works. On your plan, draw the building’s outermost relevant edge, then add the access allowance outside that line. Keep measurements consistent: do not compare a roof dimension from one drawing with a base dimension from another. Write down where each figure came from and mark anything that needs confirmation. This helps distinguish a footprint that fits on paper from a layout with enough usable space around it.
02
Decide which sides need access
Walk the garden and decide how you will approach the summer house. A side beside a path may form part of a regular route, while the rear might only need occasional access for checks or cleaning. Confirm those assumptions against the design’s instructions. If there is an opening on another side, or if a surface there needs upkeep, allow a practical way to reach it. Avoid leaving a gap so narrow that leaves and stored items collect there while nobody can get in to clear them. If you cannot reach a side at all, check whether that is compatible with assembly and care requirements before settling on the position.
Compare models against the same side-by-side plan. Whether you are considering Verdana 2 or another option, check the assembly sequence and any clearance instructions before deciding that one side can be left inaccessible. Note which edges need a route, what task the route serves and what fixed feature sits beside it. If the instructions do not make a required gap clear, ask the supplier or installer for clarification. The decision is not simply whether the building looks centred in the garden; it is whether the chosen position provides the access the actual model needs without treating an unusable sliver as a path.
Allow room to open and use the entrance
Clearance in front of the entrance is different from side access. Check whether the chosen model has hinged doors, a sliding arrangement or another opening system, and find out how much space its moving parts occupy. Do not infer this from a photograph. For hinged leaves, mark their full movement, including any handles; for another system, use the movement area shown in the product information. Before choosing the Durano garden house, verify its actual door arrangement and dimensions. The model name and image alone do not establish how its entrance works or how much room you need in front.
Beyond the opening itself, leave somewhere to stand, reach the latch and step through without having to stand in a planted bed or on awkward ground. Carrying a chair, box or plant pot needs more room than walking through an empty doorway, so consider the largest item you expect to move. If the path turns straight away from the entrance, check that you can make the turn without hitting a wall, fence or stored equipment. Show the door fully open and the person using it on your plan. An opening line by itself can hide the fact that there is nowhere to wait or manoeuvre.
03
Separate assembly space from everyday access
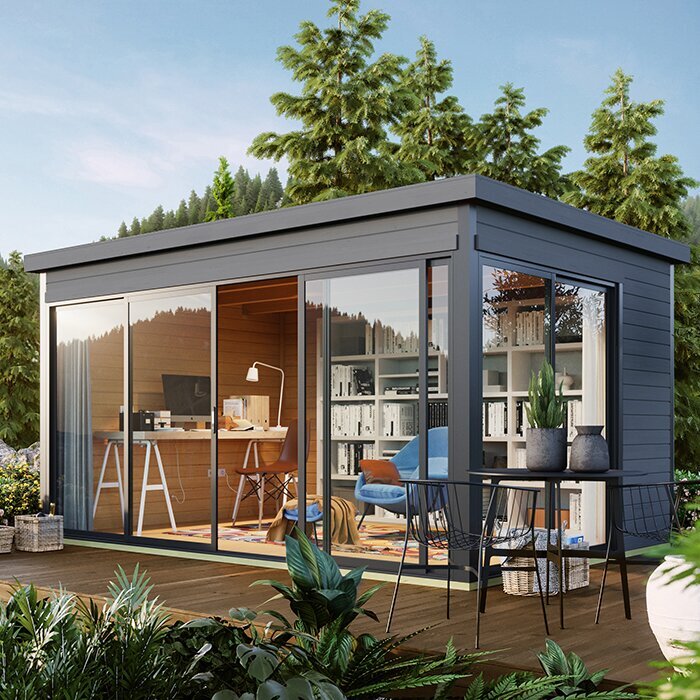
The space needed while a summer house is being assembled may differ from the permanent route you want around it. Components might need to be carried in, laid out briefly or joined from a particular side; the method depends on the design and installation plan. Ask what needs to be accessible during assembly and whether the working area can be temporary. The Veltor 1 listing identifies one candidate to investigate, but finished dimensions alone do not tell you the package size, the route components must take or the room needed to put the building together.
Trace the delivery route separately from the final footprint. Check the gate opening, turns, narrow passages, steps and changes in level, as well as where a vehicle can stop. Ask the supplier or installer about packaging dimensions and handling arrangements where these affect access; do not assume that a building which fits the plot can automatically be brought through the garden. If assembly needs equipment or several people, allow temporary working room without blocking your own essential route or someone else’s access. Also decide where tools, spare materials and packaging can go during the work, so they do not occupy the clearance you intend to keep open.
Leave room for cleaning and upkeep
Routine upkeep is easier if the sides you need to reach remain accessible after planting and furnishing. Depending on the chosen material and finish, care may involve checking surfaces, removing debris or applying a treatment described by the manufacturer; do not assume every model needs the same routine. Leave enough room to use the necessary tools and see the lower edge and corners. Avoid planning a permanent bin store, log stack or dense planting in a strip intended for inspection. When reviewing Orello 1, look for the relevant care and installation information so that your plan follows the actual instructions rather than assumptions based on appearance.
Think about safe access as well as reach. Someone who can touch a wall while standing in a gap may still lack room to handle a brush or reposition equipment. Do not plan to work over stored objects or rely on a cramped passage for awkward tasks. If upkeep involves height or difficult access, ask a competent installer or maintenance professional how it should be carried out. No generic width makes every job straightforward. Decide which tasks you expect to do yourself, which may need professional help, and keep a usable route to the sides involved.
04
Keep planting and rainwater in mind
Clear space is easier to maintain if it is not treated as leftover ground for a hedge or raised bed. Allow for a plant’s mature spread, not just the size of its pot on planting day, and leave room to prune from your side without pressing against the building. The exact allowance varies by plant; the aim is to avoid growth that routinely occupies a path or blocks a wall you need to inspect. Make the same check for garden furniture, a water butt, bins and the mower route. Before drawing a planting line beside Modano 1, confirm the actual outside dimensions and any relevant instructions for the model you are considering.
Look at what rainwater does around the proposed position after wet weather, and note nearby paving and ground levels. A wide gap does not by itself correct a poorly drained site, and a hidden space is not automatically suitable. Requirements for the base and water management depend on the chosen building and the ground, so follow the product instructions. If water regularly collects at the proposed site, ask a competent installer for advice before work begins. Keep an access route clear of planter edges, stored items and other obstacles that make routine entry awkward. This is a check on the proposed position, not a substitute for planning the base.
Connect the entrance to the rest of the garden
Plan how people will reach the summer house from the back door, patio or side gate instead of considering the entrance in isolation. A route that reaches the door but cuts across a seating area or squeezes past other storage may be frustrating in regular use. If you expect to carry drinks, cushions or gardening tools, look for a direct route with enough room at turns. Include the width of gates, paths and planted beds, as well as any steps or level changes. The gap beside the building is only useful if it connects to the wider garden circulation.
Movable items also affect the layout. Chairs pulled back from a table, a lawn mower parked beside the path or a wheelbarrow turning at the gate can use more room than their stored footprint suggests. Draw them where they are used, not only where they sit when put away. For a candidate such as Veltor 2, compare the stated dimensions with the route you have drawn, keeping the building outline separate from the path and furniture space. This makes it easier to see whether the constraint comes from the building’s size or from how people move around it.
05
Account for fixed obstacles and boundary constraints
Measure from fixed features, not just from the fence line. Posts, walls, downpipes, gates, steps and existing storage can reduce the usable clearance or block a route. Note where you need to maintain or operate something else, such as a gate or tap, and avoid placing the summer house where access depends on squeezing between it and a barrier. A gap is not a dependable route if it crosses a boundary or relies on land outside your control. Keep a distinction between space that looks available on a plan and space you can use and maintain over time.
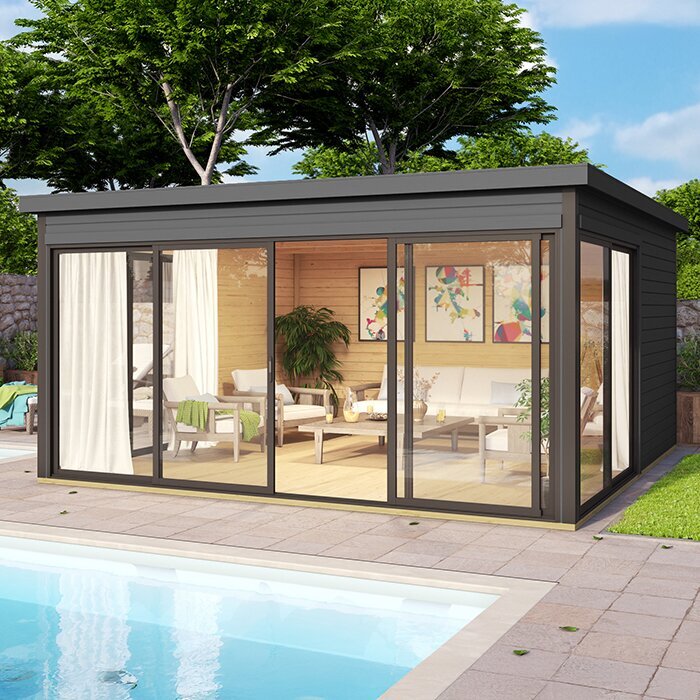
Where local siting requirements, title documents or a neighbour’s access are relevant, check them separately with the appropriate source before ordering; a measured gap does not settle those questions. This guide is about everyday clearance, not specific boundary distances. For Veltor 3, establish the exact outside dimensions from current product information, then compare them with the space genuinely available on your plot. If the site has an unusual constraint, ask a qualified professional or the relevant authority rather than guessing from a catalogue image.
Test the layout before you order
Draw the building and its access strips to scale on paper or in a digital plan. At 1:50, 1 cm on the plan represents 50 cm on the ground. Show the building’s outside dimensions, the allowance on each side, the door movement and the route to the entrance. Add fences, beds, paths, fixed features and movable equipment, and label where each measurement came from. Mark any dimension that still needs confirmation. Compare the building outline and the usable space around it as separate areas; this makes it easier to see whether the plan allows room for use, rather than merely room for the building to stand.
Then mark out the proposed footprint outdoors with string, chalk or temporary markers, using the same outside dimensions as your plan. Walk the route carrying a bulky item you expect to move, open the existing gate and mark where the summer house door would move. Check the narrowest point from more than one direction and place furniture or equipment where it normally sits. This rehearsal cannot replace the model’s installation instructions, but it can reveal a cramped turn or blocked approach before the position is fixed. If a marked gap feels marginal on an empty lawn, allow more space or reconsider the layout.
Frequently asked questions
Is 600 mm enough space around a summer house?
It may be enough as a narrow gap for occasional inspection, if the chosen model’s instructions allow it and you can reach the side. It is not a generous everyday path. Allow more room for regular access, carrying tools or working on the outside; around 900 mm is a more practical starting point for a walking route, though the right width depends on the task.
Do I need the same clearance on every side?
No. Plan each side according to how it will be used, while following any model-specific installation requirements. The entrance may need a clear approach, whereas another side may only need occasional access for inspection or upkeep. Do not treat an inaccessible gap as suitable until you have checked the assembly and care instructions.
Should I measure from the wall or the roof edge?
Use the outermost projection that could affect the route, such as a roof edge or another feature shown on the product drawing. Check what the published width and depth actually measure: the base, walls or another part of the building. Keep those dimensions distinct when you calculate the space available.
How much room should I leave in front of the doors?
There is no single figure for every entrance. Mark the full movement of the door, then add room to stand, operate the latch and step through. Allow extra space if you will carry furniture or bulky items. Check the selected model’s actual door arrangement rather than estimating from a photograph.
What should I check before ordering?
Confirm the building’s outside dimensions and any specified clearance, then check the entrance movement, assembly requirements and route for getting components to the site. Measure fixed obstacles and test the proposed layout at full size if possible. Check any relevant local siting constraints separately; a footprint that fits physically does not settle every other planning question.
Treat clearance as usable space that must work around the building, not as leftover ground. Begin with a narrow inspection allowance where appropriate, a wider route where people regularly pass and a more generous entrance area. Then check the actual dimensions, door movement, assembly access, upkeep and route through the garden. Mark the plan on paper and on the ground before ordering. If the chosen instructions or site constraints call for more room, revise the position rather than trying to make one tight gap do several jobs.
