
How Much Space Do You Need Around a Hot Tub?
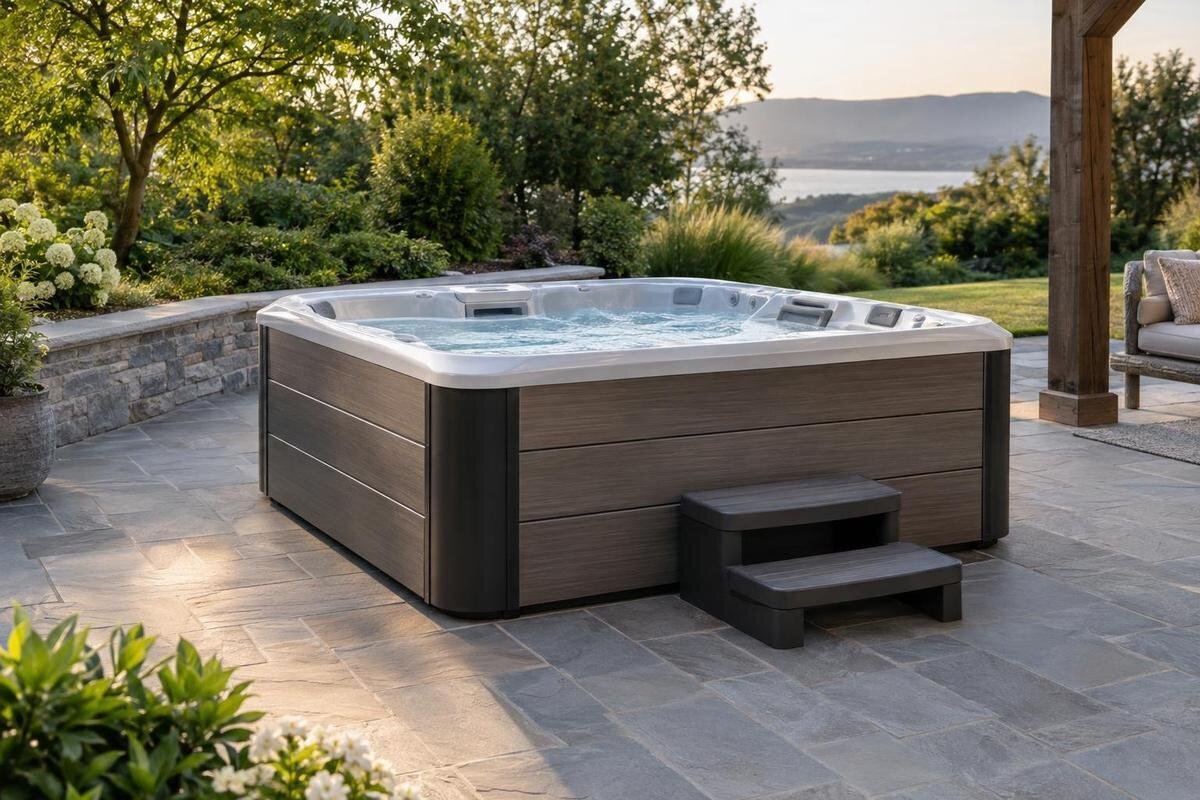
Outdoor hot tub planning
A hot tub’s footprint tells you how much room the unit occupies, not whether there is space to use it. Around an installed tub, people need a practical way to get in and out, the cover needs room to move or be set aside, and panels or separate equipment may need access for maintenance. These areas can overlap in some layouts but not in every position. There is no universal extra strip that suits every model: the answer depends on the exact tub, cover arrangement and service layout. Measure each function, then check it against current manufacturer guidance before treating a space as suitable.
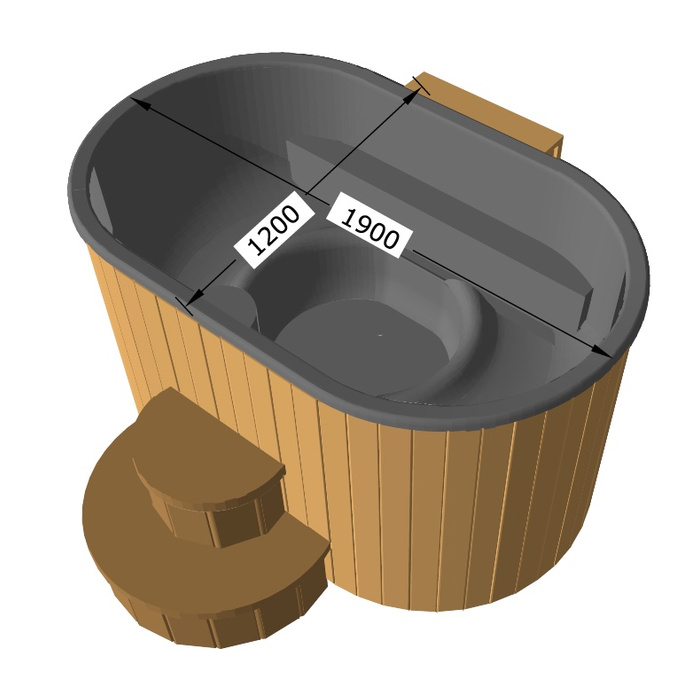
What counts as usable space around a hot tub?
Treat the footprint as the complete outside outline of the tub, using the manufacturer’s current dimensions rather than the water surface, a rough sketch or the shape suggested by a photograph. Space around it is the clear, usable area beyond that outline. It needs to serve particular tasks: approaching and entering, opening or removing the cover, and reaching any service panels or equipment. A narrow strip is not useful merely because a tape measure fits through it. A post, projecting sill, open door or other fixed obstruction can make a route unusable even if the distance looks generous at one point.
Plan for working zones rather than assuming there must be an equal border on every side. The entry zone is where someone approaches, steps in and turns; the cover zone is the path the cover follows and its open position; the service zone is where designated panels and equipment can be reached. Some zones may use the same area at different times, but only if one task does not block another. For example, an open cover could occupy the side that would otherwise be the easiest way to enter. Mark each function separately before deciding where any overlap is practical.
How to measure beyond the tub’s footprint
Begin with a measured plan of the available area, then draw the tub’s actual outside outline in the orientation you are considering. Measure from the tub’s outer edge to the nearest obstruction at several points, particularly where the gap narrows. Include objects that project into the space, such as posts, ledges, pipes or a door when open. A single measurement from the centre of a side can hide a pinch point near a corner. If the tub drawing shows fixed parts beyond the main outline, include them rather than measuring only the largest flat face.
For Cove 2, confirm the current overall dimensions and what those dimensions include, then place that outline on the same plan as the available space. The model name identifies the product; it does not establish its dimensions. Add the entry, cover and service zones separately, labelling the distance between each side and its nearest obstruction. Keep the orientation clear on your drawing so that a measurement taken beside the entry side cannot be mistaken for one beside a service panel. A product photograph cannot supply these measurements. If only partial dimensions are available, identify exactly what is missing rather than filling the gap with an arbitrary allowance. Keep your site measurements separate from the model’s requirements: the first shows what space you have, while the second shows whether it is enough.
Leave room to get in and out
Decide which side you will use to enter and leave, and check the exact model’s instructions for any relevant access orientation. The approach needs room for the selected step or other access arrangement, plus unblocked standing space to turn and step across the rim. Do not count the step’s top as the whole landing area: include the space needed to approach it, place your feet and move away. If steps or accessories are selected separately, measure the actual items rather than assuming they come with the tub or fit within its footprint.
Trace the route from the surrounding usable area to the entry point and check the narrowest part. A railing, nearby door, container or stored object could restrict movement even if the route is wide elsewhere. Consider ordinary use, not just someone demonstrating a careful single step: if another person may need to wait or pass, identify where they can do that without obstructing entry. When comparing the Haven 6, record the intended entry side and the dimensions of any access arrangement from the relevant documentation. Mark both on the plan, including the standing area in front of the steps. Check the return journey too: someone leaving needs a clear place to step down and move away, rather than a gap that works only while approaching the tub.
Allow space for the cover to open
Check the cover in both its closed and fully open positions. Depending on the arrangement, it may fold, be handled with a compatible lifter or need to be removed. Do not assume that a lifter is included or that every cover follows the same path. Find out how the particular cover moves, then mark the complete travel, including where a folded section rests and how high it must rise. Check for obstructions above the tub as well as beside it; a cover might clear a wall but meet an overhang as it is lifted.
Do not check only the final open position. The person moving the cover needs room to stand and handle it throughout its movement, and a projecting handle or lifter may extend beyond the tub’s outline. If this movement uses the intended entry side, check whether the route remains practical when the cover is open. Otherwise, allow another approach or reconsider the arrangement. For Fjord 8, confirm the cover and lifter arrangement for the exact tub and use its instructions when marking the space. Show the closed position, movement and open position separately on your plan. This makes it easier to distinguish a clash during opening from an obstruction that remains throughout use, and to see which part of the proposed layout needs changing.
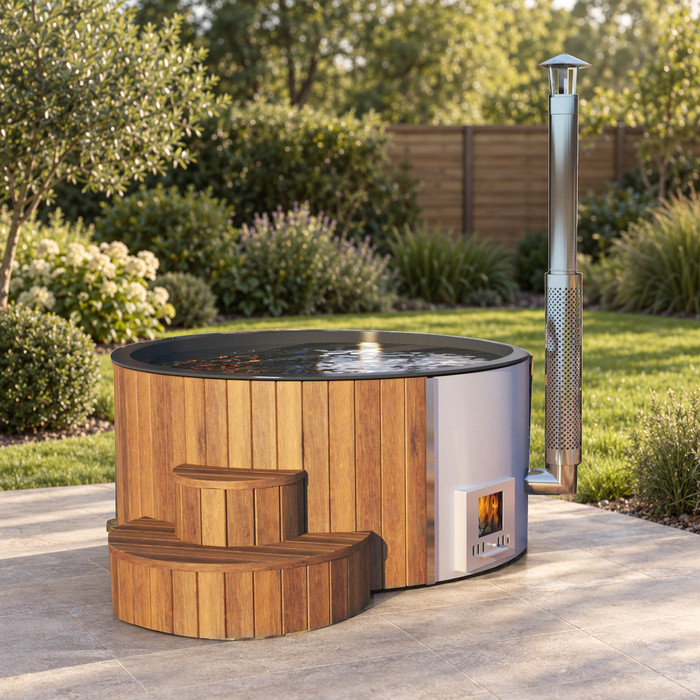
Plan where a removed cover will go
Opening the cover and putting it aside are separate space questions. Some arrangements keep the cover attached while it is open; others may involve taking it fully off. If yours needs to be removed, measure the cover and reserve a suitable place for it to rest or be stored in line with its instructions. If a lifter holds it open, include the lifter’s actual parked position instead. In either case, do not assume the cover stops taking up useful space just because the tub is uncovered.
Include the route to the resting place as well as the final area it occupies. Check that moving the cover will not block the entry route, a service panel or a passage you expect to use. If you plan to rest it against a wall or use a separate support, confirm that the method is appropriate for the cover rather than relying on an improvised arrangement. Think through how the cover will be moved each time: if it would need to be shifted out of the way before someone can enter, that space is part of the everyday layout, not spare room.
Keep maintenance and repair access clear
Locate the access panels and service points shown in the manufacturer’s information for the exact tub. A panel may need to open, lift away or be removed, so a small visible gap does not automatically provide enough working room. Check which side needs access and whether the instructions call for access to more than one side. Do not place a fixed obstruction directly in front of a panel simply because that side is not used for entry.
Allow clear working space for reaching the relevant parts and removing panels or components as the service instructions require. A technician may need access from a different side from the one people use to enter. Consider where a removed panel could be placed without blocking the working area or the route to it. Furniture that can be moved is different from a fixed wall, but record what would need moving rather than simply labelling the area clear. For Aurora 10, identify the service-panel locations and access requirements in the current model documentation. If these are unclear, ask which panels must be removable and from which direction they are accessed. This lets you assess the actual working area instead of relying on a gap that merely exposes the face of a panel.
Include any external equipment
Equipment may be integrated with a tub or arranged separately, so verify what applies to the exact model and configuration. If the chosen setup includes an external unit, add its footprint to the plan and check the manufacturer’s clearance guidance for access panels, airflow and connections. The unit may need room to be reached or removed for service as well as space for its own outline. Do not treat a nearby corner as suitable simply because the equipment fits there physically; the required access must also remain unobstructed.
Mark the equipment’s position and the direction from which it needs to be accessed. Check whether the space between it and the tub is also being counted as an entry route, a cover-storage area or room for servicing the tub. If you are considering a screen or enclosure, confirm that it does not conflict with the relevant instructions rather than assuming the equipment can be boxed in. When reviewing the Fjord 8 equipment arrangement, establish what is included in the configuration you intend to buy and plot any separate items individually. Label the space around each item according to its purpose. Keeping equipment access distinct from tub access helps you spot a layout that leaves one usable only by blocking the other.
Compare clearance guidance for the exact model
Before choosing between models, collect the current technical drawing and installation or service instructions for each exact model and cover arrangement. Look for overall dimensions, what those dimensions include, clearance requirements by side, service-panel positions, cover movement and any external equipment. Check that the documents apply to the version you are considering. When assessing the Cove 2 layout requirements, note which drawing or instruction you used and keep it with your measured plan. If you change the selected cover or equipment configuration, revisit the affected spaces rather than assuming the original plan still applies. Record unresolved measurements beside the relevant side of the tub, where they are less likely to be overlooked during comparison.
Compare the information in the same way for each option. Record the footprint, required operating clearances, cover path and service access separately; these are not interchangeable measurements. If a document gives a distance but does not explain whether it is for normal operation, panel removal or technician access, ask what the figure means. Do not transfer a requirement from another model or treat missing information as permission to leave no space. If the guidance is unclear, resolve that point before choosing on the basis of footprint alone.
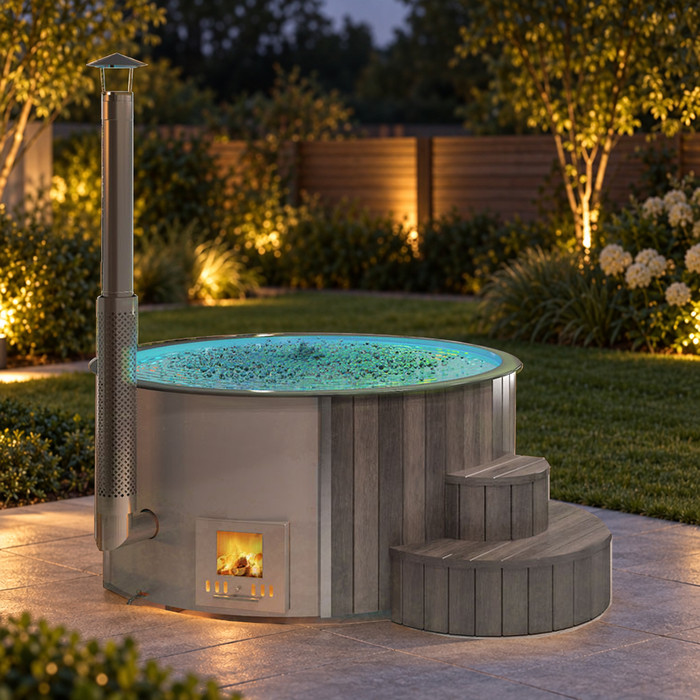
Test the layout in every operating position
Once the measurements are on paper, mark the tub outline and the proposed working zones in the actual space, using removable tape or other temporary markers. Label the entry point, the cover’s path and open position, any place it will rest when removed, service panels and external equipment. Measure the narrowest gaps again rather than relying only on the sketch. Look for projections at different heights too: an obstruction above the tub may affect the cover even when the floor-level space seems clear.
Walk through the sequence you expect to use: approach the tub, move the cover to its open position, reach the access arrangement and leave the tub again. Then assess service access separately, with the cover positioned as the service instructions require. Check whether any marked zone becomes blocked. If furniture or another movable item has to be shifted each time, decide where it will go; moving it into another required zone does not solve the problem. Use the model-specific drawing when testing the Haven 6 layout or any other option. If you rotate the outline, relabel the entry, cover and service sides before repeating the exercise. Turning the footprint without moving its associated working zones would give a misleading impression of how the revised layout functions.
Use this measuring checklist before ordering
Make a separate record for each model you are considering. First, copy its full outside dimensions and orientation from the current drawing, noting what the measurements include. Then mark fixed obstructions and measure the narrowest gaps. Add the intended entry side and the actual access arrangement, followed by the cover’s full movement, any overhead clearance noted in the instructions and a place for the cover if it will be removed. This creates a working plan rather than a footprint alone.
Finally, mark every service panel and any external equipment, then check each area against the manufacturer’s stated access requirements. Write down anything the documentation leaves uncertain instead of quietly treating it as zero. For an option such as Aurora 10, record a separate result for entry, cover handling, equipment and maintenance access: fits, needs a layout change, or still needs clarification. This keeps one generous gap from disguising a problem elsewhere. Retain the model on your shortlist only when all the required spaces work together. If one element does not fit, identify whether moving an obstruction or changing the orientation would resolve it, then remeasure the affected areas. If the conflict remains, compare another model before ordering rather than accepting a footprint that fits but leaves the tub impractical to use.
Frequently asked questions
Is there a standard clearance for every hot tub?
No single clearance suits every model and layout. The space required depends on how the cover opens, where access panels and equipment are located, and what the manufacturer specifies. Use the instructions for the exact model rather than adding a general-purpose gap to its footprint.
Do I need the same amount of space on every side?
Not necessarily. One side may need room for entry, while another may need access for servicing or cover movement. Check requirements for each side individually. Do not assume a side can be placed close to an obstruction unless the manufacturer’s guidance allows it.
How do I measure space for the cover?
Check the cover’s actual opening method and trace its full movement from closed to fully open, including any lifter or handle. Look for overhead obstructions as well as objects beside the tub. If the cover is removed during use, measure a separate place for it to rest.
Can the same space be used for entry and servicing?
Sometimes, but only if it works for both tasks in practice. A cover may block the route when open, or a service panel may need room that people normally use to enter. Check the required access in each operating position and do not rely on a shared area if it will be obstructed.
What if the tub dimensions are available but clearance guidance is not?
Treat the missing information as an unresolved requirement, not as permission to leave no space. Ask for the current installation or service guidance for the exact model and cover arrangement before ordering. A footprint alone cannot confirm that the tub will be usable and accessible.
Think of the required space as a set of clear working areas, not a single border added to the footprint. A useful plan accounts for the tub in use, the cover in motion and any service access needed later. If the only arrangement that fits leaves one of those states unworkable, the footprint is not the deciding measurement. Revise the layout or shortlist before ordering.
