
How to Accurately Measure Your Site for a Summer House
Summer house planning
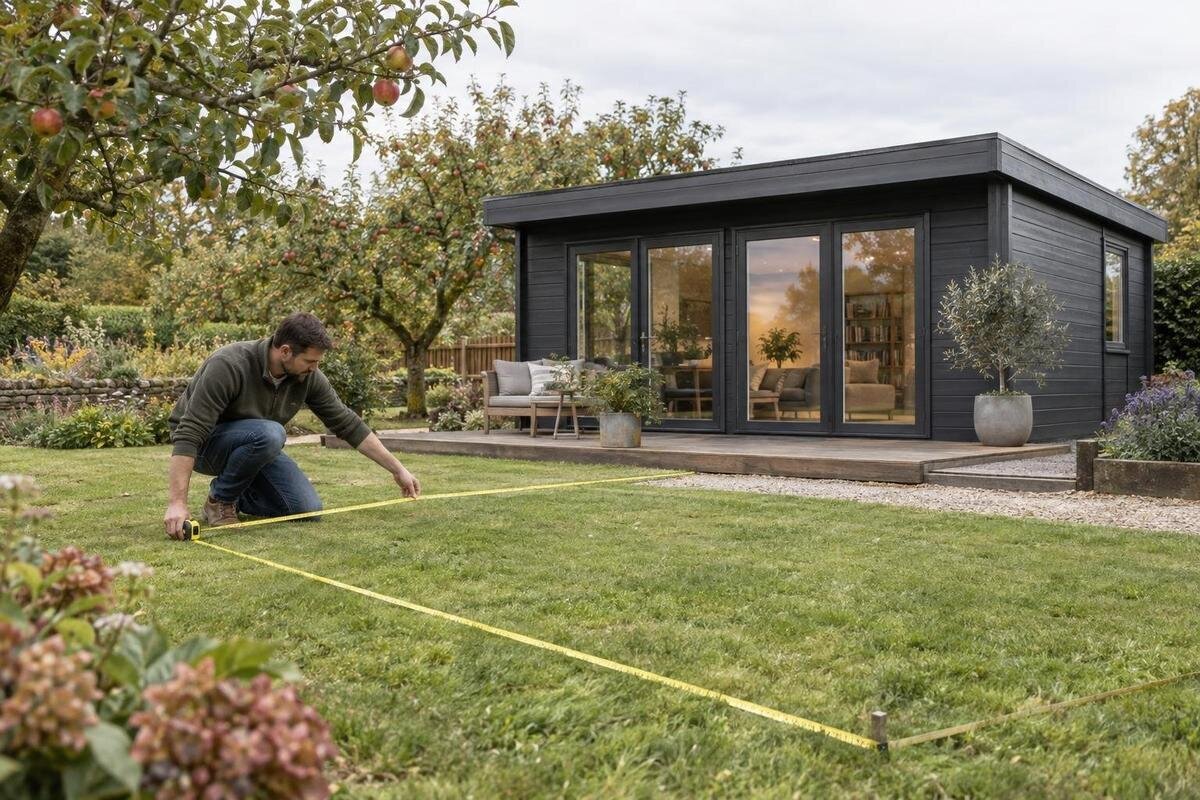
To measure a site for a summer house accurately, look beyond the lawn’s overall width. You need the usable ground shape, the selected product’s confirmed outside dimensions, any projections, the delivery route and the space needed for installation and later access. A clear survey keeps measurements separate from assumptions, so you can compare options and spot questions before you place an order.
What to measure on site 1
Define the usable area
Measure the part of the garden that could genuinely be occupied, not the whole lawn or the gap between two distant features. A usable site may be narrowed by a path, raised bed, wall, shed, tree or an access route that needs to stay open. On your first sketch, show the area you are considering and distinguish fixed features from things you might move; count an item as removable only if you intend and are able to move it. Note how people will approach the entrance, too: a footprint can fit in an empty rectangle yet leave no practical route to the door. The available garden area is not the same as usable space for the building.
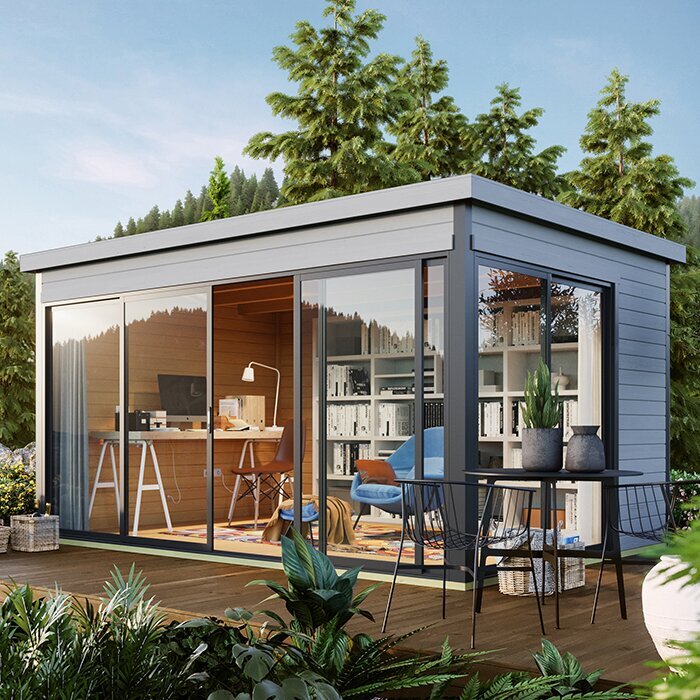
Separate three figures in your notes: clear ground available, the building’s documented outside footprint and any extra room needed for opening, assembly or later access. If you have a candidate such as Verdana 1, use confirmed dimensions for that exact option rather than estimating from its product photograph. A picture can help identify a model, but perspective makes visual size comparisons unreliable. Record the page or drawing that supplied each figure. If it is unclear whether a measurement reaches the wall, base or roof edge, resolve that point before treating the site as large enough.
Build a reliable site plan
Make a simple plan view rather than trying to remember the garden as you walk around it. Choose a fixed reference point—a house corner, paved area or another feature you can find again—and mark an orientation arrow if it will help you compare positions. Label each measured line, state whether figures are in metres, centimetres or millimetres, and note the date. A rough sketch is useful when its labels are clear; it need not be a scale drawing. Avoid recording only the total width if the space narrows or changes direction.
Use a tape measure and, for long spans, a second person to hold its far end while you keep it straight and taut. For a rectangular patch, measure both sides rather than assuming opposite edges match; for an irregular area, record every change of line and the narrowest point. If a span is longer than the tape, measure aligned sections from a labelled intermediate point so you do not leave gaps or follow a bend. Repeat readings close to a fit limit, and keep estimates separate from measured values. Where the ground slopes, aim to record the plan distance, not the longer distance along the surface.
What to measure on site 2
Check what the published dimensions mean
Product dimensions help only when you know what their endpoints represent. Find the dimensioned drawing or written specification for the exact model and variant, then identify the stated outside width and depth and the lines used to define them. A listing might show the building body, a base or the widest projection; do not assume those figures are interchangeable. If the page does not define the measurement points, ask which dimensions should be used when checking a prepared site. Keep the reply with your notes and record the exact variant so figures from a similar option are not mixed in.
Compare each outside dimension with the corresponding clear width and depth on your plan. Consider whether rotating the building changes which dimension runs across the site or puts its entrance against an obstruction. A listing such as Verdana 2 is a place to check that option’s own published information, not evidence that it matches another model. Copy the figures with their units and use the documented outer dimensions for site fit; do not substitute an interior floor-area figure. These measurements answer separate questions, and only the outside extent shows how much garden the structure itself occupies.
Include projections and opening space
The wall outline may not be the widest part of a building. Check the drawing or ask whether roof edges, eaves, gutters, a canopy, steps or other projections extend beyond the stated footprint; include only features shown or confirmed for the version you are considering. If a roof or base extends beyond the walls, the extra area can matter beside an obstacle even when the main body fits. Mark the outermost confirmed line on your plan and keep the wall or base dimension separately, so neither figure is mistaken for the other. The dimension that matters can depend on what sits beside that side of the proposed position.
An opening needs room as well as a position. Check the plan for the entrance side and the opening direction of doors or windows, then compare that arrangement with the path and clear space around the proposed location. Do not infer an opening’s movement or a projection from a promotional photograph. For a listing such as Durano garden house, use a documented drawing for the selected version or request one if it is missing. This keeps the building’s external outline distinct from the additional clearance that doors, access or any supplied step may need.
What to measure on site 3
Record obstacles at ground level and above
Walk the proposed zone and note features that could overlap the footprint or obstruct access: tree trunks and low branches, sheds, walls, raised beds, posts, taps, meters, drain covers and fixed paving edges. Measure to the nearest point rather than only to the centre of an obstacle, and note its height if it could project into the space above ground. Label anything movable separately from fixed features; this prevents a plan from quietly assuming that a tree, utility point or built feature can be shifted. Include obstacles that are easy to miss from the house, such as a branch extending over the ground you intend to use.
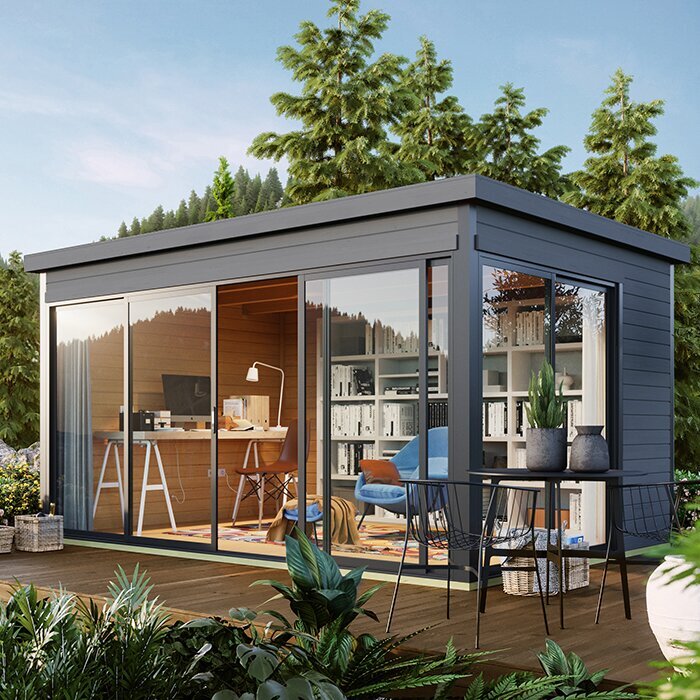
Look up as well as down. Branches, eaves and overhead services can restrict access or later work, and one viewpoint may not reveal an obstruction farther along the route. Add notes or dated photographs from several angles to explain what you measured; photos are supporting records, not scale drawings. An image of Veltor 1 can identify a product option, but it cannot establish whether a branch, drain cover or meter falls within the usable space. If work could affect a service route or an uncertain obstruction, have it identified by an appropriate professional before excavation or installation planning.
Note slopes, surface and water
Record what the ground is like across the whole area, not only at the point where you stand. Note obvious changes in level, soft or uneven patches, paving, loose material, standing water and where rainwater appears to collect or run. A surface can look level from a doorway while falling towards one end, and a dry visit may not reveal where water sits after rain. A quick sketch with high and low spots, together with a photograph, is more useful than describing the whole site as ‘flat’. Also note what surface is already there, without assuming that it is suitable for the building’s base.
A simple level check can flag a noticeable fall, but it does not tell you what base or preparation a particular building needs. Record concerns, then compare them with the exact manufacturer’s site and base guidance and ask the supplier or installer if your conditions are not covered. For a candidate such as Orello 1, seek instructions for that exact variant rather than assuming base requirements from its name or product image. Do not choose a levelling or drainage solution solely from a tape measurement; uncertain or uneven ground may need an on-site assessment by a competent professional.
What to measure on site 4
Measure the whole delivery route
Measure the route from the likely unloading point to the intended site, not just the garden gate. Record the narrowest clear width and overhead height at gates, side passages, corners and any low branches or structures. Include space taken up by posts, gate leaves, handles and downpipes, and note steps, sharp turns, soft ground or slopes that may affect movement. A route can be generous at its entrance but too tight at a turn, so measure each pinch point and sketch the sequence rather than listing only the widest opening. Take the gate measurement with it in the position it would need to be in during access.
The building’s assembled dimensions do not tell you the size or handling method of its delivery components. Ask the retailer for the delivery format, the dimensions of the largest sections or packages, and any access assumptions; compare those details with your narrowest points and turning space. For a product option such as Modano 1, do not treat a matching site footprint as proof that every component can reach the plot. Confirm who will unload and how the route is expected to work before ordering, particularly if access depends on opening a gate fully or temporarily moving an obstacle.
Allow for installation and later access
Space around the finished building is not always part of the stated footprint. An installer may need room to bring components into place and assemble the structure, while access for inspection or maintenance may be needed afterwards. Requirements depend on the design and installation method, so avoid adding an arbitrary fixed margin to your site plan. Look for the manufacturer’s instructions for the exact model and check whether they specify clearance around particular sides or for particular stages of assembly. Keep any required working area separate from the dimensions of the building itself.
Consider what needs to pass or open beside the building later: people, garden tools, a mower, doors or shutters, if included. Think about whether exterior surfaces will remain reachable for the maintenance described by the manufacturer and whether the route through the garden will still be usable. A product listing such as Veltor 2 should be assessed against its own written instructions, not a generic spacing rule. If the documents do not say how much working room is needed, ask the supplier or installer rather than assuming no space is required or copying a clearance from another model.
What to measure on site 5
Compare the possible orientations
Test the orientation on your site plan before settling on a position. Mark the direction of the entrance shown on the product drawing and check that it faces a usable approach, with clear ground for a route and the specified opening movement. Then rotate the external outline on paper to see whether the fit still works without blocking an existing path, service access or a garden feature you intend to keep. This lets you compare positions without relying on the viewpoint used in a product photograph. Make sure the outside dimensions remain matched to the correct sides when you rotate the plan.
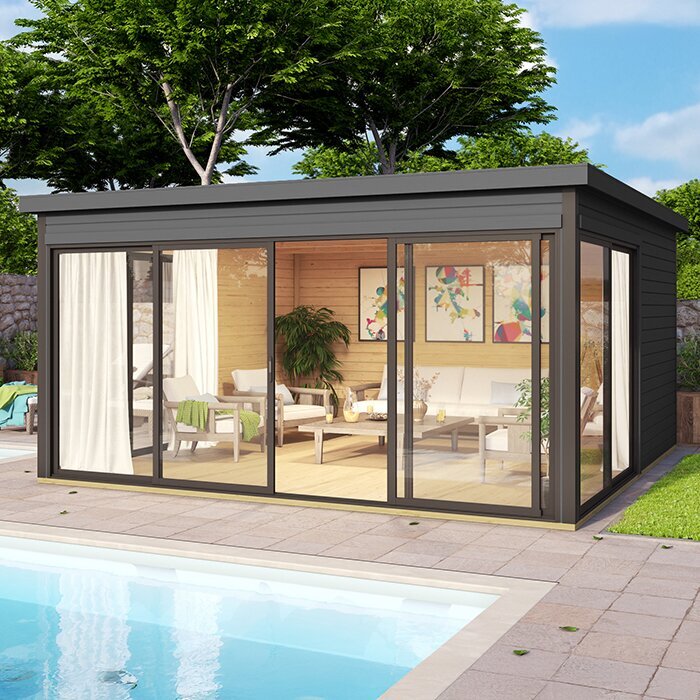
If daylight, outlook or shelter matters to how you will use the summer house, add those observations to the survey rather than treating them as dimensions. Mark a north arrow, note walls and taller trees that shade the proposed spot, and observe it at the times you expect to use the building; tree cover and shadows can change seasonally. An image does not confirm the orientation you can achieve in your garden. For a candidate such as Veltor 3, check its documented entrance arrangement and compare it with the actual site before deciding which way the front should face.
Bring the measurements together before ordering
Pull the figures into one comparison sheet for each shortlisted option: available site width and depth, confirmed outside dimensions, maximum projections, required assembly or maintenance clearance, opening direction, ground notes and narrowest delivery access. Add the source and unit beside each figure, and label estimates clearly. This makes it easier to spot a mismatch—for instance, a body dimension that fits while a roof projection or required working space does not. Keep product dimensions, site measurements and installation requirements in separate columns rather than combining them into one approximate footprint.
Recheck the points that could change the decision: a narrow passage, a fixed obstruction, a turn in the delivery route or a product dimension whose reference line is unclear. If two documents conflict or a model variant has different dimensions, ask for confirmation for the exact version you plan to order; do not copy numbers from a similar-looking option. When site preparation is needed, use the manufacturer’s guidance and a qualified installer’s assessment rather than guessing a base specification. Your notes should show what fits, what is measured and what still needs confirmation.
Frequently asked questions
Should I measure the whole garden or just the intended position?
Measure the clear area you are considering for the building, but also survey the route from the delivery point to that area. Record any narrow sections, fixed obstacles and access that needs to remain open. The lawn’s overall width alone will not show whether the site or delivery route is usable.
Which summer-house dimensions matter for site fit?
Use the documented outside width and depth for the exact model and variant. Check whether they describe the walls, base or widest projection, and whether features such as roof edges extend beyond them. Then compare the full outside extent with the available area and any model-specific clearance requirements.
How much extra clearance should I allow around a summer house?
There is no reliable universal margin: assembly access and later clearance can depend on the model and installation method. Check the manufacturer’s instructions and ask the supplier or installer if they do not give a figure. Keep this clearance separate from the building’s footprint in your plan.
How should I measure an uneven or sloping site?
Record the site’s plan dimensions and note where the ground rises, falls or holds water. Do not measure only along the sloping surface and treat that as the space available in plan. A site survey can flag a concern, but an installer or other competent professional should advise on preparation if the ground is uneven.
How can I tell whether the delivery will fit through a side gate?
Measure the narrowest clear width and height along the full route, including gates, corners and low obstacles. Ask the retailer for the delivery format and dimensions of the largest sections or packages, then compare those with your measurements. The assembled building’s outside dimensions do not confirm that its components can pass through.
A reliable site measurement is more than a width and depth: it is a record of the usable area, the obstructions, ground conditions, delivery route and any model-specific clearance. Compare that survey with confirmed dimensions for the exact option, and keep unverified details visible rather than assuming they will fit. That makes the final choice depend on the garden you have, not an estimate from a picture.
