
How to Mark Out a Summer House Before Ordering

Summer house planning
Before you order a summer house, turn the proposed footprint into a full-size outline in the garden. A temporary mark-out can show whether the position works alongside paths, planting, boundaries and the entrance, and can expose questions a sketch misses. This guide takes you from the product dimensions to a ground layout you can move, test and record before you commit.
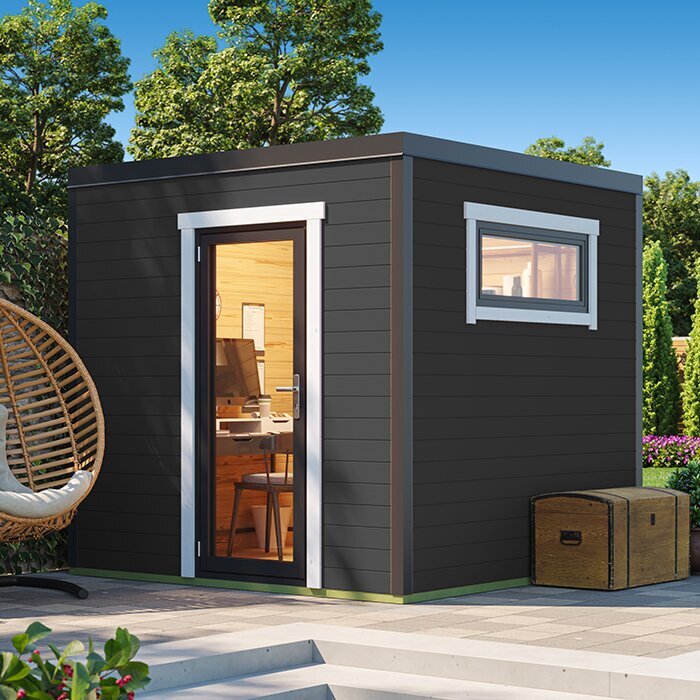
What marking out can tell you before you order
Marking out gives you a full-size view of the proposed position, rather than another small drawing to interpret. It puts the building’s plan area beside the things already in the garden: a path, patio, gate, established planting or a route you use every day. That makes spatial conflicts easier to notice. A line may show that the entrance would face a narrow passage, that a corner would sit close to a tree bed, or that the garden feels more crowded than it looked on paper. Because the marks are temporary, you can shift the outline, view it from the house and compare alternatives before choosing a product or confirming an order.
Treat the result as a practical layout check, not evidence that a base can be built there or that every requirement is satisfied. String outlines the plan footprint; it does not show the full height, roof edge, foundation needs, underground services or any permissions that may apply. Keep those questions separate and record anything the outline cannot answer. The aim is to remove avoidable uncertainty about position and make the product details you still need clearer. If the site has an obvious slope, soft ground or a nearby feature that may affect installation, pause before assuming a neat rectangle means the location is ready.
Use the dimensions for the exact model
Open the information for the exact summer house you are considering and find the dimensions given for its outside footprint. Do not measure a picture on screen, use a neighbour’s building as a guide or transfer figures from a similar-looking model: product illustrations are not reliable scale drawings. When checking a candidate such as the Verdana 1 listing, keep the dimensions you have confirmed attached to that candidate’s sketch; do not treat them as figures for another option. If the page separates external and internal measurements, use the external figures to lay out space on the ground and reserve interior measurements for questions about the room inside. If no useful dimension is provided, ask before making the outline.
Check what the listed width and depth refer to, and which side is the front. A drawing may label a door or show an orientation, but if no dimension diagram or explanation settles the point, ask the retailer rather than guessing from a photograph. Note whether any roof overhang, canopy or other projection is included in the stated footprint; only add a further allowance when the product information identifies it or the seller confirms it. Write the units beside every measurement and use them consistently on your sketch, so a later comparison does not confuse centimetres with metres or internal size with ground coverage. Record the source and date if you receive a clarification.
Choose temporary markers you can adjust
Use a tape measure and a marking method suited to the surface: string between removable pegs on soil, or chalk on suitable paving, for instance. On grass, low-profile markers or a taut line can be easier to see than a mark that disappears among the blades. Keep each corner clear and label the front so the orientation remains obvious when you step back. Check that the line is visible from the viewpoints where you normally assess the garden; pale string can disappear against gravel or paving. Put pegs in only where you know it is safe to do so; if you are unsure what lies below the ground, use weighted markers or hold the string in place instead.
If you are still comparing sizes, make a separate outline for each set of product dimensions, using a different colour of string or a clearly labelled sketch. Do not assume two options in one range share a footprint, and do not leave several unlabeled lines that make the intended edges hard to follow. Treat the Verdana 2 product page as its own candidate: attach only the measurements confirmed for that model, and note its front direction. You can then move or remove one layout without losing track of which order decision it represents. If the dimensions are still being clarified, label that outline as provisional so it is not mistaken for a final check.
Set out the footprint accurately
Choose one corner as your starting point and identify a reference that will stay visible, such as an edge of existing paving; it is a practical reference, not proof of a legal boundary. Measure the first side along the intended front, mark its end, then set out the depth from the relevant corners using the dimensions for the selected model. Label the front and rear on a quick plan. For the Durano garden house listing, as for any candidate, use dimensions confirmed for that option rather than judging the image. Copy each figure beside the side it describes before transferring it to the ground; that simple step helps prevent width and depth being swapped.
For a rectangular footprint, establish right-angled corners with a square or another reliable layout method, then compare the two diagonal measurements as a cross-check. If they differ noticeably, adjust the corners and recheck the side lengths before deciding that the trace is usable. Matching diagonals alone should not replace checking all four sides and corners, especially if the ground is uneven or the string has sagged. Keep the tape straight along each intended side and avoid pulling markers out of position as you measure. You are recreating the shape on the ground, not calculating a foundation.
Walk the outline against the garden
Once the corners are marked, step outside the lines and walk around the whole outline. Look for overlaps with the path you actually use, a gate opening, paving, beds, a shed or other fixed garden features. Stand at the intended front as well as at the far corners: a position that looks clear from one angle may leave an awkward route or a tight gap when viewed from the entrance. If something conflicts, mark it on the sketch and move the outline deliberately rather than nudging a peg without recording the change. The point is to decide whether this position works in ordinary use, not merely whether the rectangle fits.
Observe the surface within and around the marked area. Note changes in level, places where water tends to collect, visible drains or covers, and nearby tree trunks or substantial roots; the temporary outline does not show whether the ground or base is suitable. Do not dig or drive markers into a place where services may be present. If you shortlist the Veltor 1 listing, lay it out from its own confirmed dimensions and note any ground issue for the seller or installer to address. Where the site condition is uncertain, ask a suitably qualified professional before ordering rather than treating the mark-out as a construction assessment.
Test the entrance and the route to it
Use the candidate’s plan or written description to locate the entrance and understand how its doors open; do not infer the arrangement from a lifestyle photograph. If the drawing confirms a hinged door, mark the space needed for its swing with a separate line or a removable panel. If it shows a different opening arrangement, identify where someone will stand and how they will approach it. On a candidate page such as the Orello listing, check the specific layout rather than assuming a door detail from the model name or a picture. A footprint can be clear while the entrance is still blocked by a fence, planting or a turn in the path.
Walk the route you expect to take from the house, gate or patio to the entrance, then imagine carrying the things you are likely to bring in or out. Look at turns, thresholds and narrow points, not just the straight stretch beside the building. If the route depends on moving a bench, bin or planter, decide whether that is acceptable every time you use the room. Keep this route test separate from the footprint itself: a clear rectangle does not guarantee a comfortable approach, and widening an access line may mean the house needs a different position. Note any change you make so the marked version still matches the plan.
Check projections and overhead features
Ground-level string shows the plan area only. It cannot represent the roof edge, eaves, a projecting part or the building’s height unless you add information from the product drawing. If the seller gives separate measurements for a projection, mark that outer edge in a second colour and label what it represents; do not invent an allowance by looking at a photograph. When reviewing the Modano 1 product page, look for clearly stated dimensions and ask how any separately described projection relates to the footprint. That distinction helps you compare the space occupied by the structure with the line you first marked.
Look up from the corners too. Branches, roof gutters, overhead lines or a nearby wall may affect whether the intended position is practical, but a ground trace cannot settle required clearances or installation details. Note what is close and seek appropriate advice where there is a possible clash; do not rely on a guessed distance. Likewise, a mark-out cannot confirm that local rules allow the proposed location. If proximity to a boundary, tree, drain or service raises a question, check the relevant guidance or consult a qualified professional before committing. Keep this as a separate constraint on the sketch, not another unverified measurement.
Compare alternative positions and models
Do not settle on the first place that accepts the rectangle. Move the temporary outline to another realistic position, or turn it to face a different direction, and compare how each option relates to the house, route, garden features and entrance. Photograph each arrangement from the same two or three viewpoints and give it a short label; this is more reliable than relying on memory after the string has been moved. Keep the dimensions unchanged while testing positions for one model. If you change models, make a new outline from that model’s measurements rather than treating the first shape as a standard template.
For a second candidate, such as the Veltor 2 listing, put the product name and confirmed dimensions on a separate drawing before setting out its corners. Compare the marked areas side by side in the garden, and record any position that only works if you change the direction of the entrance or alter a path. Avoid choosing by a product photograph alone: camera angle can make a building appear smaller or larger than it is. The useful comparison is between the actual ground traces and how you would use the space around each one, not between images shown at different scales.
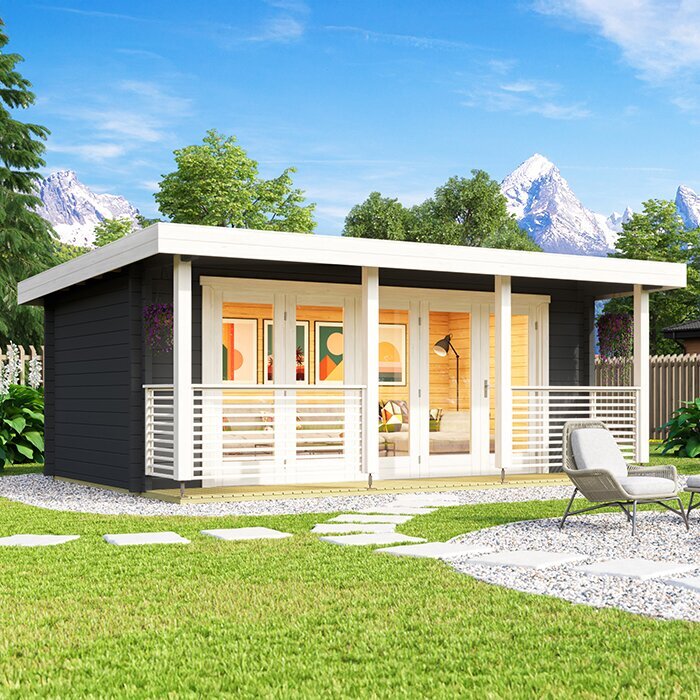
Resolve questions with the seller or installer
Use the plan and photographs to ask precise questions before ordering. Confirm which dimensions govern the outside footprint, whether an eave or other projection is included, which side is the front, and how the entrance is shown. Attach or name the exact option, for example the Veltor 3 product listing, so the answer relates to the right candidate rather than a similar model. If information is missing, request a dimensioned plan or written clarification instead of estimating from an image. Also ask what the installer expects from the chosen base or surface; the mark-out tells you where the house might sit, not what preparation its installation needs.
Ask separately about any practical access needed for delivery and assembly. A line on the lawn shows the building’s intended position but not whether components, tools or installers can reach it through the gate, along a path or around a tight turn. The seller or installer can explain what to allow for the particular order; do not assume that a footprint alone covers working space. Give them the route and any obstacles you have noted, and ask whether the proposed position creates an issue. Resolving these points before confirming the order is more useful than discovering that the marked location was only possible on paper.
Keep a clear record for the final decision
Before removing the markers, photograph the entire outline from a clear viewpoint and take a few views from normal standing height. Add a sketch showing the model name, the measurements used, front direction, reference points and any separately marked roof edge, door space or route. Write down what each colour or line means. If you have tried several positions, label each photo to match the sketch; a folder of unlabeled pictures can be hard to interpret later. Keep the product information or written dimension confirmation with the record, so your final layout remains connected to the exact order you intend to place.
Make the final decision against that documented outline: the confirmed footprint is on the ground, the entrance and everyday approach work, and any unresolved projection, surface, access or local-rule question is written down for the right person to answer. If the plan changes, update the mark-out and the record rather than assuming a small shift leaves the same clearances. If a detail remains uncertain, wait for the correct product or site information instead of ordering on a guess. A temporary layout is useful when it leads to a position you have tested and a purchase based on the right dimensions.
Frequently asked questions
What do I need to mark out a summer house?
Use the confirmed dimensions for the exact model, a tape measure and something temporary to show the edges, such as string and removable markers or chalk on suitable paving. Label the front and each corner clearly. Avoid permanent marks and do not put pegs into ground where services may be present.
Should I mark the internal or external dimensions?
Use the stated external dimensions to show the space the building occupies on the ground. Internal measurements describe the room inside and are not a substitute for the outside footprint. Check whether the stated dimensions include any projections, and ask the seller if that is unclear.
How can I check that the outline is square?
Use a square to set the corners where possible, and compare the two diagonal measurements as a cross-check. Also recheck each side and corner: matching diagonals alone do not prove that an outline is rectangular. Adjust the markers if the lines or measurements do not agree.
Should I mark space for the doors as well?
Mark the footprint separately from the space needed to open and use the entrance. Follow the product plan or written description to understand the door arrangement. For a hinged door, show its opening area; for another arrangement, mark the approach and the space where someone will stand.
Does marking out confirm that I can build in that position?
No. A ground outline shows a proposed position, not whether the base is suitable, clearances are adequate or local requirements are met. Check relevant guidance and ask the seller, installer or an appropriate professional about any unresolved site or installation questions before ordering.
Mark the footprint from the confirmed dimensions for the exact product, test the position and entrance, and record anything the line cannot show. If you compare alternatives, use separate, labelled outlines; if a measurement or site requirement is unclear, resolve it before ordering. The final decision should rest on a layout you have tried in the garden, not a size guessed from a picture.
