
Planning Lighting Around an Outdoor Sauna for Evening Use
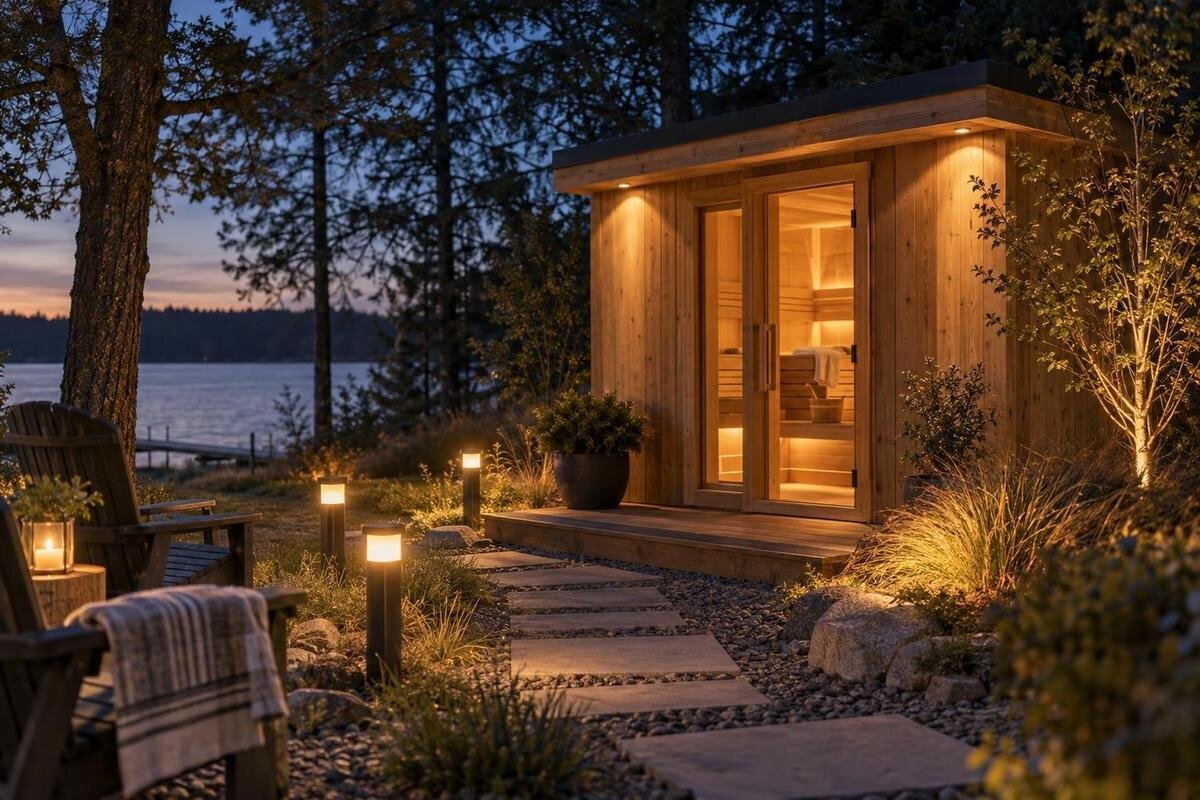
Outdoor sauna lighting
Evening lighting around an outdoor sauna has to do more than make the building stand out. It should make the route from the house easy to follow, help people find and use the entrance, and provide a comfortable place to pause afterwards without flooding the garden with light. Those jobs benefit from separate zones and controls: the route can remain lit while the resting area has softer lighting. Treat exterior fittings as a separate planning item until the exact sauna configuration confirms what, if anything, is included. A qualified electrician should specify fittings and installation for the actual locations.
What to check before choosing 1
Separate the route, entrance and resting area
Outdoor sauna lighting needs to solve three separate tasks: making the route easy to read, making the entrance easy to find and use, and giving the place to sit afterwards a comfortable level of light. Treat these as separate zones rather than asking one bright fitting to serve the whole garden. If the same source is expected to cover everything, the path can still have dark patches while the doorway or resting area feels glaring. Separate zones also let you keep the walking route visible while reducing light around the seating. Decide which areas need to be on together and which should have independent controls before choosing fittings. Keep decorative accent light secondary to those practical tasks.
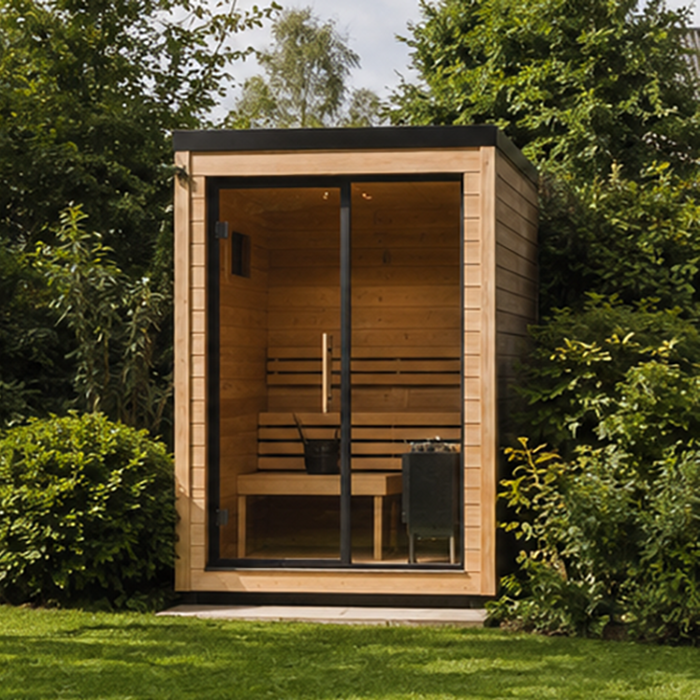
Sketch the route from house to sauna and mark the doorway, any change of level, seating, existing garden lights and the points where people pause. Note likely positions for the sauna and existing obstacles, but keep this as a layout sketch, not an electrical plan. Use the exact model name, such as Sauna HCF-300, when requesting the current manufacturer drawing and instructions for your chosen configuration. Those documents should establish the entrance position and door movement before you settle the lighting layout. A product photograph helps identify a design, but cannot establish scale or installation clearances. Add measurements from your own garden so the plan shows the relationship between the building, path and seating.
Make the walking route easy to follow
A route should read as a continuous walking surface, not as a sequence of isolated bright dots. Give particular attention to turns, steps, changes in paving, gates and obstructions that are hard to see after dark. The aim is to make the line of travel clear without bathing the entire garden in light. Low-level markers, shielded directional fittings or light falling from a nearby surface can all be considered, depending on the layout; none is automatically right for every path. Avoid positioning a visible lamp so that a person approaching looks straight into its source, and keep fixtures clear of the walking line. On a longer or bending path, judge the surface between light sources as well as the edges; a row of markers is of little help if gaps remain difficult to see.
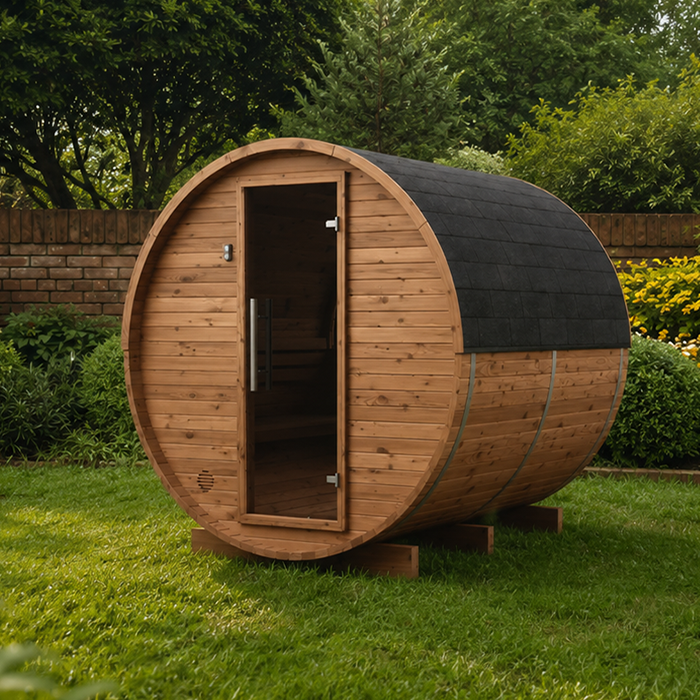
Trace both directions: leaving the house for the sauna and returning to the house or resting area. A route that looks obvious from the kitchen window may feel different at eye level, especially where planting, a wall or the sauna itself interrupts the view. When planning around Thermowood barrel sauna HCF-225, use the confirmed entrance position to identify where the approach joins the doorway. Check whether a nearby gate or side path makes the walking line ambiguous. A fork may need clearer illumination than a straight stretch, particularly for visitors unfamiliar with the garden. Allow for objects in everyday use, such as a hose or garden chair, rather than assessing only an empty path.
What to check before choosing 2
Light the sauna entrance and threshold
Treat the threshold as a small task area: someone may be carrying a towel or robe, reaching for the handle, or stepping across an uneven transition. Light should let them recognise the door, handle and ground immediately outside without forcing them to look towards a bare source. The best position depends on the door’s orientation, any overhang, surrounding walls and the path’s direction. Check the manufacturer’s plan for the entrance and door swing; do not assume a photo shows the side or clearance of the exact version you plan to order. Observe the entrance with the door open as well as closed, so its movement does not block the light. An external entrance light is separate from any light inside the cabin.
Check the entrance from the position of someone arriving with their hands occupied, rather than only from directly in front of the door. The handle should be distinguishable from the surrounding surface, and a person standing beside the doorway should not cast a shadow over the threshold. For Sauna S-140, mark these viewing positions on the site sketch once the entrance layout is confirmed. Include any place where someone might put down belongings before opening the door. If the approach turns sharply near the entrance, assess whether the light becomes visible abruptly at eye level. Test the transition between path lighting and entrance lighting so that neither zone leaves a dark gap at the point where someone changes direction.
Reduce glare around the sauna
Glare is not simply a matter of a light being powerful; it depends on where the source sits in relation to a person’s eyes. Check sightlines while standing on the path, at the entrance and seated in the relaxation area. A clear bulb at face height can feel harsh even when it lights the ground well, and a bright point can draw attention away from steps or edges. A shield, shade or indirect beam can hide the source and send light towards the walking surface or wall instead. Avoid aiming a fitting across the door or into a user’s normal line of view. Use more than one gentle source if that is what the space needs, rather than fixing every shadow by increasing brightness. A more even, restrained scheme may be easier to use than a bright source surrounded by dark patches.
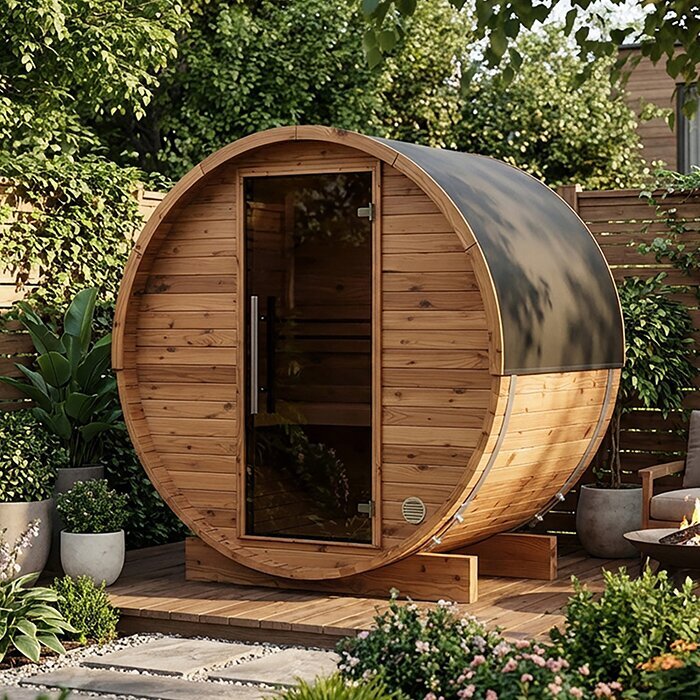
Consider views through any windows or glazed panels as well as views from neighbouring gardens. For a scheme around HC-150 Thermowood barrel sauna, confirm which openings are present and their orientation before checking these sightlines. An exterior lamp can appear as a reflection in glazing rather than simply lighting the ground beyond it. From a dark room, even a modest lamp may become the most conspicuous point in the view. Assess the beam from inside the house and from accessible positions near the boundary, not just beside the fitting. Shielding or a different direction may preserve the useful light while reducing distraction; illuminating a larger area will not necessarily solve the problem.
What to check before choosing 3
Keep the relaxation area comfortable
The place to sit after a sauna needs a different mood and purpose from a path or doorway. Aim for enough light to move, find belongings and use the seat, while avoiding a fitting that shines directly into faces when people are seated. A wall, screen or nearby planting might help soften a light, but only if it does not create a dark step or hide an obstruction. Use a separately controlled zone so the rest area can be calmer without switching off the route or leaving someone to walk back in darkness. Keep any task light directed to what people need to see, and leave clear space around the seating for movement. If furniture is moved, check that it does not create a new shadow across the way in or out.
Mark the seating position and normal eye level on the plan before deciding on the height and direction of nearby lights. A fitting that seems discreet when viewed from standing height may shine directly towards someone reclining or looking across the garden. When considering Sauna HC-225, draw the separate outdoor resting area alongside the confirmed sauna layout, including the space needed to approach and leave each seat. Note where a table, hooks or belongings will be placed: these may need a little local light without brightening the whole seating area. Consider both occupied and empty seats, since a person or chair back can block a beam. Keep cords and portable lamps out of the walking route.
Choose fittings for their actual location
Outdoor fittings face a different environment from ordinary indoor lamps, and exposure can vary even within a small garden. A wall under an eave, an open path beside planting and a low fixture near the ground do not experience identical conditions. Tell the electrician where each fitting will sit and what it may be exposed to, including rain, splash, damp, dirt and routine garden activity. They should select suitable products and installation details for that position, following the manufacturer’s instructions. Appearance alone is not a basis for choosing a fitting: include its intended location in the specification. Also identify places where watering, cleaning or gardening could affect equipment, so these activities are considered before positions are agreed.
Keep the cabin’s internal lighting question separate from the garden scheme. Anything used inside a sauna has to be compatible with that model and the maker’s instructions; an external lamp is not automatically suitable for a hot, humid interior. Check the written inclusions and configuration, because lighting accessories should not be assumed to come with the sauna. The N-210 Thermowood barrel sauna page identifies one model to investigate; confirm its current specification and manual for internal equipment, then have external fittings specified independently. Ask for a clear account of what is supplied and what is an optional extra. A retailer’s product image is not an inventory of inclusions or a technical installation drawing.
What to check before choosing 4
Make lighting controls easy to use
Consider controls as part of the lighting plan rather than a finishing detail. Decide whether the approach, entrance and seating zones need separate switches, and where a person can operate each one without first crossing an unlit space. One practical arrangement could let the route remain lit while the softer rest-area lighting is lowered or switched off. The precise controls and switching arrangement should be specified by the electrician for the installation. Keep the number of actions straightforward for regular evening use, especially if visitors will not know which control serves which part of the garden. Make the finished controls easy to understand, so people do not need to guess which zone they are switching on.
Motion sensors can help with a brief arrival, but they may not suit a zone where people sit still. Ask the professional specifying them to assess coverage, sensitivity and timeout, including whether someone moving elsewhere in the garden could trigger the lights unnecessarily. For a lighting brief accompanying N-250 Thermowood barrel sauna, describe the intended evening routine: arrival, time at the seating area and the return to the house. This helps establish which zones need automatic operation and which benefit from manual control. Dimmers, timers and app-based controls must be compatible with the selected fittings. If connected controls are chosen, make sure there is a practical way to operate the lights without a phone or app.
Balance colour and brightness
Colour and brightness influence whether the garden feels welcoming or overlit, but there is no single colour temperature or brightness level that suits every setting. A warmer-looking white is often chosen for a softer evening appearance; whatever tone you prefer, the route and threshold still need to be easy to see. Keep nearby fittings broadly consistent rather than combining noticeably different whites without a reason. If the house already has exterior lights, compare the sauna area’s light with them in the same view, and choose a solution that does not make the new zone feel jarringly blue or excessively bright. Consider whether dimming would be useful, then check compatibility with the selected fittings before specifying it.
Think about the surfaces the light will fall on: pale paving, timber, foliage and dark boundaries reflect light differently, so a colour shown on packaging may not look the same in your garden. When planning the setting for Sauna LC-260, include samples of the surrounding paving and other finishes in any lighting comparison. Where practical, assess a sample fitting after dark before ordering several. Compare light sources together rather than judging each in isolation; an existing porch light may change how the new lighting appears. Keep decorative glow separate from the light needed to see a step or uneven surface. A pleasing colour does not compensate for a poorly lit walking area.
What to check before choosing 5
Test the layout after dark
Review the planned effect when the garden is actually dark, not only in daylight. Before permanent decisions, use a suitable temporary light or a torch to walk the route, pause at the entrance and sit where the relaxation area will be. This is a visual trial, not a substitute for a professionally specified installation. Notice whether a beam hides changes in level, whether a shadow falls across the threshold, and whether the source itself is visible from normal eye positions. Repeat the check from both directions and with the door in its usual open and closed positions, if applicable. Try the different lighting combinations you expect to use, not only the brightest setting.
Look at the space after rain as well as on a dry evening if you can; shiny surfaces can reflect light differently, and planting or furniture may alter sightlines. Invite another person to follow the route without verbal directions and note where they hesitate. If the path is clear but the seating zone feels harsh, adjust the zones independently instead of changing every light together. Ask your electrician to review any changes that affect fittings, positions or controls. A short after-dark review before finalising the plan can reveal issues a daytime sketch cannot, including a distracting view of a lamp from a seat or house window.
Account for existing lights and garden upkeep
Existing porch, patio or security lights may already illuminate part of the approach. Record which are normally on during a sauna visit and which respond to movement, then include them in the lighting plan. A sensor-controlled floodlight can change the scene suddenly, overpowering a subdued seating area or shining towards the entrance. Discuss whether its direction, controls or coverage need adjustment rather than adding new fittings to compensate. Keep useful existing light where it serves the route, and avoid overlapping beams that add brightness without improving visibility. If different household members use the garden at the same time, agree a control arrangement that does not leave one person in darkness when another switches off a light.
Allow for the garden changing after installation. Growing foliage can obscure a fitting or interrupt its beam, while bare branches may expose a lamp that was previously screened. Leave practical access for inspection and cleaning in accordance with the fitting manufacturer’s guidance, without requiring someone to move heavy furniture or reach through dense planting. Review the view when seating is rearranged or planting grows, especially beside steps and the entrance. Keep the lighting plan and product instructions together so future changes can be assessed against the original positions and controls. Damaged fittings or changes requiring electrical work should be referred to a qualified electrician rather than treated as routine garden maintenance.
Frequently asked questions
Should the sauna and garden lights use one switch?
Plan for separate control of the route, entrance and resting area rather than assuming one switch must operate everything. That way, the walking route can stay lit when the seating light is off. Ask a qualified electrician which controls and switching arrangements suit the selected fittings and your garden.
Where should a light go beside the sauna entrance?
There is no single position that suits every entrance. Use the chosen sauna’s current drawing and the direction of the approach to decide how to light the handle and threshold without shining into someone’s eyes. Check the view with the door open as well as closed, then ask an electrician to specify a suitable fitting.
What colour light works best around an outdoor sauna?
It is a matter of preference and the surrounding garden. A warmer-looking white can give a softer appearance, but the path and threshold still need to be easy to see. Compare the new light with existing garden fittings and, where practical, try a sample after dark before choosing a larger scheme.
Can solar lights provide enough light for the approach?
They may suit some gardens, but performance depends on the particular product and its location and conditions. Check the manufacturer’s information and assess the light at the time you expect to use the sauna. Do not treat a decorative marker as a reliable substitute for clear visibility at the entrance or along the whole route.
Are exterior lights included with an outdoor sauna?
Do not assume that they are. Inclusions depend on the exact product and configuration, and a photograph is not an itemised list. Check separately for any sauna-specific internal lighting and for fittings to light the approach, entrance or resting area. Plan external garden lighting as a separate decision unless the confirmed inclusions say otherwise.
A useful evening scheme makes the approach clear, the entrance easy to use and the resting area comfortable without lighting the whole garden equally. Plan those zones around the chosen sauna’s confirmed layout, check what its configuration includes, and assess the result from the path, doorway and seat after dark. With fittings and controls specified for their actual locations, the lighting can support evening use without relying on glare or unnecessary brightness.
