
Positioning a Sauna Beside a Swimming Pool: What to Plan
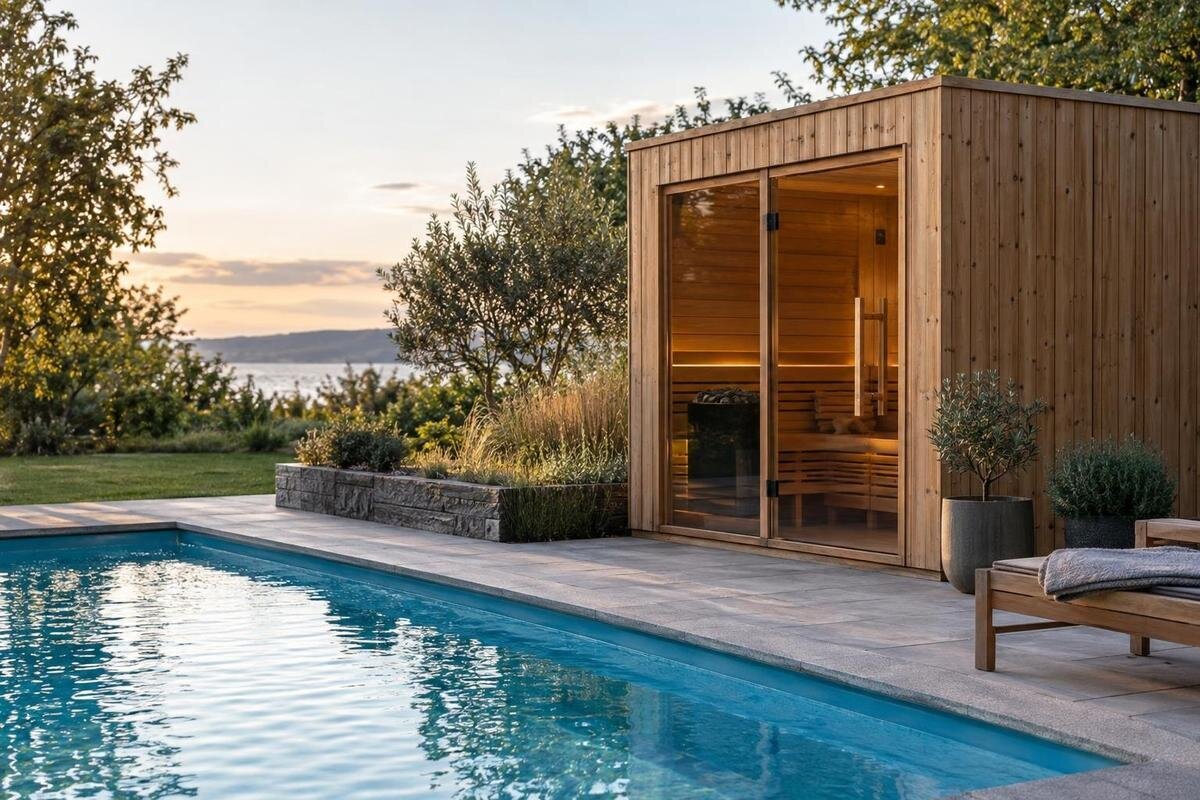
Poolside sauna planning
Placing a sauna beside a swimming pool can make both parts of a garden easier to use, but it also brings wet foot traffic, splash, drainage, equipment and safety decisions into the same area. The nearest open patch is not automatically the best position. Plan the route between water, sauna and changing space, decide how the surrounding surface and runoff will behave, and map service routes before fixing a location. Then ask appropriately qualified local professionals to review the complete proposal against the exact pool, sauna and site. This guide sets out what to measure and what to resolve first.
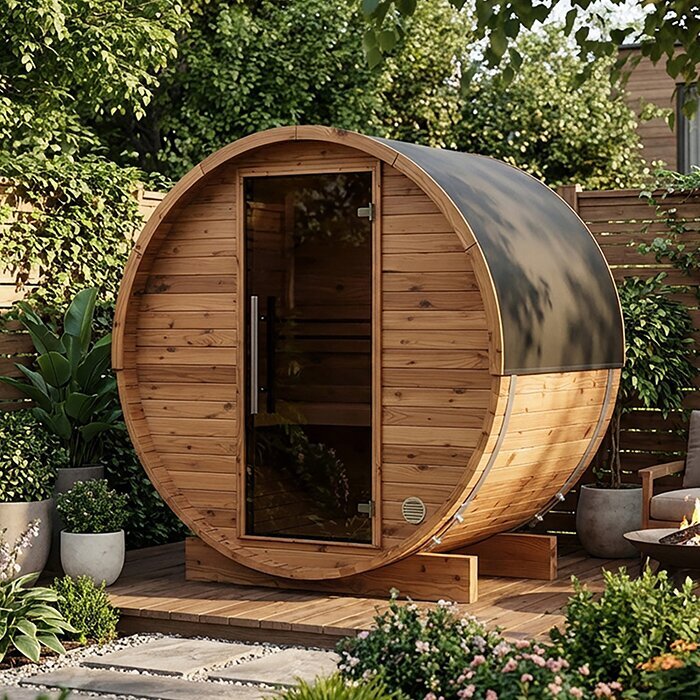
Measure the whole poolside area
Begin with a measured plan of the whole poolside area, rather than judging the gap by eye. Mark the pool edge and coping, existing paths, steps, gates, doors, fences, planting, drains, pool equipment and fixed seating. Include the approach from the house or changing area, not just the strip beside the water. Record where people currently pause, pass one another or carry towels. Also note whether gates, covers or doors need space to open. A corner that looks unused may in fact be the route to a gate, plant room or garden seating. Identify fixed obstacles and those you would consider moving.
At a candidate position, draw the sauna’s full external outline, its entrance and the clearances called for in current manufacturer information. Keep these separate from any catalogue area figure: area alone does not establish outside dimensions or the space needed around the unit. The listing for Sauna S-140, for example, gives an area of 1.93 m²; that figure is not enough to set a base or call the remaining strip a path. Add the route by which the sauna and installers will reach the position, including gates and turns. If the shortlisted model changes, update the plan before ordering paving or preparing the ground.
Keep everyday routes clear
Trace the journeys people will actually make: from the pool to the sauna, back again, and from the water to the house, changing area or seating. A route that works for one person may become awkward when several people are moving at once. Think about wet bare feet, towels and robes, and someone carrying pool equipment. Avoid making people cross the busiest part of the surround or walk close to the pool edge simply to reach the sauna. The shortest route is useful only if it remains clear and comfortable during normal use, not just when the garden is empty.
Mark the approach at full scale and allow people to arrive, pause, turn and leave without blocking pool access. Keep steps, gates, handrails, covers, rescue equipment and routes to pool plant clear, and preserve the access needed to clean or service equipment. If you are considering Sauna HC-150, compare its current drawing with the pool plan, then walk the proposed route. Test the layout with furniture in its usual position and allow for movable items such as pool-cover reels. Check whether the door or people waiting to enter would narrow a passage that is already busy, including when someone is coming in the opposite direction.
Choose a practical door position
Treat the sauna entrance as a small arrival space, rather than a point on a plan. Decide where someone will stand to open the door, put down a towel or robe, and step in or out. Consider whether another person can wait nearby without obstructing the pool route. Ask which way the door opens; do not assume its swing or choose a position based only on which side looks best. The threshold and the surface immediately outside it deserve particular attention because users may arrive wet and barefoot. A door that opens into a busy path can create repeated conflicts even if the sauna itself fits.
Check the opening area against fences, walls, furniture and any nearby gate, and confirm the door arrangement from information for the exact model. For Sauna HC-225, request a current drawing showing the entrance and door opening before settling the orientation. Ask the supplier to clarify any threshold detail that the drawing does not show, so the installer can plan the adjoining surface. Also check that entering does not require a step over a drain, a squeeze beside pool equipment or a turn onto an uneven edge. If two positions seem possible, mark both and walk the approaches before deciding.
Specify surfaces for wet, barefoot use
Choose the route for how it performs when wet, not only for its colour or appearance in a dry photograph. Rain, splash, pool treatments, sunscreen and frequent cleaning may all affect what the surface needs to withstand. Ask the supplier or installer for documented suitability for outdoor, wet and barefoot use, as well as cleaning and maintenance requirements. Do not assume that a finish described as textured is necessarily right for the conditions, or that a surface that feels secure when dry will do so after splashing. Consider how leaves, frost and routine cleaning could affect the route at different times of year.
Plan a continuous, stable path between the pool surround and sauna entrance, paying attention to level changes, joints, edges and thresholds where feet could catch. The base and surrounding paving may have different requirements, so do not assume one material suits both jobs. When assessing the Sauna N-210, obtain its confirmed external dimensions and base requirements, then ask a competent contractor to plan the adjoining paving and transitions. Consider whether an existing surface can be retained or whether connecting it to the new work would introduce awkward joints or levels. Agree who will maintain the finished route and how its condition will be checked over time.
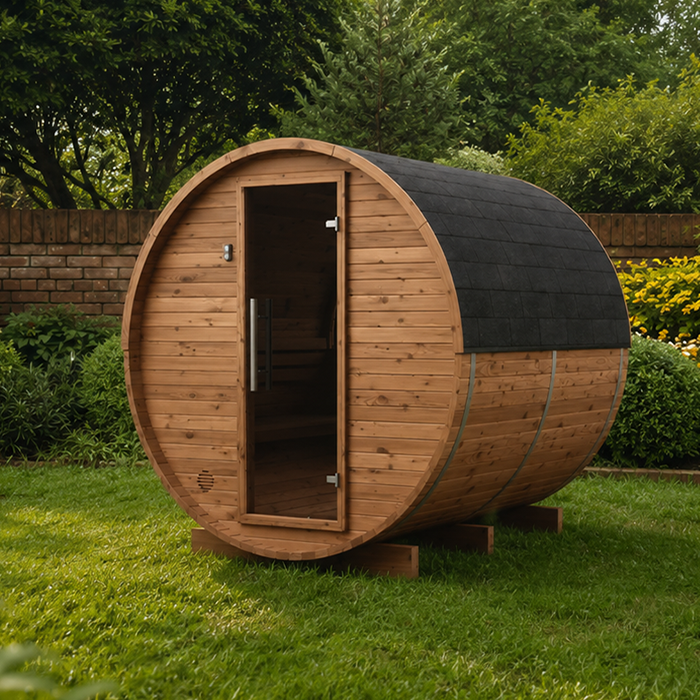
Plan drainage around the sauna
Walk the site after rain and note where water collects, where splash reaches and which way wash-down water runs. A low point can leave a route puddled or keep the ground around the sauna base persistently wet. Do not assume that existing falls, channels or pool drains can take runoff from a new installation; their purpose and suitability need to be checked. A drainage or landscaping professional can assess the proposed position alongside existing services and the intended destination for collected water. If you are unsure how the area behaves, observe it in different conditions before fixing the layout.
Show the drainage route on the same plan as the pool, sauna and services. Ask the installer what base arrangement the selected model requires, and ask the drainage professional how rain, splash and cleaning water should be managed around it. When planning around a shortlisted Sauna N-250, match the choice to current installation information rather than extrapolating from its name or a catalogue area figure. Confirm the intended discharge destination with the appropriate local professional or authority. Do not direct water towards the sauna, across a main walking route or to a place that has not been confirmed as suitable.
Have poolside services reviewed professionally
Planning a sauna beside a pool means considering any new electrical services alongside existing pool equipment and wet surfaces. Ask a qualified electrician with experience of swimming-pool environments to review the pool, proposed sauna, controls and service routes together. The electrician should work from current information for the exact sauna and heating arrangement and determine the requirements that apply to the installation. Do not choose a position using a generic diagram or a guessed separation distance: any applicable location limits and protective measures must be established professionally for the actual layout. Resolve this question while comparing positions, not after delivery.
Show existing pool equipment, proposed sauna services, control points, external lighting and any other services required by the chosen setup on the plan. Ask the relevant trades how routes will avoid obstructing pedestrian access and how future inspection or repair will be possible. For a shortlisted Sauna LC-260, provide the electrician with the current information for that exact model and heating arrangement; neither the model name nor an area figure specifies electrical requirements. Coordinate the review with the pool contractor so that existing equipment and planned sauna work are considered together. Do not leave decisions about service routes until paving or other groundworks are complete.
Check applicable local requirements
Before ordering or starting groundworks, ask which local planning, building, electrical, pool-safety, boundary or property conditions apply to this site and intended use. The answer may depend on the proposed position, nearby buildings, ownership arrangements and the way the pool area is operated. Do not rely on a general online statement that all garden saunas are treated alike. Contact the relevant local authority or building professional, and involve specialists who can assess pool and electrical aspects. Raise these questions while the layout can still be changed, rather than after committing to a base or a finished route.
Make the review practical by providing a site plan, the intended position, sauna drawings, door orientation, surface and drainage proposals, service routes and access around pool equipment. Ask reviewers to identify unresolved questions and clarify who will follow each one up. If Sauna HCF-300 is on your shortlist, include current information for that model; its name alone cannot answer a site-specific question. Also ask whether a landlord, site manager, insurer or another party with an interest in the property should be consulted. Keep a record of the advice and any changes needed before the layout is finalised.
Allow for ventilation and maintenance
Do not squeeze a sauna between the pool and a fence until you have checked the manufacturer’s requirements for the exact model. Required space may relate to operation, ventilation, assembly and later maintenance; it is not necessarily the same as a convenient walking gap. Review the current drawing and installation information, then ask the installer to confirm that the proposed position can meet them. A screen, planting or stored furniture could affect access or airflow, so include likely additions on the site plan. If you want to shield the sauna from splash, discuss any proposed screen or enclosure with the manufacturer before adding it.
Allow room for delivery and installation as well as later cleaning, inspection and repair. Check which parts of the sauna need to be reached according to the manufacturer’s instructions, and whether that working area would overlap a pool route or equipment access. For a candidate such as Sauna HCF-225, request the current model-specific information rather than borrowing clearance figures from another sauna because its name or appearance seems similar. Keep any required access available in everyday use, not only on installation day. A position that leaves no practical way to maintain the unit or nearby equipment is likely to cause problems later.
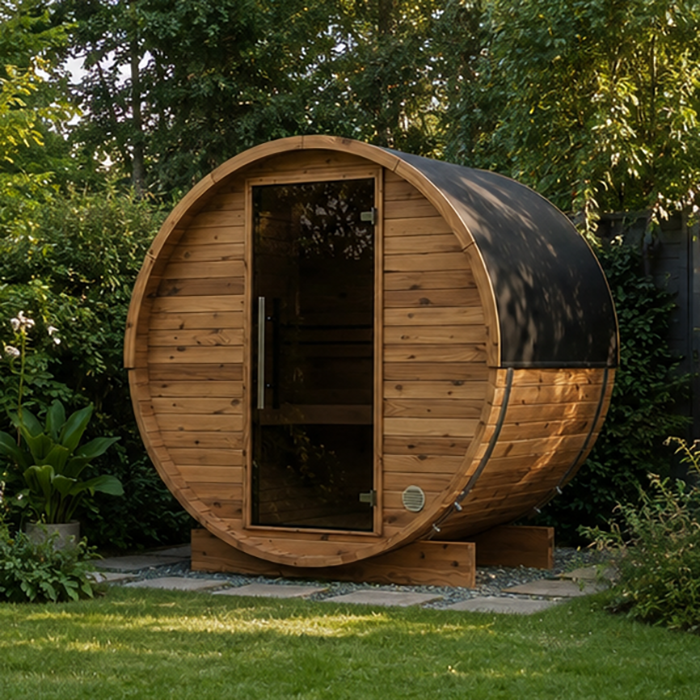
Balance privacy with pool supervision
Check sightlines from the places where the pool is normally watched. A sauna wall or screen might hide part of the pool, a gate or a point where people enter the water, so consider the view before choosing which side of the site to use. If visibility matters to the pool’s supervision arrangements, discuss the proposed layout with whoever is responsible for them. A clear view can help someone supervising the pool, but visibility alone is not a substitute for appropriate supervision. Keep access to safety equipment and exits visible and reachable, and consider what happens when the sauna door is open.
Privacy matters too, particularly where people will walk between the water and sauna or change a robe. Look towards neighbouring windows, the house and seating areas, and consider evening use as well as daytime. A screen or planting may help, provided it does not reduce ventilation, block a route, interfere with maintenance or affect a professional’s review. Decide where towels, footwear and personal items can be kept without narrowing the path. If the pool is shared, agree how people will move through the area so that one person’s privacy does not depend on blocking another person’s access.
Bring the layout together before installation
Before committing, combine the information into one plan showing the exact sauna outline, door and required clearances; pool edge; arrival and exit routes; wet-use surfaces; drainage; services; and access to gates, equipment and maintenance areas. Mark decisions still awaiting confirmation instead of filling gaps with assumed dimensions. A taped outline can help you test the footprint and route on site, but it is only a layout check, not a substitute for manufacturer information or professional review. Walk the route in both directions and check where people would pause, turn or meet. Do not count a space as both a required clearance and a usable path unless the installer confirms that arrangement.
Agree the order of work with the sauna installer, electrician, drainage contractor and pool professional, especially where their routes or groundworks overlap. Confirm delivery access, who prepares the base, when services are addressed and which checks need to be completed before the sauna arrives. Recheck the selected model, its current instructions and actual configuration against the final plan; information and local availability can change, so do this before ordering. If the model or site arrangement changes, ask who will update the drawings and repeat any relevant review. Keep the final layout and installation information together for future maintenance.
Frequently asked questions
How much space should I leave between the sauna and the pool?
There is no single distance that can be set reliably without the actual layout and equipment details. Check the sauna’s current installation information, allow for a clear route and required access, and ask a qualified local professional to identify any applicable limits for the pool and sauna together.
Can I put a sauna on the pool’s existing paving?
Do not assume the paving is suitable just because it is already there. Have the installer assess it against the chosen sauna’s base requirements, and separately check that the surrounding surface is appropriate for wet, barefoot use and drains as intended.
Does being near a pool affect electrical planning?
Yes. Ask a qualified electrician experienced in pool environments and sauna equipment to review the exact pool layout, sauna and heating arrangement. They must determine any applicable location limits and protective measures; do not rely on a guessed separation distance.
What should the route between the pool and sauna be like?
It should be clear, stable and suitable for people moving between the water and sauna with wet feet. Avoid pinch points, obstructed doors and routes that interfere with pool access, gates or equipment. The appropriate width and layout depend on the site and should be checked locally.
Do I need local approval before installing a poolside sauna?
That cannot be answered for every property or configuration. Before ordering or starting groundworks, ask the relevant local authority or building professional which requirements apply to your site and intended use. Include any pool, electrical, boundary and property conditions in that review.
Treat the pool and sauna as parts of one shared layout. The pool still needs clear movement, maintenance access and suitable oversight, while the sauna needs its own entrance, base, services and manufacturer-specified clearances. Work from information for the exact model, observe how water moves around the site and have the proposed surface, drainage and electrical arrangements reviewed locally. If the layout only works by assuming a dimension or using space needed for access, reconsider the position before groundworks begin. Resolving those details early makes it easier to coordinate both facilities without compromising their everyday use.
