
Planning a Sauna for a Wet or Humid Garden
OUTDOOR SAUNA PLANNING
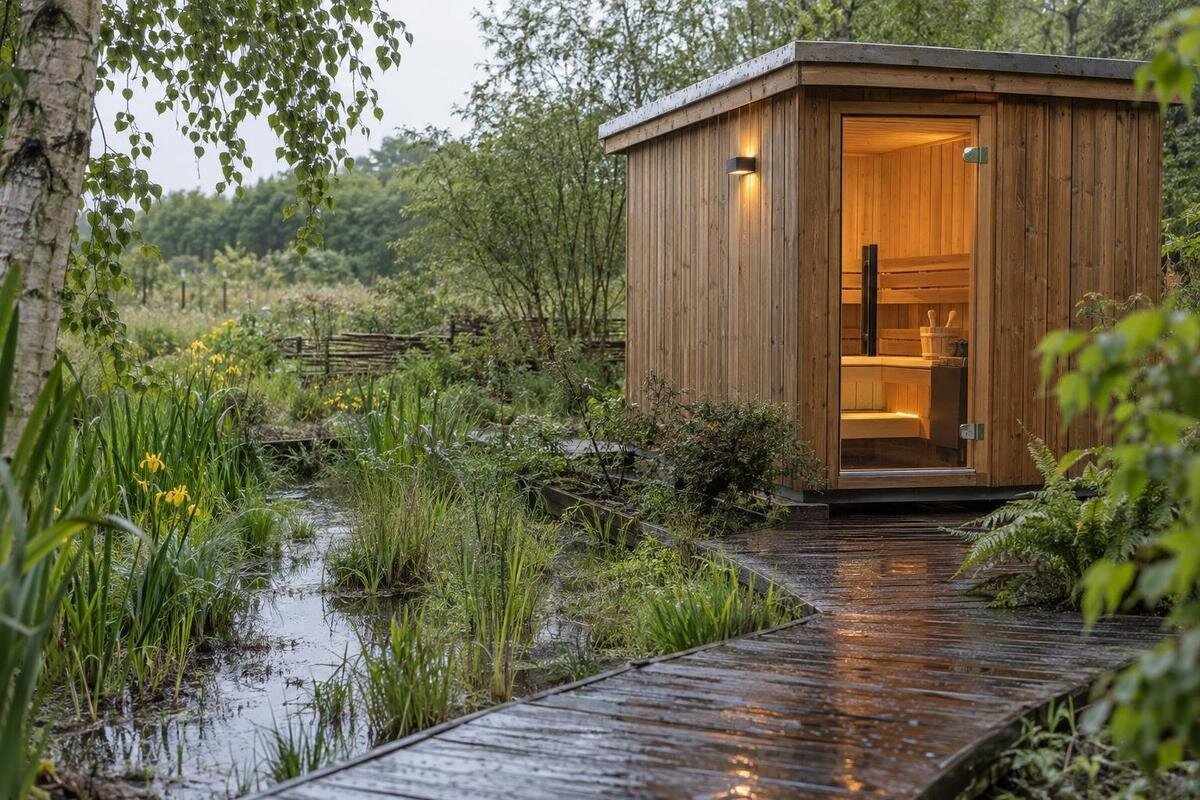
Persistent damp changes more than the spot where an outdoor sauna can stand. Water may arrive as surface runoff, collect in a low point, remain in slow-draining ground or linger because a location is shaded and enclosed. These causes call for different planning decisions. Assess the garden before preparing a base: trace water, check ground conditions, plan access for wet weather and use the exact sauna’s technical documents for clearances and ventilation. This guide concentrates on wet-site decisions rather than repeating a general ventilation manual. A product image or catalogue area figure cannot replace a site plan, and damp air is not the same problem as waterlogged soil.
Find out why the garden stays wet
Before choosing a model, establish what keeps the garden wet. Visit the proposed area in ordinary dry weather, after a shower and after prolonged rain. Note how long puddles take to disappear, whether the soil stays soft and which parts dry first. Water running across the surface from paving or a downpipe calls for a different response from ground that remains saturated without visible runoff. Shade and dense planting can also slow drying. Photograph the same points at different times and note the weather; a pattern is more useful than a single inspection on the day a delivery is planned.
Map the ground above and around the intended position, not just the spot where the sauna might stand. Look for roof outlets, paved areas, raised beds, irrigation, retaining edges and low points that could direct water towards it. Distinguish a short-lived puddle from an area that stays wet after surrounding ground has dried. Water may arrive from beyond the proposed footprint, so the visible puddle may not reveal its source. If the air feels humid but the ground is not waterlogged, record that separately: damp air and poor drainage are different planning issues. Ask a drainage or landscaping professional to investigate if the source remains unclear.
Choose a position using the whole site plan
Compare possible positions against water movement, access and the layout of the rest of the garden. A convenient spot may sit at the lowest point, under a downpipe or where runoff converges; an existing patio may still hold puddles or direct water towards its edge. Look for a position that can remain accessible without collecting water around the base. Moving uphill, turning the sauna or raising a platform will not necessarily resolve every site issue. Plan any changes to levels so that they do not trap water beside the structure or transfer the problem to another part of the garden.
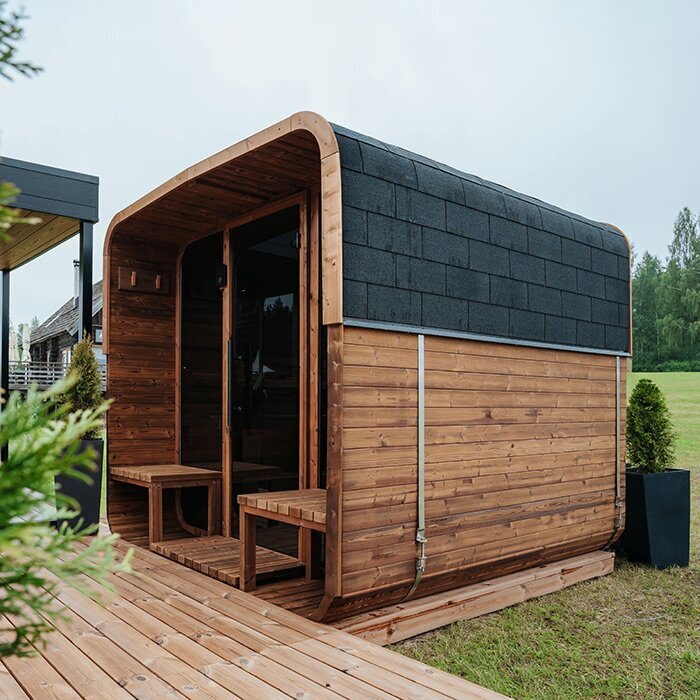
Sketch the full proposed layout before settling on a position. The listing for Sauna N-210 shows an area figure of 4.43 m², but the external dimensions and required clearances must come from the drawing for the exact configuration. Mark the sauna’s outline alongside paths, drains, fences and trees, including the entrance and space for maintenance. Compare alternative positions on the same plan so that the trade-offs are visible: one may offer a drier approach, while another leaves better access to existing drainage. Include any space needed to open the door without stepping into planting or a low point where water collects. Keep existing drains accessible rather than placing the sauna over a cover that may need to be lifted. This gives you a usable layout, not just an outline that fits within the garden.
Check the ground before choosing a base
The appearance of the surface is not a specification for a sauna base. Compacted fill, soft ground, clay or an area that stays wet can call for different assessments, and conditions can change across a small garden. Check how the proposed spot behaves after a spell of wet weather, not just during a dry summer visit. If the area has standing water, recent landscaping, retaining structures or noticeable movement, do not choose a foundation by copying a neighbour’s shed or patio. Ask a competent groundworker or installer whether further assessment is needed before settling on a support system.
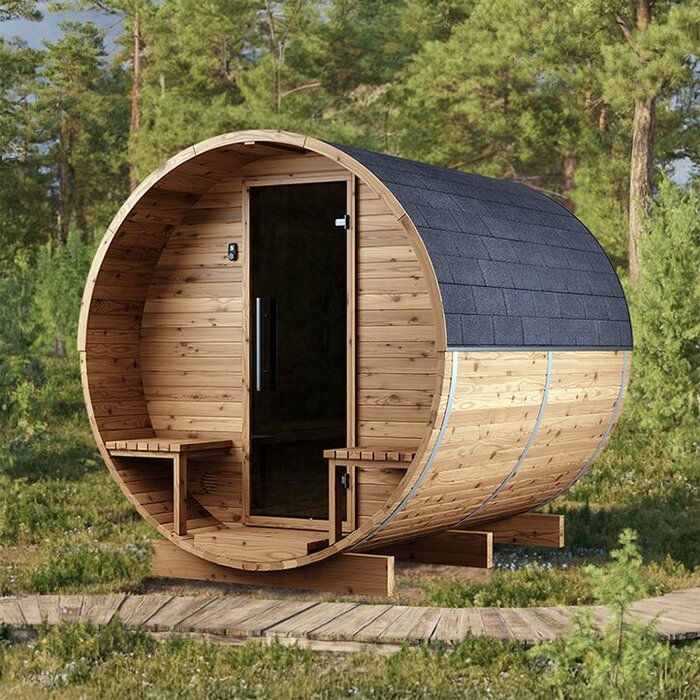
For a model such as the N-250 Thermowood barrel sauna, request the manufacturer’s base requirements before asking for a quotation for groundworks. The installer needs the specified support arrangement, level tolerances and fixing details, not merely a catalogue area. Give the groundworker your observations about standing water and any information you have about previous excavation or fill. Ask the quotation to distinguish ground preparation, the base itself and drainage work, so that responsibility for each part is clear. Where an existing slab or patio is being considered, have its condition and suitability assessed rather than assuming that a hard surface is sufficient. Confirm who will check the finished base against the sauna’s requirements before assembly. That check is easier to arrange in advance than after the delivery has arrived.
Manage runoff and splash around the sauna
Trace water from roofs, paved areas, paths, hoses and irrigation before deciding whether drains or channels are needed. A roof edge can drip onto the proposed base even when the rest of the garden appears dry, while paving may concentrate runoff into one corner. Identify where collected water would go; a channel without a suitable outlet may leave the underlying problem untouched. Gravel laid over a saturated layer may also fail to address the source. If you are considering a soakaway or other drainage work, ask a drainage professional whether it suits the ground and has a workable destination.
Consider splash as well as standing water. Rain can bounce from paving or a path, and sprinklers or regularly used hoses can keep the area wet. When reviewing Sauna LC-260, use its exterior drawing and installation guidance to assess the relationship between the sauna, surrounding surfaces and any proposed drainage. Look at roof-water discharge separately from water crossing the ground; both may affect the same edge of the base. Ask the supplier how roof water is managed in the chosen configuration rather than assuming that gutters or other fittings are included. Keep soil, bark and stored materials from accumulating against the structure, and leave drain covers reachable for cleaning. Check hose and irrigation positions too: routine garden watering should not repeatedly soak the sauna’s exterior or discharge onto the entrance path.
Leave room for exterior airflow and maintenance
Plan open space around the outside so that you can inspect the structure and carry out the maintenance set out in its instructions. A tight gap between a sauna and a hedge, fence or wall can make the exterior difficult to reach; dense planting can also hold leaves and debris against surfaces. Do not assume that a particular gap is suitable for every model. Check the manufacturer’s clearance requirements and include practical access for inspection, cleaning and any work by an installer. If the site is already shaded and slow to dry, avoid making it more enclosed without checking the consequences.
Use the drawing for Sauna HCF-300 to plan the surrounding space before fixing the position of hedges, fencing, paving or storage. Mark the manufacturer’s required clearances first, then consider how someone will reach each side to inspect and maintain it. A gap that can be seen from the path may still be too awkward to work in, particularly beside a thorny hedge or behind a fixed screen. Allow for planting to grow rather than assessing only its size on installation day. Removable screening may offer access, but it still needs to respect the specified clearances and openings when in place. Outdoor air circulation is separate from ventilation inside the sauna; neither a spacious garden nor an open view confirms that the internal ventilation arrangement is correct. Keep both questions visible on the layout.
Follow model-specific ventilation guidance
Treat ventilation inside the sauna as a separate technical question from airflow around it. A humid garden is not, by itself, a reason to enlarge, move, cover or improvise ventilation openings. Their position and use should follow the manufacturer’s guidance for the exact model and configuration. Use that technical information for opening locations and operating details; this site-planning guide is not a substitute for a ventilation manual. If a wall, fence or other site feature appears to conflict with the specified arrangement, ask the installer before building around it.
For Sauna HCF-225, ask for the ventilation and operating guidance that corresponds to the configuration you intend to order. Check that the documents identify the sauna and the proposed heater arrangement, rather than using instructions for a similar-looking model. Have the installer explain how the specified openings remain unobstructed once fences, screens and other garden features are in place. Also locate the manufacturer’s instructions for drying after use and distinguish them from advice about protecting the exterior from rain. Heating the sauna should not be treated as a remedy for water collecting around its base. If a heater, flue or electrical connection is part of the installation, the relevant qualified installer should review those requirements separately. Keep the applicable documents together so that installation and subsequent use follow the same guidance.
Plan a reliable route for wet weather
A garden route that works in dry weather may become muddy, puddled or difficult to use after rain. Plan a stable path with a surface that remains suitable when wet, and consider how people will approach the entrance while carrying towels or other items. Avoid creating narrow pinch points, trip hazards or a route that requires crossing a persistent puddle. Check the levels and drainage of the path with the wider layout so that it does not channel runoff towards the sauna. Take the needs of everyone who will use the space into account.
Confirm delivery and assembly access for Sauna S-140 before designing the permanent path. Ask how the chosen configuration will arrive, what route the delivery team needs and which measurements they require from you. Record gate openings, tight turns, overhead obstructions and any steps, rather than judging access from the product photograph. On a damp plot, also discuss whether the delivery route crosses soft lawn or an area that regularly floods. Agree any temporary access arrangements with the supplier and the contractor responsible for the ground; do not assume that the everyday footpath will suit delivery equipment. Keep construction access separate from regular use in the plan. Once installed, the entrance should be approachable without leaving towels or footwear in a puddle, and any external lighting should be planned with an appropriate installer.
Check care requirements for a damp setting
Damp surroundings make it important to understand how the sauna’s exterior should be inspected and maintained. Ask what the manufacturer says about surface care, nearby vegetation and keeping soil or debris away from the structure. Do not assume that a product name, appearance or finish label proves suitability for a persistently wet location. Check the model’s own instructions for care and any limits on placement. This lets you plan practical access for routine attention instead of relying on a general claim about how a material behaves.
When considering Sauna HC-150, obtain its maintenance guidance and use it to judge whether you can realistically care for it in the proposed position. Find out which exterior areas need inspection, which cleaning methods are permitted and whether any specified treatment requires particular weather conditions. Access matters here: a side pressed close to planting may be difficult to clean or examine even if the entrance is convenient. Keep a simple record of inspections and photographs of areas that remain wet after the rest of the exterior has dried. These records can help the supplier understand a developing concern without relying on a vague description of dampness. If you notice a change, seek model-specific advice before applying a coating or sealant; an unapproved treatment may not address the source of moisture.
Review the installation plan before preparing the site
Bring the layout, ground observations and product documents together before laying paving or changing levels. Mark the sauna’s external dimensions, entrance and required service access, then show paths, drainage routes, planting and nearby structures on the same plan. Check how the proposed position fits the manufacturer’s requirements for the base and ventilation. If the planned heater or services have their own installation needs, include the relevant qualified installer in the review. This helps reveal conflicts while the position can still be changed, rather than after a hard surface or fence has been built.
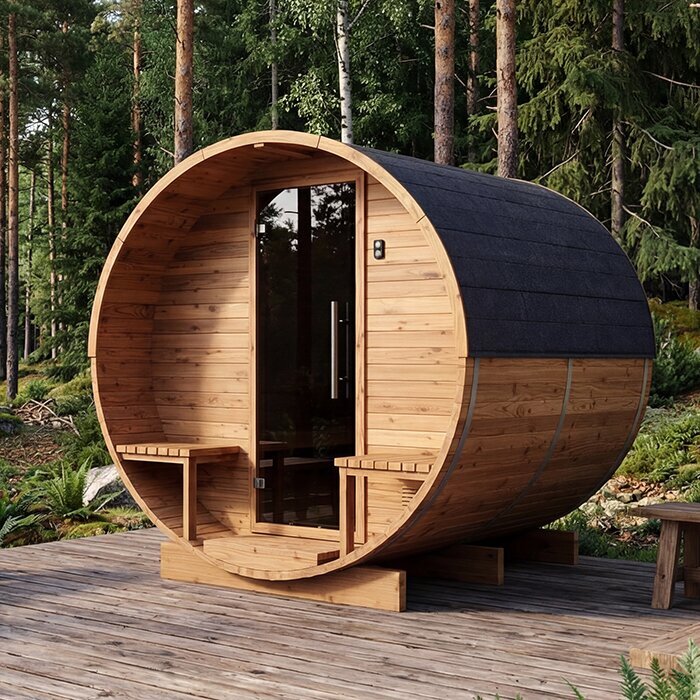
For Sauna HC-225 Thermowood barrel sauna, confirm the exact configuration and what is included in the order before finalising the site-work quotation. Separate the sauna supply from any base, drainage, path, service connections or roof-water fittings that require their own agreement. Give each contractor the same current layout and relevant manufacturer documents so that one trade’s work does not obstruct another’s access. Establish who will confirm the base is ready, who will review the drainage arrangements and when the delivery route must be clear. Record any unresolved points in writing, especially where the supplier and groundworker need information from each other. A clear division of responsibilities helps avoid discovering that a necessary part of the damp-site plan was outside everyone’s quotation. Settle those gaps before paving or other permanent work starts.
Check drainage after site work and through the seasons
After drainage or level changes, revisit the site when it rains rather than judging the result only by its dry appearance. Compare the water routes with your original notes and photographs. Check whether a former puddle has disappeared or simply moved towards the planned entrance, another edge of the base or a neighbouring path. Where a contractor has carried out drainage work, report persistent pooling and ask them to review it before the sauna is installed. Continue observing the area through wetter periods: a brief shower does not show how it behaves after several days of rain. These observations do not replace a ground assessment, but they help establish whether the work has addressed the problem it was intended to solve.
Once the sauna is in place, include its surroundings in routine garden checks. Leaves can collect around drainage points, planting can narrow an access gap, and new paving or a relocated downpipe can change where water flows. Follow the relevant maintenance guidance when clearing or caring for these areas, and keep required openings unobstructed. If dampness becomes more persistent, compare conditions with your earlier records before assuming that the sauna itself is the cause. Note whether the change followed landscaping, a blocked outlet or a prolonged wet spell, then take the evidence to the appropriate installer or drainage professional. Reviewing the surroundings when the garden changes is more useful than treating the original site plan as permanently settled.
Frequently asked questions
Can I put an outdoor sauna on a lawn that often becomes waterlogged?
Do not assume the lawn is a suitable base just because it looks level. Repeated waterlogging is a reason to check the ground and the sauna’s installation requirements before deciding on a support system. A groundworker or installer can assess whether the proposed position needs further investigation or a different location.
Will a gravel layer solve drainage around a sauna?
Not necessarily. Gravel cannot by itself correct water arriving from elsewhere or ground that stays saturated, and it needs to be considered as part of the specified base and drainage plan. Find out where the water will go and follow the manufacturer’s requirements rather than adding a layer by guesswork.
Should I add or alter ventilation because my garden is humid?
Do not alter ventilation solely because the garden is humid. Outdoor air movement around the sauna and ventilation inside it are separate matters. Follow the exact model’s manufacturer guidance, and do not move, enlarge or block openings based on the humidity outside. Ask the installer to review the layout if the site prevents the specified arrangement.
How much space should I leave around a garden sauna?
There is no single clearance that suits every model and site. Check the manufacturer’s drawing and instructions for the chosen sauna, then allow for the stated installation and service requirements as well as access to inspect and maintain the exterior. Include nearby fences, planting, drains and paths in the plan.
What should I have before preparing the site?
Get the drawing and installation guidance for the exact model and configuration. Check the external dimensions, base requirements, clearances, ventilation details and access needed for delivery and use. Record where water collects or flows, and confirm the ground and drainage plan with an appropriate professional if conditions are unclear.
There is no single drainage detail that suits every damp garden. A sound sauna plan brings together the source and route of water, the ground and base requirements, exterior access, wet-weather paths and the chosen model’s technical guidance. Resolve uncertainties before preparing the site, and check how any drainage work performs in rain. The aim is a position that remains practical to reach, inspect and maintain when the garden is wet, not just one that looks suitable on a dry day.
