
Setting Up an Art Studio in a Summer House: Light, Surfaces and Ventilation
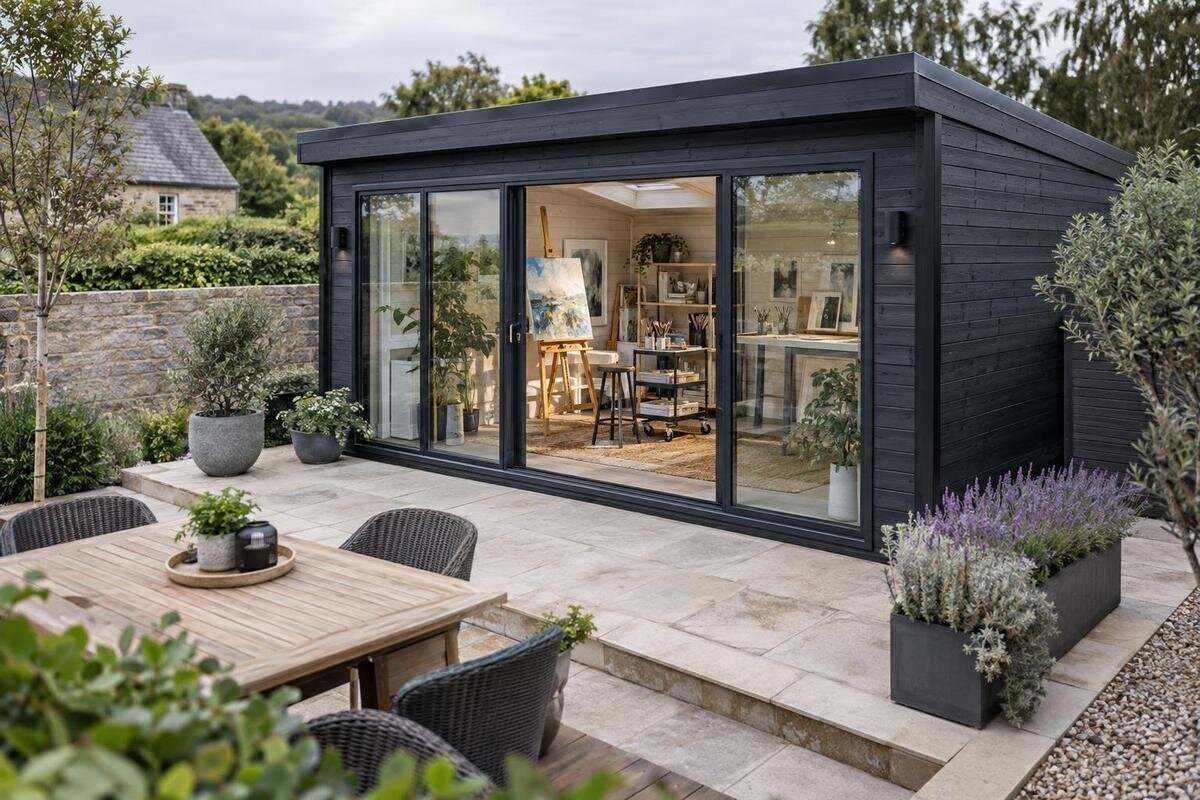
Summer-house art studio
Turning a summer house into an art studio is less about adding a desk than arranging a working environment around the way you make art. The space needs usable light, surfaces suited to your materials and ventilation that works while you paint or make. Before choosing a building, map the tasks, equipment and movement the room must support, then compare its stated details with that plan. This guide covers the practical decisions, from observing daylight to checking product information before ordering.
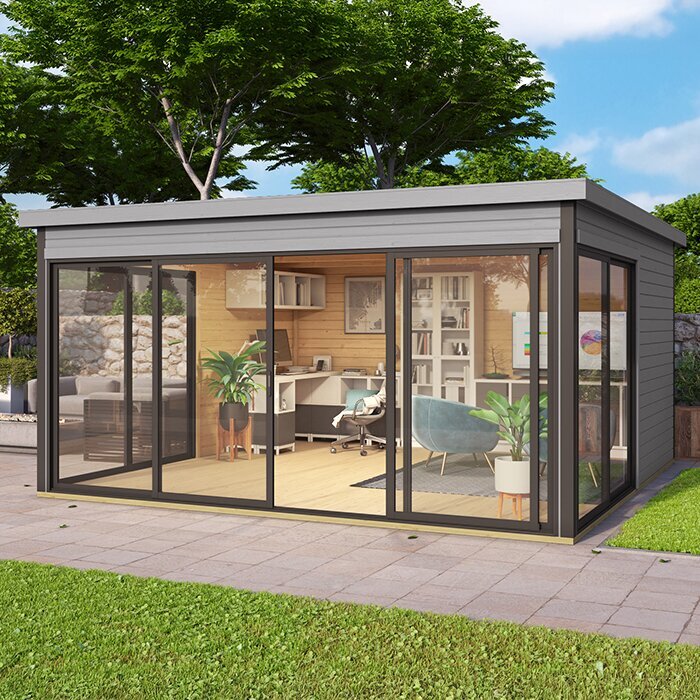
Before you order 1
Define the work before choosing the room
List the processes your studio needs to accommodate before settling on a layout. Drawing or watercolour may call for a broad, even surface and space to sit; canvas work may mean standing with an easel; making may need room to handle tools and work in progress. These are examples, not assumptions about what your studio will contain. Write down your regular activities, the largest piece you work on and any stage that produces dust, splashes or vapour. This makes it easier to distinguish essential facilities from equipment you use only occasionally.
Turn that list into a brief for the room. Decide whether work needs to stay set up between sessions, whether you need to move freely between a bench and an easel, and where clean preparation can happen without interrupting a messy task. Consider how many people will work there and whether you need to carry completed pieces out without shifting equipment. Include storage only insofar as it affects the active work area: materials waiting to be used, tools that need immediate access and work that must remain undisturbed all take up real room. A clear brief helps you compare buildings on practical fit rather than appearance, and gives you a useful reference when checking dimensions, openings and other details.
Measure the usable floor area
Draw the interior footprint to scale and place the largest equipment first, not just a nominal workbench. Allow for an easel in use, a chair pulled back, standing room, a trolley and access to any work surface. Door movement, window sills and wall projections can reduce the area that works in practice. If pieces need to lie flat, include the full working surface and consider whether you can bring it through the doorway. A room may look spacious in a photograph yet leave little clear floor once your equipment is in position.
Mark the door, openings and equipment on a full-size paper plan, or use tape on the ground to test the layout. When comparing options such as the Verdana 1 garden house listing, check the stated internal and external measurements for the exact version; the outside footprint does not show how much clear working area you will have. If plans or measurements are missing, ask for them before ordering. Also note the clearance needed to turn through the entrance with a framed canvas, sheet material or a trolley, rather than measuring only the item at rest. Leave enough room to approach each station and move between tasks without relocating the main pieces of equipment.
Before you order 2
Assess daylight at the garden-house site
Observe the proposed location at the times you expect to work. Note direct sun, shade from trees or nearby structures, and reflections from glass or pale surfaces. A window’s aspect alone cannot tell you what will reach the work area: changing daylight, obstructions and your working hours all matter. Visit more than once if you can, and make a simple note or sketch of where bright patches and shadows fall. Assess the light where the easel or bench would actually stand, not only from outside the building.
Natural light changes during the day and can create glare or strong contrast across a canvas or drawing board. Try different positions for your main work surface before committing to a layout, and consider whether direct light will make colour comparison difficult. More glazing does not automatically mean even or controllable light. Think about how you could soften or redirect troublesome light without permanently blocking the daylight you value, and keep the likely position of screens, reflective palettes and glazed artwork in mind. For a candidate such as the Verdana 2 garden house listing, look for a plan or written details showing the openings, then judge those details against the conditions at your site rather than relying on a staged photograph.
Combine general and task lighting
Plan for both general room lighting and a movable task light. General lighting helps you move around and prepare materials; a lamp you can reposition brings light closer to detailed drawing, painting or making. Place it so your hand or body does not cast a troublesome shadow across the work, and check for reflections on glossy surfaces. An adjustable lamp can also be useful when you switch between a broad canvas and fine detail, without tying every task to one fixed light position.
Colour judgement can change under different light sources, so look for clear information about a lamp’s colour rendering and test it with your usual materials if possible. Keeping the task light consistent can make comparisons easier than relying on daylight alone. Consider where the lamp base, cable and switch will sit, so the light can be adjusted without crossing a main route or crowding the working surface. When reviewing the Durano garden house listing, use confirmed measurements and opening positions to sketch where a lamp and workstations might go; do not infer electrical provision from an image. If you need new fixed wiring, have a qualified electrician assess and carry out the work.
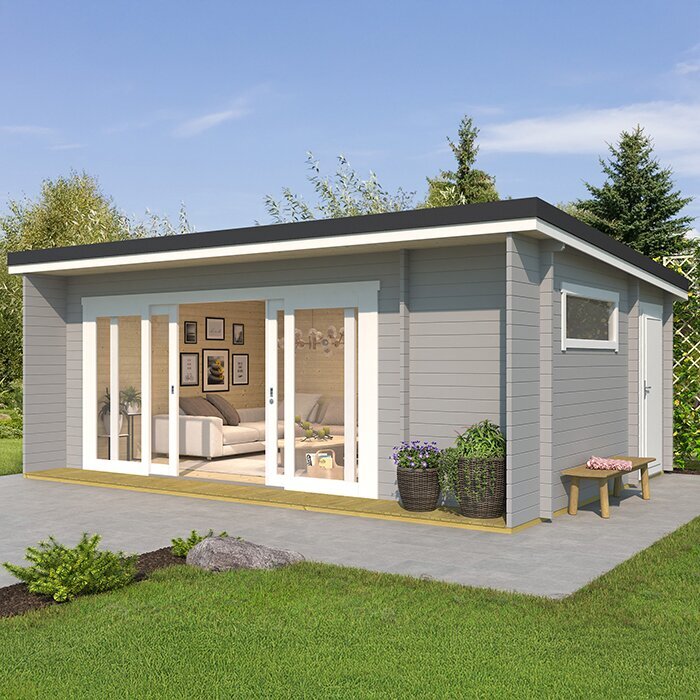
Before you order 3
Match work surfaces to your media
Choose work surfaces for the processes you actually do. Drawing benefits from a stable, even board; wet media may call for a replaceable cover that is straightforward to clean; three-dimensional work may need more depth and room to handle materials. Consider whether you work seated, standing or both, and try the height with your own equipment before making it permanent. A single desk is not necessarily the answer if your practice alternates between a flat surface and an easel.
Map each worktop with its full working position, not just its outline, and leave space to approach it comfortably. Consider where water containers, palettes, cutting mats or reference material will sit while you are actually working, as these can quickly reduce a nominally generous top. When assessing the Veltor 1 garden house listing, compare confirmed internal measurements with your bench, easel and the room needed to use them together. Check separately what is known about the floor and wall construction if equipment weight or fixings matter; ask the supplier or a qualified professional when suitability is unclear. Choose protective covers and cleaning products in line with the instructions for the materials they will touch.
Protect floors, walls and work in progress
Identify where paint, ink, glue, dust or small tools are most likely to reach the building. Removable mats or protective boards can help keep a defined work zone easier to clean, provided they lie flat and do not obstruct a route through the room. Check that any covering is compatible with the surface beneath it, and test tape or coatings on an inconspicuous area before using them widely. Keeping protection specific to the likely mess is often more practical than covering every surface without considering how you will use it.
Plan where finished pieces can rest while they dry, and keep that area clear of door movement, busy work surfaces and unnecessary handling. Allow for the actual footprint of a drying rack, boards laid flat or pieces propped upright, as well as the route needed to place work there safely. Before choosing paint, adhesive, hooks or wall protection, find out what interior finishes are included and what changes the product documentation permits. For the Orello 1 garden-house listing, check those details rather than assuming that tape or fixings will suit the walls; ask if the information is not stated. Keep drying work accessible without blocking openings or the route through the studio.
Before you order 4
Plan ventilation around the materials
Make an inventory of the materials and processes you expect to use, including any that produce vapour, dust or spray. Read their labels and instructions for ventilation requirements; needs can differ between products, so a general assumption about painting is not enough. If you will change your practice over time, consider the materials you are most likely to use and avoid treating occasional open windows as a complete plan for every activity. This check can help establish whether ordinary openings are appropriate or whether the work needs a more specific assessment.
Check which doors and windows can actually be opened and where they sit in relation to the work area. A glazed panel is not evidence that it opens, and a product image cannot establish how air will move through an occupied room. Think about whether opening the available windows would interfere with where you need to place work, dry pieces or store materials, since an opening that cannot be used during a task may not support the planned routine. For a candidate such as the Modano 1 garden house listing, verify the opening details in the supplied information or ask the seller. If the instructions for a material call for local extraction or other specialist measures, ask a qualified professional to assess the arrangement rather than improvising an installation.
Check airflow against the way you work
Air movement also affects the work itself. A draft can lift loose paper, disturb lightweight materials or carry dust towards a piece that is drying, while too little usable airflow may make a planned process impractical. Place delicate work away from a direct stream from an opening and keep dusty tasks separate from clean surfaces where possible. These choices depend on your materials, so test the arrangement with the equipment in place rather than deciding from an empty-room plan.
Make sure you can reach and use the openings without shifting an easel or workbench, and consider whether your routine still works when the room is in normal use. Notice whether a breeze crosses a surface used for loose paper or passes directly over work that needs to dry; a different furniture position may reduce disruption without sacrificing access. For the Veltor 2 garden house listing, check the documented opening positions and intended use rather than inferring airflow from the model name or an image. If you expect to work in different seasons, verify that the building details and your ventilation plan suit that use; do not assume a summer house is designed for year-round studio work.
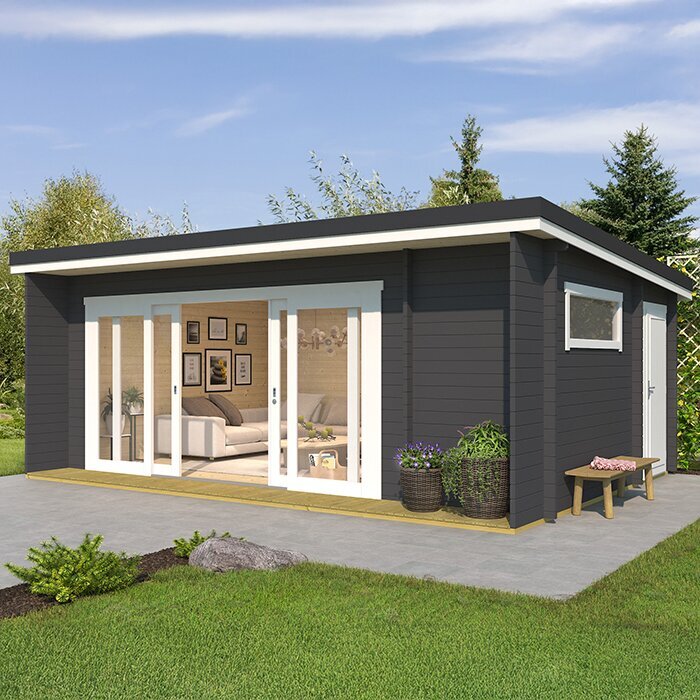
Before you order 5
Verify the building details before ordering
Compare the product’s stated measurements with your site, planned layout and access route. Check whether dimensions refer to the external footprint or usable interior, where doors and openings are positioned, and whether the information applies to the exact model and version you intend to buy. Review the stated requirements for the base, assembly and site preparation, and confirm any points that are unclear with the supplier or a qualified installer. Do not estimate these details from photographs or from a different model in the same range.
Also check the details relevant to your intended use, such as what is stated about the floor, interior finish, glazing, ventilation and suitability for the conditions in which you plan to work. Keep notes for each option in the same format, separating confirmed specifications from questions still awaiting an answer. Before placing an order, confirm what is included, what may need to be arranged separately, and whether the parts can reach the chosen site. When comparing the Veltor 3 garden-house listing with other options, record the verified details alongside your layout; if a specification is not provided, ask rather than treating it as a given.
Test the layout before settling in
Before buying permanent furniture or arranging a full fit-out, mock up the main stations with boxes, a temporary table or taped outlines. Try the path between them, open doors and windows, and check whether you can move a canvas or board into position. Observe the light at the times you expect to work and adjust the easel or bench if shadows or reflections interfere. A short trial with your actual equipment can reveal awkward clearances that are easy to miss on a drawing.
Once the building is in place, test the studio with a normal working session and the materials you plan to use. Check that lighting reaches the work without creating distracting glare, surfaces are practical to clean, and the ventilation arrangement remains usable while you are working. Note any points where you repeatedly have to move a chair, turn a work surface or clear a route, because these small interruptions often indicate a layout worth revising. Make small changes to movable furniture or protective covers before committing to fixed choices. Revisit the layout when your practice or equipment changes, so the room continues to support the work rather than accumulating arrangements that no longer help.
Frequently asked questions
What should I prioritise when choosing a summer house for an art studio?
Start with usable internal space, opening positions and the equipment your practice needs. Then assess daylight at the hours you expect to work and check the building’s stated details against your intended use. An exterior photograph or model name alone cannot confirm that the room will suit your layout.
Is a large glazed front automatically best for an art studio?
No. Glazing may bring in daylight, but its usefulness depends on the site, shading, glare and where you place the easel or workbench. Check the actual opening positions and observe the light at your chosen work area; plan adjustable lamps for times when daylight changes.
Can I rely on daylight for colour work?
Plan for artificial lighting as well, since daylight changes with the time and weather. A consistent task light can help you review work when natural light shifts. Test a suitable lamp beside your usual materials and work surface before deciding where fixed lighting should go.
What ventilation does a summer-house painting studio need?
It depends on the processes and materials you use. Read product labels and instructions for ventilation requirements, then check that the building’s usable openings or any specialist extraction plan can meet them. If local extraction is specified, ask a qualified professional to assess it rather than assuming a window opening is sufficient.
How can I protect the interior from paint and making materials?
Use removable work mats or protective boards where splashes and marks are most likely. Check that they suit the interior finish and cleaning products, and test tape or coatings discreetly before wider use. Keep paths and openings clear, and protect work as it dries from dust and disturbance.
A summer-house art studio works best when its layout follows the demands of your own practice. Measure around real equipment, assess light at the site, choose surfaces you can protect and clean, and make ventilation practical for the materials you use. A drawing workspace may need a different arrangement from one used for wet painting or dusty making. Once those needs are clear, it is easier to judge whether a building’s documented details support the work you want to do.
