
Summer House Office Desk Placement: Daylight, Glare and Video Calls
Summer house office planning
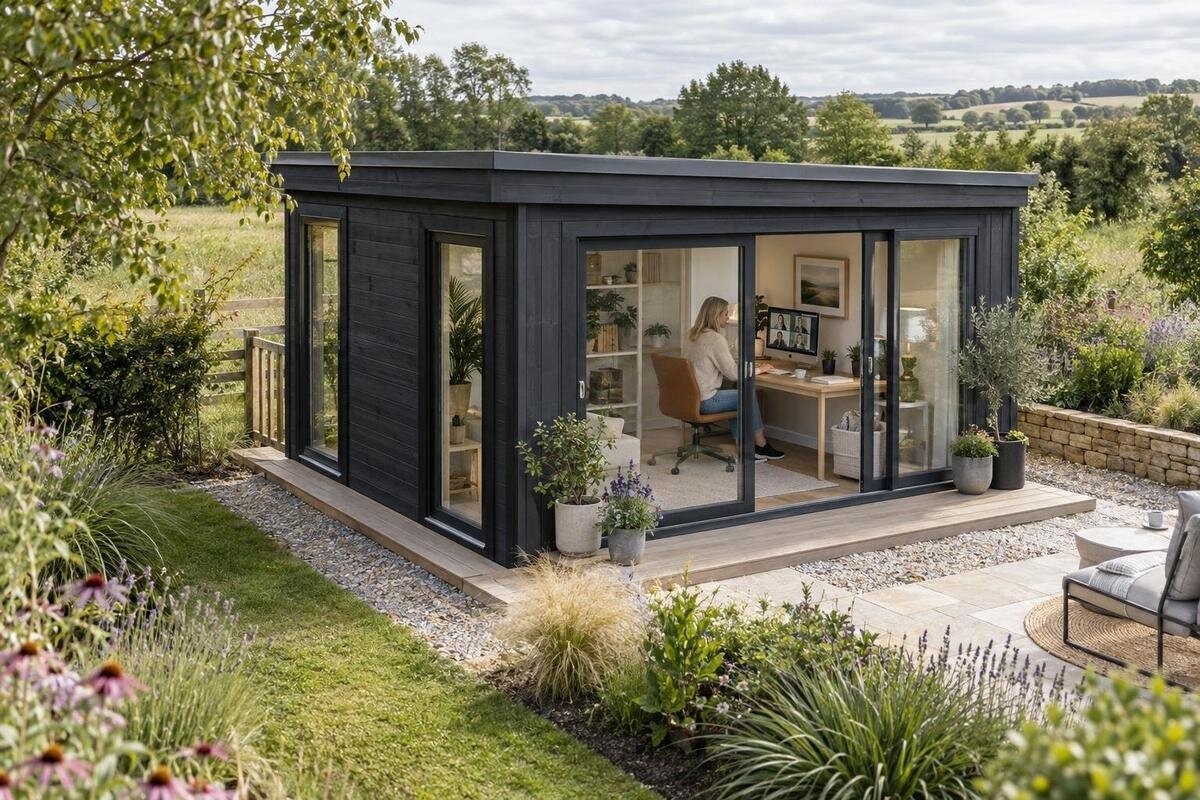
Summer house office desk placement is less about finding the brightest corner than controlling where light falls. A window can make a room pleasant to work in yet reflect across a screen, while a bright opening behind you can dominate a video-call picture. The most reliable layout comes from checking the site at your working hours, testing the desk, screen and camera together, and confirming what the chosen garden house actually provides. If you are still comparing options, use the intended desk position to judge window locations, usable floor area and the information you need before ordering, rather than relying on a staged photograph.
Map daylight at the hours you will work
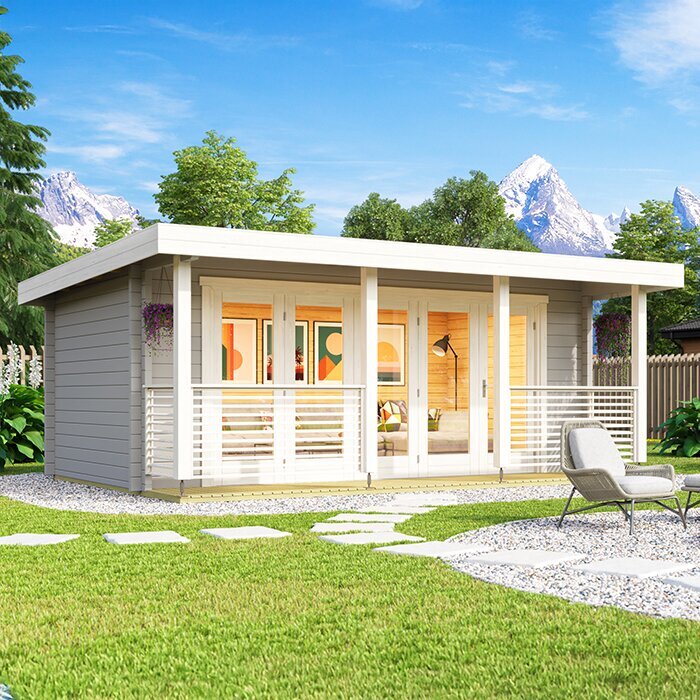
Start with the site, not the furniture catalogue. Mark the likely position of the summer house and note morning and afternoon light, along with trees, fences and neighbouring buildings that cast shade. Visit at the hours you expect to work, ideally on more than one date. The sun’s path changes through the year, so a bright summer afternoon will not predict a winter morning. Record when direct sunlight reaches the proposed desk area and when it moves away. Also note the brightness through each likely window: a broad sky view can affect the display even without direct sun. Keep a short note of the time and weather rather than relying on one sunny visit.
Make a rough floor plan with openings, desk, chair and monitor marked. A temporary table or tape outline can show whether direct sun reaches the seat and whether the camera faces a bright patch. Revisit the position at your usual call times. When considering the Verdana 1 garden house, check its actual opening positions and internal measurements in the product information; ask if they are unclear. A staged image cannot establish how a particular room will receive light on your site. If the building could be turned, sketch each plausible orientation.
Keep the monitor out of the window's reflection
Use the monitor as the reference point. Facing it towards a window can put a bright opening in your field of view, while a window behind the monitor may reflect on the display. First test a position with the window to one side of the screen. This is not a fixed rule: the sun, room shape and other bright surfaces alter the result. Glare can come from a pale sky reflected in the glass as well as a sunbeam. Sit at your normal working distance and check the display with ordinary work on screen, not just a blank monitor.
Turn the desk or monitor a little at a time and look for reflections from the glass and bright sky outside. Check at different hours, as a workable morning position may become uncomfortable later. If you use a laptop beside a larger display, check both surfaces. A small monitor adjustment may help without moving the desk, but leave room for the keyboard and for reaching window handles or controls. Note when reflections are worst so that any shading addresses the real problem.
Position yourself for balanced video-call light
Video calls add a second problem: the camera sees your face and background together. If a bright window is directly behind you, automatic exposure may favour the outside view and leave your face dark. A window broadly to one side or slightly in front is often useful to test. It can light your face without placing the opening squarely behind you, though direct sun may still create harsh contrast. Do not rely on compass direction alone: sit at the desk and inspect the preview. Moving the chair slightly can change the light on your face, so try several positions before relocating the desk.
Set the camera where you expect to use it, open a preview and sit as you would during a call. Move the chair or turn it slightly until your face is clear and the background is not a bright rectangle; then check that the monitor remains comfortable to view. Try this at the hours your calls usually happen, because the light can differ sharply from the time you first inspect the room. If your shortlist includes the Verdana 2 garden house, compare the product's documented openings with the direction you would sit and face, asking for a plan or clarification if needed. A short test call, or another person's view of the preview, can reveal exposure issues that are hard to judge from the desk.
Check trees and buildings around the proposed site
Look beyond the building walls. A mature tree, evergreen hedge, nearby shed, fence or neighbouring house can block part of the sky at one time and leave it open at another. Deciduous trees change their shade between seasons, while a pale wall or glazed surface may add reflected brightness. From the proposed house position, look towards the window sides you expect to use at relevant working hours. Inspect likely desk positions, not only the centre of the plot, and check from seated eye height: a low fence or hedge can affect the view differently from standing.
Where the garden house can be oriented on the plot, include that choice in your desk plan: turning the building may change which window sits beside the screen and which appears behind the camera. The best orientation depends on actual obstructions and working hours, not a universal compass rule. If you are considering the Durano garden house, match the opening positions shown for the exact product to the intended site, and request a drawing if the listing does not make them clear. Consider also whether trees, new planting or nearby structures could change the available light later. If you can visit only once, record the time and weather and leave unobserved seasons as an uncertainty.
Test the camera background from the desk
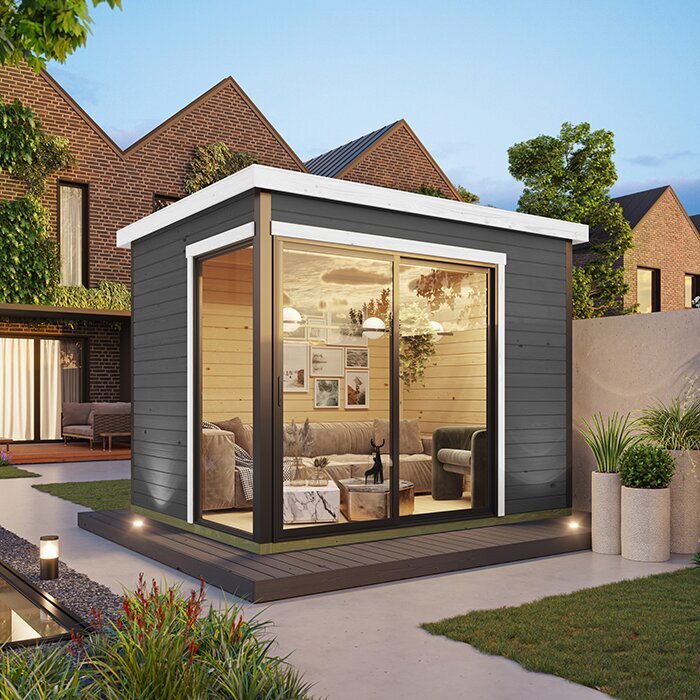
Treat the camera frame as part of the room plan. From the desk, note whether the lens points at a bright window, a frequently used doorway or a busy part of the garden. A plain wall or deliberately arranged shelf can make a calmer background than a view full of movement. Keep personal papers and screens out of view if calls are public or recorded, and avoid framing a route where people may pass. Choose a background that works during an ordinary day rather than one requiring the room to be reset before every call.
Mark the intended camera line on your drawing, then check the view from seated eye level with the chair in its normal position. A phone photo or laptop preview can reveal a bright patch, clutter or an awkward crop that is easy to miss when you look around the room. Keep enough space to turn or move the chair without losing the frame, and check whether a door appears behind you whenever it opens. For a product such as the Veltor 1 garden house, use a supplied plan to compare its openings with your camera view; if the plan is missing or unclear, ask for details rather than inferring the layout from an image. Recheck the preview after changing the desk, as another bright surface may enter the frame.
Measure the usable desk area before choosing a house
Measure the working zone rather than choosing from a headline floor area. Add the desk’s width and depth, monitor stand, keyboard space and the equipment you use, then allow for the chair when pulled back and space to sit down. Mark each footprint with tape or boxes on the floor before buying. Check the route to the entrance and whether a desk would obstruct a door, window, handle or control. A room can have ample floor area but too little clear wall length for a position that avoids screen glare, so include usable wall space in your sketch.
Ask for the exact internal measurements and opening positions for the product variant you are considering; do not treat exterior dimensions as usable floor area. If you are looking at the Orello 1 garden house, apply the same check to its published details and ask the supplier to clarify anything not shown. Mark likely power points and cable routes on your plan too, so leads need not cross the path between the desk and door. If socket placement will determine which wall the desk can use, verify it before ordering rather than assuming a convenient point is available. Have a qualified electrician assess any new electrical point or other electrical work; do not plan an installation from a product photo.
Plan adjustable shading and supplementary lighting
Some daylight will be useful; some will need controlling. Consider whether an adjustable blind or curtain could reduce a direct beam without darkening the whole room, and check that it can be fitted and used without obstructing the window, handle or ventilation opening. The right arrangement depends on desk position and window operation, so do not assume a covering is supplied with a garden house. A controllable option helps as sunlight shifts, but it should not be necessary to keep the window covered throughout the working day simply to see the monitor.
For dull weather or calls after daylight fades, try a separate desk or room light and preview the camera with it in place. Aim for even light on your face and working surface without creating a strong reflection on the display; move the lamp if a bright spot appears in the screen. Check the balance with the brightness you normally use and keep distracting light sources out of the camera frame. When reviewing the Modano 1 garden house, check the product information for opening details before choosing window coverings or deciding where a lamp and desk can go. Ask if those details are unclear. The model name alone does not say what fittings are included.
Check daylight against your working season
Your working season changes what counts as good daylight. In summer, early or late sun may reach a screen from a direction that was shaded around midday; in winter, the daylight window is shorter and low-angle sun can enter farther across the room. If you know your call timetable, use those hours as the test case instead of optimising for a convenient viewing time. Include work near the beginning or end of daylight if those are regular call times. For a house not yet built, observations at the proposed location are a guide rather than a guarantee: exact light can change with the final siting, weather and nearby growth.
If you intend to work there regularly outside the warmer months, daylight is only one buying consideration. Read information for the exact model about its construction, glazing, floor, insulation and stated intended use, and ask what is included or needs separate provision. A summer house name or bright photograph does not establish year-round office suitability. Discuss any building or electrical work with the appropriate qualified professional. When comparing the Veltor 2 garden house, review its published specifications rather than assuming they match another version in the range.
Compare product details before ordering
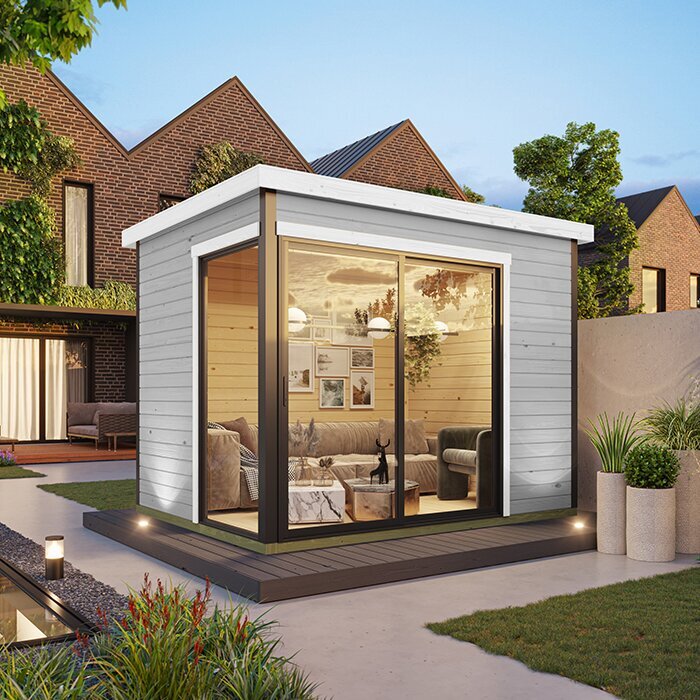
Compare candidate layouts using a drawing, not just a product photograph. For each house, note the internal floor dimensions, usable wall lengths, and exact positions of windows and doors, then sketch the desk, chair and camera view. Check whether the product information distinguishes exterior measurements from interior space, and whether any drawing applies to the exact variant you are considering. Do not assume a drawing for one variant covers another. If glazing, the way a window opens or a covering affects your preferred desk position, verify those details in the product information or ask the supplier. Similar photographs do not establish that two options share the same arrangement.
Before ordering, confirm the variant and options, what is and is not included, and available information about delivery access and assembly. If details are unclear, ask the supplier to confirm them. For the Veltor 3 garden house or any other shortlisted option, make sure the plan and specification refer to the exact version you would order. Compare the order confirmation with your desk sketch once the variant and options are settled, so no assumption slips in between comparison and purchase.
Rehearse the complete desk layout
Before calling the layout final, run a rehearsal. Put the desk and chair where the drawing says they will go, switch on the screen with normal work content, set the camera in its usual position and sit down. Check the display for reflections, the light on your face, the background and the route in and out. Repeat at the hours when you take calls; if the house is installed, test with the chosen window covering in the positions you expect to use. Spend long enough to notice a changing reflection, rather than treating a quick glance as a full test. If you are still deciding what to buy, mark the openings and desk footprint on a drawing or, where practical, at full scale.
Change one thing at a time: turn the screen, move the chair, adjust the desk or alter the shading, then check the image again. This helps identify whether the problem is direct sun, a reflected window or a camera aimed at a bright background. A layout that works only with curtains permanently closed or a chair blocking an opening may not be practical. If no position balances screen visibility, daylight and the call background, reconsider the product or planned orientation. Until the building is installed, keep the desk position flexible so it can be tested in the actual room.
Frequently asked questions
Should a summer house office desk face a window?
Not by default. Facing a window can put a bright area in front of the monitor, while sitting with a window behind the screen may create reflections. Try placing the window to one side, then check the monitor and camera at the hours you work. If the desk has to face the window, test whether a small change in screen angle or adjustable shading helps.
Where should the window be in the background for video calls?
A window directly behind you can appear much brighter than your face on camera. Try having it to one side or slightly in front of you, then check a live preview from your usual seat. Make sure the screen is still comfortable to view; the best camera angle is not useful if it leaves the monitor facing a reflection.
How can I check daylight before ordering a summer house?
Visit the proposed location at the times you expect to work and note the sun, shade and nearby obstructions. Use the product information for the exact option you are considering to mark its openings on a plan, then sketch the desk and camera position. Ask the supplier about any internal measurements or opening details that are missing.
Are north-facing windows always better for screen work?
No single compass direction guarantees a glare-free desk. The surrounding buildings, trees, other bright surfaces, window positions and time of year all affect what reaches the screen. Check the actual site and proposed layout rather than relying on orientation alone, and test for both reflections and bright light in the monitor's field of view.
What should I check if I plan to use the summer house as an office all year?
Daylight is only one part of the decision. Check the information for the exact model about its construction, glazing, floor, insulation and intended use, and ask what is included or needs separate provision. Do not infer year-round suitability from a summer-house name or photograph. Discuss any building or electrical work with a suitably qualified professional.
The first desk position worth testing usually has the window to one side, with the screen free of reflections and daylight reaching your face without overwhelming the camera. The right arrangement still depends on the plot, the season and the exact opening positions. Check those against the usable room dimensions before ordering, then rehearse the setup at your normal working hours. A practical summer house office layout gives you room to work while leaving light, camera framing and access manageable.
