
Summer House Roof Insulation: Space, Ventilation and Moisture
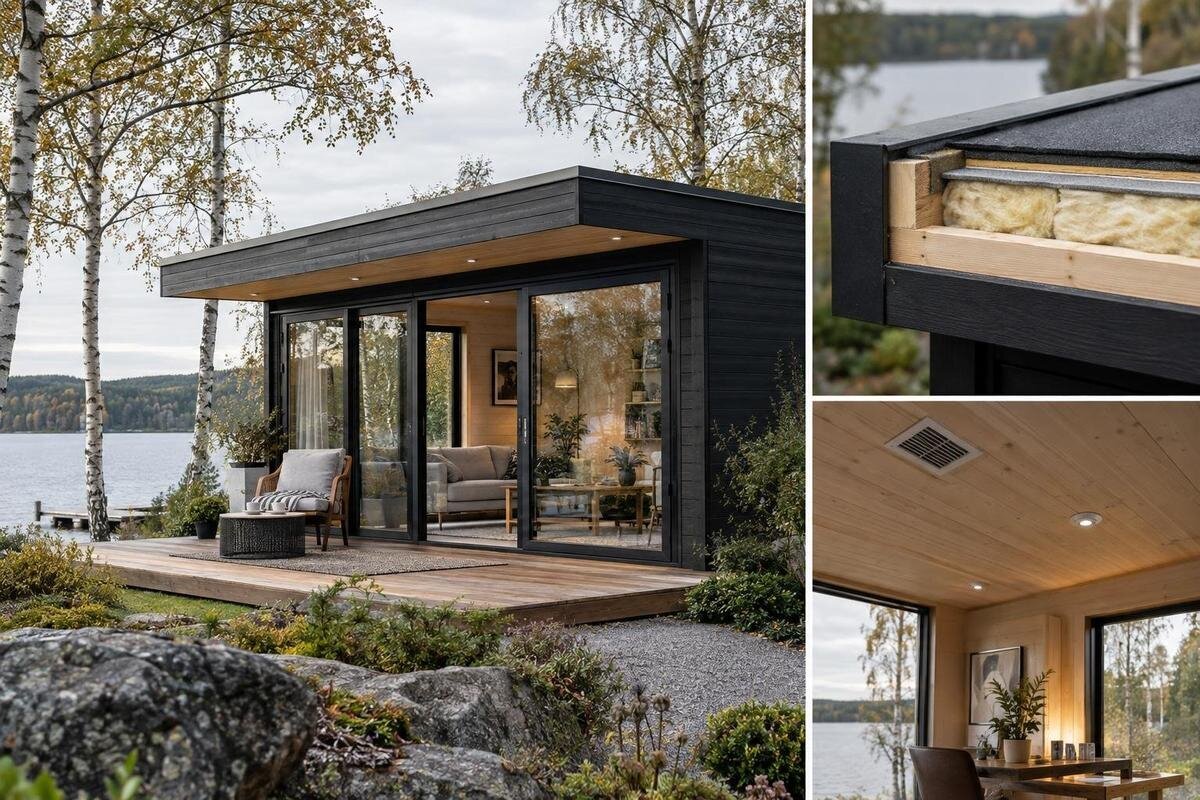
SUMMER HOUSE PLANNING
Roof insulation can improve how a summer house feels in cooler weather, but it is not simply a matter of filling the roof with a chosen material. The build-up takes up space, changes the temperature of parts of the roof and has to be coordinated with ventilation and moisture control. Before choosing a building or an upgrade, establish the roof construction, the finished headroom you can accept and the evidence available for the proposed design. This guide focuses on those purchase and planning questions; it does not assume every summer house is made for insulation.
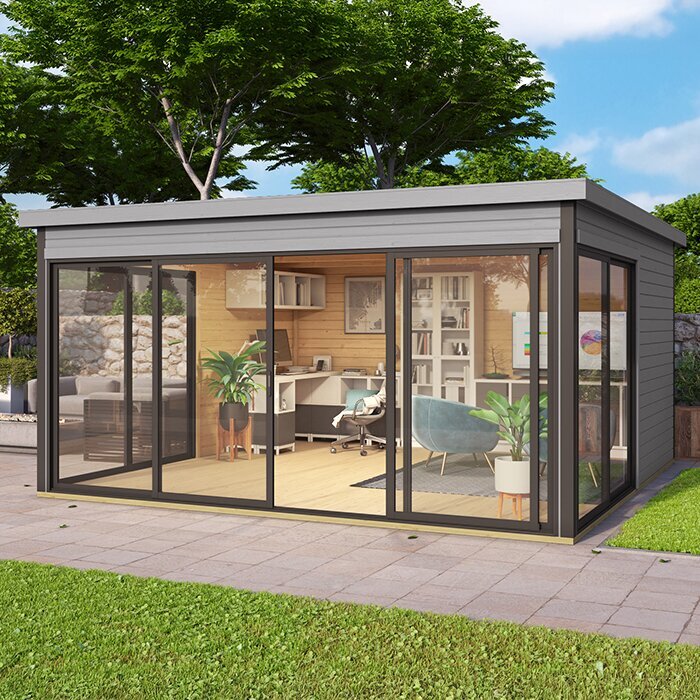
Define how you will use the summer house
Begin by identifying what the insulation is expected to change. A summer house visited for brief spells in mild weather has different requirements from one used for longer periods in cooler months. Note when it will be occupied, whether any heating is planned and what comfort problem matters most. A warmer roof surface may help with one part of the experience, but it does not by itself make the whole building suitable for regular use in every season: the walls, floor, glazing, draughts and room ventilation also affect conditions. Writing down the main use and the months involved gives a supplier or installer something specific to assess.
This distinction helps you set a sensible brief before placing an order. If the aim is to use the building more often, compare the intended roof work with a plan for the complete envelope rather than selecting an insulation material first. For any model you are considering, including the Verdana 1 summer house listing, look for a roof section and clear internal dimensions, or request them from the supplier. Treat the listing as a starting point for questions; the model name alone does not show whether insulation is possible or how a roof should be built. Record unanswered points so different models are judged against the same brief.
Confirm the roof construction and available dimensions
Find out what roof the summer house actually has, rather than assuming a familiar arrangement from its outside appearance. Relevant information includes its shape, supporting members, roof covering and any existing layers, plus what can be seen from inside. A pitched outer roof, a flat-looking profile or exposed rafters can each leave a different amount of space for an insulated build-up. If the building is already assembled, the hidden layers may be unknown; an exterior photograph cannot resolve that. Record existing repairs or secondary coverings, since they may affect how a professional assesses the assembly. Note whether the information describes an unassembled kit or the building as installed.
Ask for a cross-section drawing or written specification for the exact model and version. It should distinguish external roof dimensions from clear internal height and show, where documented, the intended position of insulation, lining and any ventilation space. For the Verdana 2 summer house listing, check whether such information is supplied; if not, request it before comparing options. Ask for the support layout and roof slope where these affect available depth. Do not use overall height or roof overhang as a proxy for insulation space. If the paperwork does not confirm measurements, have the product or site assessed before fixing a design, and check that any drawings relate to the version you plan to order.
Allow for the finished headroom
Insulation depth is only one part of the space it takes. The finished roof may also need a lining and other components required by the chosen design; together, these reduce clear headroom. With sloping sides, clearance changes across the room, while beams, braces or changes in roof level create local obstructions. Draw the proposed cross-section to scale, or ask the designer to prepare one, showing the existing structure and every planned layer. If an internal ceiling is included, use its underside as the finished reference line rather than measuring only to the roof covering. Judge the lowest walking point as well as the central ceiling height.
Measure or confirm the height where it matters, not just at the centre: door openings, the eaves or perimeter and the top of a window can constrain the final ceiling line. For the Durano summer house listing, rely on documented internal measurements and roof details; if they are not published, ask. Compare clear height after the proposed build-up, not footprint or exterior dimensions. Note whether lights, doors or stored items need clearance, so the drawing reflects actual use rather than a theoretical maximum. A brochure dimension may refer to a different point in the building, so confirm how it is measured. A shared measurement schedule helps the supplier and installer compare the same reference points.
Specify a complete roof build-up
Specify a complete roof build-up, not an isolated roll or board. The roof covering, supporting structure, insulation, lining and any moisture-control components interact; their positions can alter both interior height and the way the roof dries. Some designs use a ventilated cavity, while others rely on a different arrangement. Terms such as warm roof and cold roof may describe different approaches, but the label alone does not show how a particular small building is detailed. The covering and layers already supplied matter as much as the proposed insulation. A drawing of the full cross-section is more useful than a headline thickness, and should show how the roof edge is treated.
Ask who has confirmed that the proposed components work together and whether the existing roof layers are included in that assessment. The design should show interfaces as well as broad layers: edges, joints and openings can affect continuity. When considering the Veltor 1 summer house listing, look for model-specific roof documentation, not clues inferred from the product name or image. Avoid combining products simply because each has a suitable-looking insulation value; ask whether the complete assembly has been reviewed as one system. If components come from different suppliers, clarify who will resolve any incompatibility. If a suitable drawing is unavailable, have a professional specify the design before ordering components.
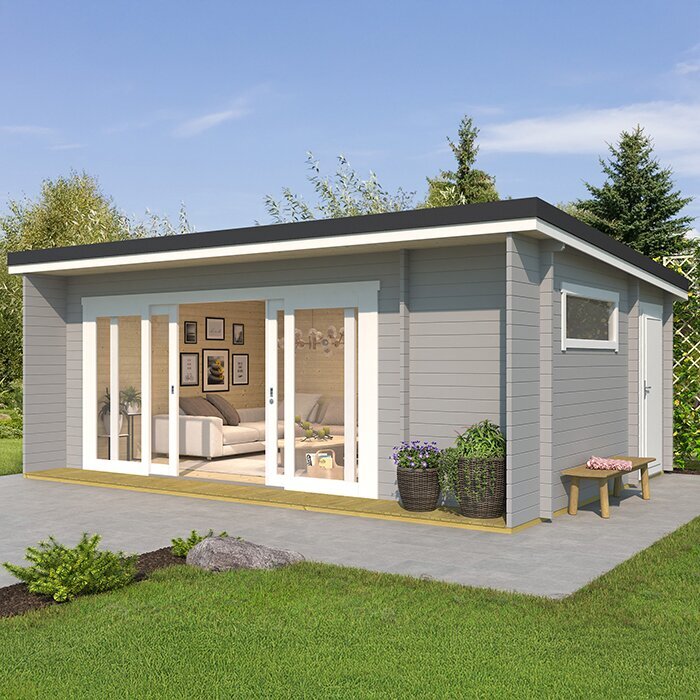
Separate roof ventilation from room ventilation
Roof-space ventilation and ventilation of the room are separate matters. An airflow path within a roof build-up, where the chosen design calls for one, serves that assembly; it does not provide fresh air for people inside. Conversely, opening a window or ventilating the occupied room does not automatically ventilate a hidden roof cavity. This distinction matters because roof layers may leave a space sealed, partly open or deliberately connected to outside air, and the right arrangement depends on the exact design. A drawing should identify any cavity and distinguish it from the room's air volume. An opening into the room and a route through the roof void are not equivalent.
Ask for the intended route of air through or around the roof, including where it enters and leaves and how the insulation is kept from obstructing it. Do not assume a gap should be added, or an existing opening blocked, simply because another roof uses that detail. For the Orello 1 summer house listing, check for drawings or written roof guidance, and have the proposed ventilation arrangement confirmed for that exact build-up. The explanation should identify the spaces involved, rather than mention ventilation without saying where. It should also show how the route continues at corners and changes in roof level, and who will confirm that it remains clear after the lining is fitted.
Account for moisture from inside and outside
Moisture can reach a roof from more than one direction. Rainwater entering through a defect or poorly resolved junction is different from water vapour produced inside and moving into colder parts of the construction. If moist air reaches a surface cold enough for condensation, water may collect within or on the assembly; the likelihood depends on temperatures, air movement and materials. Adding insulation can change those conditions, so a dry-looking room today does not prove that an altered roof will remain dry. Insulation is not a repair for a defective covering or a leak. Moisture may also remain within layers without appearing as a visible drip.
Before a roof is lined or altered, investigate visible signs such as staining, damp patches or evidence of leaks rather than hiding them. Ask how the proposed design controls air and water vapour, where any vapour-control layers belong and how their joints and penetrations are handled; there is no single layer or position suitable for every roof. For the Modano 1 summer house listing, seek product-specific roof details if you are weighing a future upgrade. If the moisture source is uncertain, have it assessed before choosing a remedy; it may relate to rain entry, trapped construction moisture or indoor vapour. Record the existing condition before a new lining makes later inspection harder.
Check the roof-to-wall junctions
Pay particular attention to the junction between roof and walls. The main roof area can look straightforward while the perimeter leaves little room for insulation, has awkward framing or contains a route needed for ventilation. Gaps in the intended build-up or blocked paths can undermine the design, and a roof lining may meet the walls differently from a standard interior finish. Ask for a detail of the roof edge, not just a drawing through the centre. A section at a typical edge and at any change of level makes these constraints easier to see. If wall insulation is also planned, ask how the two treatments are intended to meet.
Think about later work on the walls, windows or floor before fixing the roof line, even if those upgrades are not part of the current purchase. A thickened roof edge or lowered ceiling can affect future junctions and finished dimensions. For the Veltor 2 summer house listing, look for documented roof-to-wall details and internal measurements, or ask what is available for that model. Include later finishes in the finished-height assessment, particularly where the roof meets a window or tall door, and note any braces or trims that project into the room. An image may identify the design but cannot confirm concealed junctions, airflow routes or clearance after insulation.
Clarify the purchase and modification scope
Clarify exactly what the purchase includes and who is responsible for any change to the roof. A summer-house kit may come with particular roof components, but insulation, an internal lining and alterations to the original build should not be assumed to be included or approved. Ask whether the planned change is compatible with the supplied structure and covering, which drawings the installer will follow and whether the supplier needs to review modifications before they are made. Confirm whether the package includes technical guidance for the intended roof, rather than making assumptions about what comes with the building. If an installer proposes a change, establish whether it is an agreed product modification or a separately designed site detail.
Before ordering, put the answer in writing alongside the model and version: roof construction, available dimensions, intended build-up and who confirms ventilation and moisture details. When reviewing the Veltor 3 summer house listing, use the page to identify the model, then rely on its product-specific documents or written supplier clarification for technical decisions. If different people supply the building and carry out the insulation, agree who resolves any mismatch between their drawings. Where a proposed change may affect fit or structure, do not rely on informal reassurance; pause until the responsible supplier or building professional has confirmed the approach. Keep written replies with the product paperwork so everyone works from the same assumptions.
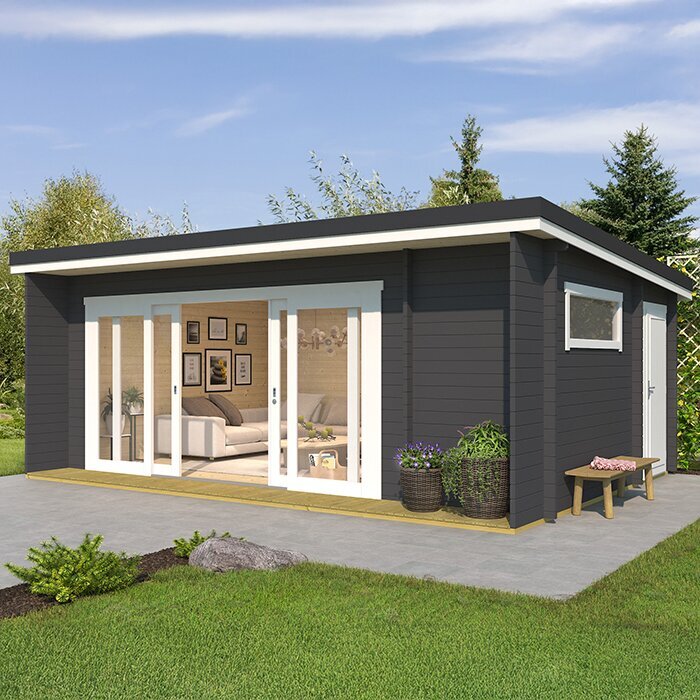
Have the proposed design reviewed
Roof insulation may call for design and installation advice rather than a straightforward DIY addition. The right details depend on what is already above and below the roof structure, the condition of the covering and the space available. Ask a competent builder, roofer or insulation professional to inspect the relevant construction and explain the proposed layers, ventilation route and moisture control. If the plan involves changing the structure or its support, consult a suitably qualified person rather than inferring capacity from an apparently solid roof or a spare cavity. This is especially important if the inside is already lined, because the visible surface may conceal the actual roof sequence. An exterior photograph alone may miss those hidden layers or details at the eaves.
Make quotes comparable by asking each installer to describe the same scope: preparation, insulation and lining, treatment of edges and openings, ventilation provisions, moisture-control details and finishing. Ask what is excluded, which assumptions have been made about concealed parts and how unexpected defects would be dealt with. A written, itemised scope can clarify whether removing existing finishes or installing a new lining is included or requires separate provision. This lets you compare the completeness of proposals rather than one material or thickness. Give each installer the same drawings, photographs, intended use and required finished height. Keep the drawings and agreed specification with the project documents so the completed work can be compared with the intended design.
Use a clear checklist before ordering
Use a short decision record before committing. Note the intended use, the specified roof construction, clear finished height, complete layer build-up, ventilation strategy, moisture-control approach and who has confirmed each item. Separate confirmed facts from assumptions, and name who will supply any missing drawing or answer; a discussion should not be mistaken for a design. A simple table for evidence, open questions and the person responsible can make the record practical. If dimensions, roof layers or permission to alter the product are unclear, do not let an attractive illustration or a generic insulation recommendation stand in for the missing information. Resolving gaps early is easier than redesigning around an unsuitable roof after the building is ordered.
Place an order for the insulation work only when the proposed build-up fits the available space and a named person has reviewed its roof details. If the supplier cannot answer a technical question, request a drawing or share the product information with the professional who will specify or install the work; do not buy separate layers on the basis of assumed compatibility. Sometimes the practical choice is to postpone insulation, choose a summer house with better-documented roof information, or seek a fully specified solution before deciding. Set a clear pause point: if the design depends on a detail no one has verified, resolve that question before buying materials or agreeing the alteration. Uncertainty is a reason to pause, not to improvise.
Frequently asked questions
Will roof insulation make a summer house usable all year?
Not by itself. Roof insulation addresses only one part of the building; the walls, floor, glazing, draughts and room ventilation also affect comfort. The roof build-up needs to suit the intended use and manage moisture appropriately. Decide what conditions you need, then have the complete proposal reviewed rather than relying on roof insulation alone.
How much headroom does roof insulation take away?
There is no universal figure. The reduction depends on the full build-up, including the insulation, lining and any other components, not just the insulation thickness. Compare clear internal dimensions before and after the proposed layers, particularly at low points, and use a dimensioned section for the specific roof.
Does an insulated summer house roof need ventilation?
Not every roof uses the same arrangement. Some designs include a ventilated cavity; others use a different moisture-control approach. Airflow within the roof is separate from ventilation of the occupied room. Ask for a drawing that identifies any cavity, its intended route and how the design keeps it clear.
Can I put insulation directly under an existing roof?
Do not assume that this is suitable. Existing layers, roof condition, geometry, moisture behaviour and ventilation all affect the design. A new lining can also conceal leaks or damp. Have the roof assessed and obtain a compatible, product-specific design before work begins.
What should I ask before ordering a summer house for future roof insulation?
Request the exact roof construction, a cross-section, clear internal measurements and details of the proposed build-up. Ask whether modifications are supported, how ventilation and moisture are addressed, and who will confirm compatibility between the building and the work. Get answers for the model and version you plan to order.
A sensible roof-insulation decision depends on more than the depth of one material. Match the intended use to a complete build-up that fits the available space and accounts for ventilation and moisture, then confirm the details for the exact summer house. Product images and model names can help identify what you are comparing, but drawings and a professional review are what clarify how the roof is constructed and what changes are possible. If important details remain uncertain, resolve them before committing to an insulation design. That keeps headroom, airflow and moisture management within the same plan.
