
Choosing a sturdy greenhouse: 12 quality features
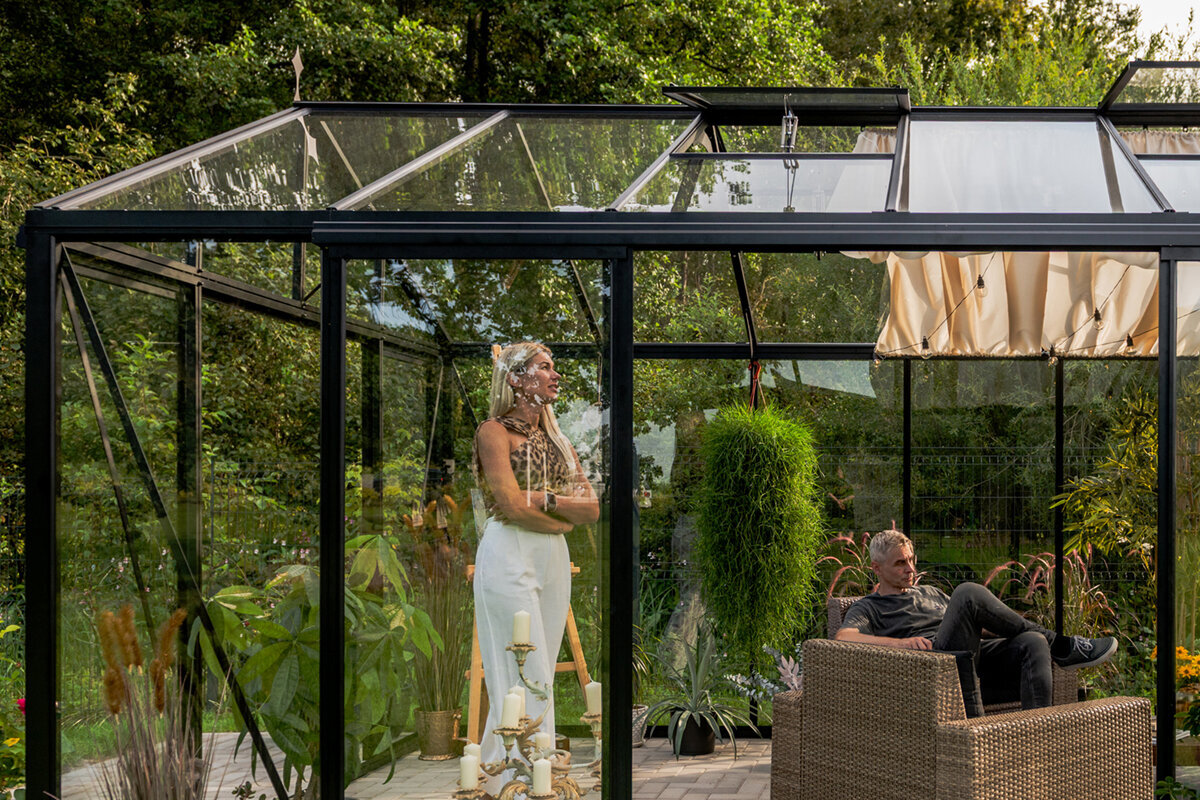
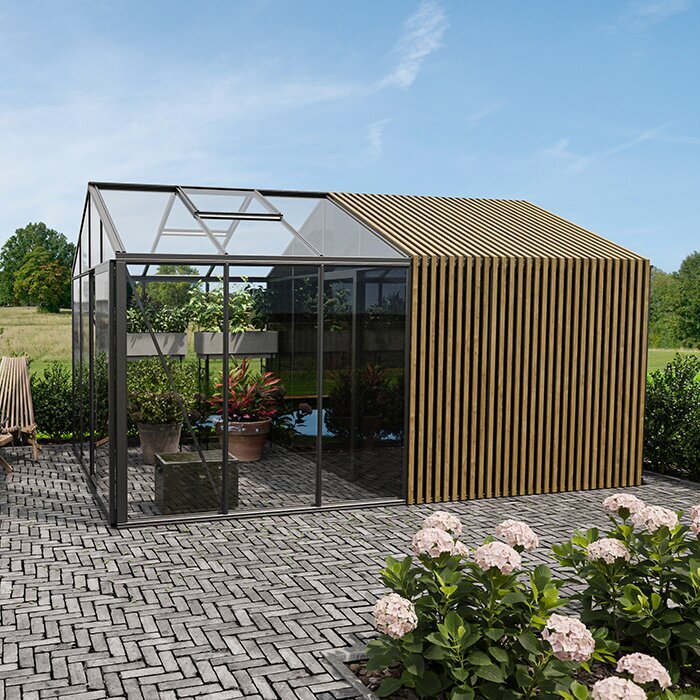
When choosing a sturdy greenhouse, look beyond its shape, colour or floor area. What matters is how every component works together: a strong frame offers little if anchoring is unclear, while quality glazing only performs properly with suitable profiles and carefully fitted seals. Focus on understandable construction details rather than brochure images alone.
Your planned site also changes the requirements. A freestanding greenhouse in an exposed garden faces different conditions from one sheltered beside a wall or dense hedging. Wind direction, snow conditions, ground conditions, access routes and available working space should all inform your choice. This prevents you assessing a structure without considering its eventual installation setting.
This guide brings together twelve quality features in a practical buying check. It helps you read product documents purposefully, identify unanswered questions and compare models fairly. It is not about blanket quality judgements or promises for every garden, but about dependable criteria for your own decision.
Checkpoints 1 and 2
Assess frame profiles and roof shape first
The frame transfers loads from glazing, its own weight and weather into the foundation. Therefore examine profile design, rather than relying on a general material description. Visible reinforcement, clearly defined load-bearing posts and logical profile runs at corners and roof edges are informative. Good documentation shows where loads are carried and transferred into the base.
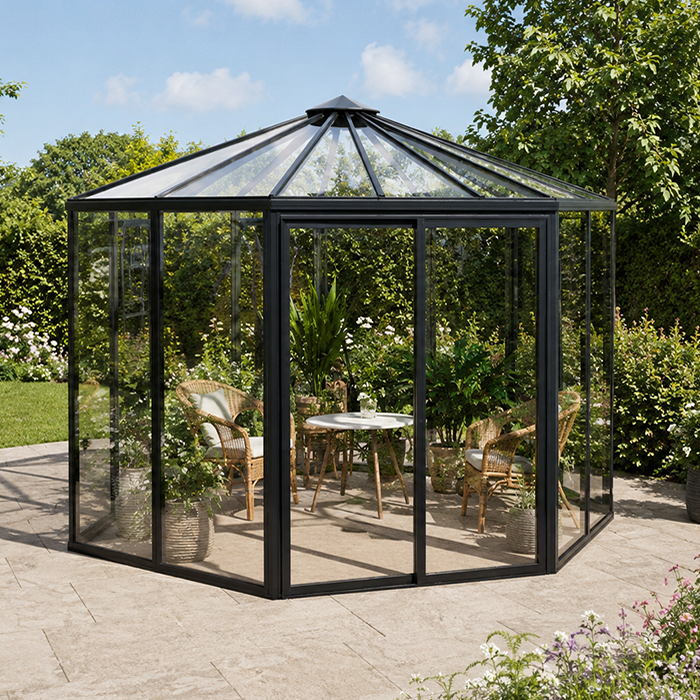
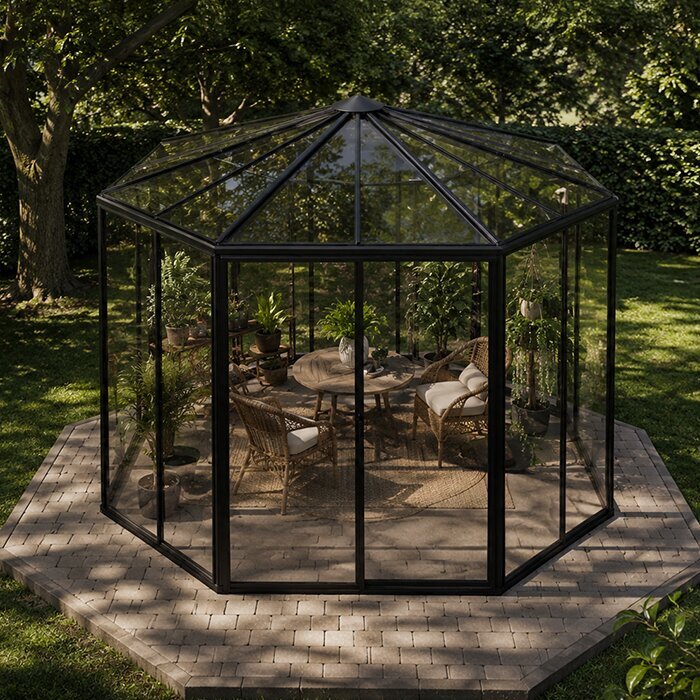
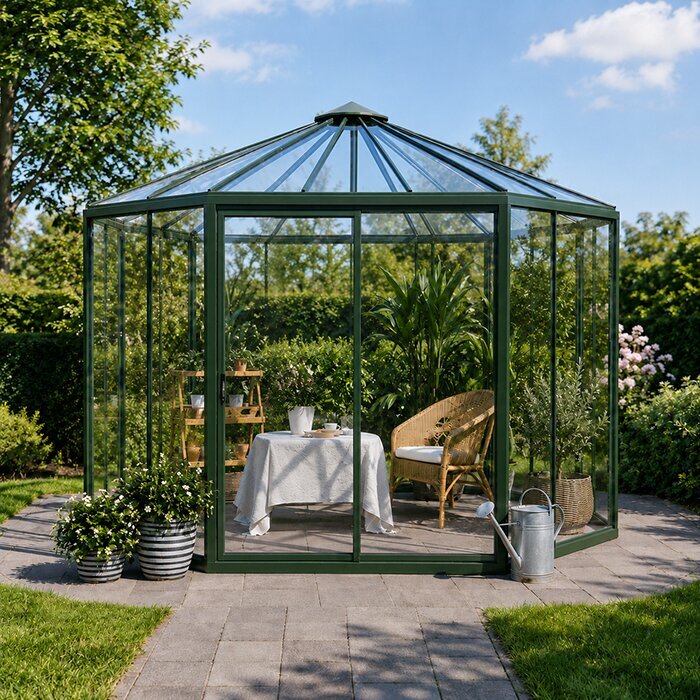
Roof shape determines how the structure is organised in space. A gable roof, lean-to or polygonal design each makes different demands on transitions and bracing. Inspect the ridge, eaves zone and side connections particularly carefully. Several components meet there; an understandable design makes both assembly and later inspection easier. Assess connections not only in the completed overall image, but also as individual joints. Clearly visible bolts, brackets and supports make checks easier during installation. Also ask whether the assembly sequence keeps these areas accessible. This gives a better indication of whether a connection can be aligned properly and checked later when necessary.
Request drawings or assembly documents, so you are not judging load-bearing profiles and braces from product photos alone.
Compare roof geometry with your site and intended interior use, rather than only with the garden area available.
For a freestanding installation, consider a Classic greenhouse in a standard configuration with a frame structure that is easy to assess.
Checkpoints 3 and 4
Inspect connections and bracing closely
The quality of a structure is often revealed in places barely visible in images: bolted joints, corner pieces, post connections and transitions between frame and base. These points should join components precisely while remaining accessible over time. Check whether the description identifies specific connection elements and whether the assembly sequence appears plausible. Unclear details make a sound comparison difficult.
Bracing elements limit unwanted movement in the frame. The right solution depends on shape, dimensions, site and installation. What matters is not the longest possible list of components, but a coherent system. Ask which parts support stability, where they are installed and whether they work without conflict alongside doors, shelving or plant supports. With transparent areas, inspect the transitions between individual panels. This is where frame, retainers and panel edges meet. A clear presentation shows how the elements are fitted and secured. Also consider whether the selected layout suits maintenance needs and the areas you can genuinely reach from the garden.
Check whether corner areas, roof joints and the connection to the base are clearly shown in drawings.
Plan interior fittings only after knowing which braces and profiles actually occupy the usable space.
Against a house wall, a full-size standard lean-to greenhouse can be attractive when the wall connection and base are planned carefully.
Checkpoint 5
Evaluate glazing as part of the structure
Glazing affects light, appearance, cleaning effort and the behaviour of the entire envelope. Do not choose solely by transparency or looks; examine the specified glass or panel type in relation to the frame and retaining system. Elements should be fitted securely, without exposed edges or improvised-looking fixings. Product documentation should explain material and installation principles clearly.
The division of glazed areas matters just as much. Smaller panels mean more frame lines, while larger ones need a convincing retention concept. There is no universal “better” option, because design, maintenance access and construction interact. Also consider whether individual elements remain accessible when needed and how dirt can be removed from the roof, eaves and profile channels. Assess seals by how they integrate into the whole system, not simply by their presence. They should sit on intended contact surfaces without unnecessarily obstructing cleaning or maintenance. Ask about the sequence of glazing, seals and cover strips. This makes differences between similar-looking structures far easier to compare.
Consider material description, panel layout and fixing method together, instead of choosing glazing only by appearance.
Before purchase, ask about cleaning access and care advice for profiles, joints and the relevant transparent elements.
With a Classic greenhouse as a standard model it is especially easy to compare frame grids and glazed areas side by side.
Checkpoint 6
Check fixings, seals and water drainage
Glazing becomes a functional component only through its fixings. Look for an understandable system of strips, clips or other specified retainers. It should hold panels securely without making assembly unnecessarily complicated. Also inspect transitions at the roof and sides: precise details there often reveal much about the care taken with the entire structure.
Water drainage is not merely decorative. Rain should run along intended routes rather than standing at joints for long periods. Gutters, eaves and the possibility of a downpipe therefore deserve attention, as does planned drainage around the foundation. The suitable solution depends on the terrain. Consider slope and route layout while planning the site. Before building the foundation, check the diagonals and levels of the intended location carefully. Even small deviations can make base alignment difficult. Coordinate the position with paths, bed edges and water flow. A sketch using the actual measurements helps identify later adjustments to the door area and work space early.
Look for clearly described glass fixings in the documents and check whether access for replacement or maintenance is clearly explained.
Consider rainwater routes from roof to garden, so permanently wet areas do not develop around the foundation.
When planning beside a façade, always view a full-size standard lean-to greenhouse together with drainage arrangements at the building.
Checkpoints 7 and 8
Do not underestimate foundation and anchoring
A greenhouse can stand only as level as its base. The foundation must suit the model, ground conditions and intended anchoring. Clarify in advance which preparatory work is needed and which measurements the manufacturer specifies. A carefully prepared, level surface eases assembly and helps doors, glazing and frame remain correctly aligned later.
Anchoring connects the structure to the base and should not be decided on installation day. Check the intended fixing points and match materials and methods to the actual ground. Professional advice can be useful where soil conditions are difficult or boundary distances are in question. Ask the relevant local authority which requirements apply to your project. Mentally test the planned access with the items you expect to move regularly. Besides passage width, consider whether the door remains easy to use with pots set down or containers open. A clear area in front of the entrance simplifies everyday use and stops beds or garden furniture from unnecessarily narrowing working routes.
Measure the installation area, including workspace, foundation edge and access, before committing to a footprint.
Include ground, slope and fixing method in your plans; general assembly images do not replace a site-specific assessment.
A freestanding Classic greenhouse needs a base prepared precisely for its intended anchoring system.
Checkpoint 9
Test doors and access in everyday use
A door is used frequently and deserves more attention than its role as simple access might suggest. Check opening direction, clear width, handle, locking mechanism and the guidance of moving parts. The door should work logically within your planned routes, even when carrying planters, soil or tools. Think about space in front of the entrance and possible obstacles in the garden.
Also consider how the door frame works with the main structure. A well-planned entrance integrates into the frame without making operation unnecessarily sensitive. Ask for adjustment and care advice, and check whether the selected position works with beds, shelving and water connections. Entrance details influence comfort for many years. When planning the interior, it helps to draw operating routes for windows and doors separately from planting areas. Include taller seasonal crops that may alter access. A flexible layout leaves room for adjustments without covering structural areas or ventilation openings. The interior then remains orderly and accessible as use changes.
Mark the door area on the garden plan and check whether a wheelbarrow, watering can and harvest baskets can pass comfortably.
Allow movement space in front of and behind the door, especially near paths, patio edges or closely planted areas.
With a full-size standard lean-to greenhouse access should also be coordinated with the façade and path layout.
Checkpoints 10 and 11
Plan ventilation and interior as one
Ventilation openings are part of greenhouse use, but their position is also a construction detail. See how roof or side-wall windows are integrated and operated. Plan their accessibility before fixing tall beds or shelving in place. Thoughtful airflow results from openings, door use, planting and the greenhouse’s specific position in the garden.
The interior should suit your crops and working routines. Compare not only square metres, but also headroom, circulation space and options for tables or beds. Load-bearing profiles and doors restrict some positions. A clear plan prevents a visually spacious greenhouse from feeling cramped in daily use or important ventilation zones from becoming blocked. Add these questions to your buying check: Are individual glazing elements reachable for cleaning and visual inspection? Is rainwater drainage planned through to the area around the base? Can fixing points still be identified clearly during assembly? Is care and installation information complete enough to plan the process realistically before ordering?
Draw beds, walkways, workspace and water point to scale before deciding on the final greenhouse size.
Check that windows and doors remain usable without colliding with shelving, plant supports or tall-growing crops.
A standard-size Classic greenhouse provides a good basis for planning interior space and access routes to scale early.
Checkpoint 12
Assess documentation, assembly and care realistically
Information surrounding installation and upkeep also belongs in a quality comparison. Good documentation makes clear which work steps are intended, what tools are needed and which checks remain sensible after assembly. Read installation guidance before ordering, not only when opening the package. That lets you decide early whether to organise assembly yourself or plan for assistance.
Maintenance is usually more manageable when the frame, glazing, water routes and moving parts remain accessible. Ask for recommendations on cleaning, visual inspection and dealing with dirt. Keep documents and proof of purchase, as they help with later queries. Where guarantee conditions are offered, read their written scope carefully, including requirements, exclusions and responsibilities. Before deciding, take time to prepare one consistent comparison note. Record the same observations for each model on frame, glazing, base, access and documentation. This makes missing information visible without giving too much weight to one visual detail. A clear note also helps you ask focused questions during a consultation.
Compare the assembly guide, parts list and care information before deciding; complete information supports confident planning.
Note unanswered questions about assembly, replacement parts and maintenance, so offers can be compared using the same criteria.
For a garden area close to a wall, assess a full-size wall-attached lean-to greenhouse using its complete assembly and care documentation.
Comparison
Decision matrix for comparing quality
Use this matrix for an initial shortlist. It does not replace checking the relevant product documentation, but it helps you ask the same construction questions of every model and separate subjective impressions from verifiable features.
| Area to check | What to look for | Question for comparison |
|---|---|---|
| Frame | Identify profiles, corners and load-bearing lines | Where are the main load-bearing elements? |
| Roof | Check transitions, shape and panel integration | How are ridge and eaves constructed? |
| Glazing | Consider material, grid and fixings together | How are individual panels retained? |
| Base | Match foundation requirements and fixing points | What preparation does the site require? |
| Access | Plan door operation, opening space and use | Does the entrance suit your routes? |
Five steps towards an informed choice
Work from the garden site towards product details. This sequence prevents an attractive model being chosen before the foundation, access and intended use have been clarified.
01
Survey the site
Measure the area, access route and heights. Note wind direction, shade, slope and nearby obstacles, so the eventual position can be assessed realistically.
02
Sketch intended use
Plan crops, beds, shelving and working routes. These determine requirements for footprint, headroom, door position and access to ventilation openings.
03
Clarify the base
Check ground and foundation concept against model requirements. Include water runoff and anchoring before scheduling installation.
04
Compare details
Place product documents side by side. Assess frame, connections, glass fixings, door and roof areas using the same questions for every model.
05
Resolve outstanding points
Clarify assembly, care and local questions before ordering. For building-control or neighbour-related matters, the responsible local authority can provide reliable guidance.
Buying check: twelve features at a glance
Take this list to product comparisons, consultations or site visits. The eight concise checkpoints are completed by the additional questions in the final checkpoint, creating twelve clear quality features.
01. Frame profiles and load-bearing elements are clearly identifiable in images or documentation.
02. Ridge, eaves and corners appear as logically connected construction areas.
03. Bracing is identifiable and compatible with the intended interior fittings.
04. Glazing type, panel division and fixing are described clearly.
05. Roof joints, seals and water drainage have been considered for the site.
06. Foundation dimensions, levelness and anchoring suit the model and ground.
07. Door position, opening area and passage support your real working routes.
08. Ventilation, maintenance access, assembly guidance and written conditions have been checked in advance.
Frequently asked questions about greenhouse quality
How can I recognise a sturdy greenhouse frame?
Look for an understandable profile layout, clearly formed corners and visible load-bearing elements. The interaction with roof, glazing and foundation is decisive. Do not rely on material names alone; compare drawings, connection points and the specified assembly steps.
Is a heavy greenhouse automatically better?
No. Weight alone says nothing about connection quality or suitability for your site. A coherent structure, specified glazing, suitable base and proper installation matter more. Assess the complete system rather than one isolated value.
What role does the foundation play in stability?
It provides the level, load-bearing basis and transfers the connection to the ground. If dimensions, alignment or fixings are unsuitable, doors and glass elements may not function well. Follow the model requirements and inspect the ground carefully on site.
What should I check on a greenhouse door?
Check the passage, opening direction, guides, handle and necessary movement space. Think of typical routes while carrying soil, pots or harvest baskets. A door may be well made yet impractical if paths or beds restrict access to it.
Do I need approval for a greenhouse?
Requirements can vary by municipality, property and planned location. Ask your local building-control office about the approval route, planning scheme and project classification before planning the foundation or placing an order. Also check building lines, height, title conditions and any heritage requirements early.
Should I clarify insurance questions before buying?
If you want the greenhouse included in existing insurance cover, it is sensible to ask your insurer. They can explain which details about the site, construction or foundation are needed and what cover is actually provided under your individual policy.
Compare greenhouses
Compare systematically, not on first impressions
A sturdy greenhouse results from carefully coordinated details. Frame, connections, glazing, water drainage, foundation and access all deserve equal attention. Checking these points systematically before purchase helps you identify the model that sensibly meets your site and use requirements.
Take time over the documentation, garden plan and open questions. Bloomcabin offers different greenhouse solutions that you can assess against these criteria. What remains crucial is that model, base and installation concept work together and that you consider applicable requirements carefully.
Explore suitable structures and check the product details against your own buying checklist.
