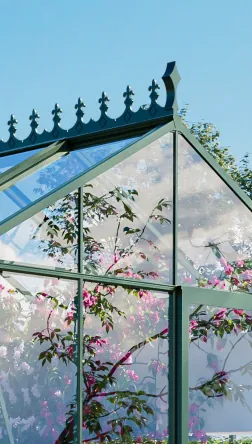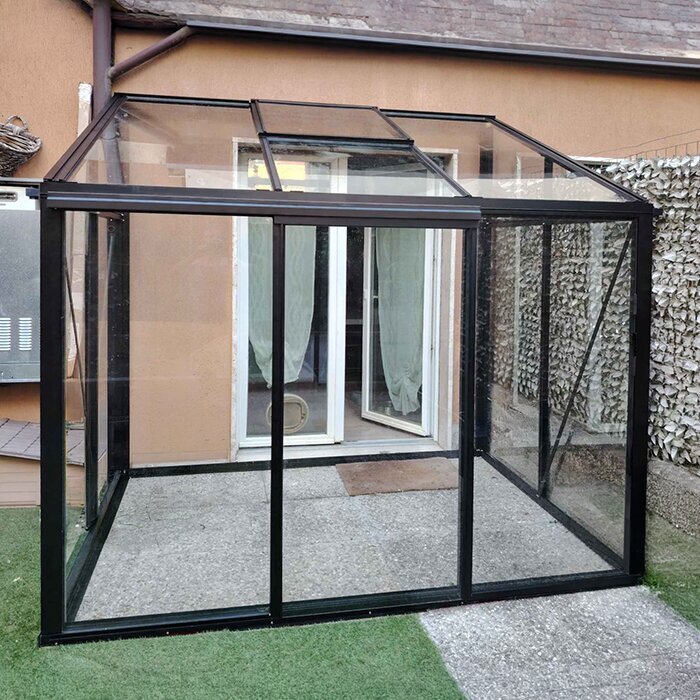


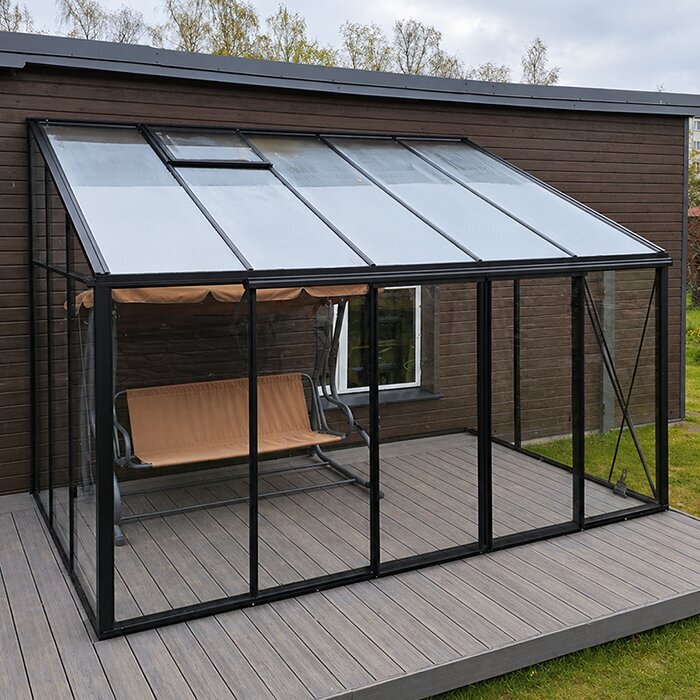





Bloomcabin Lean-to Greenhouse
Aluminium lean-to greenhouse for home, patio and garden
The Bloomcabin lean-to greenhouse is a space-saving choice for anyone wanting to position a high-quality aluminium greenhouse against a suitable house, garage or garden wall. Large glazed areas and a slim aluminium frame create a bright, sheltered space for plants and propagation. Its wall-mounted design is especially suited to patios, narrow side gardens and properties where continuous garden space should remain free. Consider the site, wall area, base, access and intended use together when choosing.
More greenhouse models can be found under Greenhouses and conservatories.
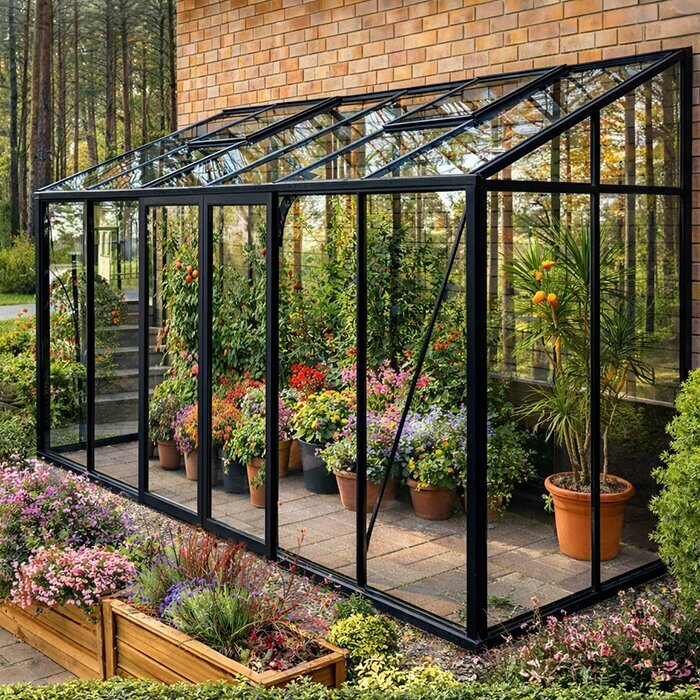
Make practical use of space
Why a lean-to greenhouse is practical
It is not enough for the external dimensions to fit the intended area. Accessible sides must remain reachable during assembly, and the entrance needs clear access afterwards. Also check that paths and patio doors remain usable and rainwater can drain in a controlled way. This reveals early whether the chosen position works in daily use or merely looks large enough on a plan.
Arrange regularly used items so they remain accessible without obstructing the entrance or paths. Depending on use, proximity to water or electricity may also matter, although a fixed connection is not automatically necessary. Assess the intended access route with a full watering can, bags of compost or larger pots in mind. This makes possible pinch points visible before furnishing.
Further guidance on materials, glazing and assembly is available under Bloomcabin aluminium greenhouses.
Benefits of the lean-to model
Generous plant space and flexible furnishing
Before configuring, decide how you mainly want to use the lean-to greenhouse. Easily reached worktops are useful for sowing and potting, tall crops need sufficient headroom, and plant collections benefit from orderly standing space. If you also want a small seating area, it must not hinder access to plants or operation of ventilation. Leave some areas clear instead of filling the interior completely with furniture and shelving. This keeps care tasks comfortable and lets the layout adapt as the season changes.
Space-saving design
The existing wall becomes part of the plan, leaving valuable garden area free.
Short walks from home
Close proximity to the home makes watering, harvesting and daily plant care easier.
Bright interior
Glass or polycarbonate creates a protected area with plenty of natural light.
Contemporary architecture
Aluminium profiles and clean lines complement both modern and classic home designs.
Materials and construction
Aluminium frame, glass or polycarbonate, sliding doors and gutter system
The Bloomcabin lean-to greenhouse uses dimensionally stable, corrosion-resistant, low-maintenance aluminium profiles. Its slim frame construction allows large glazed areas. With a lean-to model, the fixing area on the building forms part of installation planning. The wall surface and fixing substrate must be suitable. If the wall build-up, concealed services or appropriate fixing method are uncertain, obtain professional assessment before drilling.
Depending on the configuration, polycarbonate or 4 mm toughened safety glass is available. The sliding doors save space because no door leaf swings into the path or interior. An integrated gutter system directs roof rainwater to the intended outlet. A built-in aluminium base forms the lower finish of the structure and supports installation on a prepared surface. For doors, profiles and glazing to fit correctly, the base must be level and precisely aligned.
The Bloomcabin lean-to greenhouse has a 12-year warranty. The structure is designed for a wind speed of 30 m/s and a snow load of 210 kg/m². These technical values do not replace site-specific planning: secure fixing to a suitable wall, a properly prepared foundation and assembly in line with the relevant instructions remain essential. Full terms and details appear on the Bloomcabin warranty. Further explanations of construction, equipment and use are also available in the Aluminium greenhouse FAQ .
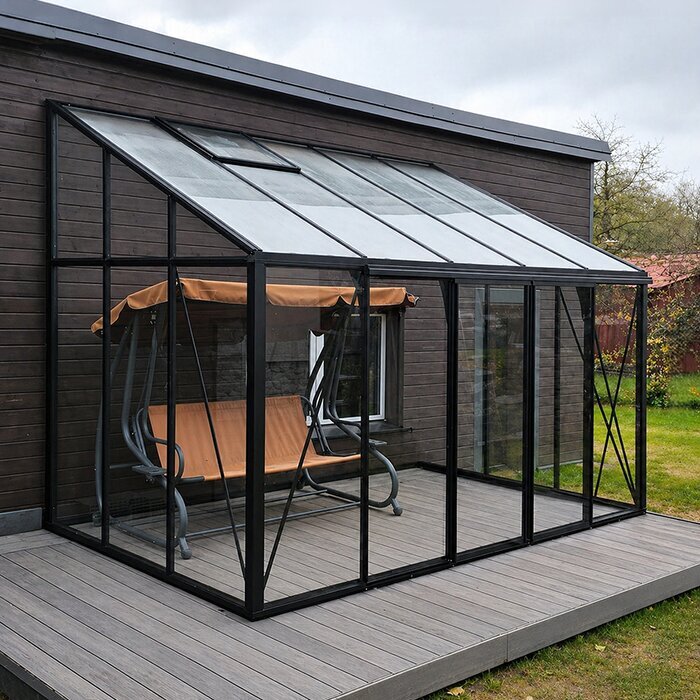
Choose your glazing
Safety glass or polycarbonate for a lean-to greenhouse?
When choosing, consider intended use as well as appearance, light effect, weight and cleaning. Deposits are more visible on clear glass, but accessible inner and outer surfaces make maintenance easier with either option. Weigh the following material characteristics according to what matters most for your project.
4 mm toughened safety glass
Safety glass offers:
✓ Clear, premium appearance
✓ Excellent light transmission
✓ Unobstructed garden and plant views
✓ Well suited to a homely setting
Polycarbonate
Polycarbonate is known for:
✓ Low weight
✓ Diffused light distribution
✓ High impact resistance
✓ Good thermal insulation
Plan correctly
Choose the right size, door, glazing and foundation
Measure the planned wall area accurately and consider doors, windows, eaves, downpipes, exterior lights and ventilation openings as well as external dimensions. A simple sketch helps record all measurements and obstacles. Measure in several places, as walls, paving or ground levels may vary slightly. Existing windows and maintenance points on the building must remain accessible. Also check the route to the installation site: long profiles and glazing elements must pass through garden gates and passageways, and around steps or projecting walls. This ensures your chosen version not only fits the intended area but can also be transported there.
01. Dimensions
Check width, depth and available wall height carefully. Allow adequate room for assembly and later maintenance.
02. Door solution
The entrance should suit natural routes between the house, patio and garden.
03. Ventilation
Easy-to-reach ventilation helps regulate temperature and humidity. Openings must not be blocked by shelves, plant supports or tall plants. Ventilate not only in high heat, but also after watering where needed so excess moisture can escape. Actual demand depends on sun exposure, season and the number of plants. Doors can support air exchange, but should not be left unsecured in wind. A clear aisle lets you operate ventilation and shading without rearranging first.
04. Glazing
Before ordering, check whether your preferred option is available in the selected configuration.
05. Foundation
A level, load-bearing base is essential for alignment, sliding doors and lasting stability.
06. Accessories
Consider shelves, planting tables, shading and other equipment while configuring.
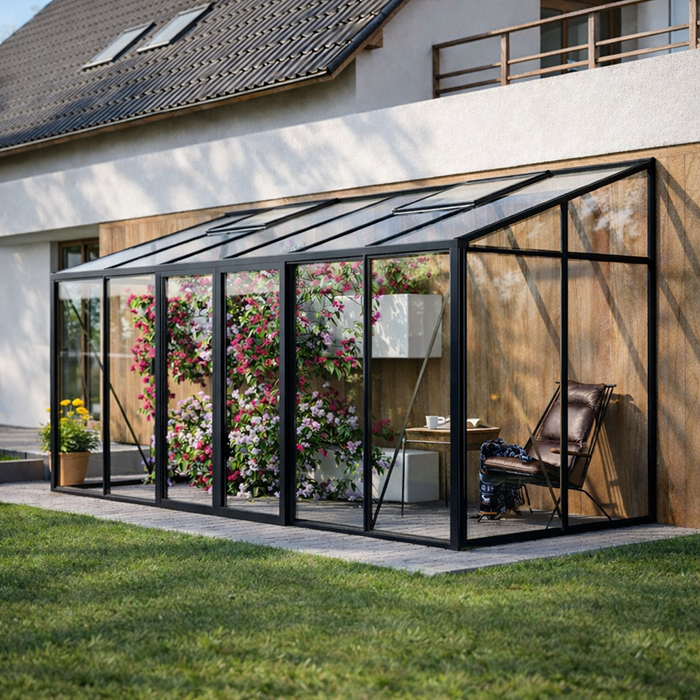
Consider site and weather
Plan the lean-to greenhouse for your property and home
Whether you have a compact urban garden or a large property, actual conditions on site determine the best location. Wind can behave differently between buildings than in an open area, and rainwater must not collect at either the base or house wall. Assess the wall, ground, drainage and adjoining paths as connected site factors. A spot that seems sheltered from wind is not enough; a suitable substrate, professional fixing and permanently clear drainage are equally important.
Before ordering, observe the sun’s path at the intended site at different times of day. A conveniently reached wall is not automatically the best wall: neighbouring buildings, trees, roof overhangs and the home’s orientation can substantially alter incoming light. Consider seasonal changes too. A deciduous tree may let through plenty of light in spring yet cast heavy shade in summer; low winter sun may be blocked by fences or buildings. Also consider whether reflective nearby surfaces could heat the interior intensely at times. The aim is not universally maximum sunlight, but a site suited to the intended crops and available ventilation and shading. Note your observations before deciding on the door side and interior layout. This helps position work surfaces and more sensitive plants more purposefully.
Further planning and buying guidance is available under Useful information. Details about ordering and delivery can be found under Ordering and delivery.
Versatile use
Ways to use a lean-to greenhouse
A lean-to greenhouse is suitable for more than tomatoes. Depending on the size chosen, propagation, plant care, storage and a small relaxation area can be combined. Divide the interior into clear zones: frequently used herbs can stand near the entrance, while a wipe-clean worktop makes potting easier. Tall or climbing plants should not obstruct aisles or ventilation. Store only items suited to a warm, humid environment in the greenhouse. Sensitive equipment, packaging and unnecessary supplies take up plant space and make cleaning harder. Even with seating, all plants should remain easy to reach.
Vegetables and herbs
Grow tomatoes, cucumbers, peppers, salad greens, herbs and young plants under cover.
Propagation and potting
Shelves and planting tables create an organised work area for sowing and care.
Plant collection
Arrange citrus, flowering, container or climbing plants in an orderly display.
Garden retreat
Larger versions can accommodate a small seating area alongside the plants.
Assembly and preparation
Check wall, base and access before assembly
Before assembly, establish what the wall is made from and whether services may run through the planned fixing area. External insulation systems, facade cladding and uneven surfaces may require separate assessment. Keep the work area clear and protect adjacent building elements and ground surfaces. Check the delivery before assembly begins. Store profiles and glazing so they remain protected and can be handled in the intended sequence.
The foundation must be level, stable and suitable for the structure. Settlement or height differences can affect alignment of the lean-to greenhouse, make sliding doors stiff and place strain on the wall connection. Before assembly, check diagonals and the position relative to the building so the base and wall connection align correctly. Rainwater must drain away around the foundation in a controlled manner. If you cannot confidently assess substrate suitability, seek qualified assistance. If you do not wish to assemble it yourself, enquire about the Bloomcabin greenhouse assembly service .
Check local building requirements before starting your project. Requirements may differ according to municipality, property and proposal. Establish with your municipal building-control office whether approval, building lines, planning-scheme checks or further consultation is required before foundation work or facade fixings begin. For Cape Town projects, minor-work tariff classifications do not by themselves determine whether building-plan approval is needed. For rented or shared property, check what consent is required from the owner, body corporate or managing agent. Property boundaries, service routes and existing drainage arrangements should likewise be clearly known. This can avoid later changes and unnecessary costs.
Care and upkeep
Clean and inspect your lean-to greenhouse regularly
Clean frames and glazing regularly with water and mild cleaners suitable for the relevant surface. Avoid abrasive tools and maintain a safe stance around glass; do not clean hard-to-reach roof areas by improvised climbing. Clear leaves, soil and plant debris from the gutter and outlet so rainwater can drain freely. Door tracks remain functional when loose dirt is removed and pots or tools do not protrude into their travel area. Clean glazing also improves light entry. Remove plant debris, empty pots and spilled growing medium promptly to keep the interior orderly and allow thorough cleaning at season’s end.
An inspection in spring and autumn helps identify minor issues early. Check visible fixings, seals, glazing, wall connection, water drainage, door function and ventilation elements. An additional visual inspection is sensible after unusual weather events. Clean blocked gutters; have loose components or changes to the foundation professionally assessed before further use. Use suitable components for repairs and follow product instructions. Keep the wall-connection area clear so plant growth does not hinder inspection and care.
Information about configuration, payment options and ordering steps is available under How to order from Bloomcabin.
Which greenhouse suits you?
Lean-to or freestanding greenhouse?
A freestanding greenhouse offers more freedom in choosing its site and, depending on available space, can be accessed from several sides. This is useful where the best growing area is farther from the house or no suitable wall is available. However, space is needed around the structure for assembly, cleaning and paths. A lean-to greenhouse, by contrast, is tied to the building’s conditions. Wall construction, roof edge, existing services and water management must suit the intended version. The deciding factor is therefore not shape alone, but which greenhouse type fits the property better.
Give greater weight to site quality, building suitability and required work space than to form alone.
Draw both options onto a site plan to compare light, access, routes and required working space directly.
Plan the interior well
Plan a practical interior before delivery
External dimensions alone do not show how comfortable a lean-to greenhouse will be to use. Before ordering, draw a simple floor plan. Mark the door, main aisle, planting tables, shelves and areas for tall plants. Add the movement space needed to carry a watering can, repot plants or remove larger containers. Also check whether drawers, containers and worktops can be used without blocking the passage. This shows whether a more compact version is sufficient or whether extra depth and width would considerably improve daily use. Do not permanently fill every area: a clear set-down area is often more valuable during sowing, harvesting and seasonal rearrangement than another fixed shelf.
Use height actively too. Narrow shelves for propagation trays, hanging elements and climbing supports create extra growing space without filling the floor. Position tall tomatoes or cucumbers so they do not unnecessarily shade delicate young plants.
Allow for changing seasons when furnishing. In spring, sowing, young plants and many small containers often take centre stage; in summer, larger crops need more height and floor space. In autumn, space may be needed for container plants, cleaning or preparing for the next season. Movable tables and shelves adapt to these changes more easily than fully fixed fittings. Remove unneeded propagation trays and empty pots promptly so air circulation and access remain available. With every rearrangement, decide afresh which plants need the best position rather than retaining the spring layout unchanged. This keeps the lean-to greenhouse practical and clear throughout the year.
Plan early where watering and shading can be positioned effectively. Every plant should be reachable without hoses or watering containers blocking the aisle. Shading must not obstruct operation of openings. Group plants with similar water and care needs to make daily care easier to organise. Also leave some free area in case vigorous crops or larger pots need moving during the season.
Frequently asked questions
Bloomcabin lean-to greenhouse FAQ
Can an existing window remain behind the lean-to greenhouse?
Yes, provided it remains accessible, can open fully and does not interfere with assembly or the wall connection. Check beforehand whether the opened casement would collide with shelves, plants or glazing elements.
How much working space should remain around the lean-to greenhouse?
Leave enough space to complete every planned assembly step and safely clean and inspect reachable exterior sides later. Access in front of the door must remain completely clear.
Which glazing suits my intended use?
Safety glass suits a clear view and transparent appearance. Polycarbonate is lighter and distributes light more diffusely, which can be practical when the greenhouse is mainly used for plant propagation.
What should I consider with sliding doors?
Keep a level, permanently clear operating area in front of sliding doors. Dirt, pots and tools must not block the door tracks.
How should I plan shelves and tall plants?
Position shelves so aisles and ventilation openings stay clear. Give tall or climbing plants a place where they do not unnecessarily shade smaller crops or obstruct the door.
When should the intended wall be professionally assessed?
Professional assessment is sensible when wall construction, load-bearing capacity or the route of concealed services is uncertain. This is especially important with facade cladding, external insulation systems and uneven surfaces.
Where can I find ordering information?
Bloomcabin explains the process under Ordering from Bloomcabin.
Bloomcabin
Turn a free house wall into garden space
The right version follows from building conditions and the tasks the interior needs to perform. Work through the selection in a clear order: first site, wall area and base; then size and glazing; followed by door position, routes and furnishing. This keeps structural requirements and everyday use aligned from the outset.
Answers to further technical questions can be found in the Aluminium greenhouse FAQ .
Check before ordering
✓ Measure wall width, depth and height
✓ Consider windows, doors and downpipes
✓ Choose glass or polycarbonate
✓ Plan door position and ventilation
✓ Prepare a stable foundation
✓ Check local requirements
Order a lean-to greenhouse