
What does a complete greenhouse kit include?
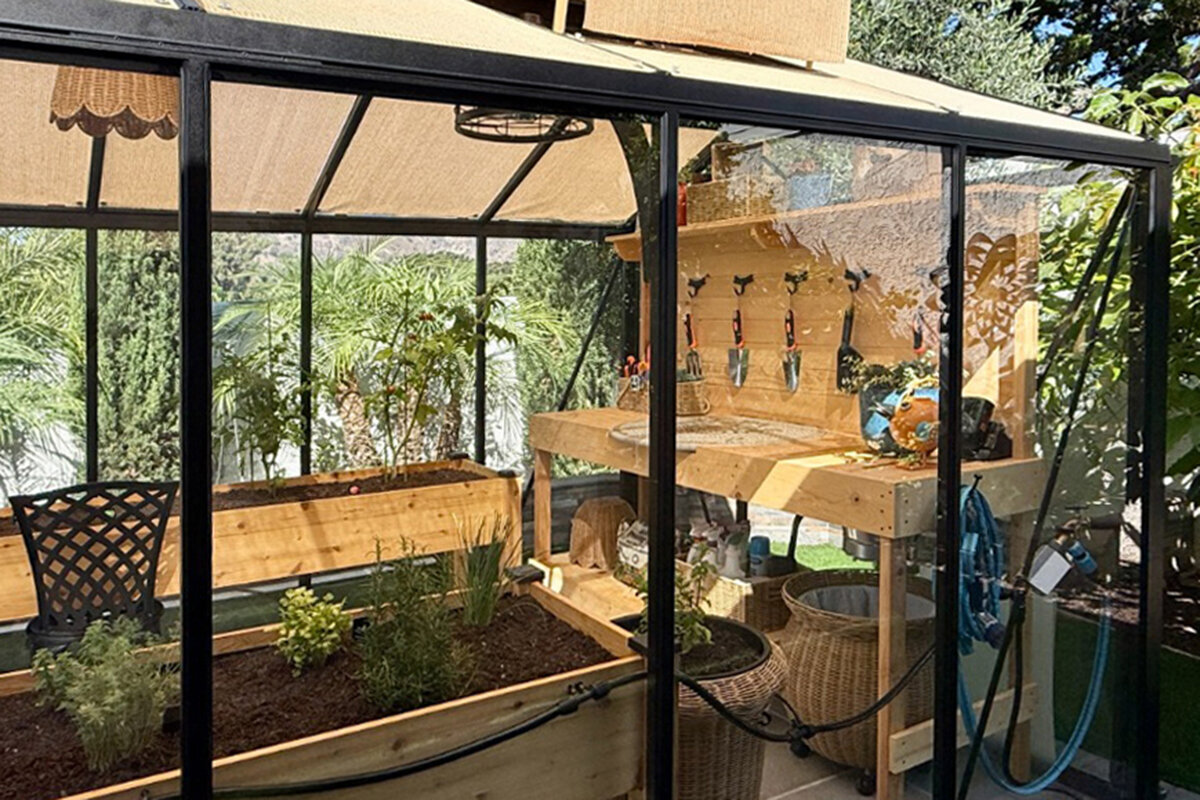
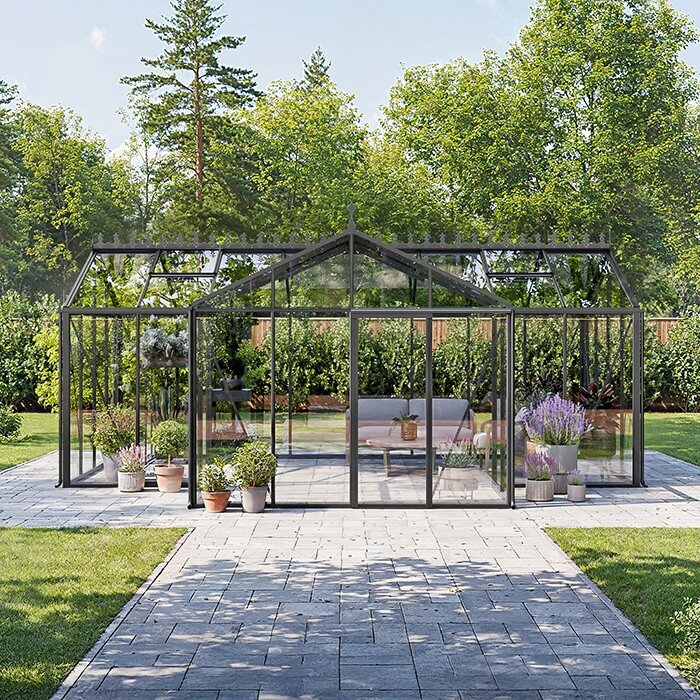
A greenhouse kit can appear complete at first sight. Yet its suitability for your site, plants and installation approach often comes down to foundation fixings, ventilation, doors and internal equipment.
When buying a greenhouse kit, look beyond its shape and floor area. Establish which components are genuinely supplied, which are only prepared for, and which accessories need separate planning. This reduces mismatched expectations and later add-on orders.
A thoughtfully assembled kit combines its load-bearing structure, glazing, access and the joining materials needed for installation. Still, there is no universal meaning of “complete”. Depending on model, specification and intended use, foundations, roof vents, shading, shelving or watering may be included, selectable or left open for individual planning.
This checklist helps you read offers as equipment packages: what is essential for a safe, practical installation? What improves everyday greenhouse use? And what should be clarified before ordering in relation to your property, installation and budget?
Core equipment · 01
The frame is the heart of every kit
The frame is more than a visible shell: it gives the greenhouse its shape, carries glazing and doors, and connects roof, walls and base. Check that the specification clearly lists profiles, connectors, cover strips and fixing elements. The assembly manual should also show how the individual sections work together.
It is equally important to distinguish the greenhouse structure from its ground anchoring. A kit may be intended for installation on a prepared foundation without supplying that foundation. Clarify early which base is needed and whether additional anchoring materials are required for your chosen installation situation.
Take time to study drawings and the parts list: they often show more precisely than product images which parts belong to each assembly. Check especially whether finishing profiles and small connectors belong to a particular frame zone. Keep documents close during installation and sort components by building stage. This makes checking easier and quickly reveals any item in the contents list that needs clarification.
A simple inventory list supports installation checks: lay out profiles, fittings, seals and panel elements separately by building stage. Compare their markings with the manual before you start. Questions about missing or similar-looking parts can then be resolved early, without unnecessarily interrupting installation.
- Look for separate listings of frames, connecting parts, cover profiles and the screw fixings intended for assembly.
- Always compare the stated contents with the assembly drawing and instructions, so no load-bearing section turns out to be an option.
For a clear construction starting point, consider a Classic greenhouse with easy-to-follow core equipment.
Glazing · 02
Match wall and roof panels carefully
Glazing and other transparent panels shape the light, maintenance needs and appearance of a greenhouse. A complete kit should clearly state which elements are intended for roof and walls, and whether clips, seals and finishing strips are included. Photographs alone are not enough, as they often show extra equipment.
Also inspect areas that are structurally sensitive: roof joints, gables, the door zone and transitions between different surfaces. If you prefer a particular glazing type, check that it is available for the exact model selected. This avoids finding that your chosen material is offered only in another configuration.
Future cleaning access also matters. Consider which roof and wall areas can be reached inside and out without continually moving beds or fittings. For a lean-to greenhouse, the junction with the house wall deserves particular attention: leave enough working space for installation, cleaning and checking connections. This keeps the selected panel layout practical in everyday gardening.
When choosing, also check how individual panel elements are assigned within the package. Roof, side and door areas can require different formats or fixing methods. A clear parts list makes pre-installation checks easier and helps you document damage or uncertainties properly.
- Check whether transparent panels, surrounds and seals are listed together; only their interaction creates a closed greenhouse envelope.
- If images are unclear, ask how roof, side and door infills are assigned, especially for unusual forms or extensions.
For planning against a wall, a full-size standard lean-to greenhouse offers a different panel layout from a freestanding model.
Access · 03
Door, opening direction and everyday practicality
A door is naturally part of a usable greenhouse, but its design deserves close attention. Check its number, position, opening method and clear width against your paths, planters and gardening equipment. The closing mechanism, handles and components that integrate the door into the frame are equally relevant. These details affect daily use more than many decorative features.
Plan the door from the garden outward: where do paths begin, where are a water butt or compost area, and how will you move larger pots? With lean-to greenhouses, the relationship to the building, neighbouring windows and existing access routes also matters. Good positioning saves steps and prevents the door from clashing with your gardening routine.
Consider movement patterns as well as clear access when fitting out the greenhouse. Pots, bags of growing medium and tools are carried in regularly, not only once. A door solution works better when it accommodates open windows, shelving and adjacent garden paths. Review the door area using a simple sketch based on your daily tasks. It prevents a seemingly minor detail becoming an obstacle later.
- Measure paths and frequently used equipment in advance, so access does not prove too tight only after installation.
- Check door position alongside beds and shelving; a clear entrance makes maintenance, cleaning and seasonal rearranging easier.
When planning access and pathways, a Classic greenhouse door shows the advantages of a freestanding layout.
Climate · 04
Make ventilation a firm planning priority
A greenhouse needs considered air exchange to help manage heat and humidity day to day. Roof vents, side openings or automatic openers may be part of the specification, optional extras or offered in different quantities. What matters is not simply whether a window is present, but whether its location and operation suit the size, use and accessibility of the greenhouse.
Read the contents list alongside the floor plan. Dense planting, tall crops or a sunny position alter ventilation and shading needs. Plan accessories as one connected system: an opening is useful only if it stays accessible, works with the interior layout and can be operated sensibly. Observe the site at different times of day. Buildings, trees and nearby surfaces affect where heat builds up and air moves. This helps establish which openings must remain clear and whether shading belongs in the plan. Accessories help only when they can be reached safely and incorporated into regular care routines.
Observe the intended site at different times of day where possible. Buildings, trees and nearby surfaces affect heat build-up and air movement. This makes it easier to identify which openings should remain accessible and whether shading is needed. Future operation also deserves attention: accessories are useful only when you can reach them safely and include them in regular care.
- Clarify which opening elements are fitted as standard and which can be ordered as additions for your selected model.
- Plan ventilation before shelving and tall plants, so windows, controls and air paths are not blocked later.
For planning beside a façade, ventilation for a full-size standard lean-to greenhouse option can be integrated neatly into the overall scheme.
Groundworks · 05
Foundations and fixings belong in the total calculation
A kit can be complete for the greenhouse structure while still excluding a foundation. That is not a defect, but an important distinction between the product and site preparation. The ground must be level, stable and prepared for the intended fixing method. The right solution depends on soil, slope, drainage, size and local conditions.
Consider the foundation when selecting the site. Beyond the footprint, allow space for installation, cleaning and access. Before ordering, ask your municipality or relevant local authority whether requirements may apply to your project, especially near boundaries or on unusual sites. Binding answers depend on the individual project and location.
Include surface-water management in your preparation. Paths, bed edges and the area around the greenhouse should be planned so water does not gather unnecessarily and access remains usable in wet weather. A tidy, well-organised area also helps align the structure. Record dimensions, height differences and site features before agreeing materials or installation support. This creates a reliable basis for later decisions.
- Before ordering, check which fixing method the manufacturer specifies for the model and what must be prepared on site.
- Allow a level working area around the structure; it makes installation, care and future maintenance much easier.
Once the site and foundation concept are clear, a Classic greenhouse foundation can be selected sensibly for your garden.
Interior · 06
Do not treat interior layout as an afterthought
Shelves, growing tables, hangers and paths are not usually included automatically with a greenhouse kit. That is why a simple layout plan is worthwhile before purchase. Decide whether you mainly want to propagate, grow tomatoes, overwinter containers or create a mixed productive garden. This determines needs for working height, floor area, storage and clear circulation zones.
Leave sufficient room for care tasks. An interior often looks more generous on a drawing than it does once propagation trays, pots and tools are present. Fixed shelving should not obstruct the door or any ventilation elements. Mobile solutions offer flexibility, while permanent work surfaces can organise repeated tasks.
An interior plan also helps sequence the work. Some shelves or hanging systems are easier to install before plants and loose equipment move in. Consider which areas should remain free for potting, setting items down or cleaning. Mark zones for frequently used tools and consumables on your sketch. The result is not only an orderly interior, but one that supports your own gardening routines.
Also consider cleaning when planning the interior. Accessible corners, enough distance from transparent surfaces and a sensible place for hand tools simplify regular care. Plan movable equipment so it can be repositioned flexibly when crops change or you tidy up seasonally.
- Draw beds, tables and paths to scale before choosing accessories or ordering extra interior equipment.
- Position heavy containers and water vessels so paths remain clear and daily care stays comfortable.
The interior of a full-size standard lean-to greenhouse can provide a sheltered workspace beside the house, arranged around your intended use.
Water and shade · 07
Prioritise accessories by crop and site
Watering and shading are common additions whose value depends strongly on the site and your crops. A sunny position can need different measures from a sheltered, partly shaded garden area. Consider how water reaches the greenhouse, where it will be available and how you will handle surplus or cleaning water. The kit itself does not usually replace this infrastructure.
For shading, choose a solution that suits the structure and your care routes. Internal and external systems are installed differently and affect use in different ways. Plan seasonally too: what matters in midsummer may block welcome light in winter. Choose additions according to plants, orientation and ease of operation. Also check how water routes and shading work with access. A hose across paths can hinder care, while shade fixings should not interfere with doors or vents. Keep planned positions flexible until the layout and plant needs are settled, allowing for seasonal changes without unnecessary alterations.
Also check how well water routes and shading work with access. A hose regularly crossing paths can make care awkward, and shade-system fixings should not obstruct doors or openings. Keep positions flexible until the interior layout and planting needs are decided. This allows for seasonal variation and avoids adapting an addition later with unnecessary effort.
- Establish the water source, hose route and setting-down area before installation instead of improvising supply afterwards.
- Prioritise accessories by site issue: resolve air and water first, then choose shading, organisation and comfort additions.
To develop seasonal needs flexibly, start with Classic greenhouse accessories and add accessories selectively as needed.
Ordering · 08
Check contents, options and documents at the end
Before purchase, use a specific list to assign every expected component to the chosen model. Note separately what the kit includes, what you want to order additionally and what you will organise yourself. This can include foundation work, tools, installation help or landscaping around the greenhouse. Such an overview is more useful than comparing product names alone.
Read installation, care and warranty documents carefully too. They show which preparation is assumed and which guidance applies to assembly and use. If you plan installation support, share model details and site circumstances early. Questions about access, ground conditions and work stages can then be clarified in good time.
Add a brief review of practical installation steps to your documentation. Check whether packed components can be stored safely at the intended drop-off point and moved to the installation area in a sensible order. Long profiles, delicate panels and small parts need adequate space and clear organisation during assembly. Also establish who will keep the manual available, which tools are required and how work stages will be managed if interrupted. Sorting by assembly group reduces searching and makes parts easier to check before fitting.
When preparing for installation, also assess delivery and storage conditions on your property. The route to the assembly area should be practical for the components and reasonably protected. A planned order for unpacking, sorting and setting out prevents unnecessary moving around during the work.
- Save your configuration and compare it with your own needs list before placing the order.
- If anything is unclear, ask for an explanation of individual items rather than assuming accessories from images or general product names.
For a careful final check, review the contents of a full-size standard lean-to greenhouse against the site and your preferred equipment.
Comparison
What is usually in the kit – and what is often optional
The following overview is a guide to reading product descriptions. It does not replace the contents list for a specific greenhouse, but shows which items should be clearly separated.
| Area | Often included | Often checked separately |
|---|---|---|
| Structure | Frame profiles and connectors | Foundation, groundworks, site-specific anchoring |
| Transparent panels | Specified wall and roof panels | Alternative materials or special versions |
| Access | Door and associated fittings | Additional door options or convenience features |
| Ventilation | Openings supplied for the model | Extra windows, openers and shading |
| Interior | Empty usable interior space | Shelves, tables, hooks and planters |
Check the structure
Frame profiles, corner joints, roof and wall parts, plus fixing methods, should be listed for the specific model rather than shown only in pictures.
Think about use
Ventilation, work space, paths, plant height and water access determine which accessories truly suit your intended crops.
Put extra costs in context
Groundworks, foundations, installation support and preferred extensions may be separate; an up-to-date configuration brings clarity before ordering.
Five steps to the right kit contents
Start with the site and intended use, not a long accessory list. This sequence helps you identify early which components are indispensable and which extensions are worthwhile.
01
Assess the site
Measure the footprint, access points and possible work routes. Consider sun, shade, slope, water supply and proximity to buildings or trees.
02
Define the use
Define your crops and working style: propagation, vegetables, overwintering or mixed use. This determines interior space, ventilation and water needs.
03
Break down the kit
Mark the structure, panels, door and fixing parts in the product specification. Note every item that is not clearly stated as included.
04
Prioritise options
Choose functional accessories first, such as extra ventilation or suitable interior equipment. Decorative additions can follow once core function and routes are clear.
05
Review the whole plan
List the kit, foundation, installation and accessories together. Check open questions using current product information and local contacts.
Greenhouse kit buying checklist
Tick these points off only when they have been answered clearly for your selected model and site. This creates a sound basis for ordering.
01. Are frame profiles, connectors and assembly fixings clearly listed for the exact kit?
02. Are wall, roof and door infills, including their fixings and seals, clearly assigned?
03. Does the door position and opening suit paths, equipment, planters and the proposed layout?
04. Which ventilation elements are included, which options exist, and how will they remain accessible?
05. Is the intended foundation type and anchoring clear for the ground and model?
06. Have water access, shading and drainage been planned realistically as site considerations?
07. Is there a scaled sketch for shelves, beds, a worktable and sufficiently wide paths?
08. Have the latest assembly documents, kit contents and all separately required services been checked?
Frequently asked questions about greenhouse kits
Is a complete greenhouse kit always ready to assemble immediately?
Not necessarily. “Complete” often refers to the greenhouse structure and its specified parts. Prepared ground, a foundation, tools or preferred accessories may still be required separately. Read the exact contents list and installation requirements carefully.
Does a greenhouse kit include a foundation?
That depends on the specific version. The greenhouse and foundation solution are often separate because the ground needs preparation for the particular site. Check the intended fixing method and clarify soil build-up and any local requirements before work begins.
Which accessories matter most?
Prioritise components that directly affect how you use the greenhouse: sufficient ventilation, practical water access and suitable interior organisation. Shading can also matter depending on orientation. The right first addition follows from the site, plants and your daily care routine.
How can I tell whether glazing and fixings are included?
Rely on a model-specific parts or delivery list. It should clearly name panel elements and the associated strips, seals and retainers. If the description shows only an image, ask before buying how the individual parts are assigned.
Do I need municipal approval for a greenhouse?
There is no nationwide answer for every project. Before ordering, give your municipality’s building-control office the greenhouse’s use, roof and enclosure details, size, services and siting, and ask whether plans or other approvals are required. Also check boundaries, title conditions and heritage controls rather than relying on a general exemption.
Should I plan installation help from the start?
It can be worthwhile if time, experience, access or ground preparation are limited. Review the assembly manual early and decide which stages you can handle yourself. Give potential installers accurate model and site information so they can assess the work realistically.
Explore greenhouses
Complete means right for your project
A good greenhouse kit provides a solid starting point, but site, foundation, ventilation and interior planning turn it into a working garden project. Treat the contents list not as a slogan, but as a precise record of components and decisions still to be made.
With a structured checklist, you buy more purposefully: you identify essential components, plan useful accessories and allow for extra work in good time. Explore greenhouse solutions from Bloomcabin and always compare equipment with your own intended use.
Find a version whose structure and options suit your garden project.
