
Buying a Freestanding Pergola: Position, Foundations and Access
Pergola buying guide
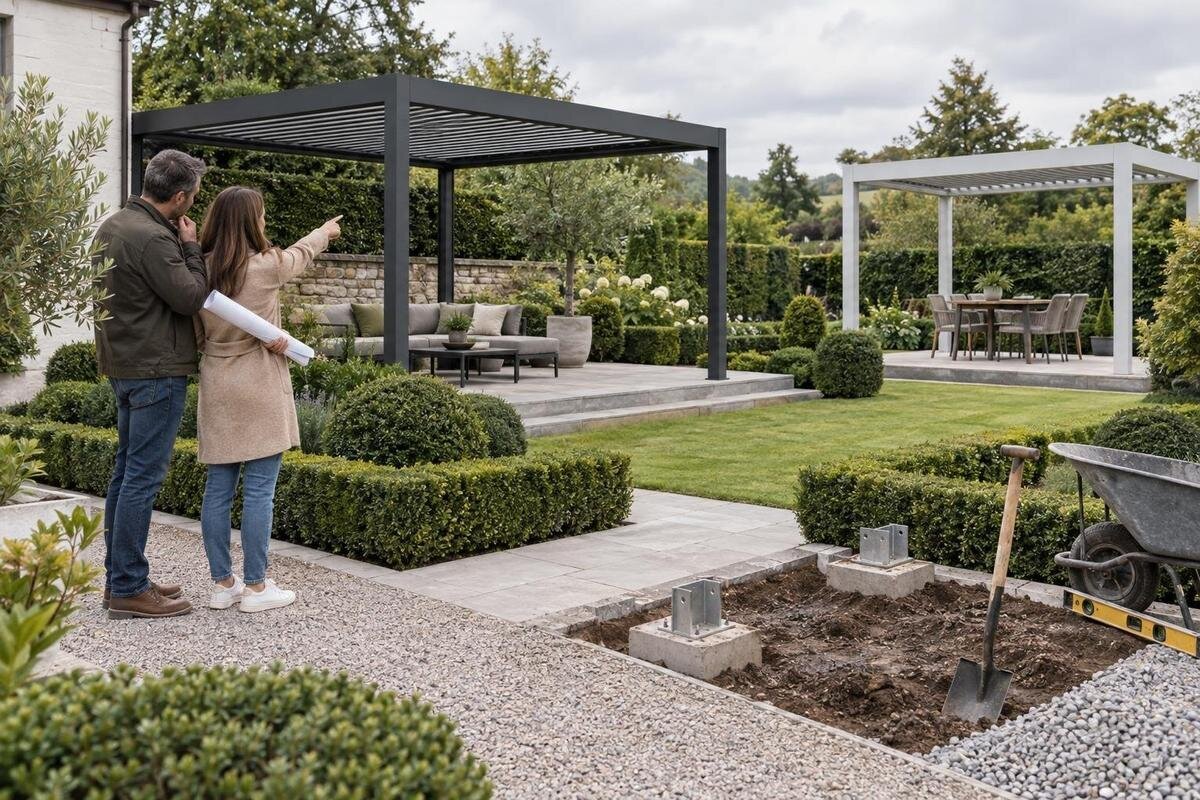
Buying a freestanding pergola is as much a site decision as a product decision. The best-looking position may not work if its supports fall where the ground cannot take the specified fixings, services run below it, or the delivery route cannot bring components into the yard. Before comparing models, map the proposed footprint and clearances, check what the foundations must meet, and trace how people, installers and packages will reach the site. These checks let you compare options against the outdoor space you actually have, rather than relying on a product photo or a rough estimate.

Define the space a freestanding pergola needs
A freestanding pergola is planned around its own support points rather than a connection to a house wall. The usable area must accommodate the complete structure, not simply the patch of shade or the furniture beneath it. Ask for the product’s installation drawing, then mark the overall footprint and the position of each support on a sketch. Add fixed reference points such as walls and paving edges so the plan can be checked on site. An attractive open corner can still be a poor choice if a support lands in a garden bed, blocks a gate or narrows the route from the house. Note what would need to move before comparing models.
Then define the pergola’s job. A dining table, lounge setting or space for outdoor activities each has different movement needs, so measure the furniture and show chairs pulled out, not just tucked in. Draw a clear route between doors, steps, lawn and seating; don’t assume people will naturally walk around a support. If both mounting styles are on your shortlist, keep their site tests separate: the wall-mounted pergola listing represents a different installation category and cannot establish where a freestanding frame will fit. Compare how each option uses the yard, but base your freestanding plan on that candidate’s own drawing.
Choose a position for sun, views and privacy
Observe the proposed position at the times you expect to use it, rather than choosing from a single midday impression. Note where the sun falls and how shade from the house, fences and established trees shifts across the day; seasonal changes can alter the pattern too. Sketch the view from the seating area and note sightlines you want to keep or screen. A spot that feels open when empty may feel exposed once you account for neighbours’ windows, a shared path or a nearby outdoor area. These observations help identify which part of the yard suits the footprint, but they do not replace product dimensions or a site assessment.
Look ahead to changes that may affect the position. A young tree will grow, branches may need room, and garden beds can expand. Existing irrigation, taps, lights and a preferred route for bins may also constrain where supports and footings can go. If shade is a key reason for buying, assess the pattern on site and request a plan showing the candidate’s dimensions and orientation rather than judging its silhouette in a photo. With a page such as the Bloomcabin pergola page, compare documented size and site requirements; an image may help you picture the look, but it is not a scale drawing.
Measure the full footprint and surrounding clearances
Use the installation drawing for the exact model to plot its overall dimensions and support positions. Check what each stated measurement describes: the outside edge, the base points or another part of the structure. Those lines are not interchangeable. Include any projection shown in the drawing, then allow practical circulation space around the footprint. Measure doors and gates at their full opening, and note window sashes, eaves, gutters, downpipes, outdoor taps, lights, air-conditioning equipment and drainage points. Check overhead clearance for branches and other obstructions as well. Measurements taken from fixed reference points on a plan are more reliable than estimating the fit from a product photo or the area of a patio.
Mark everyday movements as well as fixed objects. A chair needs room to move, doors must open fully, and a wheelie bin or garden trolley may need a clear path past the structure. Keep access to drains and service points in the plan rather than treating them as spare space. Request the complete installation drawing and confirm the support layout with the installer. For example, a bioclimatic pergola listing is a product description, not a measurement: ask for its full footprint and clearances before deciding that it suits the position.
Check boundaries, services and local requirements
Locate the proposed supports in relation to the property boundary, easements, shared accessways and neighbouring structures. A fence or hedge should not be treated as a verified boundary line; if the exact position matters, check property information and seek appropriate professional advice. Consider privacy and access for adjoining occupants as well as your own route through the yard. If the property is rented, strata-managed or shared, ask the owner or relevant manager what approvals are needed before placing an order. Resolving constraints while the position can still change is easier than discovering them after components or an installer have been arranged.
Before foundation work is planned, identify buried services that could cross the footprint, including irrigation, power, communications and drainage. Check relevant service information and arrange suitable locating or professional advice; don’t assume a route is clear just because there is no access cover in view. Requirements for a pergola can depend on the property, structure and local rules, so ask your local council or a qualified local building professional what applies to your site. Freestanding describes the mounting arrangement; it does not answer planning, approval or service-clearance questions by itself. Keep the plan and any advice with your product paperwork.
Confirm what the foundations must sit on
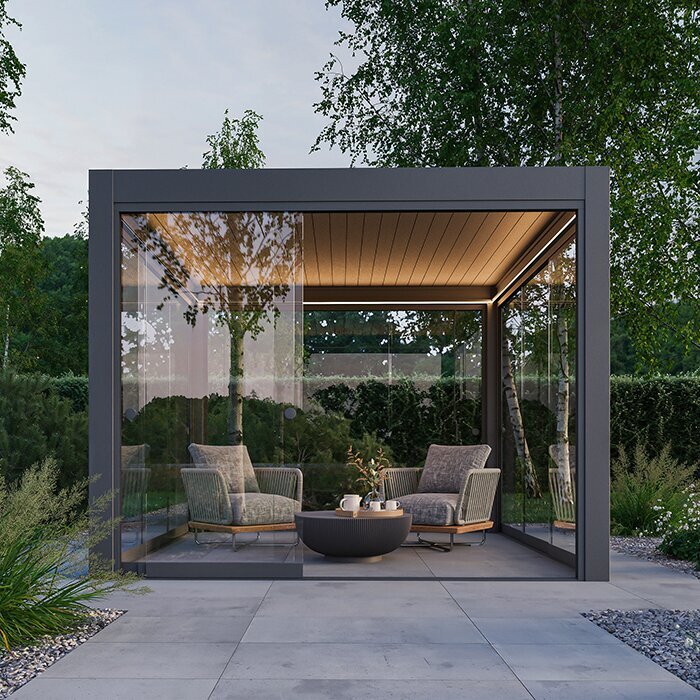
Pergola foundations are not chosen from the surface appearance alone. A paved courtyard, concrete slab, timber deck, compacted soil, loose fill or area beside a retaining edge each raises different questions about how the chosen structure is supported. A paver that feels firm does not prove it can accept a particular fixing, and the presence of concrete does not establish that a slab has the required properties. Ask for the exact model’s written foundation and anchoring requirements, including permitted base types and any site conditions that need further assessment. Don’t assume one generic footing detail applies to every pergola.
Have a suitably qualified installer or structural professional assess the actual ground and existing construction against the product instructions. The review may need to consider the material beneath the surface, the construction of a slab or deck, slope, drainage, services and exposure. A photograph alone may not settle those questions. Avoid choosing footing dimensions, materials or embedment from an online rule of thumb, and don’t assume installation on existing paving is permitted for the model. The general pergola listing can help identify a candidate, but it does not establish its anchoring requirements. Get the correct documentation and clarify who supplies and installs the foundations.
Read the site’s levels and drainage
Look at where water already moves across the proposed area. Note low points, puddles after rain, downpipes, garden beds, drains and the fall of adjacent paving. If you cannot observe the site in wet conditions, ask the installer how to assess its drainage pattern. Plan the pergola alongside these existing routes rather than in isolation: support locations need to be considered with nearby drains and the way adjacent roofs or hard surfaces shed water. Don’t assume the finished area will stay dry because the ground looks level on a clear day. A product name or photo also cannot tell you how a selected design handles rainwater.
Record changes in level between the proposed base area, paths and door thresholds, and show them on the site sketch. A slope, step or raised garden edge can affect access and the installation approach. The location may need to change, but any alteration to levels or drainage calls for proper advice rather than guesswork. Ask for written details of how the selected design manages water and, if a discharge arrangement is supplied, where it goes. The Bloomcabin bioclimatic pergola page does not establish runoff arrangements; compare the product documents and discuss uncertainties before the foundations are set out.
Assess exposure and product-specific site suitability
Compare the proposed position with other parts of the yard. One side may be sheltered by buildings or planting while another is more exposed to wind. Consider nearby tree branches, overhead obstructions and general weather exposure, and describe the conditions accurately when requesting advice. Neither the word freestanding nor a photograph establishes that a particular model is suitable for a location. Site preparation, anchoring and installation requirements can be product-specific, so check that the documents relate to the model you intend to buy. Ask whether the stated conditions cover your address and ground type, and have an installer or suitably qualified professional resolve uncertainties.
Keep the answer in writing and make sure it relates to the final position, not just the broad product category. If the site is unusually exposed, near mature trees or constrained by a slope, mention those details before ordering; they may affect the professional assessment or installation scope. Treat a bioclimatic pergola product page as a starting point for identifying a model, not as proof of a wind rating or foundation design. Don’t transfer performance figures, fixing assumptions or approval notes from another structure. Compare each candidate’s own installation instructions with the conditions recorded at your site.
Make sure the delivery route reaches the site
Walk the entire route from the likely unloading point to the installation area, measuring narrow gates, side passages, doorways, turns and stairways. Note slopes, soft ground, uneven paving, overhead branches or cables, and places where a long or bulky parcel may not turn. Measure height and width at the tightest point, not just at the entrance. A clear yard does not guarantee that the packaged structure can reach it, particularly if access passes through the house or a shared side path. Record the route on a sketch and photograph tight points so the supplier or installer can assess them before confirming the order.
Ask for the packed dimensions, weights, number of packages and handling requirements for the exact model; don’t infer these from the installed dimensions or a product image. Confirm where delivery ends, whether unloading is included, what equipment or extra people may be needed, and who moves parcels along the route. Read the supplier’s delivery terms rather than assuming a driver will carry items to the backyard. Check whether a vehicle can stop at the agreed point without obstructing road or shared access. If access is difficult, agree on a delivery and installation plan in advance instead of discovering a restriction on the day.

Allow room for installation and future access
Plan more space than the final footprint for the work itself. The installation team may need room to lay out components, prepare the base and reach each support, so ask what clear working area and equipment access the chosen installation method requires. Identify furniture, pots, branches, garden structures and vehicles that would need moving, and decide who will clear them and when. If the structure is near a fence, wall or boundary, check that the intended work area remains reachable without crossing land or using a route you do not control. Include a temporary staging spot for packages and tools while keeping household and neighbour access in view.
Think beyond installation day. The finished position should leave a practical way to reach the supports and nearby drains for inspection or routine work described by the supplier. It should not turn a useful path into a narrow squeeze between posts and a fence. Keep access to taps, lights, windows, garden equipment and stored items in mind. If a freestanding arrangement cannot leave enough working or movement space, compare other positions before changing product type. The wall-mounted pergola product page represents a separate category with different site questions; its requirements do not replace the access check for a freestanding design. Ask the installer what future clearance the exact model needs.
Compare the complete order, not just the structure
Once the site and access route look workable, compare each candidate using the same written information. Record the model and variant, overall dimensions, support positions, foundation and anchoring instructions, site assumptions, delivery point, installation scope and exclusions. Ask whether the quote includes foundation work, surface repairs, assembly, packaging removal or other preparation; don’t assume these services are included. If a product page, such as the Bloomcabin listing for a pergola, does not settle a point, request the exact installation documents and a written answer. Like-for-like comparisons can reveal when a headline figure leaves substantial site work unpriced.
Send the supplier or installer your site sketch, measured clearances, ground description, route photographs and notes on services, drainage, boundaries and exposure. Ask them to confirm which details have been reviewed, what remains your responsibility and what must be completed before delivery or installation. Clarify who arranges any professional assessment, site preparation, approvals inquiry and footing work, and what happens if the site differs from the assumptions. Keep responses with the final model and order documents. If dimensions, foundation instructions or access requirements remain uncertain, resolve them before committing so everyone understands the product, site preparation, delivery route and installation responsibilities.
Frequently asked questions
Can I install a freestanding pergola on pavers?
Not automatically. Pavers may be the visible surface, while the product’s instructions may require a particular substrate or a separate foundation. Check the requirements for the exact model and have a qualified installer assess what lies beneath the paving. How firm a paver feels is not enough to confirm that it can take the specified fixings.
How do I know what footings a pergola needs?
Start with the written foundation and anchoring requirements for the exact model, then have the actual ground and any existing construction assessed by a suitably qualified installer or structural professional. Requirements depend on the product and site conditions. An online example or another pergola’s base plan is not a substitute; clarify who is responsible for assessing, supplying and installing the footings.
What should I measure for pergola site access?
Measure the complete route from the unloading point to the installation area, including the narrowest gate, turns, stairs, slopes and overhead clearance. Ask for the package dimensions, weights and handling requirements for the selected model. Compare those with the tightest points on the route; the installed dimensions alone do not show whether the packages will fit.
Does a freestanding pergola need council approval in Australia?
Requirements can depend on the site and location, and the word freestanding does not establish an exemption. Ask your local council or a qualified local building professional what applies to your property. If the site is rented, strata-managed or shared, check with the owner or relevant manager before placing an order.
How much space should I leave around a freestanding pergola?
There is no single clearance that suits every model and site. Use the exact installed drawing, then account for the supports, any projections shown, doors, furniture, paths, services, installation work and future access. Ask the supplier or installer about the clearances for the particular model and compare them with your measured plan.
A considered freestanding pergola purchase starts with a measured plan of its position, supports, surroundings and delivery route. Confirm that the actual ground can meet the model’s documented foundation requirements, resolve drainage and service questions, and leave room for installation as well as future access. Then compare complete written scopes instead of assuming the structure alone includes site work. Doing these checks before ordering helps you shortlist options for the space you have, rather than trying to adapt the space to a purchase already made.
