
How to Plan a Pergola on a Sloping Terrace
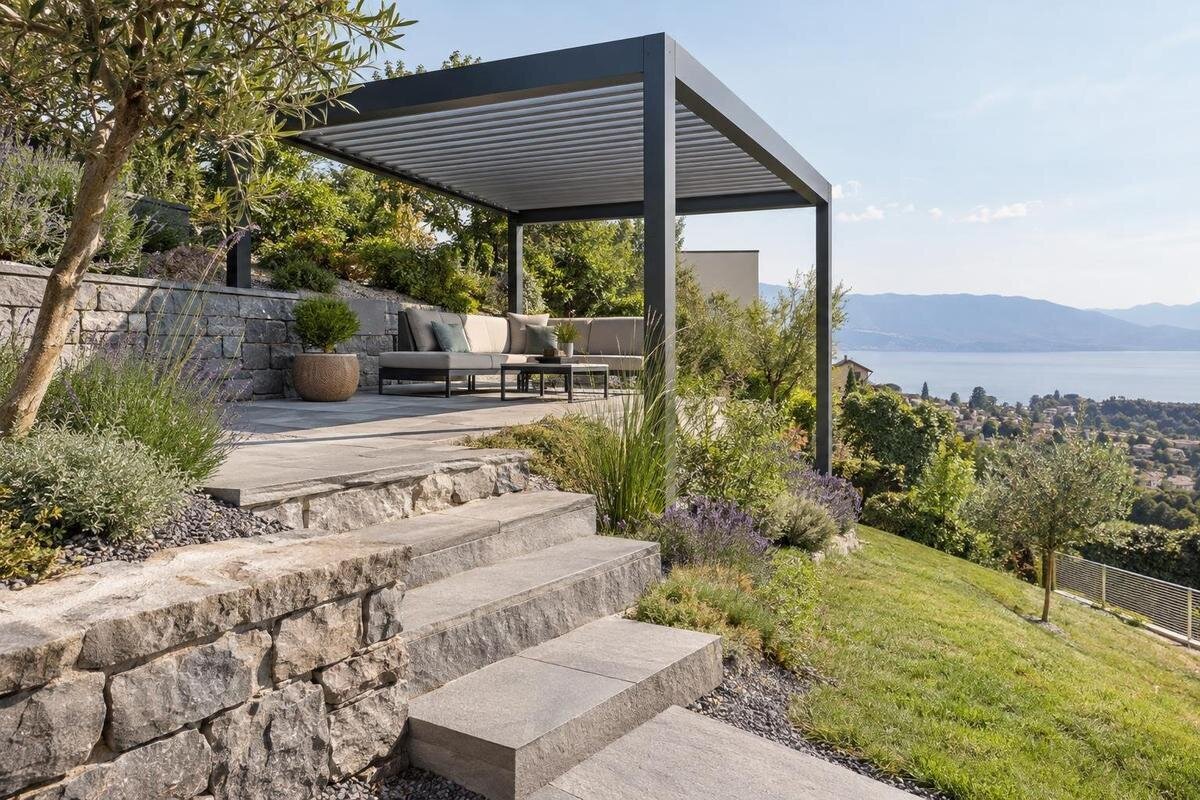
Pergola planning
A sloping terrace does not automatically rule out a pergola, but it changes how the roof, posts and ground levels need to be coordinated. Keep two questions separate: what fall the finished terrace needs for drainage, and what geometry the chosen pergola is designed to use. Measure the surface at every proposed post position, then compare those levels with the model’s approved drawings. This avoids treating the floor as a template for post heights or assuming the roof can follow the ground.

01
Keep the terrace fall separate from the roof line
A fall across paving is a surface condition: it guides water towards an outlet or away from a building. The pergola roof is a separate structure, with its own frame geometry, connection points and clearance requirements. A terrace that rises or drops beneath the planned footprint therefore does not, by itself, determine the roof plane or its height. Even a modest fall can make the distance between the finished surface and the roof vary from one side to another. The chosen model’s design and installation drawings, not the paving angle, establish the intended roof arrangement.
Treat the terrace and pergola as two sets of levels on one site plan. Surface levels show where each proposed post base meets the finished terrace; roof levels show where the frame is intended to sit. If you combine them into one measurement, a difference in ground height can be mistaken for a required change in the frame. Label the finished surface, direction of fall and roof reference separately, rather than describing everything simply as “level”. Keep the drainage fall unless the terrace is being redesigned, and do not alter post heights to make a model conform without an approved detail.
Measure levels across the pergola footprint
Mark the proposed pergola footprint on a dimensioned plan. Include the high and low sides, each proposed post point, nearby steps, drains, door thresholds and any abrupt change in surface. Measuring only the rise from one end to the other can miss a crossfall or a local dip. Record levels at every post location and across the full frame area, not just along its longest edge. Take readings from the same fixed reference so they can be compared. If paving is not installed, show the intended finished surface separately from the underlying base. Where the terrace changes direction, show that on the sketch rather than drawing a single slope arrow.
Put those readings beside the current model drawing. For Bloomcabin Pergola, as for any candidate, compare the drawing’s nominated post positions and roof reference with the actual terrace levels; a product photograph cannot show permissible height changes. Label each reading by location and note whether it refers to existing paving or a proposed finished surface. Include the full intended roof outline and the points where the site changes level. If the fall is irregular or your measurements do not agree, have a competent site professional establish reliable levels before fixing a layout.
02
Set the roof height from the model and clearances
Choose the roof position by reconciling how you will use the area with fixed constraints overhead. Note eaves, upper windows, downpipes, lights and other obstructions, as well as the clear height needed for people to move through the space. Then check the model drawing for its roof plane and reference height. A preferred clearance measured from the highest patch of paving will not describe the clearance everywhere beneath the roof, because the surface level varies. Check the whole footprint, including the side where the terrace sits lowest, not only the wall or corner that seems easiest to measure.
Ask what each height on the drawing refers to: for example, the top of a post, the underside of a beam or another named frame point. A measurement taken from the terrace surface is useful only when its reference and location are clear. When reviewing Bloomcabin Bioclimatic Pergola, obtain the exact drawing for the version being considered and identify the reference used for its roof height. Check whether the model permits any variation in support heights and what approved detail governs it. Record these separately from your preferred clearances so the installer can distinguish the model’s requirements from the space you want beneath it.
Keep post positions within the approved arrangement
Once the roof position is understood, set out the post centres shown for the chosen model. A slope can make those points sit at different ground levels, but it does not make the drawn arrangement optional. Marking the centres on the plan and on the terrace can expose a clash with a drain, stair landing, doorway or walking route before work is committed. It also lets you compare the ground at each support point instead of assuming all bases share one elevation. Record their positions relative to fixed site features so the layout can be checked without relying on a paving edge as the only reference.
Do not shift a post upslope or downslope to find flatter paving, or omit one to clear an opening, unless the model’s approved arrangement permits that change. Moving a support point can affect how the frame fits and is supported, so an alternative needs review by an appropriately qualified professional. For the Bloomcabin Wall-Mounted Pergola, compare the exact model drawing with the marked positions and note any conflict at an individual post. Keep the proposed location and the alternative clearly labelled rather than replacing one with the other on the sketch. Confirm the drawing revision before using the agreed plan to set out the site.

03
Check what lies beneath each post
The surface at a proposed post point tells you where the visible finish is, not what lies beneath it or whether it can take an anchor. A sloping terrace may have different paving build-ups, supporting construction or ground conditions across its footprint; appearance alone cannot confirm these. This is particularly relevant if the terrace has been resurfaced or built up, since the visible level may not match the support below. Establish what each support point sits over and identify concealed drains, services or nearby edges before an anchor is selected. If the underlying conditions are unknown, include that uncertainty in a site assessment rather than relying on the finish as evidence of structural support.
Anchoring and footing details must suit both the model’s approved drawings and the actual substrate. A uniform fall does not create a universal footing size, and one detail cannot be assumed to suit every terrace. For a Bloomcabin Pergola installation, use the exact model documentation as the reference, then have a structural professional or qualified installer assess the support conditions and level difference at each post. Do not invent packers, change post heights or specify footing dimensions from a photograph or general rule; those decisions depend on evidence about the site and approved connection. Ask what information or investigation is still needed before a solution is chosen.
Surface drainage and roof runoff
Map surface water before considering the pergola. Note the direction of the existing fall, low points, channel drains, grates, outlets and any place where water collects. Where practical, observe the terrace after rain rather than assuming the slope alone explains its drainage. Keep drain covers accessible, and do not flatten or reverse a fall simply to make the frame look level; changing the surface can redirect water towards a doorway or building. If terrace levels are being altered, include a drainage review so the new finished surface still has a planned route for water.
Roof runoff is a separate question. Water behaviour depends on the chosen roof design, so do not infer it from a catalogue category or photograph. If the model is designed to collect or redirect rain, establish where water leaves the roof and whether that point can be managed alongside existing terrace drainage. When reviewing the Bioclimatic Pergola product details, ask for the relevant drainage information and have any proposed connection assessed for the site. The ground’s fall may carry surface water one way while the roof discharges elsewhere; show both paths on the plan rather than assuming they coincide.
04
Check routes, doors and changes in floor level
Walk through how the terrace is used, especially where people enter from the house or move between dining areas, steps and the garden. On a slope, the finished floor changes beneath the same roof footprint; a threshold or step may be close to a proposed post even when the outline looks clear on a plan. Mark door swings, preferred paths, furniture zones and access to drains. Consider how people approach from both the higher and lower sides, and check the route on site as well as on paper. This is a circulation check, not a reason to alter the frame.
Overlay these routes on the approved post plan and inspect them at both ends of the fall. Check whether a post would narrow a path, interfere with a door, sit beside a step edge or make a drain harder to reach. Do not judge usable space from the roof outline alone: the actual support locations and clear floor at terrace level matter too. For the Wall-Mounted Pergola, use the exact plan drawing to compare the proposed supports with your doorways and routes. Mark furniture as well as posts in a temporary outline on the terrace, then walk between the house, seating area and steps to assess the space.
Compare the footprint with usable terrace area
An area figure helps compare catalogue options, but it does not tell you whether a model fits a sloping terrace. The Bloomcabin Bioclimatic Pergola listing gives a 9 to 24 m² area range, not the full site layout. Area alone does not establish post centres, height limits, clearances or the way an outline relates to your terrace. Nor can you assume that options with a similar area have interchangeable dimensions or support positions. Use the drawing for the exact configuration being considered, rather than estimating the footprint from its area.
Once you have the exact plan, draw the proposed footprint to scale against terrace boundaries and measured high and low points. Show post centres separately from the roof outline, then mark remaining walking routes, drains, steps, thresholds and furniture space. This exposes a case where the cover area fits on paper but a support point conflicts with a drain or the route changes across the slope. An area total does not tell you the side lengths, so check the plan dimensions as well. If the outline clashes with the site, reconsider the position or model through approved drawings instead of shifting a post around the fall.

05
When a sloping terrace needs a site assessment
Some sites are straightforward to measure; others need assessment before a model can be selected. Seek qualified site or structural advice if the terrace has several intersecting falls, a sharp change in level, uncertain support beneath the surface, a post close to an edge, or drainage that conflicts with the intended layout. These are reasons to examine actual conditions, not to select a generic footing. No single footing size or post-height adjustment applies to every sloping site. If the model drawing and measured site levels cannot be reconciled, pause the layout until someone qualified has assessed the difference.
For an assessment, assemble a dimensioned plan, levels at each intended post and across the roof footprint, photos from several viewpoints, drainage locations and any information you have about the substrate. Identify the precise model and ask the installer or structural professional to confirm the roof reference, permissible post arrangement, anchoring detail and issues that must be resolved before installation. If you are considering the Bloomcabin Wall-Mounted Pergola product page, include that model reference with your enquiry so the assessment addresses the intended pergola. Ask which parts of the proposed layout can be retained, what needs further investigation and whether any changes require another review.
Record the agreed levels before work begins
If the terrace is still being built or will be resurfaced, agree its finished levels and drainage fall alongside the pergola layout before the surface is completed. A change in paving build-up, a relocated drain or a revised step can alter the level at a post point and the clearance beneath the intended roof. If the terrace is already finished, base decisions on measured levels rather than old plans or a visual estimate. Coordinate whoever is responsible for the terrace, drainage and pergola so each person works from the same reference information. Make clear who will update the plan if any of these details change.
Keep one current site plan identifying the finished-surface reference, measured levels, roof reference, post centres, drainage routes and the approved model drawing used for assessment. Record the drawing revision and any agreed variations, and have the responsible professional review changes before construction; a note saying “adjust on site” does not define an approved arrangement. If the surface, drains or ground conditions differ from the plan, revisit it instead of improvising. This record gives the installer and other trades a shared account of what has been decided and which details still need resolution.
Frequently asked questions
Should the pergola roof follow the terrace slope?
Not automatically. A terrace fall manages surface water; the pergola’s roof geometry is set by the chosen model’s drawings. Check whether the model allows any variation in roof or post levels rather than assuming the roof can follow the paving.
Can I use different post heights to compensate for the fall?
Only if the model’s approved arrangement allows it. Different ground levels do not, by themselves, authorise changes to post heights or connections. Have the proposed arrangement checked against the model drawings and site conditions.
Can pergola posts be anchored to the paving?
Do not assume the paving is suitable support. The visible finish does not establish what lies beneath it or whether an anchor is appropriate. Confirm the substrate and anchoring detail for the specific model with a qualified professional.
Do I need to level the terrace before installing a pergola?
Not necessarily. The existing fall may be needed for drainage, and changing it just to suit a frame can create new water problems. Compare measured levels with the model’s requirements before deciding whether any terrace work is appropriate.
What information should I give an installer?
Provide a dimensioned plan, levels at each proposed post and across the footprint, the direction of surface fall, drainage locations, site photos and any information about the substrate. Identify the exact model so its drawings can be reviewed against the site.
A workable pergola plan for a sloping terrace brings two separate drawings together: the finished surface and its drainage fall, and the chosen model’s roof and support geometry. Once measured levels, post centres, clearances and anchoring conditions are shown against the same site plan, it is easier to spot conflicts before work begins. Keep the terrace fall that serves the site, and let the model’s approved drawings and a qualified site assessment determine how the pergola sits above it.
