
Retractable Pergola Screens: Storage, Guides and Access
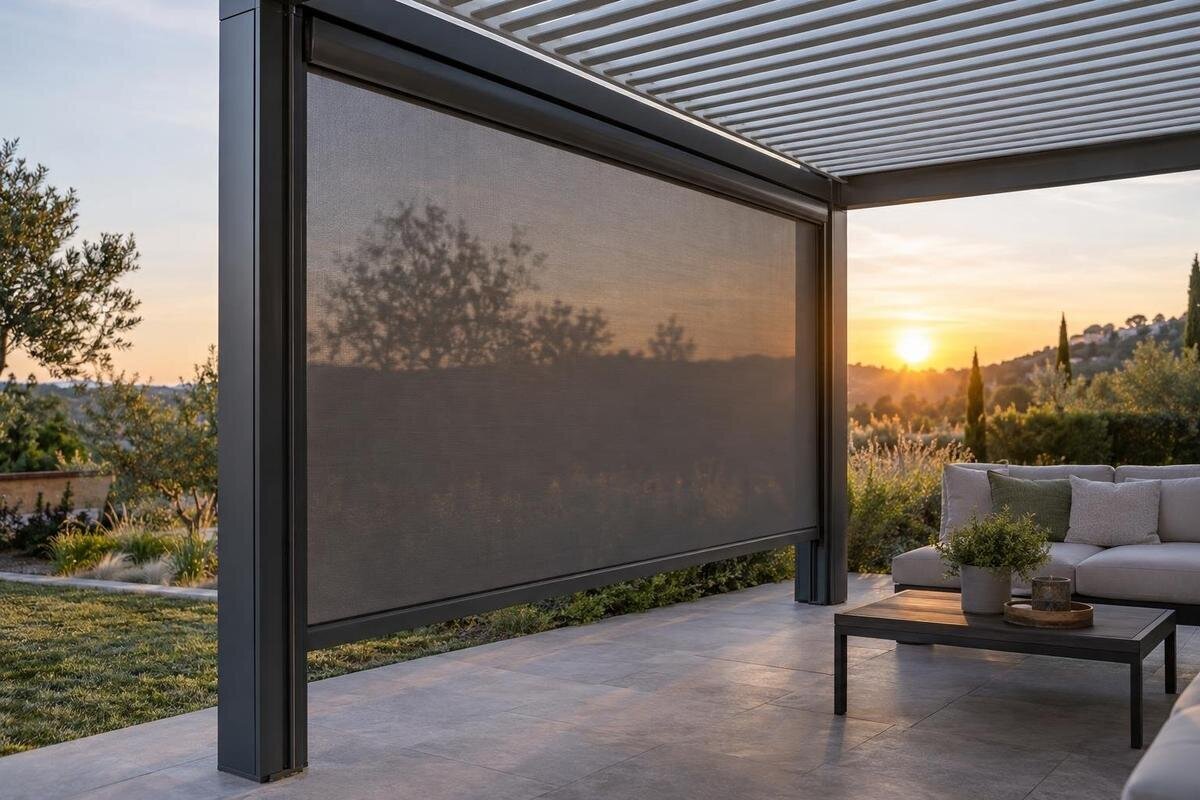
Pergola screen planning
A retractable pergola screen needs planning in two positions: across the opening when in use, and with its fabric or panels stored and the remaining hardware in place. Side guides and controls also occupy space, while routine cleaning and service require access after the pergola is set up. Start with the exact pergola configuration and a screen design confirmed for it; a generic screen width or an image of an accessory cannot establish fit or inclusion.

Plan the screen in both positions
Plan for the screen fully deployed and fully retracted, not just for the side opening. In plan view, mark the support line, usable width, doorways, furniture and the route people take. In elevation, show the opening height, the edges above and beside it, and the floor or threshold. On both drawings, mark the direction of travel, stopping point and position of the fabric, moving bar or housing when retracted. Together, these views show whether the screen covers the intended opening and whether its hardware occupies a path or clashes with a nearby component. Include any space that must remain clear for entry, even if it lies outside the pergola footprint.
Record the exact pergola model and the side you want to screen, then request a drawing of the supported screen in both positions. Do not treat every pergola face as an accessory-ready mounting surface. Bloomcabin Pergola product page identifies a model to ask about; it does not confirm which screen is approved, where that screen stores or whether it is supplied. Keeping product identity and screen compatibility separate prevents a general layout from being mistaken for a fit confirmation. Raise the screen question before choosing a fabric or expecting a fully enclosed area, and note whether the opening must remain passable while the screen is operating or parked.
Allow for the screen’s retracted hardware
Stored hardware remains part of the layout. With a roller design, fabric gathers into a cassette; for a vertical drop screen, that may sit along the top, while other systems can store components differently. Confirm the actual arrangement rather than relying on a broad category. Record the housing’s full length, depth and projection from the support, along with where the moving bar parks. Add its furthest point to your drawing and note whether a cover or service panel must be reached. On a narrow opening or walkway, that projection can matter more than the fabric width. Ask whether any part stays exposed when fully retracted, and measure from the proposed fixing face.
Compare this space with nearby beams, fascia, gutters, lights, drainage parts, roof components, walls and door frames. A cassette may fit below one edge yet interfere with a moving part or leave no access to its cover; the exact relationship depends on the selected configuration. Ask for a coordinated drawing, especially if the pergola has other roof or side accessories. For Bloomcabin Bioclimatic Pergola, ask for a drawing showing the proposed screen’s stored position alongside those components. Check both the space occupied by the housing and the space needed to open its cover. If the housing sits partly behind trim, confirm how it can be inspected or removed.
Measure the usable opening and screen clearance
Separate three measurements: the actual opening, the screen’s specified fit dimensions and the clear passage left once its hardware is installed. They are not interchangeable. Depending on the design, guides and brackets may sit inside, outside or across the opening; a nominal width will not tell you how much room remains for people to pass. Measure width and height at several points if the supports, frame or paving appear uneven, and record thresholds, slopes, trim and protruding sills. Send the readings to the supplier rather than applying guessed deductions or adding a margin that the screen’s measuring instructions do not request. If readings vary, provide them all instead of relying on a single measurement.
Ask whether screen dimensions are taken between the pergola supports, across the fixing surfaces or to the outside of the guides. Label those reference points on your measurements so the supplier can distinguish the structural opening from the proposed screen size. Check how the lower edge finishes near the paving, because a bar or ground gap may affect access and cleaning. For Bloomcabin Wall-Mounted Pergola, request finished opening dimensions for a screen option confirmed for that model. If the opening is not square or level, supply the actual readings and ask how the approved design handles the variation. Keep the resulting clear passage dimension separate from the dimensions used to order the screen.
Check side-guide alignment and fixing points
Where a screen design uses side guides, they occupy a physical line along its travel. Depending on the supported system, guides may be channels, rails or another edge-retention arrangement, but the specified path needs to remain unobstructed and align with the matching screen components. Mark the guide face and its projection on the drawing, not just the edge of the fabric. Record the distance between the fitted guides as well as the outside span; the inner dimension gives a direct reference for the passage, while the manufacturer’s measuring convention determines the final fit. Note caps, trims, joins or brackets that interrupt the route.
Ask how each guide attaches, which surfaces and fixing points the supplier approves, and how far the assembly projects into a doorway or beside furniture. Check that the complete guide line works with the screen’s upper and lower components where applicable; do not assume a generic track can be fixed to any convenient post or beam. Avoid cutting, drilling or altering the pergola merely to make a third-party system fit unless the relevant supplier approves the method. When enquiring about the regular Bloomcabin Pergola, ask for mounting details that show the guide position and its connection to the matching screen components.

Keep doors and circulation routes clear
Treat the screen as part of the circulation plan. Open hinged doors and gates through their full swing; show the travel of sliding doors and windows; include handles, insect screens, steps, downpipes, outdoor lights, taps and fixed furniture. A guide or moving bar may cross a route or sit close enough to make a handle awkward, depending on the proposed line. Check the relationship with a door in both open and closed positions rather than measuring the empty opening alone. Consider whether the doorway still works as intended with the screen deployed, then picture the same route with the screen fully retracted.
Keep a path to the garden or another seating area, not just a clear rectangle under the roof. Mark chairs both in use and pushed back: they can obstruct the screen’s storage position or prevent access to its controls. If you are considering the bioclimatic pergola model, include the chosen side and nearby doors or fittings in your enquiry. Show their positions and dimensions rather than relying on a general product image to assess clearances. A simple plan showing door swings and the screen’s retracted footprint can expose a conflict before accessories are ordered. Also mark the route needed to reach the screen itself, not only the route around it.
Choose which pergola sides need a screen
Choose screened sides by how the space is entered and used, not by counting posts. Mark the everyday access opening first, then decide which other side needs a screen and where it should retract. One panel may leave a corner or another side open; two panels can introduce a shared corner, an overlap or a gap. Those details vary by screen system. Ask how adjacent units meet, whether each can travel without obstructing the other and whether one stored panel blocks the route needed to operate another. Do not assume that two screens form a continuous or sealed corner.
Make a side schedule that labels every proposed screen, its clear opening, direction of travel and storage position. A screen on one side can affect entry and furniture placement even when retracted. For the wall-mounted pergola model, use the same side labels in your plan and compatibility enquiry so each proposed screen can be matched to a particular opening. Ask the supplier to show which sides are supported and how adjacent screen edges meet in your exact layout. If you need an unobstructed access side, identify it on both documents rather than assuming a corner arrangement can be changed later.
Leave access for cleaning and service
Routine care needs physical access, not just a cleaning note in a manual. Dust, leaves or other debris may collect around exposed guides or lower edges, and the housing may need inspection according to its maker’s instructions. Leave enough room to reach those areas with the screen in the positions the maintenance directions require. Avoid boxing in a cassette behind permanent trim, squeezing it against an immovable planter or locating a guide where you cannot see whether it is clear. If the screen has drainage or clearing points identified in its instructions, keep those unobstructed as well.
Ask what access is needed to clean, inspect and service the selected system, whether a cover or component must be reached from one side, and whether neighbouring fittings would have to be removed. Consider the maintenance route in elevation: a gap that works only with the fabric fully retracted may not be suitable when the instructions require access in another position. When asking about Bloomcabin Pergola model details, include a request for the screen’s servicing and guide-access requirements. Do not assume those clearances from a general pergola drawing, or choose a location that makes routine access depend on moving fixed elements.
Check the screen’s outdoor-use limits
Outdoor exposure affects how a selected screen may be used, but screen-specific use limits must be checked separately. Fabric can move under gusts, and permitted operating conditions depend on the actual material, guides, attachments and product instructions. A screen is not automatically a solid wall, rain barrier or wind-rated enclosure. Consider how wind reaches the side and corners of your site, then ask the screen supplier for documented operating limits and directions about when the screen should be retracted. Avoid relying on a general description such as outdoor screen as a performance specification, and do not infer a screen rating from the pergola alone.
Ask whether the proposed screen is intended to remain deployed as weather changes and what care is required after exposure to dust, rain or leaf litter. Keep these operating requirements separate from the question of whether the screen physically fits. If you are considering the Bloomcabin Bioclimatic Pergola, request the specification for the exact supported screen option and note which instructions apply to that combination. If that information is not available, leave performance assumptions out of the plan and discuss the proposed screen’s suitability with the supplier or an appropriately qualified professional.

Plan controls and the operating route
Allow space to operate the screen as well as to pass beside it. For a manual design, find out where the handle, strap or other supplied control sits and what movement is needed to use it. Check that a table, door leaf or adjacent screen will not obstruct that movement. If a powered design is offered for the selected model, decide where its control will be accessible and what service access must remain clear. A control position that looks convenient on an empty plan may be blocked once furniture is in place. Show where the user will stand and check that the control remains reachable when the screen is partly or fully deployed.
Include who will use the space and whether the screen must be operated from a particular route, without assuming a control type is available. If a powered option is supported, confirm it against the exact screen and pergola documents; have any electrical work planned by a qualified installer rather than adapting a connection on site. Keep this separate from physical compatibility: the cassette may fit while its control point or service route does not. If several screens are proposed, ask whether their controls operate separately or together instead of assuming they move as a coordinated set.
Prepare a model-specific compatibility drawing
A useful compatibility enquiry can be answered from a labelled plan and side elevation. Include the exact pergola model, the side or sides to be screened, finished opening measurements, paving or threshold changes, doors and windows, and fixed fittings. Draw the housing, guides and moving bar in both stored and deployed positions, with their projected edges and the intended passage clearly marked. Add the direction of travel, the cleaning and service approach, and the preferred control position. A photo of the actual side can add context, but it should not replace measurements or a model-specific drawing; label the side shown so it is not mistaken for another opening.
Ask the supplier to confirm which screen designs are supported for that exact configuration, how their guides attach, the finished clear opening, storage envelope, corner details and operating limits. Ask them to identify what the order includes: screen, guides, controls and any installation work, rather than inferring inclusions from a pergola page or display image. If you are considering a third-party system, request compatibility confirmation before buying it. Keep the resulting drawing with the order details so the installer and household can see where the screen moves, what remains accessible and which areas must not be obstructed.
Frequently asked questions
How much room does a retracted pergola screen need?
There is no universal clearance. It depends on the screen design and where its housing, bar and guides sit. Ask for dimensions with the screen both stored and deployed, including any projection beyond the pergola frame, then compare them with nearby doors and walkways.
Do side guides reduce the clear opening?
They can, depending on where the chosen design places them. Check the finished clear width between the fitted guides as well as the outer opening dimensions. Use the screen supplier’s measurement instructions rather than assuming that the pergola’s full span remains available.
Can I add a screen to an existing pergola?
Possibly, but only if a screen design is supported for that exact pergola and its attachment method is approved. Confirm the fitting details and available clearances before buying a third-party system or drilling into the structure.
What should remain accessible for cleaning?
Keep the guides, lower edge and any cassette or inspection cover reachable as required by the product instructions. Ask what access is needed with the screen in each relevant position, and avoid hiding service areas behind fixed trim or furniture.
Are retractable screens included with a pergola?
Do not assume they are. Check the exact product offer or order details for the screen, guides, controls and installation scope. A pergola’s model name or a screen shown in an image does not confirm what is included or whether another screen is approved.
Good retractable pergola screen planning treats the stored assembly as part of the space, not as hardware that disappears. When the opening, guide projection, travel path and cleaning access appear together on a model-specific drawing, it is easier to judge whether the screen suits everyday movement as well as the side it covers. The same plan shows what remains visible, what stays reachable and which compatibility questions need an answer before accessories are ordered.
