











Classic masonry-base greenhouse
Classic greenhouse for a masonry plinth – gabled tradition with brick, stone, concrete or render
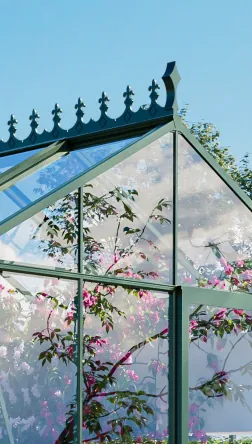
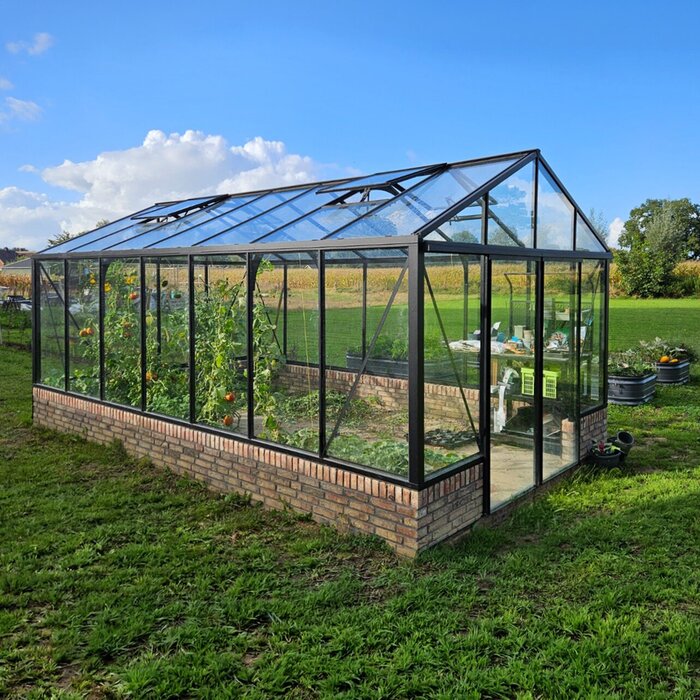
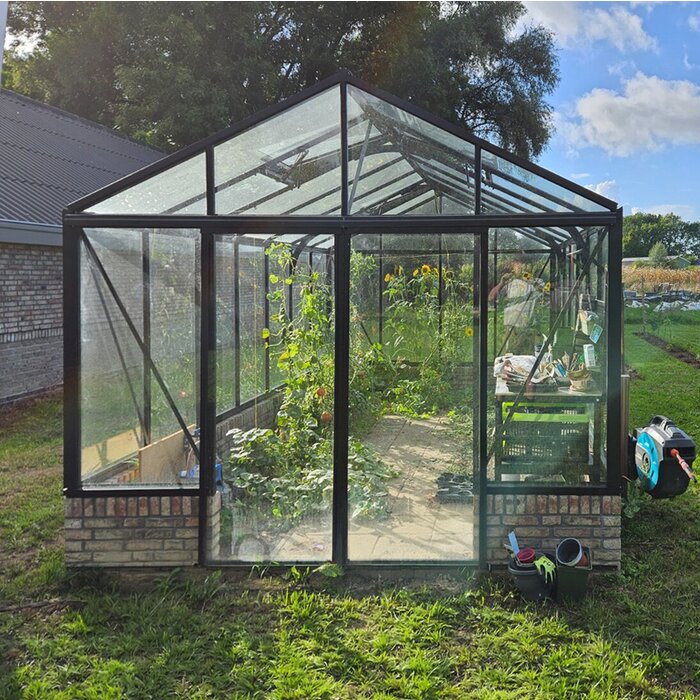
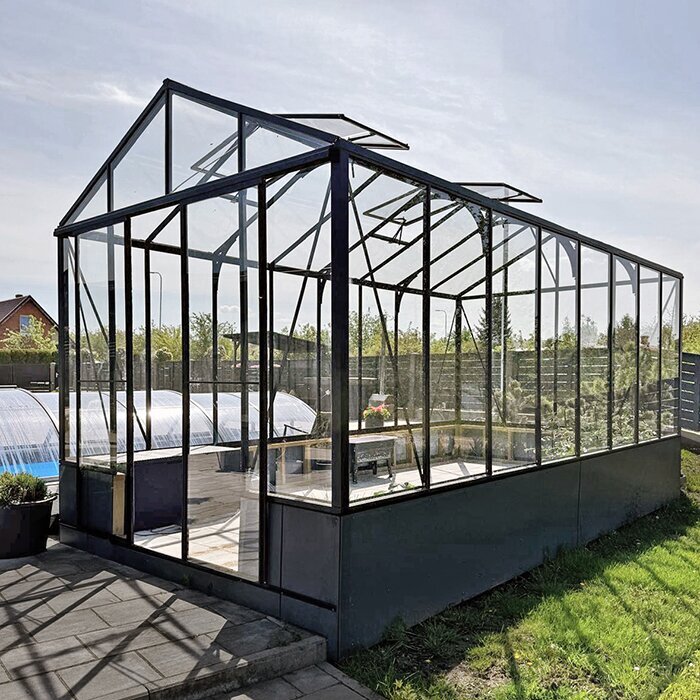
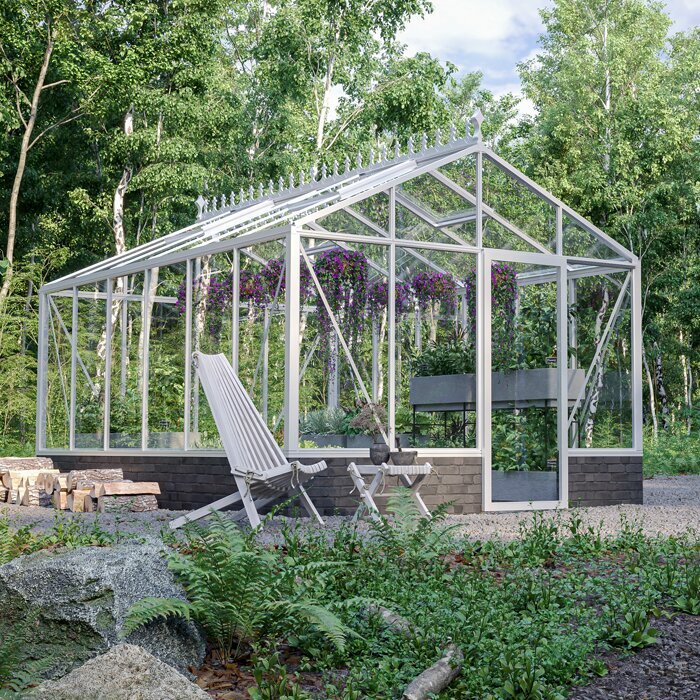
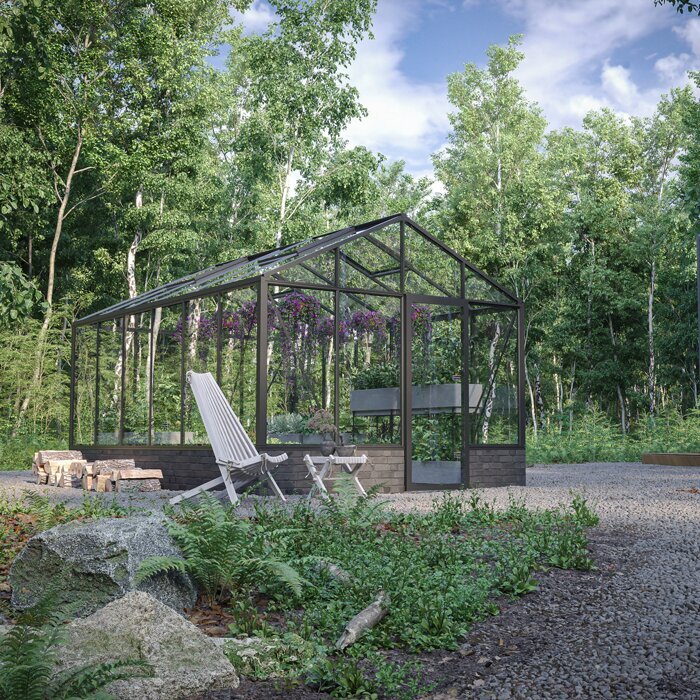
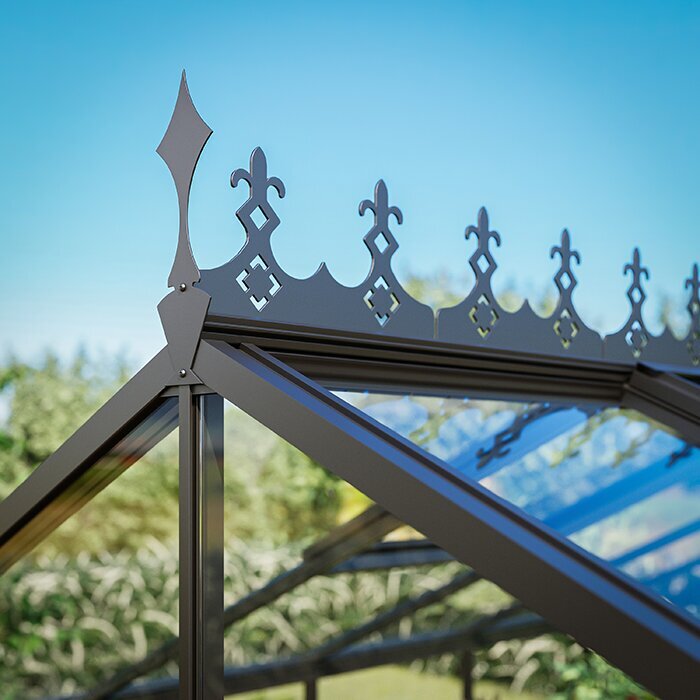
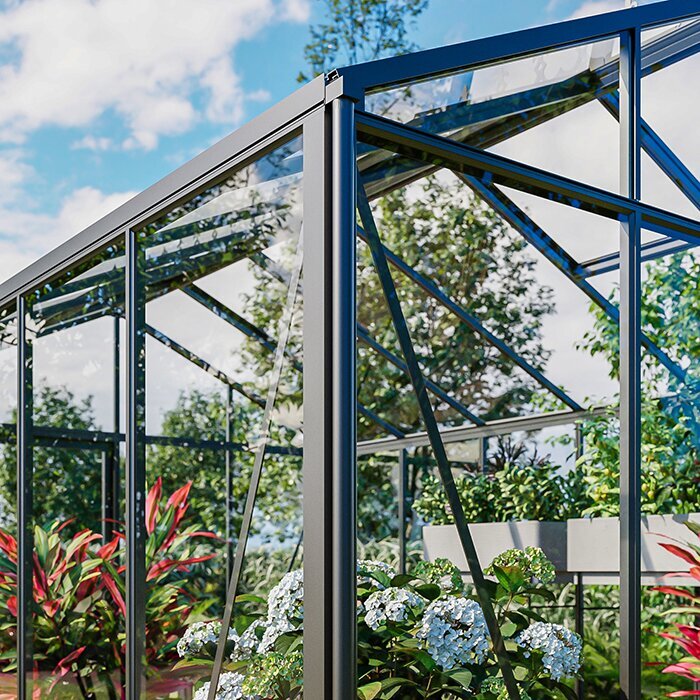
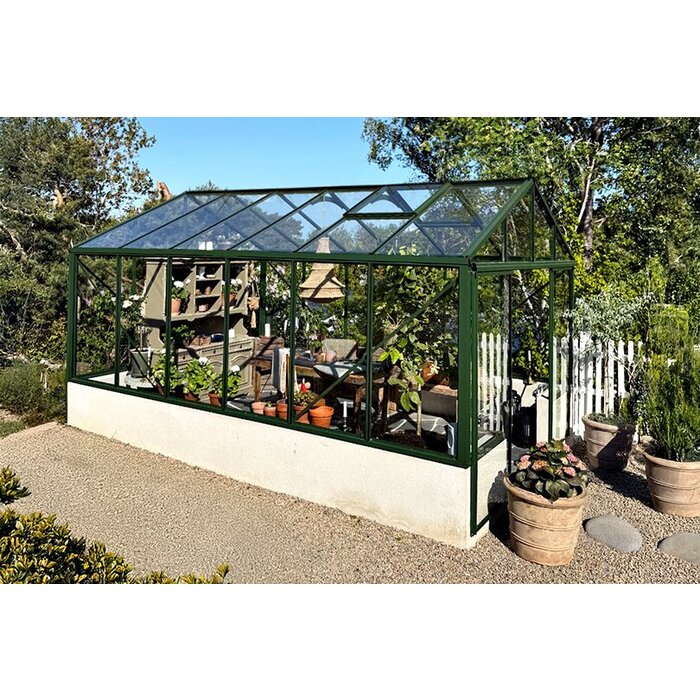
The Bloomcabin Classic greenhouse for a masonry base places its traditional freestanding gable above a site-built plinth designed for the project. The lowest glass panels are replaced by brick, natural stone, concrete or rendered masonry, helping the greenhouse sit comfortably beside the house, terrace and paths without losing its separate form.
Configurations extend from compact models to larger versions . Choose from different widths and lengths. The masonry base is built to suit the selected configuration . Glazing options include polycarbonate, 4 mm toughened safety glass and selected specialist glazing. As dimensions, base height, door connection and frame must align, finalise the greenhouse configuration first. Only then can the foundation and masonry be made accurately to the confirmed dimensions.
This design is not a lean-to greenhouse. It carries its own gabled frame on a dedicated masonry base rather than using a house façade or another wall for structural support. Allow for that independence when locating the greenhouse, preparing foundations, planning drainage and retaining room for installation. See the Bloomcabin Classic masonry-base greenhouse for Australia.
Traditional greenhouse architecture
The masonry base changes the footing, not the classic greenhouse form
Its aluminium frame bears directly on the prepared top of the masonry. The recognisable Classic outline depends on a uniform plinth height, true corners and an accurately finished doorway junction. As masonry replaces the bottom glass sections, its colour and texture have much greater visual presence than on an all-glazed greenhouse.
An enclosed plinth makes the greenhouse feel more permanent within the garden. Particular care is needed where aluminium meets masonry at each corner and beside the doorway. A restrained combination of aligned finishes and crisp lines will usually appear more composed than numerous competing colours and textures.
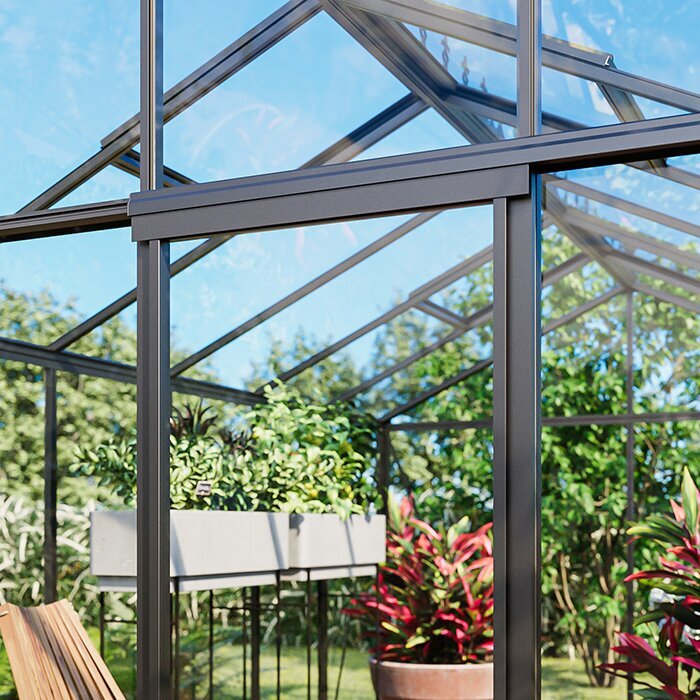
With the glazing raised above masonry, the edges of the interior offer different possibilities. Benches, short shelves, pots or beds can occupy this zone without tools or soil touching low glass. Preserve clearance for every window to operate, and leave the panes accessible for inspection, cleaning and upkeep.
Benefits of a masonry base
How the masonry base affects light, workflow and perimeter areas
Choose this version when the plinth is intended to contribute visibly to the garden design. A solid enclosure replaces transparent panels around the lower perimeter. Whether that arrangement supports the planned use will depend mainly on plinth height and where plants, benches and other equipment will sit.
Individual design
Coordinate the material, joint pattern and finish with paths, buildings and garden elements
Practical perimeter zone
Set benches, short shelving and pots at heights that work with the plinth
Enclosed base zone
Keeps soil, tools and splashing water away from lower glazing
Plan the interior as a whole
Design plinth height, growing zones and movement routes together from the start
Configure first, then build the masonry base
Settle the footprint, plinth height and doorway before any building work
Both the supporting footing and masonry are completed at the destination. Lock in the model, width, length, plinth height and door layout before either is built. Approximate outside measurements and concept sketches are not adequate: modest errors may leave the frame poorly supported, misalign its fixings or create difficulties around the entrance.
Across its full perimeter, the completed wall top needs to be sound, flat, square and built to the specified dimensions. Verify the two diagonals as well as width and length. On longer greenhouses, fixed datum lines and written measurement checks make errors easier to catch while work proceeds. Correct level variations properly before placing the frame.
Door placement determines circulation and influences the useful internal arrangement. While selecting the configuration, identify the approach for wheelbarrows, pots and materials. The finished doorway and plinth specification can then establish all structural level transitions.
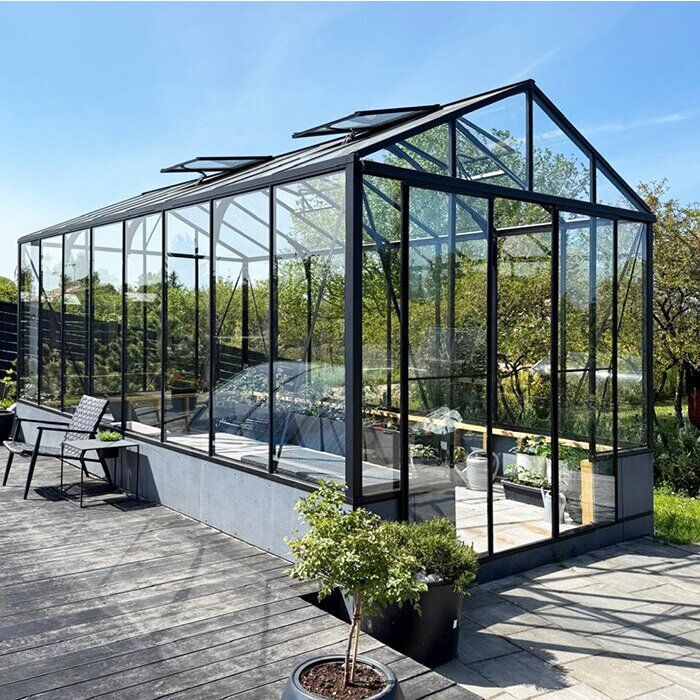
Classic construction
Aluminium frame and glazing for a precisely prepared masonry base
Area: approx. 3.8–28.1 m².
Masonry base: approx. 10–50 cm, depending on configuration.
Main widths: 2.35 m and 3.10 m.
Glazing: Polycarbonate, 4 mm toughened safety glass and selected specialist glazing.
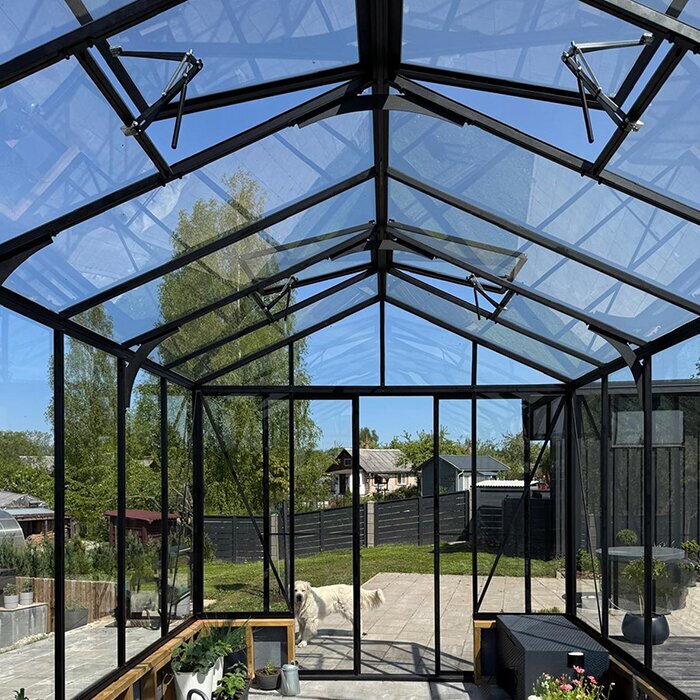
Ventilation: Roof windows open manually; compatible configurations can also accept automatic opening devices.
Frame: Powder-coated aluminium profiles.
Drainage: Integrated gutters.
Doors: Selected configurations use sliding doors.
Warranty: The warranty terms provide 12 years of cover for the aluminium greenhouse structure. Design ratings are 30 m/s for wind speed and 210 kg/m² for snow load. They depend on correct assembly and an appropriate load-bearing masonry base. Site-specific conditions, inspection requirements and maintenance guidance must also be followed.
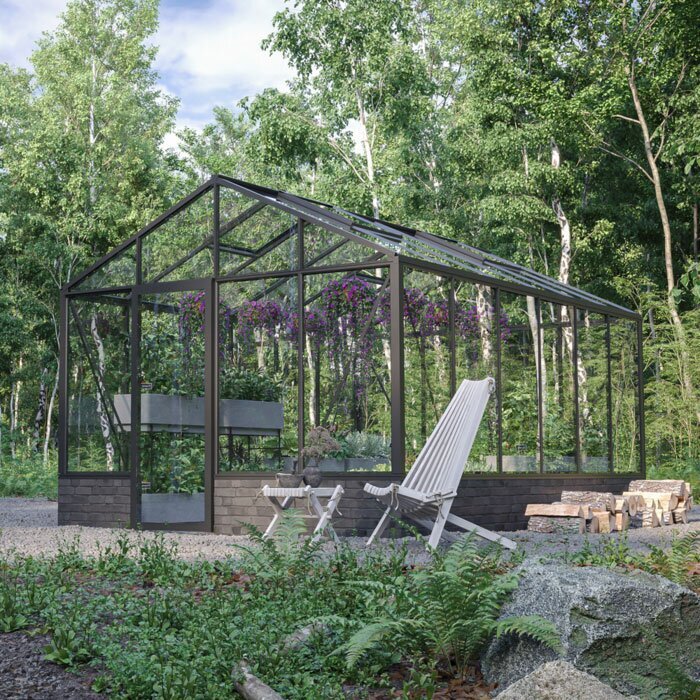
Design
Relate the frame colour and plinth material to their garden setting
Brick from the same broad tonal family as the home can create a connection without imitation. For natural stone, overall texture and the mix of underlying colours often matter most. Render or exposed concrete gives a quieter backdrop that emphasises the aluminium. Appearance is only one criterion: the chosen masonry must also suit the intended structural build-up.
Bond, joint colour, joint thickness and the treatment of the wall top all affect the finished composition. That upper edge must work as both a crisp visual line and a sound bearing surface. Caps and overhangs cannot intrude into the frame installation. Resolve the corner and entrance details against the final greenhouse drawings before laying masonry.
Powder-coated profiles may echo the plinth quietly or provide intentional contrast through the selected RAL colour. View physical samples outside under daylight rather than relying on a chart. Assess them beside nearby planting and paving as well, because the wider setting changes how the completed colour scheme reads.
Proportions
Choose base height to suit plants, outlook and interior fittings
A shorter plinth preserves a stronger view between the garden and interior. It may suit low crops requiring generous lateral light, or a design intended to feel highly transparent. The trade-off is a smaller solid surface behind beds and beneath benches to catch splashes or form a background, so account for that in the fit-out.
Increasing plinth height gives the base greater emphasis and conceals more of the lower interior. That can complement side benches and containers. The height is not an independent design choice, however; select it only from configurations that align correctly with the glazing, frame and doorway.
Consider the side-growing plants, the normal working height and the amount of visibility desired from outside. Answering these questions before purchase lets the fit-out and masonry be designed as one scheme, reducing the chance of shaded crops or uncomfortable bench heights.
Interior fittings
Arrange shelving and work benches sensibly along the masonry base
Shelves and benches that stand independently need stable footing and dimensions that prevent contact with profiles or panes. Any anchors placed into the masonry must suit its build-up without passing unintended forces into the greenhouse frame.
Keep regularly used pots, tools and growing media within comfortable reach on a bench instead of leaving them underfoot. Place heavier stores close to floor level where they remain stable. Allow an unobstructed route for baskets, watering cans and containers, without catching crops or interfering with the doors.
Provide a service gap beside the glazing for airflow, cleaning and visual inspection. Shelving and supports under roof vents must stay below their travel path, including the space required by an automatic opener. Before purchasing fittings, use a scaled plan to balance benches, growing areas and circulation.
Planting
Place tall plants and mobile containers outside ventilation and circulation routes
Tomatoes and other vigorous crops need sufficient headroom and positions that will not obstruct doors, roof vents or main aisles as they mature. Align plant supports with the roof geometry and planned ventilation points. Allowing space at planting time makes tying, pruning, harvesting and clearing old growth much easier.
Pots make the perimeter adaptable: move them as seasonal light changes or when access is required for cleaning. Use saucers or suitable platforms so irrigation runoff does not repeatedly pool in one location. Large containers need adequate support and stable placement away from glass, profiles and masonry edges.
Use the bright margins for low crops, keep tall growth clear of vent paths and place portable containers where circulation remains open. Through the season, watch for shoots entering fittings or window openers. Redirecting them early is easier on the plants than cutting them back heavily later.
Load-bearing base
Prepare a foundation and ground that will remain load-bearing
Footings beneath the plinth must respond to the greenhouse size, the site soil and any local frost conditions. Their required form cannot be inferred from the visible wall alone. Seek a competent site assessment before excavation or ordering materials where the ground is filled, sloping or otherwise uncertain.
Fine render or well-finished joints cannot compensate for inadequate support underneath. Movement or settlement in the substructure can continue upwards into the aluminium and glass. Prioritise drainage, level and lasting load capacity over cosmetic correction of unsuitable foundations. The plinth carries the greenhouse; it is not simply decorative edging.
Before pouring concrete or starting the wall, map drainage for rain and wash-down water and decide whether services or conduits are required. Retrofitted openings take effort and may harm finishes or waterproofing. Keep every service path clear of structural footing zones and planned frame anchors.
Access
Plan the door opening, threshold and path level together
Match the entrance precisely to the chosen sliding door and plinth arrangement. Width alone is insufficient: coordinate the wall top, threshold, finished interior surface and outside path to one height datum. Incorrect levels can introduce a step or impede sliding action, so each trade must use the same approved measurements.
A straight, comfortably wide approach assists with wheelbarrows, pots and produce crates; even a small lip becomes awkward under load. The final internal surface must stay below the door’s operating envelope and any designed drainage plane. Shape the exterior approach so rain cannot pond at the entrance.
Mark the doorway centre and permanent level datums before building this section. Dimensions apply to the clear opening after render, paving and caps are complete, since each finish can reduce or alter it. Record a final inspection before accepting the work to avoid remedial changes later.
Drainage
Carry rainwater away from both masonry and footings
Roof runoff is captured by the integral gutters for directed disposal. Plan outlets so discharge neither stains the exposed plinth nor accumulates beside the footing. Give the doorway particular attention: effective falls and drainage should keep its threshold and approach from remaining wet after rainfall.
Form surrounding ground levels to shed surface runoff away from the greenhouse. Continue gutter discharge far enough, and with an appropriate fall, to prevent water returning towards the base. Nearby beds and paths form part of this drainage design; a longer outlet alone will not correct adverse ground levels.
Rain captured from the roof may later irrigate plants when the vessel and connection are properly located. Support the tank securely without obstructing doors, gutter servicing or maintenance routes. Provide a managed overflow so heavy rain cannot send excess water against the footing and masonry once the vessel is full.
Climate
Adjust ventilation to plants, outdoor temperature and sunshine
Heat gathers beneath the gable and can leave through the roof vents. Keep climbing plants, storage and taut supports outside each vent’s operating space. Opening the doorway can add airflow when required, but position sensitive plants so they are not exposed continually to forceful draughts.
A sealed greenhouse may overheat rapidly in bright sun, so ventilate before foliage displays obvious stress. Irrigation, crop density, growth stage and current weather all change the response required. Conditions in a full midsummer greenhouse differ from a lightly planted house at season opening; a rigid daily timetable is therefore unsuitable.
Where the configuration permits, temperature-responsive openers can assist routine roof ventilation. They do not remove the need to inspect crops, doors and moving components. Following strong wind, unusual weather or time away, confirm that each vent travels without obstruction and shuts fully.
Material selection
Choose glazing for light effect, appearance and intended use
Clear toughened safety glass complements the Classic design and keeps planting, shelves and the plinth visible from the garden. Arrange tools, rigid objects and high furniture where they cannot hit a pane. Apply the product instructions for safe handling during assembly and cleaning.
Compared with clear glass, polycarbonate has different thermal behaviour, weight and light diffusion. Its softer view into the interior may be desirable where the contents should attract less attention. Decide according to crop plans, visual preference and working habits, while also considering ventilation and site exposure.
Specialist glazing is offered on selected configurations. Confirm the available panel positions and versions for the exact model before choosing. Treat glass type, frame colour and plinth material as a single palette; revising one after the wall has been completed is much harder than resolving the combination beforehand.
Interior
Make the internal floor easy to maintain and coordinate it with door height
Gravel, stone paving and similarly durable finishes can continue the visual language of the plinth. Priorities for daily use are reliable footing, straightforward cleaning and drainage. Keep loose aggregate out of the sliding-door guide, and avoid raised edges where fixed finishes meet work zones or adjoining surfaces.
A sweepable surface is useful around frequent potting work and spilled growing media. Open beds and fully finished walkways serve different purposes, so a workable plan may combine planted ground with firm routes. Do not disturb the footing or plinth, and retain inspection access at perimeter joints and connections.
Determine finished floor height before constructing the entrance, accounting for all courses from sub-base to surface. A later increase in paving thickness may interfere with the threshold or sliding mechanism. Removable grates and mats also need to remain below the door’s operating clearance.
Services
Plan power, lighting and service routes early
When lighting or power points are wanted, discreet protected routes are easiest to incorporate before completing the wall, footing and floor. Position them around work areas without compromising clear passage. Have electrical work for this damp environment designed and carried out by a suitably qualified professional, with local requirements checked for the installation address.
Future additions are simpler when conduit routes, seals and endpoints are agreed in advance. Keep loose cables off walking surfaces and away from every moving door or window. Apart from looking untidy, exposed wiring may obstruct routine tasks. Retain a basic service drawing so concealed connections can be located after completion.
For a heated greenhouse, establish appliance position, electrical supply, plant clearances and controls at the design stage. Heat does not compensate for poor ventilation or unsuitable crop planning. Operate equipment only as intended; makeshift heaters and inappropriate extension leads are not suitable permanent arrangements for unattended use.
Forms of construction
Choose between freestanding Classic and Lean-To forms
A Lean-To is designed around an existing building wall, so that surface largely determines its location and operation. Available wall area, the junction with the façade and access from one side shape the scheme. Choose this format where a deliberate connection to the building is wanted and the supporting site conditions can be provided.
Classic uses a self-supporting gable roof above its own load-bearing masonry base, with no house wall involved. Space is required around all sides, yet the position within the garden is more flexible once light, access, clearances and local site conditions are considered.
Base the decision on usable area, daylight, access and whether a physical relationship with the house is desired. A Classic needs perimeter room for assembly, gutter work and cleaning its glazing. Lean-To planning is governed more directly by the host building and the quality of the façade junction.
Care and access
Maintain access for cleaning, inspection and minor care work
Plan lasting access to the glass, doors, vents, gutters and exposed masonry. Perimeter working room supports pane washing, leaf removal and inspection of joints. It must also provide safe footing for ladders and cleaning tools without requiring damage to beds or adjacent finishes.
Avoid crowding the frame with dense hedging or vigorous climbers. Branch movement may mark coatings or glazing, fallen foliage can choke gutters, and heavy growth hides developing defects. Prune surrounding vegetation to preserve an inspection and working gap beside the structure.
The maintenance margin may remain permeable, provided it is stable to walk on and does not acquire permanent obstacles. Put tanks, compost systems and substantial pots where components remain visible. Reserving this route on the site plan prevents improvised access and repeated relocation of garden equipment.
Seasonal care
Check the structure and drainage before and after winter
Ahead of winter, test sliding doors, roof vents, automatic openers, gutters and outlets. Secure or remove loose objects and surplus plant supports. Clear debris from corners where it can trap moisture and obscure inspection; an orderly interior makes changes in the masonry, frame or glazing easier to identify.
After strong storms, frost or snowfall where these occur, inspect inside and outside. Examine panes, fasteners, vents, the sliding action and visible plinth junctions. Avoid shifting snow into uneven accumulations or across access routes. Repair damaged components and mechanisms that bind before returning them to service.
When the growing season begins, clear the gutters, test moving components and clean glazing with appropriate products. Review render, joints and exposed stone for deterioration at the same time. Prompt attention to minor faults can limit water entry and seized mechanisms. Always give the product care directions for glazing, frame and accessories priority.
Long-term planning
Plan the masonry base so future garden changes remain possible
Because masonry and footing remain tied to the location, they outlast changes to paths, planting and outdoor furniture. Plinth proportions will continue to influence whether the greenhouse looks delicate or substantial. Simple finishes and controlled detailing generally accommodate later garden redesigns more readily.
Maintenance should inform the material decision. Exposed stone, render and mortar joints need to remain inspectable and capable of local repair. Accurate construction and a correctly formed wall top contribute more to successful frame installation than ornate features that conceal anchors or restrict access to junctions.
Reserve space beside the plinth for later planting and routine work. Future paths, pots and beds should not encroach on doors, cleaning routes or gutter discharge points. Allowing for this evolution now lets the garden change without hiding functional greenhouse parts.
Project sequence
Coordinate measurements, masonry work and greenhouse installation clearly
Assign responsibility before work starts: who issues the final dimensions, who verifies them on site and who accepts the completed base for installation. The client, mason and assembly team all require one current drawing set. Communicate any change to footprint, doorway or plinth height before construction incorporates it.
Once masonry is finished, document a new check of widths, lengths, diagonals, levels and the clear entrance. Confirm that bearing surfaces, caps and nearby paving are complete and agree with the selected configuration. Resolve recorded departures before greenhouse assembly proceeds.
Before starting the foundation, ask the relevant state or territory authority and local council what planning, building, boundary or site controls apply to the address and proposal. Product guidance cannot determine the approval pathway for a particular property. Also locate underground services, verify boundaries and ensure materials and the installation team can reach the site.
Frequently asked questions
Classic masonry-base greenhouse: questions answered
Is this greenhouse attached to a house wall?
No. Its own masonry base supports the freestanding frame and gable roof. An adjoining house wall is not used for the back panel or for structural support.
When can construction of the masonry base begin?
Only after the model, size, door arrangement and base specification have been finally chosen and the associated dimensions confirmed. Do not build the foundation and masonry from preliminary information.
Who builds the foundation and masonry base?
The answer depends on the project. Both elements are produced at the site using the approved greenhouse dimensions. Bring in an appropriately skilled contractor when the ground, footing design, water management or masonry specification requires assessment.
Are brick, natural stone, concrete and rendered masonry suitable?
Yes, these materials can generally be considered for the design. What matters is construction suitable for the material and a load-bearing, level, square and dimensionally accurate wall cap for greenhouse installation.
Is a separate capping suitable for the wall top?
Yes, but only where the cap has been coordinated with the final frame design. It must preserve a flat bearing face and clear fixing locations. Settle all projections around corners and the doorway before the masonry is laid.
Can the internal floor be raised later?
Only if the threshold and sliding-door movement zone remain clear. Set the final floor level before the door opening is made, including all intended surface layers.
Can water from the gutters be collected?
Yes. Position a suitable collection vessel for later irrigation on secure support, clear of the entrance, gutter service points and maintenance path. Its controlled overflow must discharge away from both the plinth and its footing.
How does this model differ from the Lean-To model?
A Lean-To is planned in conjunction with an existing wall. By comparison, the masonry-base Classic needs no façade: a separate foundation and plinth carry the complete freestanding greenhouse.
Bloomcabin Classic
Freestanding Classic architecture with an individually designed masonry base
At installation handover, provide one package containing drawings, verified dimensions and the finished-surface information. It should let the crew identify intended bearing faces, levels and every service penetration without ambiguity.
Documents and checks for construction
✓ Provide the confirmed model drawing with footprint and door position
✓ Document the plinth material, structural build-up and final height
✓ Clearly mark levels for threshold, internal floor and external path
✓ Show gutter-outlet positions and required service penetrations
✓ Record length, width, diagonals and levelness before installation
✓ Ensure clear access for deliveries and the installation team