
Planning an Accessible Path to Your Garden Shed
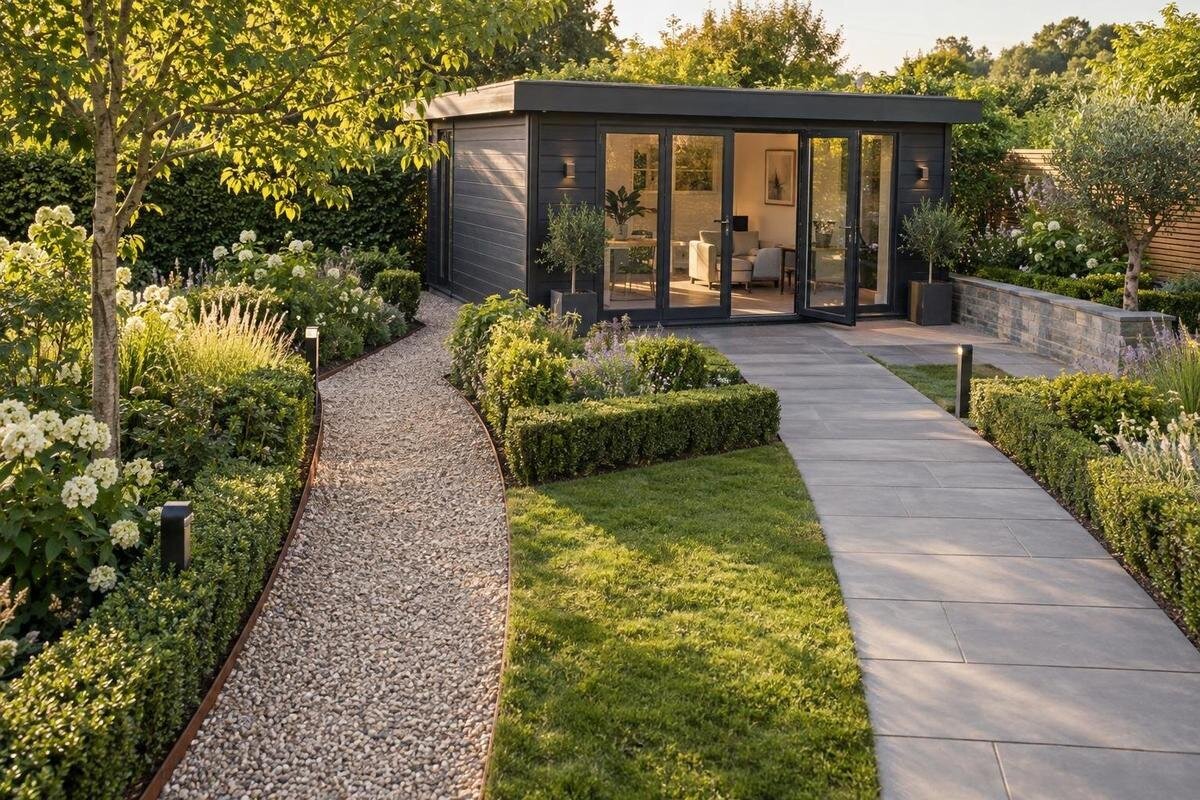
Garden shed planning
An accessible path to a garden shed is more than a strip of paving: it connects the yard’s everyday route to a usable entrance. The right layout depends on who will use it, what needs to travel along it, the site’s levels and the shed’s actual doorway. Plan the route and building together, then confirm the details that the drawings and site work must resolve.
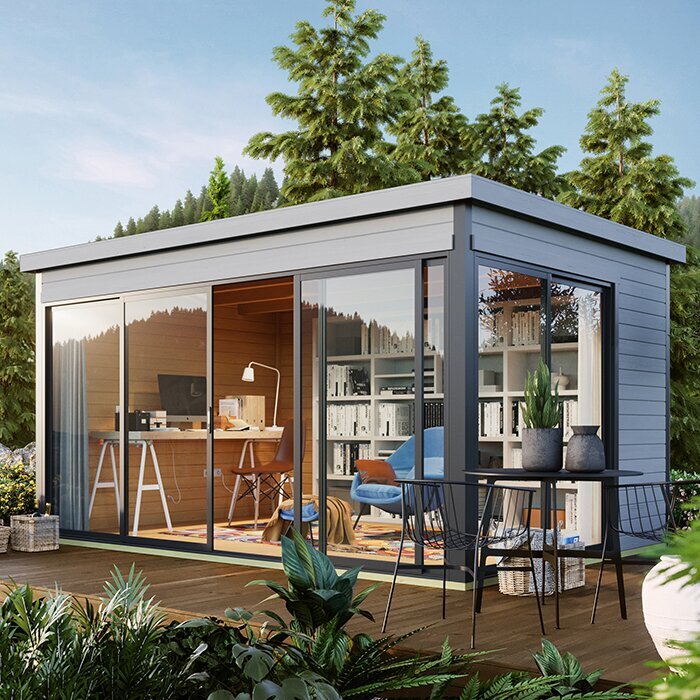
Define who and what will use the path
Start by describing the trips the route must support. Note who will use the shed, how often, and what travels with them: a mobility aid, garden cart, wheelbarrow, tools or a carried load. A path that works for walking empty-handed may be awkward when a cart has to pass through a gate or turn at the door. Include the whole trip, from the usual starting point to the storage area, and consider whether someone needs room to pause, handle a load or open a gate. Think about movement in both directions: the return trip with a full cart may demand more careful steering than the empty trip out. If several people use the shed, plan around the equipment and manoeuvring needs that call for the most clearance.
Walk the proposed line rather than judging it from the patio or a plan alone. Follow it from the house, driveway or gate, and note steps, narrow passages, tree roots, planting beds, taps, bins and places where hoses or tools usually sit. A temporary line marked with a garden hose, chalk or removable stakes can show where the route turns and what it would displace. Try the marked route with the cart or equipment you expect to use, keeping the walking line clear. Mark locations of things that sometimes move, too; a route that works only after bins or planters are shifted may not remain usable. This check can reveal a pinch point before paving or excavation makes a change costly.
Route width, turning space and approach
Route width is useful only if it continues through the narrowest point. Check the gate opening, corners, fence posts, edging and any spot where the path approaches the shed; one tight turn can prevent a cart or mobility aid from lining up with the door. A direct line is not always easiest to use. A broad turn around a tree or bed may feel smoother, but it needs more yard space and can lengthen the trip. Where two people, or a user and a helper, need to pass, decide where that can happen rather than assuming every part of the route can serve as a passing area.
Base the usable width on the largest item or mobility aid, the space needed to steer it and any hand clearance alongside it. Allow for fixed features and plant growth, not just the bare paving. There is no single width that fits every route and user, so compare the marked layout with applicable accessibility guidance or ask an accessibility professional. For a product comparison, the Verdana 1 garden house page is a place to request the plan and entrance information you need; a model name or photograph does not establish doorway clearance or turning room. Check the narrowest point and the approach angle, not just the average width along a straight section.
How the yard affects route placement
Conditions in the yard can change which route is practical. Walk the area after rain and note where water collects, where soil stays soft, how the ground rises or falls, and whether roots or existing paving affect the line. Look at downspouts and irrigation too: a path placed in a runoff channel may become muddy or icy, while a path that redirects water toward the shed can create a different problem. Consider shade and vegetation that may overhang the route as they grow. These observations help you select a line before choosing the surface or setting the building position.
Connect the path to a firm starting point and a clear destination, not to a patch of lawn that becomes muddy after wet weather. Check how it meets gates, patios, steps, planting edges and the planned shed footprint. Leave access to anything that must still be reached or maintained, and confirm property boundaries and buried services with the appropriate people before excavation. When considering the garden house Verdana 2 listing, request a dimensioned plan and door-position details if they are not provided; use confirmed information to lay out the approach rather than estimating from an image. A landscape professional can assess grading or drainage work that goes beyond minor surface preparation.
Surface choices for a stable route
Prioritize a route surface that is firm, stable and even enough for the people and equipment using it. A lawn can soften or rut, and deep loose gravel or mulch can shift beneath wheels or footwear. Pavers, poured surfaces and compacted materials are options to compare, not automatic guarantees: installation, joints, the base beneath them and the site’s drainage all affect how they perform. Choose for the way the route will be used and maintained, not only for appearance. A sample may show colour and texture, but it cannot tell you how a completed path will feel under wet conditions.
Look closely at joints, edges and transitions between different materials. Gaps, loose stones, raised lips or a soft border can interrupt a rolling route or catch a foot, even when most of the path is smooth. Consider traction when wet, leaf-covered or affected by frost, and how easily grit, weeds and debris can be cleared. No material stays predictable without suitable installation and upkeep, and a surface that suits one yard may not suit another. Ask the installer how the proposed finish and edge treatment will handle local water and routine maintenance; where standards apply, confirm the design with a qualified professional.
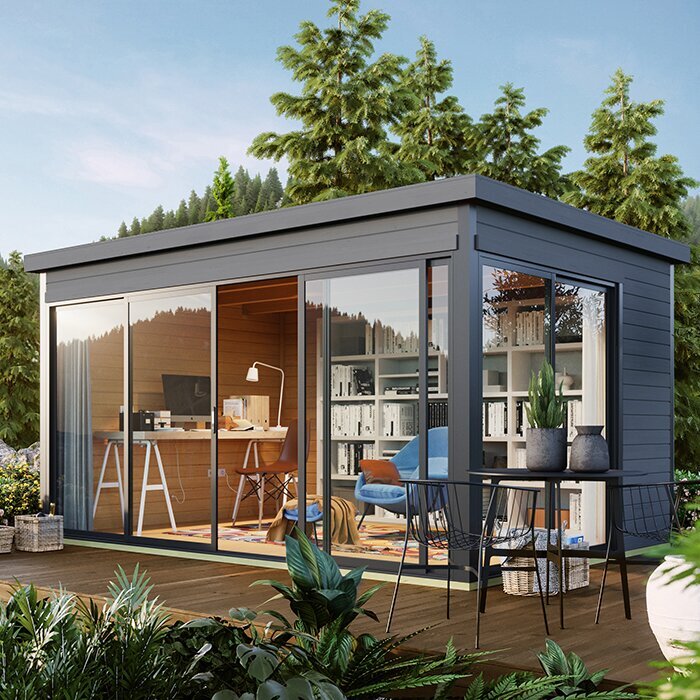
Entry clearance and the path-to-door transition
Treat the entrance as part of the route, not as a separate feature to solve later. A person must be able to reach the door, position themselves, operate its handle and move through the clear opening. Check how the door moves: a swing door can occupy the approach or block the route when open, while another door type still needs usable hardware and sufficient clearance. Leave a clear area where the user can line up and turn without standing in a planting bed or on soft ground. For a shortlist that includes the Durano garden house product page, confirm its actual door configuration and dimensions from product information rather than relying on the model name or image.
At the junction, check the finished path against the sill, threshold and floor inside. A raised lip or sudden change in level can be a barrier even when the path itself is smooth. The transition also has to work with the door and weather protection; removing or altering a threshold without checking the product instructions could affect other parts of the entry. If the doorway cannot meet the route without a ramp or other level change, have a qualified accessibility or building professional assess the landing, approach and drainage together. Do not guess at ramp dimensions or make structural changes from a photograph; obtain a design that fits the specific building and site.
Slopes and level changes
Slopes affect effort, control and how water moves, both along the route and from side to side. A route that looks manageable from the house may feel different when pushing a loaded cart or using it in wet or icy conditions. Avoid abrupt changes in height, and avoid placing the steepest section at a turn or immediately outside the door. A longer, more gradual line may be easier to negotiate, but it uses more space and is not always possible in a small or uneven yard. There is no universal grade that works for every person and site; use relevant accessibility guidance and get qualified advice for the proposed layout.
Coordinate finished path height with the shed entrance and whatever base or foundation the product requires. If levels are decided independently, the result may be a step at the door, a path that holds water or a need to alter the entrance after construction. For a possible choice such as the Veltor 1 garden house listing, ask for the product-specific entry and foundation information before settling path elevations. If the plan involves excavation, retaining edges, substantial grading or a ramp, have the appropriate site professional assess it. The suitable approach depends on ground conditions and building details, not on a generic drawing.
Drainage, snow and changing seasons
Plan where water will go before choosing the final line and finish. Observe how runoff from the yard reaches the proposed path and entrance, and note nearby downspouts, low spots, sprinklers and areas that stay wet. Avoid creating a channel that carries water across the route or toward the shed. A surface can be firm in dry weather yet slippery or muddy if drainage is poor, so the solution may involve changing the alignment or arranging site drainage rather than swapping materials alone. Because grading and drainage affect the surrounding ground, ask a qualified landscape or building professional to review substantial changes.
Decide whether the path needs to work year-round or only in warmer months. For winter use, make room to clear snow without piling it in the turning area or against the doorway, and check that any maintenance or de-icing product is compatible with the chosen surface. Shade, meltwater and refreezing can make a route harder to use even after snow is removed; no paving choice removes the need for seasonal upkeep. If the Orello 1 garden house page is under consideration, request applicable siting or installation guidance and coordinate it with the route’s water management. Do not assume the product name describes threshold or drainage performance.
Space at the entrance and inside the shed
At the doorway, reserve enough clear, firm space to stop, turn, open the door and bring items through without entering a soft bed or crossing an obstruction. That area should not be reduced later by a bin, planter, downspout, stored tools or a step. Its shape matters as much as its size: a narrow strip directly in front of the entrance may not give a user room to approach from the side or reposition. Mark the full opening and door movement on the ground, then check the layout with the equipment and turning needs identified earlier. Include the space needed to set down a carried item without blocking the route.
Consider the shed’s interior alongside the outside approach. A path through the doorway is of limited use if frequently needed items are stored behind other equipment or leave no clear route inside. Sketch the intended storage arrangement, including bulky items such as a mower or cart, and check the actual interior and opening information for the chosen product. When reviewing the Modano 1 garden house listing, look for a plan that supports those checks or request one; photographs and product names do not establish usable interior clearance. Keep the most-used items accessible without allowing them to narrow the way in.
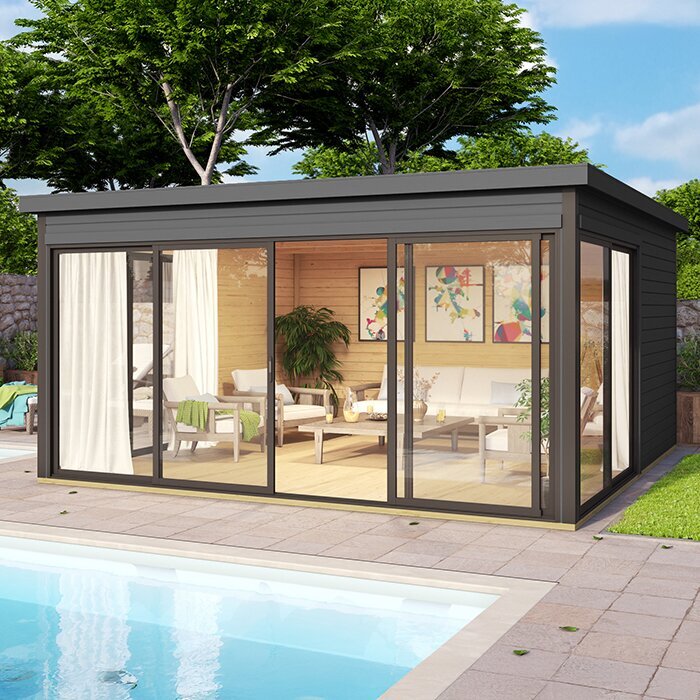
Keeping the route clear over time
Route clearance changes as the yard grows and is used. Keep branches, shrubs, hoses, cords, garden tools, bins and snow out of the usable path, and avoid placing edging or decorative stones where they create a lip. If lighting is needed for the route, have a qualified professional plan it and keep temporary cords out of the walking line; the path should not depend on moving a cable each time someone uses the shed. A defined border can help show where maintenance is needed, but it must not reduce the clear space or create a trip edge.
Choose the route and surface with your maintenance routine in mind. Some finishes need frequent clearing of leaves or weeds; others need periodic attention to joints, loose material or settling. Inspect after heavy rain and seasonal changes for pooling, soft spots, shifting edges or new obstructions, then arrange suitable repairs before a small defect becomes a recurring barrier. While checking the wooden garden shed M product page, note any published placement or maintenance guidance; if it does not address clearance around the building, ask and include the answer in your site plan.
Checks to make before ordering or building
Before ordering, compare the exact product configuration with the path plan. Confirm documented footprint, doorway position, clear opening, door operation, threshold and any information about the floor or required base; ask which version the drawing describes. Product photos and model names are not substitutes for dimensions, and an assumed entry location can put a fence, path or turning area in the wrong place. For a product such as the wooden garden shed S listing, request the relevant plan and installation information if you cannot find it. Check that answers are specific to the configuration you intend to order, rather than to a different option.
Coordinate the order with whoever is preparing the site and building or assembling the shed. Agree which work covers the path, base, levels, drainage and any entry transition, and confirm access for materials and people during the work. Ask the supplier or installer what site conditions and clearances their instructions assume; do not treat an online image as an installation plan. Where a design must meet accessibility requirements, check current local guidance with the relevant authority or a qualified accessibility professional. Review the finished route at the actual doorway before regular use, since final levels and hardware matter as much as the plan.
Frequently asked questions
What makes a path to a garden shed accessible?
It is a continuous route with a firm, stable surface, room to approach and turn, manageable level changes, and a clear entrance. The right layout depends on the people and equipment using it, as well as the yard.
How wide should an accessible garden shed path be?
There is no single width that suits every user and route. Consider the largest mobility aid or cart, the room needed to steer, and any turns or gates. Check the narrowest point against applicable accessibility guidance.
Is gravel suitable for a garden shed path?
It depends on the type of gravel, how it is installed and maintained, and who will use the route. Loose or deep material can shift under wheels or footwear, so compare the finished surface with firmer options for your site.
Does an accessible path need to be level?
Not necessarily, but slopes and changes in level can affect effort, control and drainage. Avoid abrupt transitions, and have a qualified professional assess the proposed route against applicable guidance when the yard has significant slopes.
Can I add a ramp to an existing garden shed?
Possibly, but the ramp, landing, doorway, threshold, base and drainage need to work together. Have a qualified professional assess the specific shed and site rather than guessing at dimensions or altering the entrance without checking product instructions.
The most reliable plan is a continuous route that feels predictable from the usual starting point to the shed entrance and the items stored inside, with room to approach the door and no abrupt interruption at the threshold. Map actual journeys, confirm the shed’s documented entrance and footprint, and have site-specific levels and drainage reviewed before construction. That keeps the path, doorway and building working together instead of treating each as a separate feature.
