
Buying a Garden Shed Kit for DIY Assembly
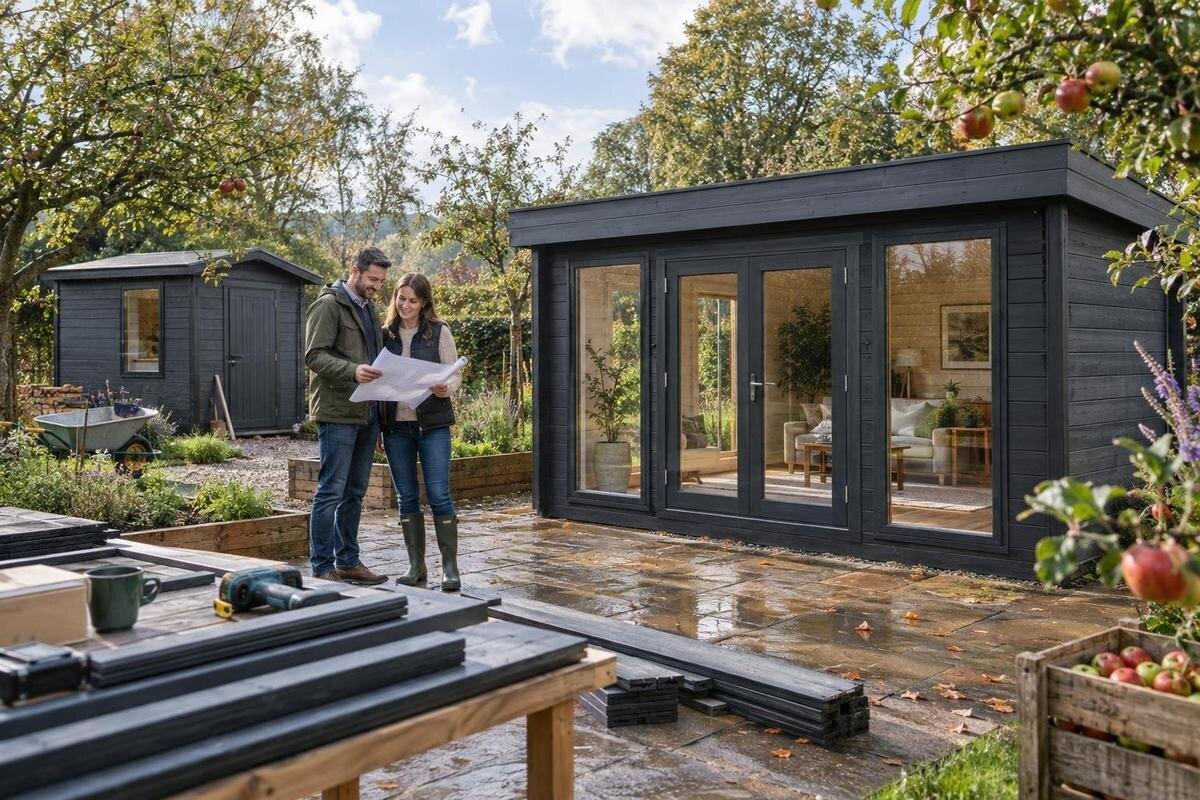
Garden shed buying guide
A garden shed kit for self-assembly can suit a DIY project, but the shed itself is only one part of the decision. The right kit has to fit the items you plan to store, the site you have available and the work you can take on. Before comparing options, separate the structure from any materials, tools, site preparation or delivery that may not be included. This guide explains how to check those details and compare garden shed kits on a like-for-like basis before ordering.
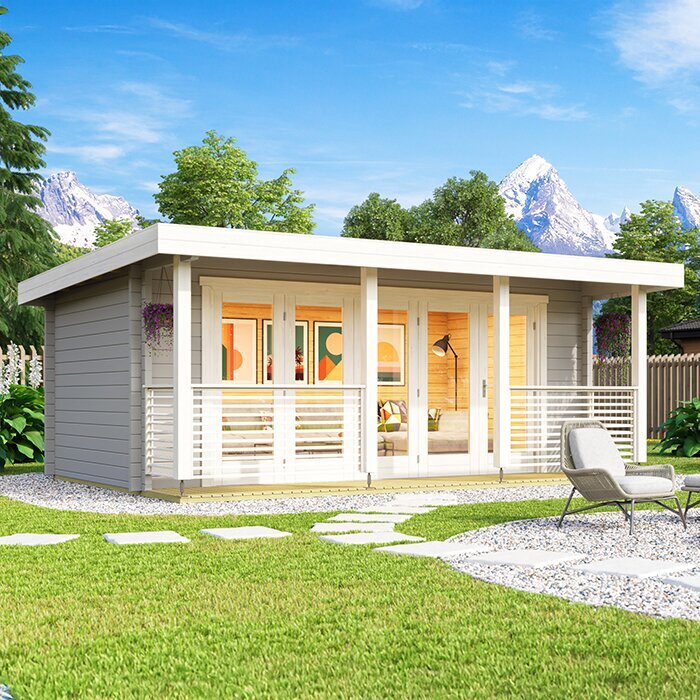
Match the kit to what you plan to store
List the objects you want to store rather than choosing a shed for a vague, general purpose. Note the longest item, its height and how it has to pass through an entrance; include handles, wheels or attached parts that cannot be removed. Account for seasonal equipment and leave room to reach items at the back instead of filling every corner. Group items by how often you use them, so frequently needed tools can stay near the entrance. Separate essentials from possible future purchases so you do not choose a larger footprint based on guesses. Decide whether the shed is for storage only or also needs a work area: a bench or potting station takes space that a simple item count will not reveal.
Use a candidate page such as the Verdana 1 garden-house listing as a prompt to record the dimensions actually stated. If usable interior space, opening width or door position is unclear, request a dimensioned drawing or written answer. A product name or photo does not establish capacity. Compare the entrance with the items you need to move inside, then sketch where shelves or a bench could go. This helps distinguish a kit that fits on the property from one that will work for your particular storage routine.
Measure the site and allow room for access
Measure the proposed site at ground level and note fixed boundaries such as fences, walls, trees and paths. Also measure the route from the delivery point to the site, including gates and narrow passages. Mark where doors will open and leave enough practical space to approach the shed, take out equipment and reach any side you may need to maintain. Consider how snow, bins or parked vehicles could affect that access at different times of year. Check for slopes, low branches or other obstacles rather than assuming the area is a simple rectangle. A quick site sketch with measurements is easier to compare with product details than a visual estimate.
For a page such as the Verdana 2 product page, check what each stated measurement refers to: the base, wall line or outer roof edge may describe different boundaries. Look for a plan showing the door position and overall dimensions; if those details are not provided, ask before relying on the listed footprint. Include any roof projection or door clearance shown in the product information in your sketch. Keep the dimensions in consistent units, and compare the available site with the kit’s stated measurements rather than scaling a photo.
Compare materials and their care requirements
Look beyond a broad material label and check the construction details that affect care and repair. For a timber kit, ask about the specified wood, treatment, finish and any maintenance instructions. For a metal option, check the stated material and coating, along with guidance on corrosion and repairs. For resin or composite parts, look for the manufacturer’s advice on outdoor exposure, connectors and replacement panels. These are questions to apply to the actual product information, not assumptions about every kit made from a particular material.
Choose a material whose upkeep and repair options suit the way you will use the shed. Outdoor exposure can include moisture, sun and changing temperatures, but the appropriate care depends on the specified material and finish. Ask how surfaces should be maintained, whether compatible treatments are named and whether replacement parts are available. Also consider whether you can safely inspect and maintain the exterior once the shed is in position. The Durano garden-house page is another product page to assess in the same way: confirm the stated material and finish rather than inferring them from the model name or image. If material details are incomplete, get them clarified before comparing the kit with another option.
Read the parts list before comparing kits
A kit’s title does not tell you exactly what arrives. Check the written contents for the main structure, doors, windows if applicable, hardware, fasteners, trim, floor, roof covering and anchoring components. Mark each item as included, optional, separately purchased or unclear. Note whether quantities are specified, especially for hardware or finish-related components. This matters because two kits with similar photos may leave you with different shopping lists. Pay attention to items needed to finish the structure, not only the large panels. Do not assume that a feature visible in an image, such as a floor or window, is part of the package unless the product details say so.
Use the Veltor 1 garden-house listing as an example of a page to check against a written parts list, not as evidence of what any particular kit contains. If an assembly manual or inventory is available, compare its components with the product description and note exclusions. Ask whether finishing materials, roof covering, floor components or extra hardware must be sourced separately. A simple comparison table with one column for each candidate and rows for the parts you need makes omissions visible before checkout, when it is easier to change your choice.
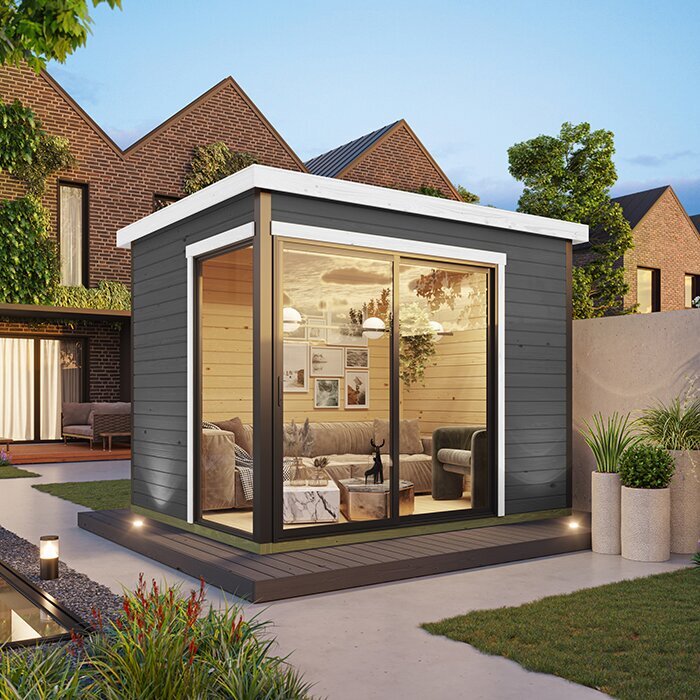
Confirm the base and site requirements
Before ordering, find out what kind of prepared base the manufacturer requires and whether the kit includes a floor. Check the stated dimensions and tolerances for the base, any requirements for anchoring, and whether the floor is optional or separate. Confirm which product document applies to the exact model and configuration you are considering. These details affect both the space you need to prepare and the materials to budget for. Avoid choosing a site based only on the shed’s appearance in a photo. If you are unsure whether your planned location or base meets the product requirements, ask the supplier for written guidance before arranging site work.
Ask for product-specific guidance about conditions at your site, including exposure to wind, snow or damp ground where relevant. Do not infer a kit’s limits from a model name or from a general description. The Orello 1 garden-house page can be reviewed for stated requirements, but the name alone cannot answer questions about a particular property. If anchoring, the base or local requirements are unclear, consult a qualified building professional or the relevant local authority. Resolving these questions early can prevent a mismatch between the kit you order and the site you intend to use.
Check the assembly instructions against your experience
A self-assembly label does not explain how demanding the work will be. Before buying, look for an instruction manual or an outline of the assembly process. Check whether the manufacturer describes the required skill level, sequence, tools, cutting or drilling, and how components are handled. Look for steps that must be completed in a particular order or that require holding parts in place. Consider the kind of work you have completed before and whether you are comfortable following detailed instructions and keeping track of many parts. If the guide is not available online, ask whether you can review it or obtain a clearer description of the tasks before committing.
Review the Modano 1 product page as you would any candidate: look for assembly information, then ask about anything that is not stated. Confirm whether the manufacturer specifies a number of helpers, whether parts require modification and what support is available if a component is damaged or missing. Do not judge difficulty by the shed’s apparent size or by how simple the image looks. If the written requirements go beyond your experience, factor in capable help or compare a different option before placing an order.
Plan tools, help and a realistic schedule
Make a tool and supplies list from the manufacturer’s instructions rather than buying equipment on speculation. Separate tools you already have from items you may need to rent or purchase, and note consumables or finishing materials that are not part of the kit. Check whether the guide calls for particular measuring or access equipment, and whether work on the finish needs to happen at a specific stage. This is also a good point to estimate how much clear space you need for sorting parts and moving around them without blocking the assembly area.
The Garden Shed M listing can serve as a reminder to confirm the requirements for each option, not to assume a particular tool list or assembly time. Ask the manufacturer for a realistic estimate and the number of people expected, then plan around your own availability and the help you can arrange. Identify any stage when an extra person may be especially important, rather than arranging help for only the beginning of the project. Allow time for delivery, checking components and preparing the site, as well as for the work itself. Consider where the package can be kept securely and how you will manage packaging and leftover materials. A practical schedule is more useful than relying on a generic claim about quick assembly.
Check delivery, damage and return terms
Before paying, confirm how delivery works and where the carrier is expected to leave the order. Ask for the package count and, if available, the dimensions and weights of the largest packages so you can check driveway, gate and storage access. Find out who is responsible for unloading and whether delivery is to the property or to a more limited drop-off point. The Garden Shed S product page is a useful place to check the ordering details provided for a candidate; if package information is missing, ask for it rather than assuming the kit will fit through a route or into temporary storage.
Read the written terms for delivery charges, order changes, cancellations, returns and warranty coverage before placing an order. Pay particular attention to what happens if a component arrives damaged or parts are missing, how to report a problem and what time limits the supplier sets. Check whether opening or beginning assembly affects return conditions. On arrival, compare the number of packages and any visible damage with the delivery paperwork before moving materials to storage. Keep the order details and relevant correspondence together so you can refer to the agreed terms later. These checks do not guarantee a particular outcome, but they make the process and your responsibilities clearer before the kit is on its way.
Compare the total project cost
Compare the complete project, not only the kit price. Add any separately purchased floor, base materials, roof covering, fasteners, finish or anchoring parts, plus delivery and unloading where charged. Include tools you need to buy or rent, disposal of packaging and any outside help. Check how applicable taxes are shown in the order total. The point is not to predict a price before you have product details; it is to identify every cost category that could change your budget. If a necessary item is still unclear, leave it marked as unknown instead of treating it as included.
Compare candidates on the same scope: each should meet the same storage need and include, or clearly list, the components you expect to buy separately. Consider your time and the maintenance described by the manufacturer alongside the initial outlay. A lower kit price may not mean a lower project cost if important parts or preparation are extra, but do not assume that one option is cheaper until you have checked the full list. Set a budget for the whole project and use written details to assess it, rather than trying to compare vague package descriptions.
Use a consistent checklist to make the choice
Put the options into a side-by-side table with rows for site fit, exterior and usable interior dimensions, door access, materials, maintenance, included parts, base requirements, assembly skills, tools, delivery and total project cost. Add a status beside each point: confirmed, not included or still unclear. Keep preferences, such as window placement or appearance, separate from requirements such as fitting a particular piece of equipment through the entrance. This makes it easier to eliminate a kit that cannot meet a basic need before spending time comparing its optional features.
Resolve the unclear items that could change fit, cost or workload. Ask for written dimensions, an itemized contents list or assembly guidance where needed, and check that the answers match the product you intend to order. If a base or site question remains beyond your knowledge, get appropriate professional advice rather than guessing. When the essential requirements are confirmed, choose the kit that fits your storage plan and DIY capacity without relying on details the listing has not established.
Frequently asked questions
What should a garden shed kit include?
Contents vary. Use a written parts list to check whether the structure, doors, hardware, floor, roof covering, fasteners, trim and instructions are included, optional or sold separately. Treat photos as illustrations, not an inventory.
How do I choose the right shed-kit size?
List what you plan to store, note the largest items and measure their route through the entrance. Then compare those needs with the kit’s stated outside and usable inside dimensions, plus the space needed to open doors and reach stored items.
Does a garden shed kit come with a floor or foundation?
That depends on the product. Check the parts list for a floor, then look for the manufacturer’s requirements for the base and anchoring. If the site or foundation requirements are unclear, ask the supplier or a qualified professional before ordering.
How can I tell whether a kit suits my DIY experience?
Read the assembly instructions before buying, if they are available. Check the stated skill level, tools, expected helpers and any cutting or drilling requirements. If key details are missing, ask for clarification rather than judging complexity from the product photo.
Can I assemble a garden shed kit by myself?
Do not assume that every kit is intended for one-person assembly. Confirm the manufacturer’s guidance on helpers and handling components. If the work appears to require help you cannot arrange, compare another kit or a different assembly option.
A suitable garden shed kit is one whose written dimensions, contents, site requirements and assembly instructions match a clear plan. Before ordering, make sure you know what arrives, what you must source separately, how the kit will reach the site and who will do the work. If an unanswered detail could change the fit, workload or total cost, resolve it first. That way, your DIY choice rests on confirmed requirements rather than an assumption based on a product image.
