
How to divide a 20–30 m² garden shed into functional areas
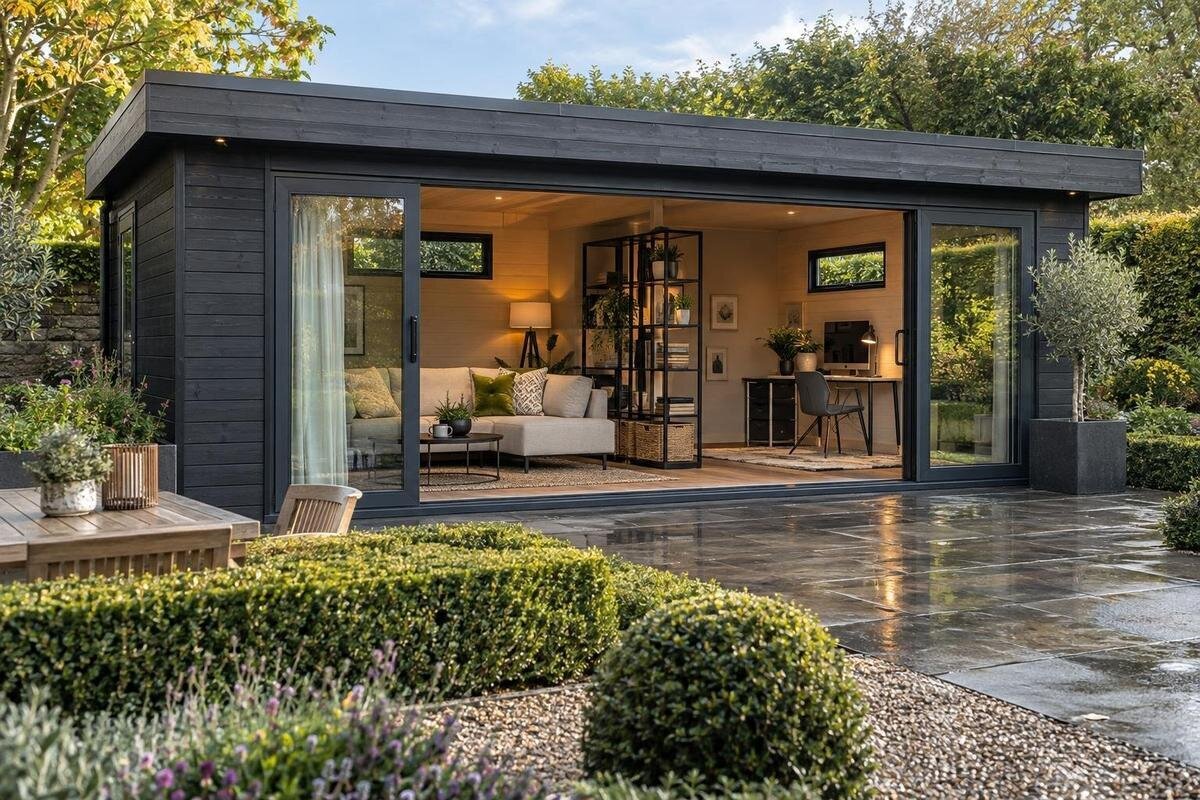
Garden shed layout
A 20–30 m² garden shed can support several activities, but the floor area only feels generous when each task has a place and the routes between them remain clear. Begin with a measured plan, not a wall or furniture purchase: mark the entrance, windows, fixed features and full footprints of equipment and storage. Then group activities by how often they happen, whether they can share a work surface, and how much mess or daylight they involve. The aim is a layout that keeps daily tools easy to reach, separates incompatible tasks and leaves a flexible area for changing needs. Use the examples below as planning prompts; the real interior dimensions and openings determine what fits.
01
List the activities the shed must support
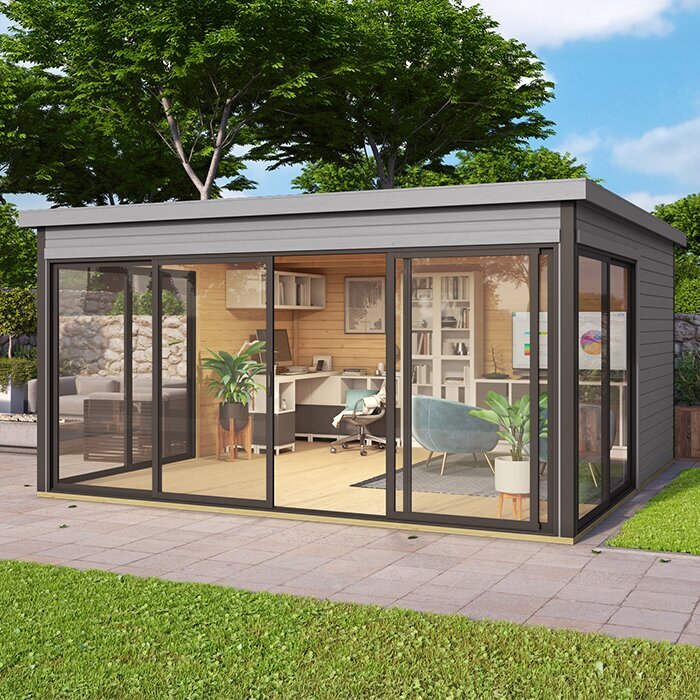
Write down what the shed needs to do in an ordinary week: store garden equipment, pot plants, handle repairs, make room for a hobby or provide a place to sit. Separate frequent activities from seasonal or occasional ones, and note which may happen at the same time. A bench can serve potting and small repairs at different times, while a clean seating spot may need some distance from soil, wet containers or tools. For each activity, list the people who use it, the equipment involved and the clear floor space needed to work. This gives a 20–30 m² garden shed layout a practical brief before furniture or dividers enter the plan.
Rank the activities as primary, secondary and optional. If the shed mainly stores equipment used each week, storage should take priority over a hobby corner used twice a season; if it is mostly a retreat, a workbench may be secondary. Decide what can share a zone and what cannot. Tasks that use the same surface at separate times can share an area, but simultaneous activities need enough room to proceed without blocking each other. Note any item that must stay assembled or ready to use, and anything you need to carry in and out. This helps avoid a balanced-looking plan that makes the main task awkward.
Measure the clear interior before allocating space
Base the plan on clear interior dimensions, not the outside footprint. Record the floor length and width, then mark wall projections, posts, openings and windows shown on the product plan. Total area helps compare options, but it cannot tell you whether the room is a broad rectangle, a long narrow space or an irregular shape. There is a meaningful difference within this category: 30 m² is half again as much floor area as 20 m². Even so, extra area in a narrow section may not solve a bottleneck elsewhere. Measure in one unit and label each figure as interior or exterior so notes from different listings are comparable.
Draw the interior to scale and make paper cut-outs for the largest items, bench and planned storage. Include the space needed to use each item: an open cabinet, pulled-out chair or tool laid out can occupy floor beyond its parked footprint. Mark the door opening and fixed obstacles, then try several arrangements before assigning areas. If product information gives only outside measurements or leaves the interior unclear, ask for the relevant plan. Use only the measurements documented on the Verdana 1 garden house listing when drawing usable floor area; the name itself does not show how much clear space is available indoors.
02
Place related zones together
Arrange zones according to the jobs that connect them. A place for sorting or cleaning garden gear works best near the route used to bring it in; storage for those tools should be close enough that putting items away does not cut across a seating or clean-work area. Group activities that share supplies, but do not put tasks together solely because they fit in one corner. Consider dirt, moisture from plants or equipment, and whether an activity needs quiet or an open floor. A simple adjacency map can show which zones should touch, which should be separated and what needs to stay between them.
At the 20 m² end, it is often more practical to give two main activities clear zones and let a secondary task borrow one of them at different times. At 30 m², the additional floor area may let that task stand alone, depending on the shed's shape and openings. Treat this as a choice, not a formula: do not shrink routes or working space just to fit another label on the plan. Compare the Verdana 2 garden house listing using its confirmed dimensions and plan, then test the same activities against those measurements rather than inferring a layout from the model name.
Give messy work its own area
Put hands-on garden work near the outdoor route it uses, especially if soil, pots, leaves or equipment will move in and out. A potting or repair area needs enough clear space for the task, for setting items down and for reaching the tools used most often. Keep frequently used supplies nearby without placing them in the path through the shed. If the same bench will handle clean hobby work at another time, plan how it will be cleared and where messy materials will go. Otherwise, separate those jobs. The best location depends on the actual entry and window positions, so mark them before settling the bench.
Draw the work surface, containers and freestanding equipment at full size, then test the working position rather than measuring the bench alone. Leave adjoining floor space for the task and for moving supplies between inside and outside. When comparing a Durano garden house listing, look for documented interior dimensions and opening locations before assigning this zone; do not infer an entry arrangement from its name or imagery. If the intended work depends on water, power or other fixed services, confirm what is feasible with the seller and an appropriate qualified professional before ordering or making changes.
03
Plan storage around the items you own
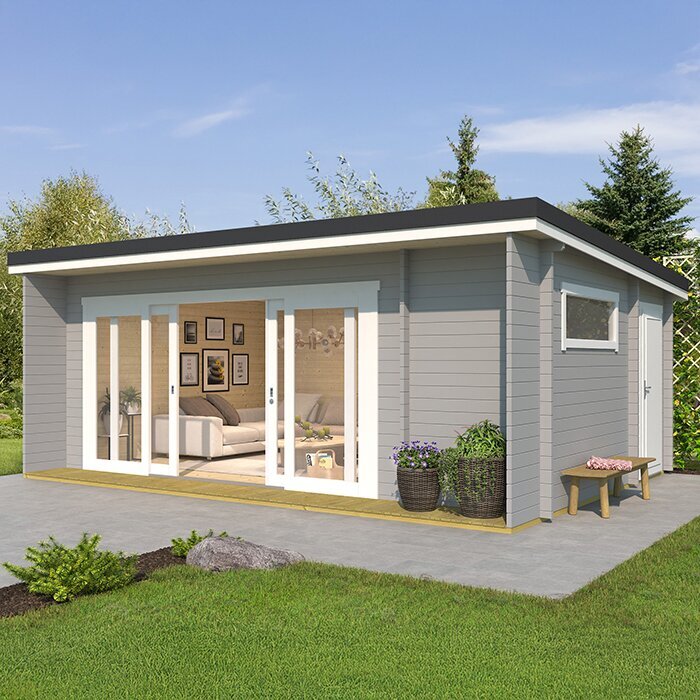
Make storage a planned zone rather than whatever is left along the walls. List the largest and most awkward items first, including equipment that needs to stay assembled, long-handled tools, seasonal items and containers that are awkward to stack. Note what you use weekly and what can be placed farther from the entrance. Mark the actual footprint of shelves, cabinets or bins, and leave room to remove items stored behind or below them. A drawing filled with shelf symbols can still fail if a mower, wheelbarrow or large pot blocks access, so test how each item will be retrieved, not just the total capacity.
Match each storage method to what you own: small, frequently used items can be grouped near a work zone, while bulky or occasional items may need a clear floor-level place. Do not assume a wall can support shelves or hooks; check the building documentation and intended fixing method, and ask a qualified installer if suitability is unclear. Check the Veltor 1 listing against your inventory using documented interior dimensions and included-item details. If shelving or fittings are not explicitly listed as part of the order, plan for them separately instead of treating a product image as proof that they are included.
Keep a flexible zone usable
A flexible zone can keep the shed useful as projects or seasons change, but it still needs a defined footprint. Decide whether it is for seating, a second work surface, sorting produce or a temporary project; then measure the equipment and room needed to use it. If two activities share that area, check how quickly it can be reset and where temporary items will go. Leave one portion of the floor genuinely available rather than filling it with furniture labelled for occasional use. Open floor is useful only if its shape and access suit the activity you expect to use it for.
Choose movable furniture or storage for functions that may change, and keep difficult-to-move items out of the flexible area's footprint. A folded table, for example, still needs a place when it is not in use, so include its stored position in the plan. Map the area both when it is set up and when it is cleared; the route through the shed should work in either arrangement. For the Orello 1 garden house listing, use confirmed interior measurements and openings to test that changeover rather than relying on the product name or image to show that a particular arrangement will fit.
04
Choose boundaries that fit the task
Zones do not require full-height partitions. A change in furniture arrangement, freestanding shelf, screen or floor covering can distinguish functions while keeping the room visually open. Choose a boundary for the reason you need it: a low divider may separate seating from supplies but will not provide privacy, while a taller screen takes up more space and can block light or views across the shed. Leave room to reach items on both sides, and avoid narrow gaps that become unusable. Try the boundary on your scale drawing before buying a divider.
Use a permanent partition only if the activities genuinely need lasting separation and the resulting areas still work. A fixed wall can change access, light and storage positions; any work that could affect the structure, wiring or ventilation should be discussed with an appropriate professional. Before settling on a built-in boundary, compare your sketch with the documented interior dimensions and openings in the Modano 1 garden house listing. The model name alone does not establish those details or show whether the proposed division will leave each zone practical.
Keep routes clear during everyday use
Draw the route from the entrance to every zone before finalizing the layout. It should stay usable when equipment is parked, a chair is occupied or a work surface is in use—not only when the shed is empty. Mark the door's opening area and any drawers or cabinets that need to open, then check that items can be brought to storage without moving everything else. Keep frequently used tools easy to reach, but do not let them encroach on the route. There is no single clearance that suits every user and item, so base the dimensions on how people will move through this particular space.
Test the route with the largest item that needs to enter or leave, including the turns required inside; a straight line on a plan can hide a difficult corner. Note opening positions and dimensions from product documentation, and keep access unobstructed. Use documented interior dimensions and door position when comparing the garden shed M listing, not the letter in the model name. If you need an accessibility-specific route or intend to alter an opening, confirm the applicable design requirements with a qualified professional and local authority before purchase.
05
Match activities to light, privacy and services
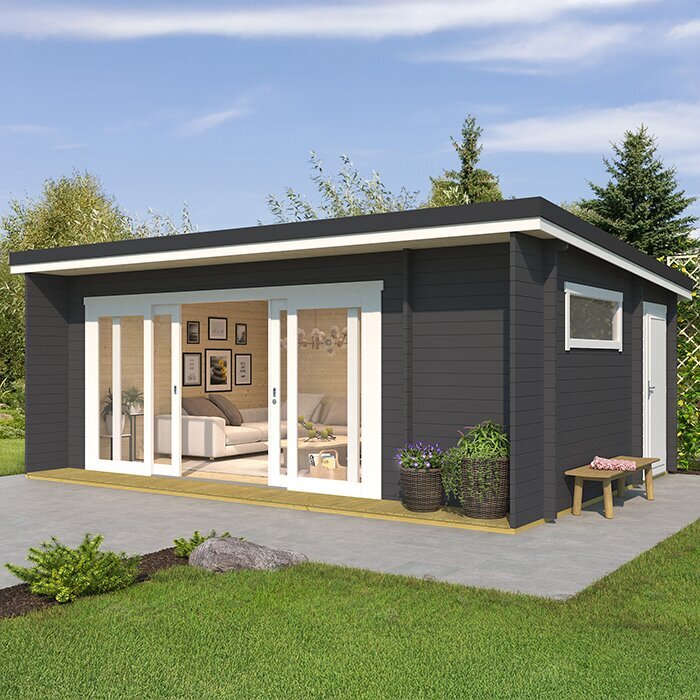
Match activities to the light and privacy the site and building can actually provide. Mark windows on the plan and note where daylight reaches the work area at different times; a position that looks bright at noon may be less useful earlier or later. Put tasks that benefit most from natural light where it is available, while keeping storage from blocking the openings. A screen or tall shelf can also change how light travels through the room. If the shed will be used for focused work or close-detail projects, assess the intended position in the actual conditions before fixing the layout. Do not assume every zone will receive the same light.
Privacy and services belong in the same review. Look from the places where people will sit or work, and decide whether window positions and sightlines suit those activities. If a planned function depends on lighting, heat, plumbing or electrical service, find out what the listing includes and whether an addition is feasible before purchase; do not infer service provision from room size or a product image. Have a qualified professional assess service changes rather than planning installation from a general layout guide. Check that the activity also suits the building's documented intended use.
Use the layout to compare listings and order
Turn the final drawing into a brief for comparing garden sheds. Record the clear interior length and width you need, where the entrance and windows must be, the largest item to store and the approximate footprints of each zone. Check the product plan and written details for interior rather than only exterior dimensions, opening positions, floor area and anything included or sold separately. A product image can help show general appearance, but it cannot replace a dimensioned plan or confirm equipment, shelving or accessories. Ask for written clarification of any detail that determines whether your zones will work.
Review the order as a whole: delivery access to the site, space for unloading and assembly, what preparation or base the documentation calls for, who handles assembly and which parts or options are included. Confirm these details with the seller or installer instead of filling gaps with assumptions. A page such as the garden shed S listing can be compared against your finished brief, provided you rely on product-specific details that are stated or confirmed. Check any site-specific requirements locally before committing, particularly if they could affect placement or setup.
Frequently asked questions
Should a 20 m² garden shed have a separate zone for every activity?
No. At the smaller end of the 20–30 m² range, activities that use the same bench at different times can often share an area. Give separate space to tasks that happen simultaneously, need different conditions or would otherwise block access.
How much space should I allocate to storage?
There is no fixed share that suits every shed. List and measure the largest items first, then include the room needed to reach and remove them. Give frequent-use items convenient access and keep the routes through the shed clear.
Do I need permanent partitions to create functional areas?
Usually not. Furniture, freestanding storage or a screen can define a zone while keeping the layout flexible. Consider a fixed partition only when the activities genuinely need separation, and consult an appropriate professional if the work could affect the structure or services.
Where should I put a garden work area?
Place it near the route used to bring in supplies and take completed work outside. Keep related storage close, and consider daylight if the task benefits from it. Check the actual openings and leave a clear route to the other zones.
What should I confirm before ordering a garden shed?
Check the documented interior dimensions, floor shape and opening positions against your plan and largest stored items. Confirm what is included, how delivery and assembly work, and what site preparation the product documentation calls for.
A good 20–30 m² garden shed layout gives regular activities enough room, keeps storage accessible and leaves a clear route between zones. Let the equipment list and real interior measurements set the boundaries; try movable dividers first, and add fixed separation only when the intended use calls for it. The 10 m² difference across this size range can determine whether a secondary activity shares a work area or becomes its own zone, but shape, openings and access matter too. A measured plan turns those choices into a clear buying brief.
