
Flush or Raised Door Thresholds: Drainage and Finished Floor Levels
Choosing the Threshold as Part of the Doorway
Threshold planning is easily postponed until the door, indoor flooring and patio or deck have been selected. By then, several decisions must fit into one narrow area: the completed floor inside, the exterior surface, the building-envelope connection and the route taken by rain or snowmelt. A near-level crossing can look understated and feel comfortable, but it leaves little room for poorly coordinated heights or drainage. A raised option makes the change in level obvious and may give the project team more space to resolve adjoining construction, although it also affects movement and appearance. Treat the threshold as part of the entire opening. Door operation, exposure, exterior construction and final elevations should be reviewed before the order is confirmed.
One small junction, several responsibilities
The area beneath an exterior door brings together the rough opening, frame, air and water control layers, insulation, floor preparation, indoor finish and patio or deck construction. Those components may be installed by different trades at different stages, and each has its own thickness and connection requirements. Looking only at the top of the threshold can hide a conflict until flooring or pavers are being installed. A shared cross-section is more useful. It should identify the completed indoor elevation, the intended exterior elevation and the path that carries water away from the doorway and wall. Give every dimension the same clearly identified datum so that building, finishing and landscape measurements remain comparable.
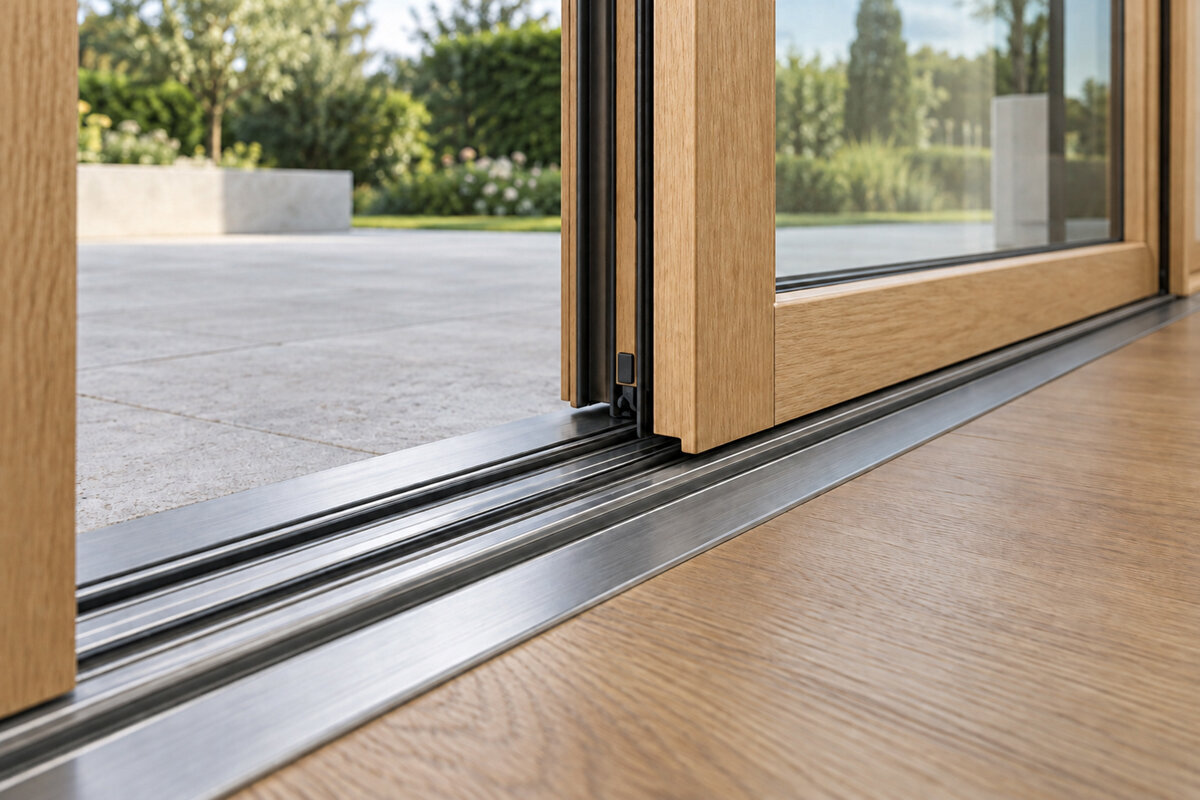
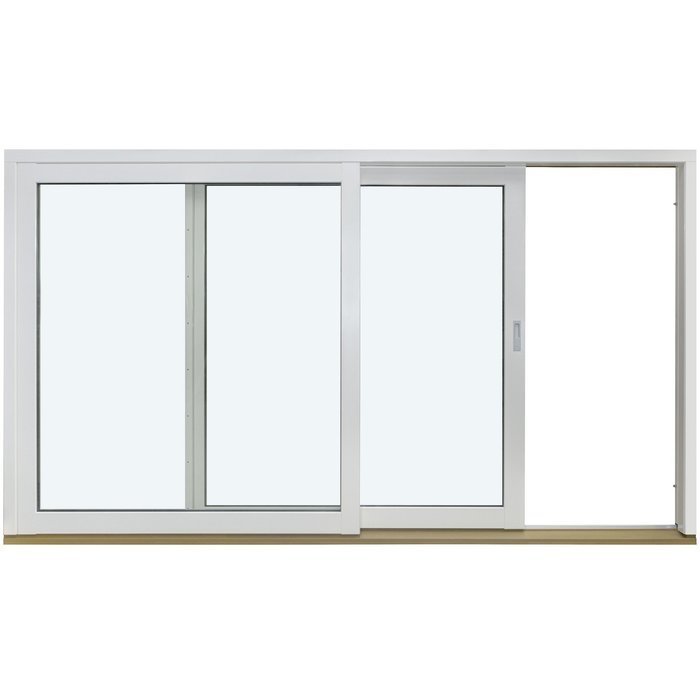
Large glazed openings make this coordination especially easy to see. A Patio Life lift-and-slide door is a particular operating configuration, not a promise about the finished level at the crossing. Its appearance depends on the sill, adjacent layers and exterior design selected for the project. Provide the door supplier or installer with dimensioned final elevations on both sides, not only the opening width and height. Show the direction of the exterior fall, proposed drainage components and surface material. Mark every dimension as confirmed or provisional. A request for “as little step as possible” then becomes a defined design objective that each participant can check against the same drawing.
A level appearance still needs a complete detail
Most people use “flush” or “near flush” to describe a crossing where no prominent step interrupts the route between a room and its outdoor space. That can improve visual continuity, furniture planning and everyday movement. It does not eliminate the frame, drainage components or concealed envelope connections. In fact, the smaller the visible height allowance, the more carefully the water-control layers and adjacent assemblies must be coordinated. A recessed strip, narrow channel or specially arranged surface may form part of the design. Label three separate ideas on the drawing: the line that appears continuous, the actual walking transition and the construction layers below. They need not sit at the same elevation.
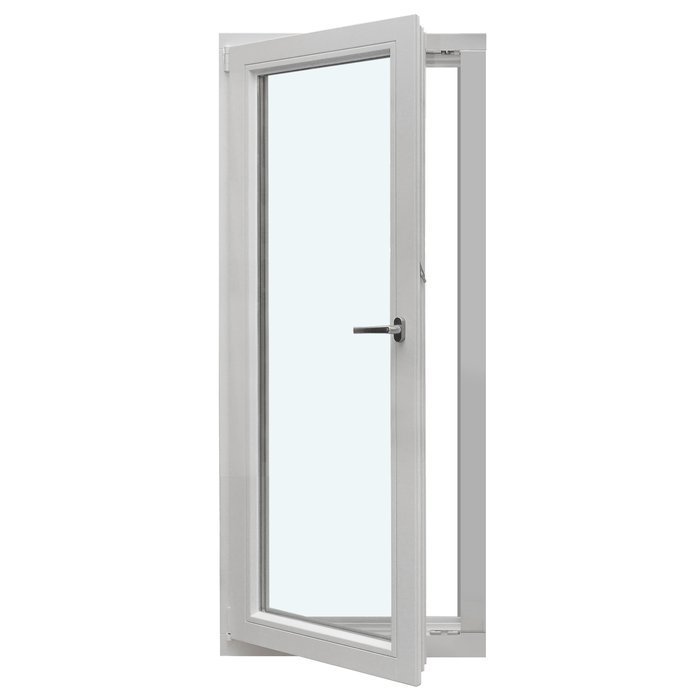
Begin with completed elevations rather than the edge of the rough opening. A later change to thicker indoor flooring can alter the crossing, just as exterior supports, adhesive or drainage layers can raise the outside surface. Consider a single-leaf inward-opening patio door as a complete doorway. Its inward swing needs clear space for the selected flooring, mats, rugs and furniture, while the lower connection must remain unobstructed. Ask the quote or specification to distinguish the frame elevation, clear crossing and completed surface level. The drawing should also say whether each line is a design target or a measurement taken on site. That distinction helps prevent an incorrect assumption from surviving until after manufacture.
A visible step can provide useful design room
With a raised threshold, the change from inside to outside is deliberate and easy to identify. The arrangement may help reconcile unlike floor assemblies, a patio that sits lower than the room, a future exterior resurfacing project or drainage that requires more depth near the opening. It can also simplify adaptation to fixed indoor elevations during a renovation. The cost of that flexibility is a step that occupants must negotiate every day. Review the route with the people who will carry groceries, use a mobility aid, push a stroller or move a serving cart through the opening. Frequency and manner of use are more informative than a purely visual preference.
A raised profile does not permit the exterior finish to be placed beside the frame without a coordinated connection. Surfacing, weatherproofing and the onward water route still form one assembly. A single-leaf outward-opening patio door uses the exterior area for its swing, so that space must remain clear. On a compact patio, balcony or deck, the open leaf can conflict with furniture, planters, steps or changes in surface level. Review a section and plan that show both completed surfaces and the fully open leaf. Also consider the closed condition during bad weather. Comparing those two states reveals whether the level change supplies useful separation or simply makes an important route harder to use.
Read the weather at the actual opening
Exposure varies widely across Canadian sites and even between walls on the same home. A covered balcony or doorway below a deep overhang receives water differently from an opening exposed to wind-driven rain, drifting snow or later snowmelt. Orientation, adjacent walls, roof edges and the shape of the exterior surface all influence what reaches the threshold. These conditions do not dictate one profile in every case, but they change the amount of design margin needed. Where more water can arrive, prioritize a legible discharge route, serviceable drainage and carefully joined envelope components. At an existing doorway, observe rain direction, splash marks, ice-prone areas and any neighbouring surfaces that send runoff toward the opening. Use those observations alongside measured site information.
The design should also cope with conditions beyond an ordinary shower. Leaves can block a channel, an adjacent surface can release a sudden flow, and wind may drive water through an open doorway. A sliding door may provide a wide passage without a swinging leaf, but its lower guide or track still has to work with the exterior drainage design. Ask for the water route to be shown rather than described vaguely: identify where water arrives, where it could pause, where it leaves and how the area will be cleaned. The review should also consider a temporarily obstructed outlet. A sound detail makes routine drainage understandable and exposes likely weak points before construction begins.
Design the exterior surface to carry water away
Paving, decking or another finish immediately outside the door participates in drainage. Its slope, joints, edges and perimeter connections determine whether surface water moves away from the building or returns to the opening. A channel can intercept water in a suitable design, but it cannot compensate for an unresolved exterior assembly. It needs an accessible position, a defined discharge connection and room for maintenance. Gravel, pavers on supports and continuous hard surfaces each manage water differently. The professional responsible for the exterior work and building connection should develop the detail for the actual site. Continue the drawing beyond any channel so the eventual destination of the water is clear rather than merely shifting the problem elsewhere.
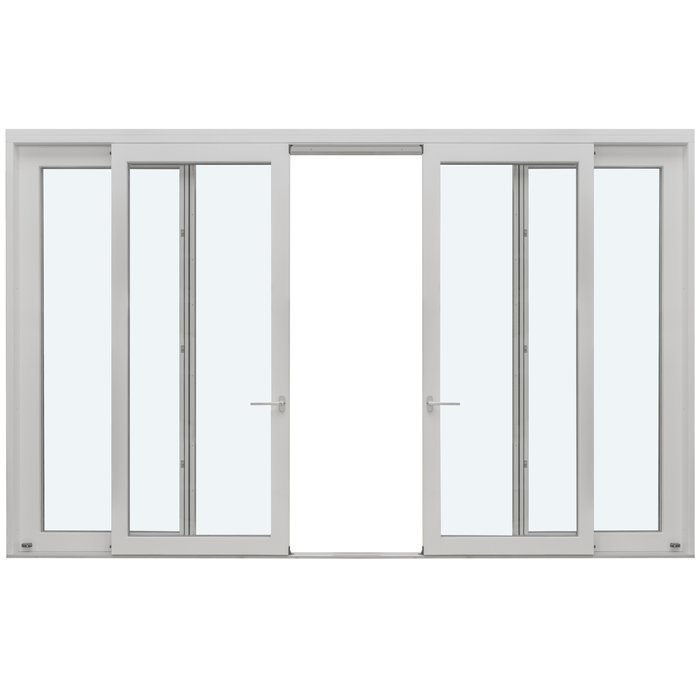
Across a wide opening, minor elevation differences can become visible or functional over a long line. This matters for side-sliding Siegenia doors because the order should be based on coordinated site measurements and a section through the finished assembly, not simply an inspiration photograph. Establish when the door will be installed relative to the exterior work and who protects exposed surfaces and connections in the meantime. New finishes, construction moisture and unfinished junctions require a planned sequence. Nominate the person who will compare the site elevation with the approved drawing immediately before installation. That final check reduces the risk that a later contractor must improvise around a threshold that is already fixed.
Build one elevation schedule from every floor layer
A simple layer-by-layer schedule is the most dependable planning tool. On the interior, start at the structural floor and record insulation, screed or levelling material, adhesive and the selected finish. On the exterior, include the supporting base, waterproofing or separation layers, drainage or support system and final walking surface. Add the frame position and the intended level directly in front of the door. The resulting chain shows whether the preferred crossing can be achieved or whether a layer must change. If a material has not been chosen, list its height as unresolved instead of supplying an apparently precise estimate. The order should reflect known dimensions and clearly identified decisions still to be made.
A thin indoor finish can conflict with an exterior assembly that needs supports or deep, large-format pavers. Raising the last exterior layer to hide the mismatch is rarely a substitute for checking the whole schedule again. A double-leaf outward-opening patio door adds two moving leaves and a broad passage to the elevation problem, so the exterior must provide both the intended finished level and adequate swing clearance. Supply the measurement team with samples or definite thickness information for the proposed finishes. Record which layer establishes the order dimension and who must report a later change. A comparison such as “roughly level with the kitchen” is not precise enough for manufacturing.
Test the threshold against the way the door moves
Door operation and threshold planning belong in the same conversation. A hinged leaf limits where curtains, furniture and plants can stand. An inward-opening door consumes room space, while an outward-opening version requires a clear landing or patio. Sliding and lift-and-slide systems avoid that arc but introduce tracks, operating hardware and their own floor connections. Before pursuing the lowest possible crossing, decide how the opening will serve the home: occasional ventilation, the main garden route or a wide opening for gatherings. Think about which side people approach from and whether they often cross while carrying something. Those movement patterns may matter more than the front elevation shown in a catalogue.
Sketch a typical trip through the opening on the floor plan. Include the open leaf, a stroller or serving tray route and the proposed position of an indoor rug. Treat an outward-opening exterior door as its own layout test. The swing area should not contain loose mats, an unexpected step or objects that turn normal use into a tripping hazard. Consider how the door is approached during rain and whether a canopy or roof projection changes that route. On a tight landing, mark the handle, railing and nearby walls as well. This simple exercise often distinguishes a genuinely workable low crossing from a detail chosen mainly for its catalogue appearance.
Renovations begin with evidence, not assumed layers
New construction allows elevations to be coordinated before finishes are installed. Renovation work first requires an accurate picture of what is already there. Old surfaces can conceal repairs, mixed assemblies or envelope connections that differ from expectations, and adjoining rooms may fix the interior floor height. Replacing a door while rebuilding the patio should therefore be managed as one project. Measuring the visible opening alone does not reveal what will remain after the old frame is removed. Document the existing condition before committing to the door, drainage and exterior finish. Where a concealed junction affects the decision, the responsible professional should determine whether selective opening or further investigation is warranted. Keep every assumption visibly separate from confirmed information.
A near-level crossing may still be achievable during renovation, although it can require changes to the exterior assembly or indoor floor. In other situations, keeping an existing height difference may preserve a reliable connection and limit unnecessary work. The same method applies to a panelled outward-opening entrance door . The product name identifies its configuration; it does not settle the threshold or surrounding envelope detail. Before work starts, photograph the visible damage, finish edges and measured levels. Label each image as an interior or exterior view and include a scale where useful. Contractors can then develop proposals from one documented starting point instead of relying on different assumptions about the existing doorway.
Make inspection and cleaning possible
A drainage feature remains useful only when water can reach it and debris can be removed. Channels, outlets, joints and the strip beside the frame may collect leaves, soil, grit or ice. With a visually discreet threshold, a blockage may go unnoticed until water begins to pond. Include practical access for inspection and cleaning. Check whether covers can be lifted, where sediment is likely to settle and who will handle routine maintenance. Planters and thick exterior mats should not sit across the intended water route. Inspection frequency should reflect the setting: a doorway below trees, on an exposed elevation or beside recent construction may need attention sooner than a sheltered entrance.
The indoor side also needs care. Tracked-in moisture and cleaning water should not remain against sensitive junctions, and loose accessories must not obstruct the leaf, track or drainage path. Review the exterior surface seasonally for settlement, shifted edges and opening joints. After unusually heavy rain or the spring thaw, confirm that the intended route remains open and that water is not collecting near the frame. These observations are not a substitute for technical assessment, but they can reveal a small maintenance problem before it affects the doorway. A successful threshold is not necessarily invisible; its drainage and upkeep should be easy for the occupants to understand.
Prepare one enquiry package for everyone involved
Collect the essential project information before requesting comparable quotes. Include opening dimensions, handing, photographs from both sides, a floor plan, planned completed elevations, material build-ups, drainage position and the intended use of the doorway. Say whether the patio or deck already exists or will be constructed later. Instead of requesting only a “low threshold,” ask for a connection detail suited to the documented levels and exposure. List unresolved choices, such as the final paver thickness or construction sequence. The supplier, installer and other project professionals can then identify conflicts and state what must be settled before measurement or final approval.
Compare proposals by their assumptions and division of work, not only by the appearance of the door. Ask which elevation datum was used, what is included with the door supply, what belongs to the flooring, waterproofing or landscape contractor, and who verifies the final site dimensions. Differences between proposals should be explained against the same doorway section. Where the connection is complex, have an appropriately qualified design or installation professional assess it for the project. Bloomcabin lists a five-year warranty for windows and doors, with delivery typically taking four to six weeks after order confirmation. Neither detail replaces the need to settle elevations, drainage and adjoining work before manufacture and installation.
Questions homeowners often ask
Is the lowest possible threshold always preferable?
No. A low crossing can improve movement and create a calm visual connection with the outdoor space, but it depends on accurate elevations, coordinated envelope details and a reliable water route. A raised threshold may provide more practical design margin where the opening is exposed or the exterior assembly is complicated. Base the decision on the actual installation and daily use rather than height alone.
Can the patio design wait until after door installation?
Construction may happen later, but the patio or deck still needs to be represented before the door order is finalized. Its finished elevation, supporting layers, slope and drainage affect the doorway directly. Without that information, the supplier and installer cannot reliably establish where the exterior surface should end or how its connection to the threshold will work.
What should be ready for the site measurement?
Bring the rough-opening dimensions, the completed interior floor elevation, the proposed exterior assembly and clear photographs from inside and outside. Record the opening direction, drainage features and shelter such as an overhang. A dimensioned section using one agreed elevation datum communicates more than several isolated measurements taken from unrelated points.
Is a channel drain required at every low crossing?
No single component suits every opening. The method of collecting and directing water depends on exterior materials, slope, exposure, envelope connections and the broader drainage plan. A channel is one possible element, not a complete strategy by itself. Ask the professionals responsible for the work to show and explain the full route for the specific doorway.
What deserves extra attention with an outward swing?
Keep the entire leaf path and exterior landing usable when the door is open. Account for furniture, planters, mats, steps and the direction in which surface water travels. Wind and rain may also affect which leaf or side is practical for everyday entry. Show the swing, handle position and normal walking route on the patio or deck plan before fixing surrounding features.
Turn the preferred look into a buildable detail
A flush-looking or raised threshold succeeds when the elevations, water control and door operation have been resolved together. Begin with a section that includes the indoor floor, frame and full exterior build-up. Test that section against exposure, runoff, seasonal conditions and normal household movement. A raised option can organize unlike levels clearly; a low option can work well when every adjoining layer supports it. Before the final measurement, confirm the completed elevations, shared datum and responsibility for each connection. The selected door can then serve the intended route without forcing improvised changes to the patio, deck or building envelope later.
