
Front Door Dimensions: Frame, Clear Opening and Replacement
Front Door Planning Guide
Replacing a front door can appear simple: note the width and height, choose a design, then arrange installation. A successful replacement depends on more than those first figures. The outside frame dimensions describe the unit itself, the wall or rough opening describes the space available, and the clear opening is the route people can actually use once the door is open. Handing, swing direction, threshold level, floor finishes, wall connections and sidelights also affect the result. Recording these items separately before configuring a door helps avoid selecting a unit that looks right on paper but does not suit the existing entrance. This guide sets out a practical measuring approach and the questions to settle before ordering.
Pre-purchase check 1
Three measurements, three purposes
Outside frame dimensions are the external width and height of the door frame. They define the size of the ordered assembly and matter for quotation, production and installation planning. On an existing entrance, however, plaster, trim or sealing layers can conceal part of the frame, so the full size may not be visible. The wall opening or rough opening is different: it is the available space in the structure once the old unit has been removed. A planned connection zone remains between the unit and the wall. Using a visible old-frame measurement as an order size without checking can miss that distinction. On your survey sheet, identify which measurements are visible, exposed and still to be confirmed after removal.
Clear opening width only exists when the door is open. The frame, open leaf, hardware and actual opening angle all influence it. A broad-looking entrance does not necessarily provide an equally broad usable route. Consider everyday pinch points for moving house, strollers, walkers, furniture or regularly carried items. Measure clear opening height as well, and note whether a handle, step or furniture reduces the route. These measurements answer separate questions: will the unit fit the opening, can it be connected properly, and will the entrance work comfortably? Together, they form a sound basis for choosing a door.
Prepare a systematic site survey
Do not rely on one reading taken at the centre. Measure the width and height of the existing opening at several points because older walls may not be square. Beside each figure, state where it was taken and whether it refers to a finished surface, masonry or a visible frame edge. A tape measure, long straightedge and clearly framed photographs help document irregularities. Check wall depth at more than one location too. It affects where the frame sits in the reveal and how inside and outside finishes connect. These details can guide an initial product discussion, but a designer or installation professional needs the complete site condition before finalizing the installation.
The area around the entrance belongs in the survey. Check clearances to side walls, stairs, porch posts, mailboxes, switches and radiators. Note the direction from which people approach and the space the leaf occupies when opened. With an outward-opening exterior door the swing moves outside; this can matter at a narrow entry stair, beside nearby furniture or where seasonal snow and ice need to be managed. There is no universally better swing direction. It should suit the approach, wind exposure, canopy and interior layout. Draw the door swing on a simple floor plan so conflicts are visible before installation.
Pre-purchase check 2
A wall opening is more than width and height
Once the old door is removed, the opening may reveal a shape or condition that was not obvious from the finished face. Loose plaster, uneven reveals, old fixing points, voids or a damaged lintel can alter the installation work. A quotation should therefore say whether it is based on a visible preliminary survey, an exposed opening or a confirmed final measurement. Keep rough-opening readings apart from frame dimensions. If something changes later, this makes it easier to identify whether the door unit must change or whether the reveal and connection detail need a different solution.
Frame position within the wall is also a design choice. A deep reveal can change the appearance of the entrance and the reach to the handle, doorbell or mailbox. Exterior trims should not leave drainage paths or maintenance access unresolved. Indoors, flooring and wall finishes affect how neat the completed connection appears. During final measurement, ask: What is the reference plane for width and height? Which finishes will remain, which will be removed, and what connection zones are planned? A simple section drawing is often more useful than a long list of disconnected numbers because it shows the wall, frame, threshold and finished surfaces as one installation detail.
Check the clear route for real daily use
The usable route matters more than leaf width alone. Think about carrying groceries inside, bringing in a delivery or passing another person at the entrance. An open leaf can take substantial space from a vestibule, while handle position and a restricted opening angle can also matter. Measure between the tightest points at the angle the door can realistically reach in normal use. Record whether the door is often held open or usually opened only long enough to pass through. That information affects the priority given to leaf width, hinge side and open floor area.
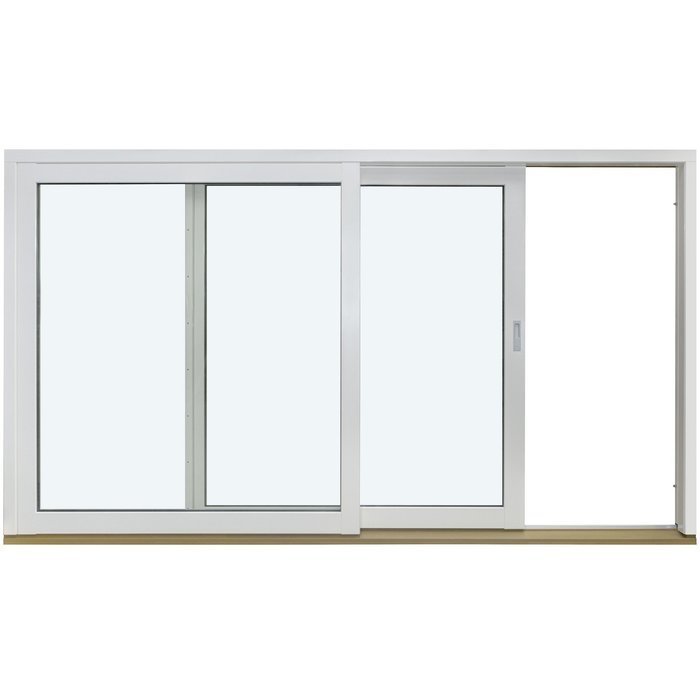
A single-leaf door is not the only way to create a wider entrance. Where the opening and intended use support it, a double-leaf outward-opening patio door may be considered for a generous opening. Its suitability depends on façade design, approach, operation and the space needed for installation; it is not simply a front-door substitute with a different use. Likewise, sliding doors as an alternative opening style do not require the usual swing arc, but have different operating and connection requirements and are not automatically suited to a main entrance. For any option, establish which part opens in normal use and what clear width is then available. A household that rarely moves large items may set different priorities from one that needs a wide route frequently.
Pre-purchase check 3
Threshold, finished levels and flooring
The bottom of a front door is often treated as a minor detail too early in the project. It is where interior flooring, exterior paving, drainage, waterproofing and the threshold meet. Measure from the current interior finished floor to the bottom of the existing frame, then compare that level with the outside surface. Record whether carpet, tile, hardwood, slabs or other finishes will be replaced. A later higher floor can reduce clear height or affect operation; raised exterior paving can alter the lower connection. Instead of writing that the floor is “approximately finished,” show current and planned finished levels on a sketch.
The threshold must also suit the way the entrance is used. A change in level may feel different when walking through, manoeuvring a stroller or moving heavy items than during a quick step indoors. Address this during product selection, not after finishes are installed. Ask the responsible professional which level references are being used for the frame, finished floors and exterior surface, and how the interfaces will be coordinated. If paving, entry steps or a landing will be changed later, include that work in the same project discussion. This helps ensure that a correctly installed door still has a well-resolved transition once the entrance is complete.
Use sidelights and transoms strategically
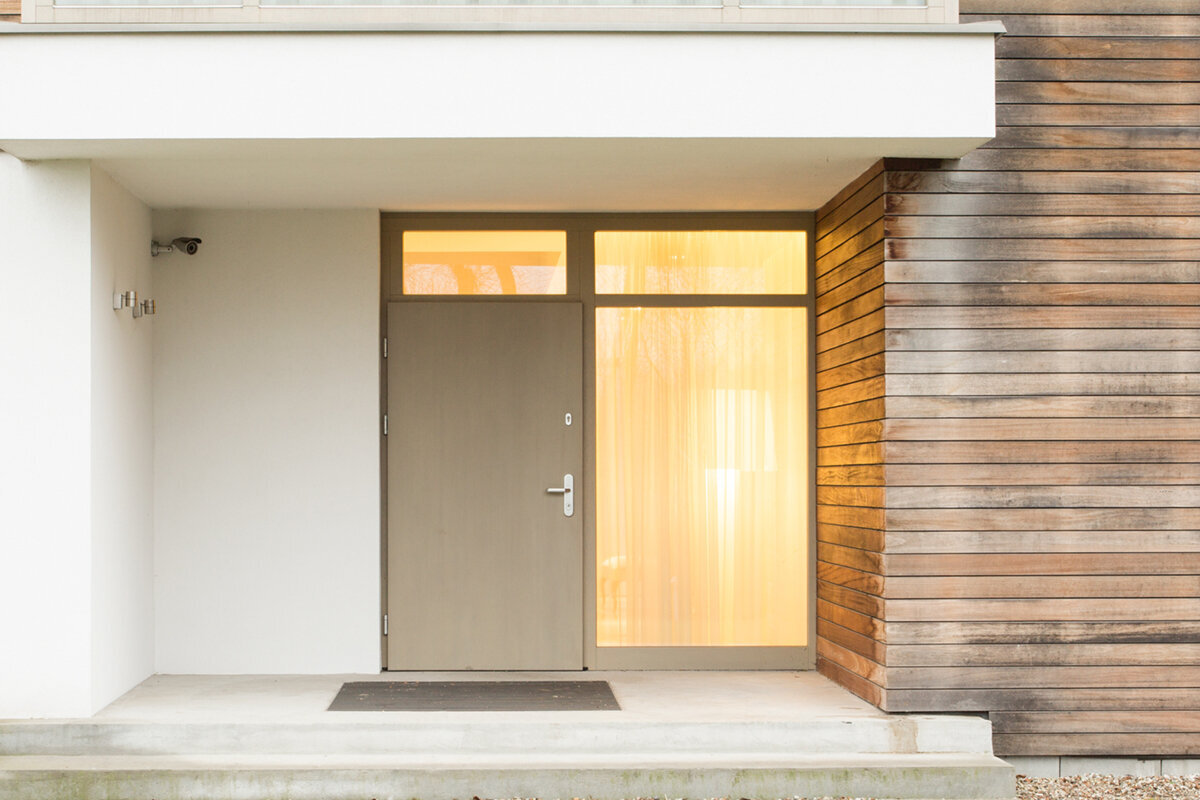
A sidelight increases the overall width of an entrance assembly, but it does not automatically increase the daily clear width through the door. A single-panel glazed door sidelight can brighten a hallway and make the entrance feel more open. Before choosing one, confirm that the wall opening has sufficient room, decide how the elevation should be divided and identify which elements need to open. Draw the door leaf, sidelight and visible frame sections separately rather than recording only the total width. This shows the clear width from the active leaf and the proportion of the entrance relative to the façade and nearby windows.
In a restricted opening, a wider leaf is not automatically a better answer than a differently arranged assembly. Frame and leaf widths, the installation joint and sidelight position all consume space. At the same time, a narrow sidelight may add little visually or functionally. Begin by defining the objective: more daylight, better outward views, wider access or a more balanced façade. Ask for elevation dimensions and clear-opening dimensions as separate information. A transom can be another option where opening height and desired daylight support it. The most suitable division must be checked against the wall opening, lintel, interior space and overall house design.
Pre-purchase check 4
Do not leave swing direction off the survey
Width and height alone do not describe a workable door. Handing identifies the hinge side, while swing direction determines the space swept by the leaf. Always document this from a stated viewpoint so terms cannot be misunderstood later. Add a small sketch to the survey showing the inside and outside, hinge side, handle side and swing arc. Photograph any obstacles within that arc. This makes it easier to discuss whether an inward- or outward-opening arrangement better supports the entrance. The choice should work with existing steps, the canopy, vestibule and the route to storage or stairs.
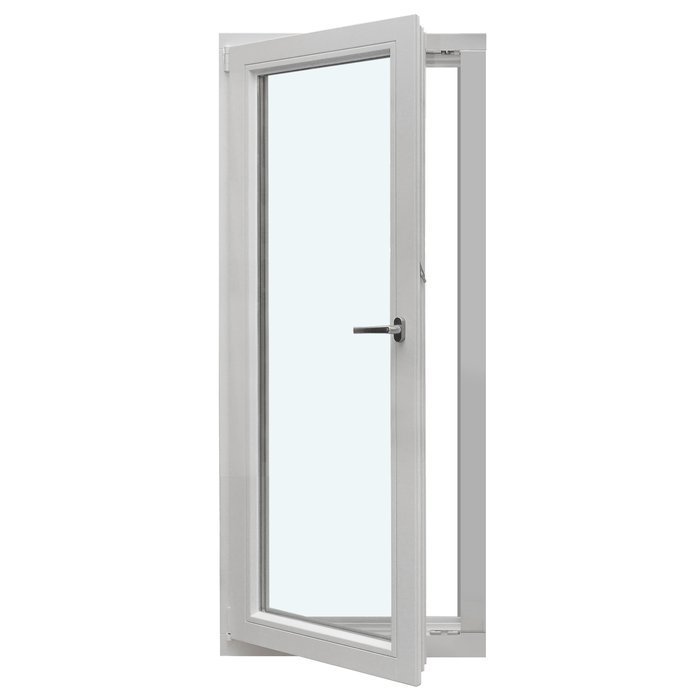
A panelled outward-opening entrance door already identifies a particular swing direction, but that does not prove it is appropriate for every site. Compare its swing with your recorded clearance rather than copying the direction of the old door. The entrance may have changed since the building was first completed, or a new shoe cabinet may reduce indoor circulation. A single-leaf inward-opening patio door can help illustrate the principle of an inward swing, but remains a patio door rather than an automatic front-door solution. The decision should always be made around the specific project, access pattern and installation detail.
Plan the frame, wall connection and removal together
Replacement work starts before the new frame is set in place. Establish how the old door will be removed, which finishes need protection and whether inside or outside trim will be renewed afterwards. During renovation, the visible frame can be smaller than the area that needs work once removal begins. Provide information about plaster, insulation, cladding, window sills and adjacent floor finishes. Ask about the complete connection plan, not just installation of the door: who will undertake follow-up work, how will interfaces be coordinated, and when can other trades proceed? Defined responsibilities help prevent gaps between door installation and finishing work.
The frame must fit the intended installation space and connect appropriately to the surrounding surfaces. A thicker wall does not mean every frame will work equally well in every position. An uneven existing opening may require preparation or levelling work. Mention moisture marks, cracks or noticeable distortion when making an enquiry instead of treating them as incidental. Qualified professionals should assess the cause and suitable approach. Base the order on a confirmed measurement rather than assuming a difficult reveal can be adjusted later. If the wall opening will change, confirm the locally applicable code and approval path with your province or territory and municipality before ordering; Canada’s national model codes are not automatically in force everywhere. Good coordination means assessing the existing condition, setting target dimensions, planning the connections and only then approving the final configuration.
Pre-purchase check 5
Choose the format for the entrance and façade
A door format should not be determined solely by the old opening or by a catalogue image. View the entrance from several distances: how does it relate to the house, eaves, windows and stairs? Inside, consider whether the hallway provides enough circulation space and a comfortable sightline. A tall assembly can emphasize vertical proportions but requires careful checking of the lintel, opening and interior connections. A wider unit can make access feel more generous, yet needs more wall area and may alter the composition. Before comparing options, rank the priorities: usable passage, daylight, privacy, exterior appearance, operation and the extent of construction work.
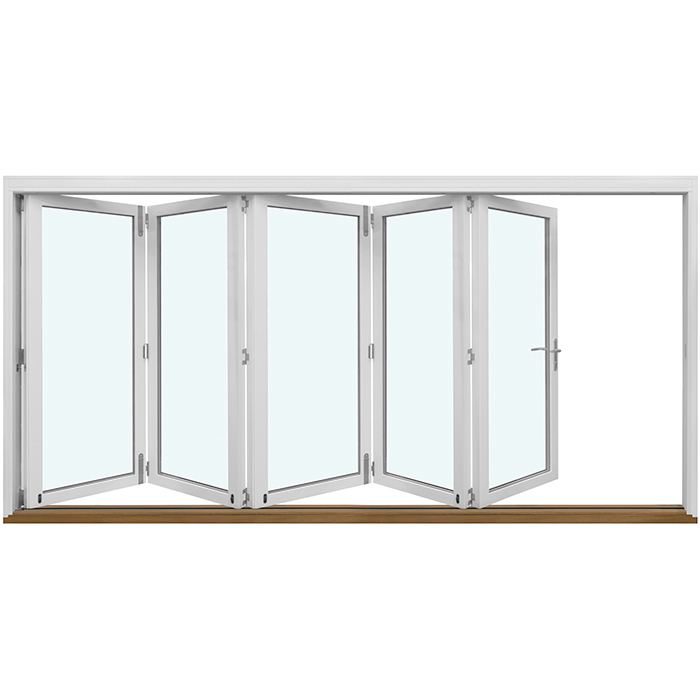
Where a renovation links the entrance to a larger opening towards the outdoors, sliding and folding systems are separate product categories with different operating principles. Patio Life lift-and-slide doors can offer a broad sliding transition, while outward-opening folding doors combine several moving leaves. Neither should be compared with a front door by overall width alone. Instead, identify the access needed every day, where open or sliding panels will sit, and how the unit connects to the wall, floor and exterior surface. A clearly defined everyday door is often the simpler plan for a conventional main entrance, though a renovation may justify another approach.
From initial enquiry to confirmed order
Preliminary dimensions are often enough for a first enquiry when they are clearly identified as provisional. Include interior and exterior photographs, wall depth, swing direction, notable site conditions and your intended use. This allows a suitable configuration to be discussed without implying false precision. Before placing a binding order, confirm the relevant measurements and the condition of the opening. Your order review should record frame width and height, handing, swing direction, inside and outside views, sidelight or transom position, references to finished floors and agreed connection work. Read the summary against your sketch as well as the numbers. When the drawing reflects everyday use, the order is much easier to check.
Treat replacement as a sequence rather than an isolated delivery: remove the old door, inspect the opening, prepare the connections, install the new unit, complete finishes and restore the exterior area. These tasks can depend on one another. Windows and doors have a delivery timeframe of 4 to 6 weeks, subject to order confirmation. Schedule trades, flooring work and access to the house only after that confirmation and after final measurements are clear. Windows and doors carry a 5-year warranty. Keep order documents, survey sketches, photographs and care information together. They are useful for later questions and provide a record of the dimensions and configuration agreed for the project.
Frequently asked questions
Which measurement should I use when ordering a new front door?
Use the confirmed outside frame dimensions of the new assembly, coordinated with the actual wall or rough opening and the intended connection detail. The visible size of the old door is only a starting point. Before placing a binding order, establish which finishes will be removed and which dimensions still need verification after removal.
What is clear opening width for a front door?
It is the usable free width left between restricting components when the door is open. It is not the same as leaf width, outside frame size or the total width of an assembly with a sidelight. Measure the narrowest point at a realistic opening position and allow for the frame, leaf, hardware and hallway obstructions.
Do I need to remove the old front door before measuring?
Usually not for an initial assessment. Visible measurements, photographs and information about the wall, floor and swing direction are all valuable. Final dimensions may still require confirmation once concealed areas, the actual opening and the condition of the reveal have been properly checked. Agree when final measurement will occur and who will confirm it.
Can a sidelight solve a doorway that is too narrow?
A fixed sidelight primarily increases total assembly width and daylight; it does not widen the everyday route through the door leaf. If the aim is a wider usable opening, the whole layout—including the active leaf and installation space—must be assessed. Describe your transport and movement needs before choosing the division.
When should I account for flooring and exterior paving?
From the beginning. Finished levels inside and outside affect the threshold, clear height and connection details. Include existing and planned floor build-ups in the survey, even if work will happen later. Coordinate level references among door planning, flooring work and exterior landscaping so the completed transition works after every trade has finished.
Next steps
A suitable replacement front door does not come from one width-and-height figure. Record the outside frame size, wall opening and clear passage separately, then consider them alongside wall depth, floor levels, threshold, handing and swing direction. A basic floor-plan sketch, readings from several points and photographs of the connections are especially useful. Also check whether a sidelight, revised swing or another type of unit truly serves the intended use. Once the existing condition, installation details and daily requirements have been aligned, the survey becomes a dependable foundation for configuration, ordering and replacement.
