
Garden Shed Floor Insulation: What to Plan Before Assembly
GARDEN SHED PLANNING
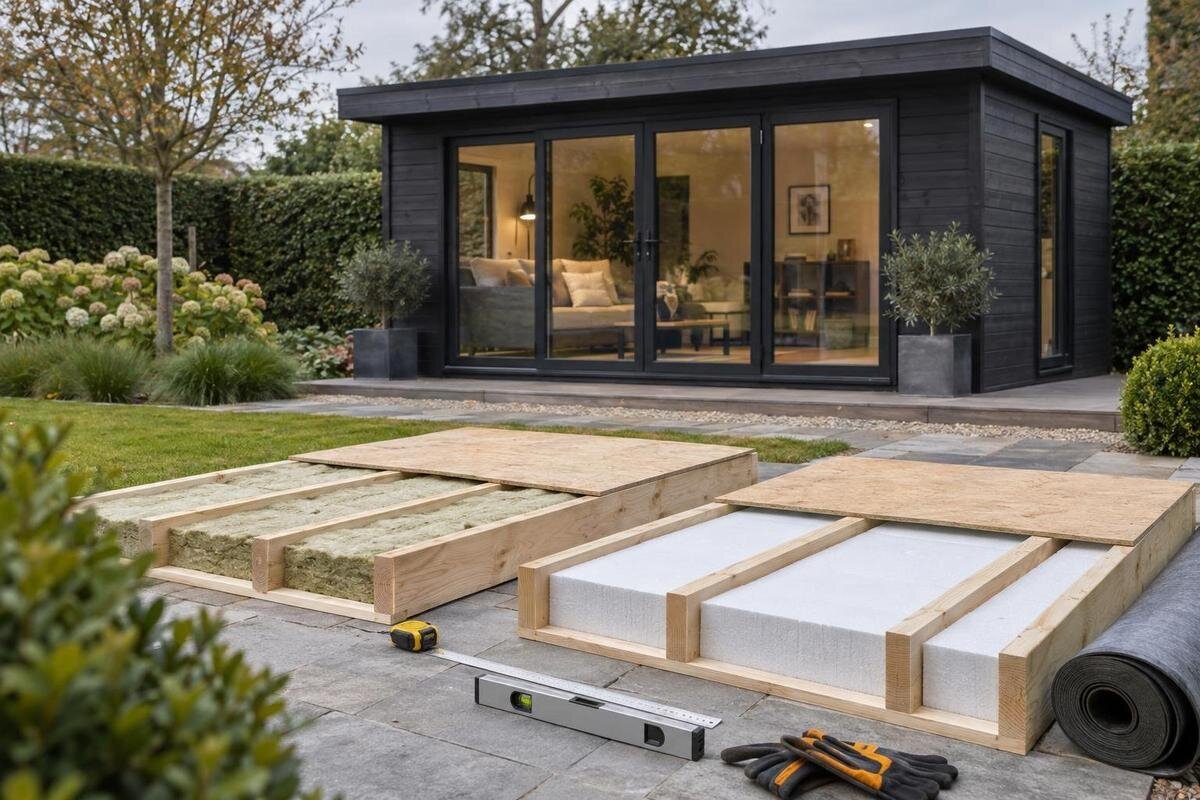
Garden shed floor insulation is easiest to plan before assembly because the base, structural floor, insulation and finished walking surface have to work as one build-up. Adding a layer after the shed is standing can limit access and change the entrance height. Before ordering or preparing the site, decide how the shed will be used, confirm what its floor design includes, and compare the proposed insulation depth and moisture-control approach with the model’s instructions. There is no one floor package that suits every shed or site. The goal is to settle on a compatible build-up and sequence before parts are fixed in place, and to seek qualified advice where a base or structural detail is uncertain.

Before you order 1
Why floor insulation belongs in the pre-assembly plan
Treat floor insulation as part of a connected build-up: the base, supporting members, insulation, any specified moisture-control layer and finished walking surface all need to fit. If the shed package includes a complete floor, added material can alter how it sits or meets the walls. If the floor is assembled separately, its support layout still needs to match the shed’s design and entrance. Insulation cannot resolve a mismatch between those parts. Record the proposed layers before buying so you do not choose a material without enough space, a suitable support arrangement or a clear edge detail. That record also gives you a specific question to put to the supplier.
Planning matters because some floor details become difficult to reach once decking or shed walls are in place. Later work may mean lifting installed parts or making changes that the instructions do not cover. A product photo cannot show the full floor assembly or its required sequence. Review the model’s floor information and assembly instructions before site work begins. If the proposed build-up conflicts with a stated dimension, support arrangement or fastener location, pause and ask about that exact model rather than improvising. The goal is to make the insulation fit the shed’s design, not to add a layer at any cost.
Decide what the shed floor needs to do
Begin with the shed’s intended use. Seasonal tool storage, occasional hobbies and a place where you work for longer periods can lead to different priorities. You might care most about a durable walking surface, keeping items away from damp, reducing heat transfer through the floor or maintaining easy access through the entrance. List what will sit on the floor and how you will move items in and out. The shed’s documentation, not an insulation choice, determines what support the floor design provides. Adding insulation does not increase a floor’s structural capacity, so verify any concern about equipment or concentrated weight against the product information or with a qualified professional.
Set a realistic performance goal before comparing insulation. A floor layer may reduce heat transfer through that part of the shed, but it will not heat the space or by itself keep the entire interior at a particular temperature. The walls, roof, openings and air leakage also affect how the building performs. If you expect to spend extended time inside or plan to heat the shed regularly, consider the whole enclosure rather than treating the floor as a complete solution. This distinction helps you avoid paying for a floor build-up that does not meet your actual needs, while keeping questions about heating and overall suitability separate from the insulation purchase.
Before you order 2
Check what the garden shed includes underfoot
Read the current product information and assembly instructions to separate what comes with the shed from what must be supplied separately. Check whether a floor is included, which floor components and fasteners are listed, how the supports are arranged and what the base needs to provide. Record each item as included, optional, separately sourced or not stated. Do not assume that a product image shows every supplied part, or that a garden shed necessarily comes with a floor. If the documentation does not show space for an added insulation layer, request a model-specific answer before planning to fill a cavity or change the floor build-up.
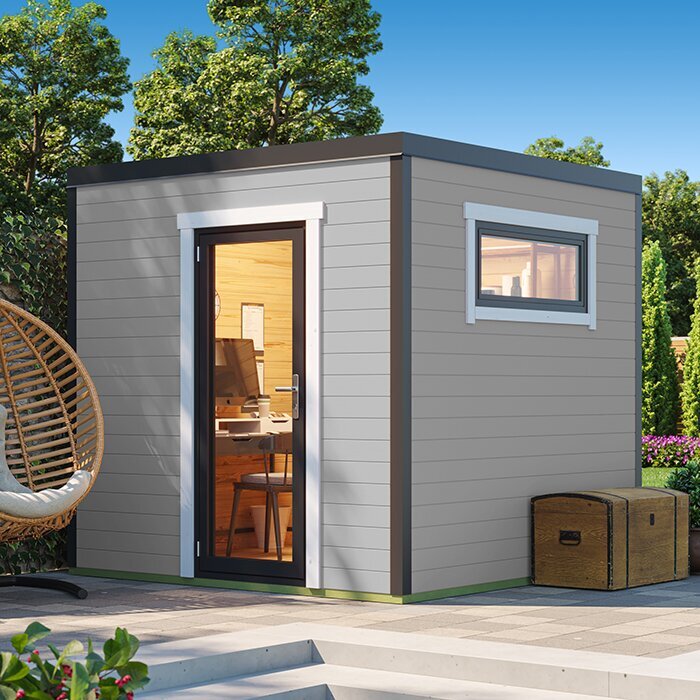
When reviewing a candidate such as Verdana 1 garden house, use the exact listing and assembly documents to find out what the floor package includes and whether adding insulation is addressed. Do not estimate a cavity from a photograph or transfer measurements from another model. Note what the documents actually say about the floor, including anything left unclear, and ask a focused question about the additional material you are considering. This makes it easier to compare options on their documented floor arrangements rather than on a model name or appearance. If the instructions do not describe the change, ask before assuming that it will fit.
Match the base to the shed and site
Identify the base arrangement required or permitted by the shed instructions before choosing floor insulation. Check the documented footprint, support positions and any stated levelling requirements, then compare them with the site. Grade, soil stability and the route rain or snowmelt takes across the area can all affect the base plan. A layer of insulation will not correct uneven support or prevent water from collecting beneath the floor. Different base types also create different contact and clearance conditions; do not assume that one generic shed-base diagram applies to every design. If the site slopes, drains poorly or raises questions about support, get advice from a qualified local professional before committing to a layout.
For a candidate such as Verdana 2 garden house, look for the exact model’s footprint, floor layout and base requirements in its current documentation. Measurements from photos or another shed’s diagram are not a substitute. Ask whether your proposed floor build-up leaves the intended support areas clear and whether the base plan remains consistent with the instructions. Identify whether the base is part of the package or needs to be arranged separately; do not assume either way. A supplier can clarify model details, while a professional familiar with the site can assess questions about ground conditions that a product listing cannot answer.
Before you order 3
Plan moisture control around drying
Consider where moisture could reach the floor before covering it with insulation. Rain splash, water running across the site, moisture from the ground and materials left exposed during assembly are separate issues to consider. A wet area or recurring pooling should be addressed before the floor is enclosed; insulation by itself is not drainage or waterproofing. Plan how the base, floor edges and wall junction will handle moisture, and keep materials protected while they are waiting to be assembled. If the design includes specific clearances or airflow paths beneath the floor, do not block them without confirming that the change is acceptable. The objective is a floor build-up that suits the site and can dry as intended.
Do not assume a plastic sheet, foil or other vapour-control layer belongs on one particular side of every insulated floor. Its need and placement depend on the complete assembly, the materials involved and site conditions. Before choosing a layer, check the shed documentation and the insulation manufacturer’s guidance; if neither addresses the proposed combination, ask for model-specific advice or speak with a qualified building professional. For example, when considering Durano garden house, use the product information to identify the exact model, then ask which moisture-control details are compatible with its floor design. A generic diagram may not reflect that assembly, so avoid adding a layer simply because it appears in an unrelated example.
Allow for the finished floor height
The final floor is higher than the base by the full build-up, not just the insulation. Account for the supporting parts, insulation, any required cover and the finished walking surface using the dimensions supplied for the materials you choose. Then check how that level relates to the entrance, threshold, door clearance, perimeter and available interior height. A change that seems small on paper can affect the step into the shed or how the finished floor meets the walls. Do not rely on the apparent scale of a product photograph. If the documents do not give the clearances you need, ask for the relevant dimensions before ordering materials or assembling the floor.
For a candidate such as Veltor 1 garden house, check the exact model’s stated dimensions and assembly details rather than inferring the doorway or floor level from its appearance. Compare the planned finished height with the entrance and access route. If the extra build-up would leave an awkward step or require a change to the doorway, find out whether the adjustment is allowed before proceeding. Any transition, ramp or altered structural detail should suit the site and the shed’s instructions; do not assume an accessory is included or that the floor can simply be raised without consequences. Ask the supplier or a qualified professional when the fit is uncertain.
Before you order 4
Choose insulation for the whole floor assembly
When comparing products for garden shed floor insulation, look beyond thickness. Check the manufacturer’s stated applications, thermal performance, moisture-related limits and requirements for support or protection. Different product formats can have different fitting and covering needs, so a material intended for one part of a building should not automatically be treated as suitable under a floor. Consider whether the chosen insulation can fit the available space without interfering with the floor design, and whether the finished surface and supporting parts can be assembled as instructed. These checks help you compare options on their documented use rather than relying on a product label or a general claim about insulation.
There is no universal insulation depth for every shed: the available space and required floor build-up set practical limits. A thicker layer is not automatically the right choice if it changes the entrance height, prevents the floor from fitting or conflicts with the instructions. When considering Orello 1 garden house, use the product page to identify the model, then consult its floor information alongside the insulation manufacturer’s guidance. Ask whether the proposed material and its required cover are suitable for that floor arrangement. Compare stated performance on a like-for-like basis, and seek qualified advice if the documents do not establish that the planned combination is appropriate.
Protect the floor edges and preserve support
Include the perimeter in the plan, not just the open area between floor supports. Mark where the floor meets the walls and entrance, and consider how the insulation will fit around supports and joints. Gaps at the edges can interrupt the intended insulation layer, but filling every opening without checking is not the answer: the design may rely on particular clearances or routes that need to remain open. Insulation should not be treated as a substitute for the parts that support the finished floor. Avoid cutting, notching or otherwise changing structural members unless the instructions explicitly allow it or a qualified professional has assessed the change.
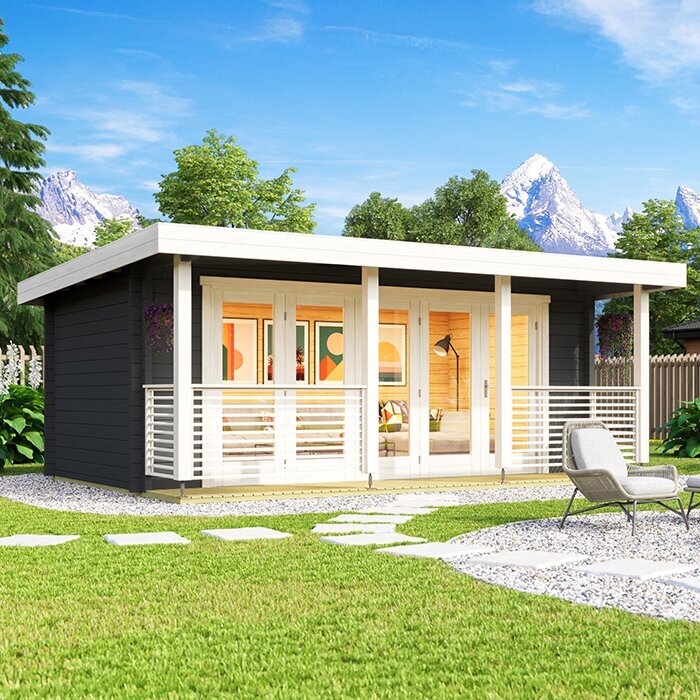
Before settling on a model such as Modano 1 garden house, look for a floor-section drawing or ask what information is available about supports, edges and the doorway. Do not guess where insulation can fit from an exterior image. Compare the proposed material with the documented floor arrangement, including how the finished surface is supported and where its edges meet other parts. If the plan depends on modifying a support, blocking an intended clearance or relying on insulation to hold up the floor, stop and ask the supplier or a qualified builder for guidance. Resolving those details before assembly is simpler than discovering a conflict after the floor has been closed in.
Before you order 5
Set the work sequence before ordering
Read the assembly instructions before arranging materials or setting a schedule. Find out at which stage the floor details are accessible and whether the insulation would need to be in place before another component covers that area. Do not assume the sequence: it may depend on the specific floor design, and the instructions for the shed take priority. Make a list of what is included, what must be sourced separately and which details still need an answer. Plan to keep materials protected while they wait to be used, and avoid ordering a substitute until you have checked its application and dimensions against the intended build-up.
When evaluating wooden garden shed M, use the listing to identify the candidate and locate the applicable product information; do not treat the model name as confirmation of its floor contents or assembly sequence. Before ordering, verify whether a floor is included, what separate materials are needed and whether the proposed insulation is covered by the instructions. If the manual does not address the change, request an answer for that exact model before modifying the design. Keep any response with your planning notes so the people preparing the base and assembling the shed are working from the same details.
Make a final pre-assembly check
Before assembly begins, put the decisions in one place: the shed model, documented floor arrangement, base requirements, proposed insulation and cover, moisture-control approach, final floor height, edge details and work sequence. Mark which points are confirmed by product information and which remain unanswered. Check that the base plan, insulation depth and finished entrance level agree with the same floor design; do not combine measurements from different models or make a guess where a dimension is missing. If a key structural detail or site condition is unresolved, pause rather than filling the gap with an improvised layer. A short record helps prevent different parts of the project from being planned on different assumptions.
A listing for wooden garden shed S can help you identify the model whose instructions you need, but a product page cannot settle every site-specific base or moisture question. Compare your plan with the current assembly information and ask for clarification on details that are not stated. If the ground, required support or proposed structural change remains unclear, consult a qualified local professional before proceeding. Once the floor build-up and sequence are confirmed, follow the applicable instructions and keep the insulation, base and finished-floor decisions together as one plan.
Frequently asked questions
Can I add floor insulation after the shed is assembled?
Sometimes, but access to the floor may be limited and a new layer can change the finished floor height. Whether it can be added without altering parts depends on the shed’s floor design. Planning before assembly makes it easier to confirm the fit and sequence.
How thick should garden shed floor insulation be?
There is no universal depth. The floor design, space available, insulation manufacturer’s guidance and finished entry height all matter. Check the product’s stated use and performance, then confirm that the proposed thickness works with the shed’s documented floor build-up.
Does a garden shed floor need a vapour-control layer?
Not in every floor, and there is no universal position for one. The appropriate moisture-control approach depends on the full assembly, its materials and site conditions. Follow the shed’s instructions and seek model-specific or qualified professional advice if the details are not covered.
Can insulation sit directly on the shed base?
Only if the floor design and insulation product are intended for that arrangement. A base is not automatically an insulation cavity, and the layer should not replace support or moisture management. Check the shed instructions and the insulation manufacturer’s guidance before choosing how the layers meet.
Will an insulated floor keep a garden shed warm?
Floor insulation may reduce heat transfer through the floor, but it does not heat the shed or guarantee a stable indoor temperature. Walls, roof, openings and air leakage also affect the overall result. If you plan to heat the shed regularly, assess the complete structure and installation with a qualified professional.
Successful pre-assembly floor insulation planning is not a matter of choosing the thickest product. It is about confirming a complete, documented floor build-up that fits the shed, site, entrance and assembly sequence. When the floor package, base, moisture details and finished height are clear, you can assess insulation on its intended application instead of guessing. If the model’s instructions leave a structural or site issue unresolved, pause for model-specific or professional advice before changing parts. That preparation makes floor insulation part of the shed plan from the outset, rather than a correction after the structure is assembled.
