
Garden Shed Hobby Rooms: Storage Without Losing Workspace
Garden shed planning
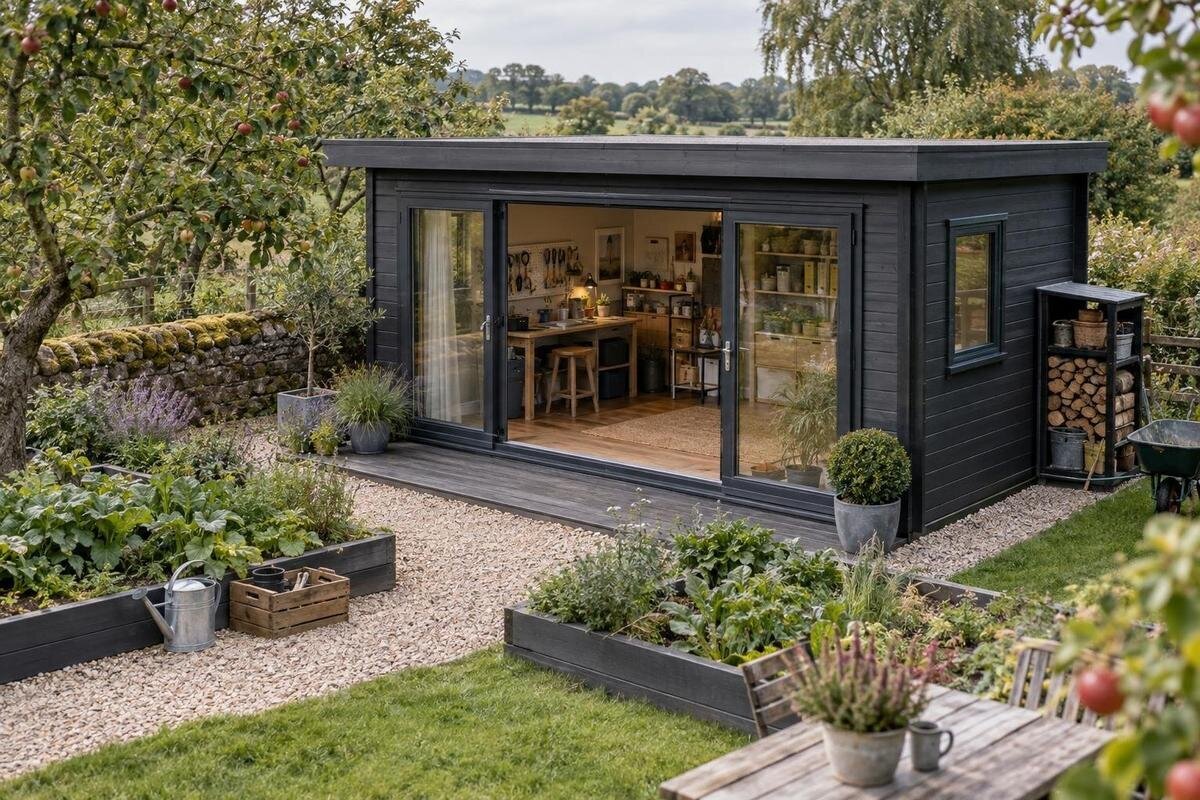
A garden shed hobby room has to do two jobs at once: keep tools and materials organized while leaving enough open space to use them. Treat those needs as one layout problem, not as a choice between a workbench and storage. A useful plan begins with the projects you do, the supplies you actually keep on site and the space each task takes. From there, you can compare garden sheds using verified interior information, decide what belongs on walls or in cabinets, and protect a clear working area instead of filling every corner. The goal is not to fit the most shelving; it is to store what you need without displacing the work in progress.
Start with the projects you need to support
Begin by naming the work the room must support, rather than filling a floor plan with generic storage. Write down the projects you repeat, the stages they involve and the largest item you need to handle. Potting, small repairs, model-making and seasonal crafts all call for different surfaces and different ways of keeping supplies close. Note whether you work seated or standing, lay materials out, assemble components or need a project to remain in place between sessions. Also mark which tasks happen together and which can be packed away. This list gives the working area a defined purpose; without it, shelves and bins can claim the space the activity requires.
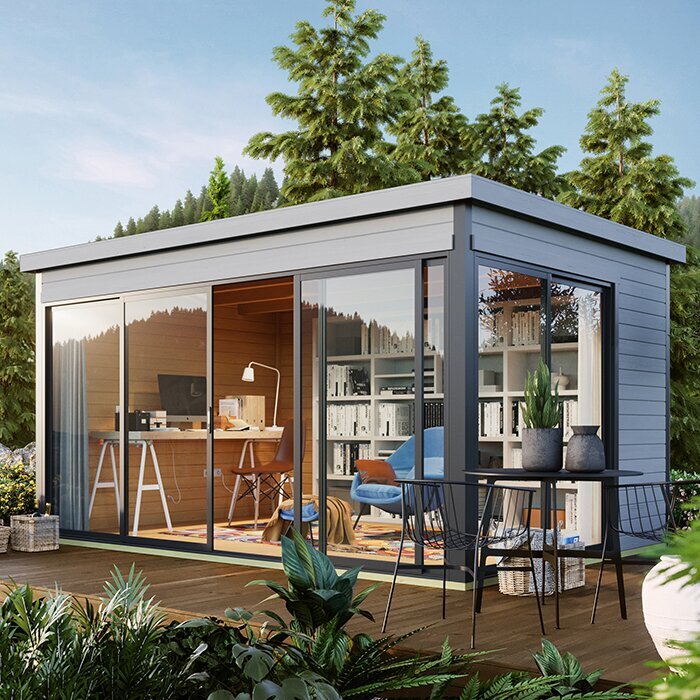
Make an inventory in four groups: daily tools, current-project supplies, occasional equipment and stock that can stay elsewhere. Record which items need to be close to the task and which can sit in less accessible storage. Mark supplies with care directions that could affect where they belong. Then sketch a work surface, storage and a route between them before choosing a building. A product page such as the Verdana 1 garden house can be one comparison point, but check its current dimensions and included features against your plan. Neither a model name nor a photograph tells you how much work area will remain.
Measure the usable interior space
Measure the garden shed by its usable interior, not only its advertised outside footprint. An exterior size does not show how much room remains after walls, fixed elements and the entry opening are accounted for. If product information includes an interior plan, use those measurements; do not estimate clear floor area from a photograph. Record the dimensions of your bench, cabinets, bins, cart and largest project pieces, then compare them with the available space. Note which measurements are external and which are internal so you do not mix them in your sketch. If interior dimensions are not shown, ask the seller before treating your layout as final.
Draw a simple floor plan and mark the work surface first, then add storage at its actual depth. Leave room to move a chair, turn with a tool or bring a project to the bench; there is no single clearance that suits every hobby, so test your own movements. Include the route from the entrance and account for equipment that protrudes when used. The Verdana 2 garden house is another candidate to map this way: confirm its current interior dimensions and opening details before deciding that your bench and storage can work together. A roughly scaled sketch makes competing arrangements easier to compare.
Size the work surface for the task
Choose a work surface around what you make, repair or assemble, not just what looks tidy in a room plan. Measure the longest pieces and the tools that need to sit out at the same time; a bench that fits a small hand tool may not support a project whose parts need to lie side by side. Consider whether you need a fixed bench, a folding surface or a table that can move between tasks. Check the height and depth in your usual working posture where possible, and allow room for your hands and materials. A small landing area for items coming into or leaving the active work zone can also keep the main surface usable.
Separate the active work surface from the storage that supports it. Keep the tools and supplies for the current task within reach, but avoid turning every tabletop into a shelf for reserve stock. If the bench serves several hobbies, decide what must stay set up and what can be cleared between projects. Assess a listing such as the Durano garden house against the bench footprint and the space needed to use it, using verified interior details rather than a product photograph. Include the space taken by drawers or cabinet doors when open; floor area alone does not tell you whether the work zone will function.
Place tools by frequency of use
Give each tool a storage position based on how often it is used and how it is handled. Everyday hand tools and current-project supplies can sit near the bench; equipment used only occasionally can go in less accessible storage. Put small loose parts in divided boxes, and group accessories with the equipment they belong to so setup and pack-away take less searching. Long or awkward items need a designated location rather than a leftover corner. Keep the route through the room and the approach to the work surface clear, especially when carrying supplies. If other people share the room, a simple label can help everyone return items to the same place.
Choose between freestanding cabinets, bins under a bench and wall-mounted storage according to the layout and the building’s documented construction. Wall space is useful only if the intended fixings and loads are appropriate; do not assume every garden-shed wall is designed to carry shelves. For heavy or awkward items, favour low, stable storage and follow the storage-unit maker’s limits. Before selecting the Veltor 1 garden house, check the published construction details and ask the supplier or installer about your planned fixing approach. Keep anything that could fall away from the main route and active work area.
Organize supplies by type and storage needs
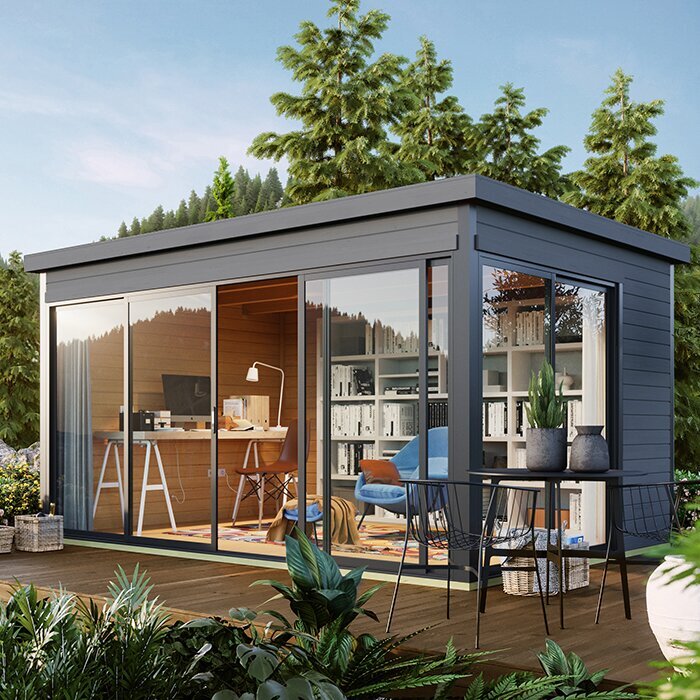
Sort consumables in a way that makes quantities visible without leaving everything on display. Clear or labelled containers can help with small parts, while closed bins can reduce everyday dust on items that do not need frequent access. Keep related materials together by task, and separate clean components from soil, sawdust or other debris where that matters to your work. Before buying organizers, measure their actual depth and height: a shelf that looks available on a sketch may not hold the container you plan to use. Leave room to remove bins without shifting the bench, and keep a simple inventory for supplies you replenish.
Some hobby materials have storage instructions that depend on temperature, moisture, light or handling. Follow the container label and maker’s directions rather than assuming a garden shed provides controlled conditions. Keep products in their original containers where their instructions call for it, and arrange them so the directions remain readable and items are not confused. When reviewing the Orello 1 garden house listing, compare only documented building details with the conditions your supplies require; its name and images do not establish suitability. If requirements are unclear, ask the supplier or product maker before buying.
Keep the route through each project clear
Map the sequence of a typical project: bringing materials in, preparing them, working at the bench, setting aside work in progress and putting tools away. Give each stage a place so supplies do not have to cross the active work area repeatedly. A small tray or cart can hold the items for one task, while a separate staging spot keeps incoming materials off the bench. Think about the largest piece you move through the room, not just the tools stored there. This makes the path from the entrance to the work surface part of the layout, rather than an aisle that disappears when a project starts.
Decide where a partly finished project can stay without blocking storage or the route you need for the next session. If you cannot leave it out, plan a container or shelf where the components can be kept together and retrieved easily. The Modano 1 garden house listing can be checked against that route: use documented opening and interior dimensions, rather than a staged image, to assess whether materials and equipment can reach their intended places. Make sure the spot for temporary work does not take over the only clear area needed for moving tools or setting up another task.
Make storage adaptable to changing projects
A hobby room may need to change as projects change. Divided drawers, lidded boxes and modular organizers can make it easier to store supplies that come and go, while a small reserve area can accommodate the next project without requiring permanent furniture. Arrange containers so you can remove one group without dismantling another. If you use several hobbies, assign each a labelled kit or shelf zone. Clear category names make it easier to reset the room and notice when supplies have drifted onto the work surface. Choose storage that can be rearranged without having to redesign the whole layout.
If more than one person uses the room, agree on where shared tools and each person’s project materials belong. A quick reset routine—returning supplies to their labelled kit and clearing temporary materials before the next task—helps preserve the working area. Avoid filling every cabinet at the outset; a defined space for new tools or a short-term project gives the layout room to evolve. One candidate to include in a comparison is the wooden garden shed M; use its published details to complete your layout rather than assuming its name indicates how much bench or storage space it offers.
Check the site, delivery and assembly requirements
Measure where the garden house is to stand and the route a delivery or assembly crew would need to reach it. Note gates, corners, changes in level and the space needed to work around the building during assembly. Check the manufacturer’s base or surface requirements; do not assume a shed can be placed on any ground. If the site needs grading, drainage or structural work, discuss it with a qualified professional. Confirm any local approvals or restrictions with the relevant authority rather than relying on a general online description. A site can fit the building on paper while still making delivery or assembly difficult.
Before ordering, read the current product information and assembly details. Confirm the stated dimensions, what components are included, whether any floor or accessories are separate, and what preparation the site requires. Check delivery access, assembly arrangements and the terms that apply to the order; do not assume these details from a photograph or model name. When comparing the wooden garden shed S, use its current product documentation to fill in your checklist. If anything important is unclear, ask the seller before placing the order so the building and the planned workspace are considered together.
Match stored materials to the shed’s conditions
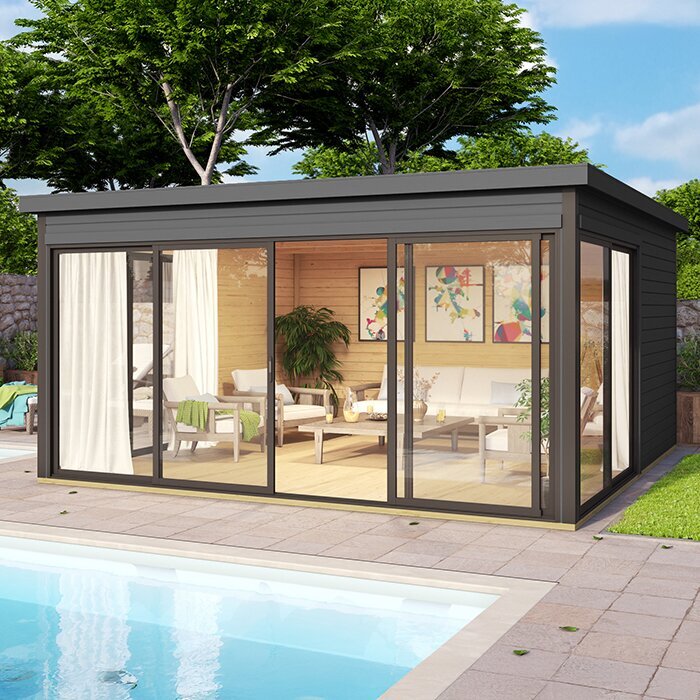
A garden shed is not automatically a climate-controlled room. If your hobby uses paper, textiles, wood, electronics or other supplies sensitive to moisture or temperature, verify the selected product’s documented characteristics and consider the conditions on your site throughout the seasons. Compare those conditions with the guidance for each material. A lidded container may help organize items or keep off dust, but it cannot compensate for conditions outside a material’s stated requirements. Do not rely on a photograph or category label to answer that question; check the product details and the material maker’s instructions before deciding what belongs inside.
Plan cleanup as part of the layout. If a project involves soil, sawdust or residue, keep the supplies for cleaning accessible and separate from clean components. A protective covering on the bench or floor may help where appropriate, but check the building’s care guidance before adding a coating or mat. Let tools and materials dry according to their care instructions before putting them in closed storage. A small cleanup zone for a brush, bin or cloth can stop debris from spreading across the work surface and help keep the room ready for the next task.
Compare garden sheds against one written layout
Turn your sketch into a comparison sheet with requirements that must be met and preferences that would be useful. The essentials might include enough verified interior room for the bench, storage, project pieces and a clear route; preferences could include a particular arrangement or space for future supplies. Compare each candidate against the same list so that a large outside footprint does not distract from a tight interior plan. Note which details are documented and which still need confirmation. This turns a general search for a hobby room into a practical choice based on the tasks and stored items you actually have.
Before committing, revisit the plan with the current product information, assembly instructions and site requirements beside it. Check dimensions and included components, and confirm whether the building’s documented intended use matches how you expect to use it. If your plan depends on a particular storage arrangement, make sure the appropriate supports or freestanding units are accounted for rather than assumed. For regular or seasonal use, verify any additional conditions your hobby requires. A careful final comparison helps you choose a garden shed that preserves a real work area, not merely a place to put supplies.
Frequently asked questions
How do I begin planning a garden shed hobby room?
List the projects you do regularly, the largest items you handle and the supplies each one needs. Draw the work area and route through the room before placing storage. This gives you a practical layout to compare with a garden shed’s verified interior dimensions.
How much floor space should I leave clear?
There is no single amount that suits every hobby. Draw the work surface, storage at its full depth and equipment in use, then check that you can reach supplies and move projects through the room. Keep the entry route and pack-away area clear as well.
Can I store all hobby materials in a garden shed?
That depends on the materials’ storage instructions and the conditions the selected building can provide. Check labels and manufacturer guidance, especially for supplies sensitive to temperature, moisture or light. Do not assume a garden shed offers controlled conditions unless its documentation confirms them.
Should I mount shelves on the shed walls?
Only if the building’s documented construction and the proposed fixings are suitable for that use. Do not assume every wall can support shelving. Freestanding cabinets or bins may be better for some layouts; ask the shed supplier or a qualified installer if you are unsure.
What should I check before ordering a garden shed for hobbies?
Compare usable interior dimensions and opening details with your drawn layout. Confirm the site and delivery access, base or surface requirements, assembly details, and what is included. If you expect regular or seasonal use, verify that the product documentation supports your intended use.
A practical garden shed hobby room gives tools and supplies a known place while keeping the work surface and route through the room usable. Start with the projects you do, test a measured layout against verified interior details, and account for site and assembly requirements before ordering. When storage and workspace are planned together, you can compare garden sheds by how well their documented dimensions and features support the hobby—not by how much of the floor you can fill.
