
Garden Shed Project Timeline: From Site Preparation to First Use
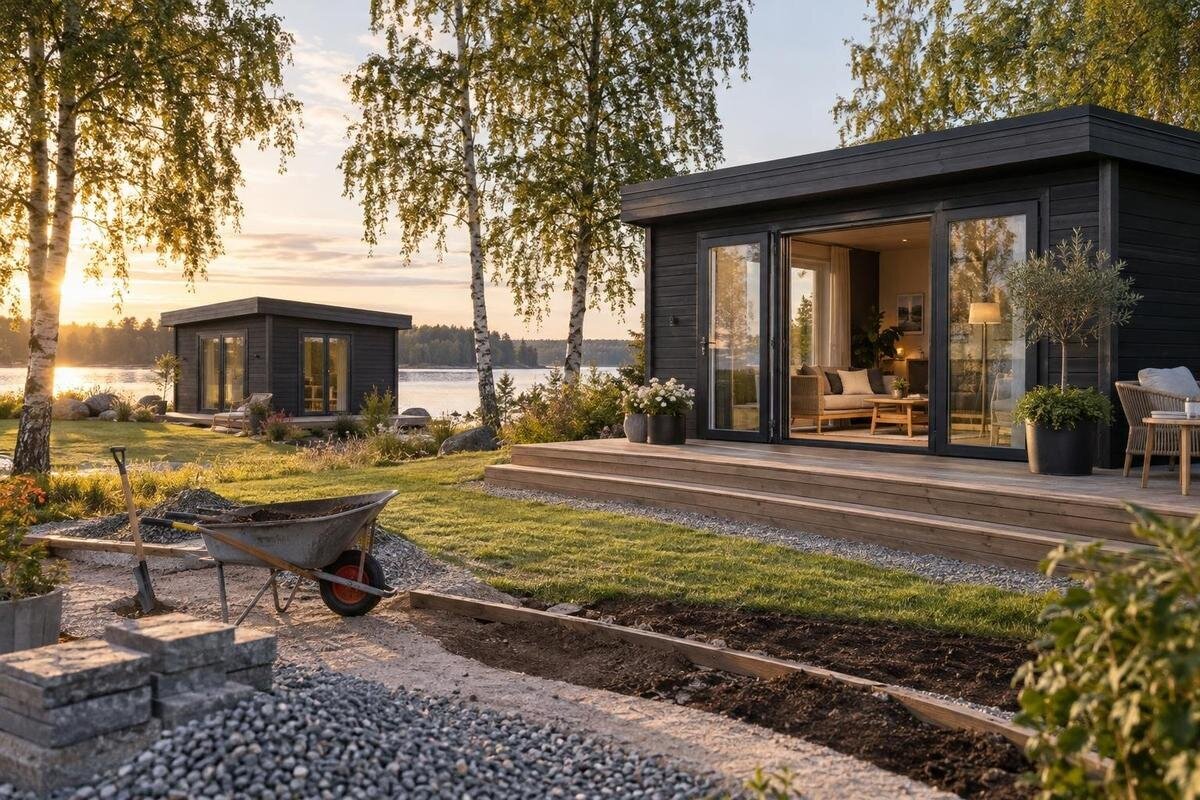
Garden shed planning
A garden shed project is easier to manage when you treat it as a chain of decisions, not one installation date. The sequence usually runs from defining what you need, to checking the site and product requirements, ordering, preparing the base and access, arranging delivery and assembly, then inspecting before storing anything. Some tasks can overlap, but site work should not get ahead of the chosen shed’s requirements. The calendar depends on supplier-confirmed availability, delivery arrangements, ground and weather conditions, and who is doing the work. This guide follows the milestones that help one stage prepare for the next.
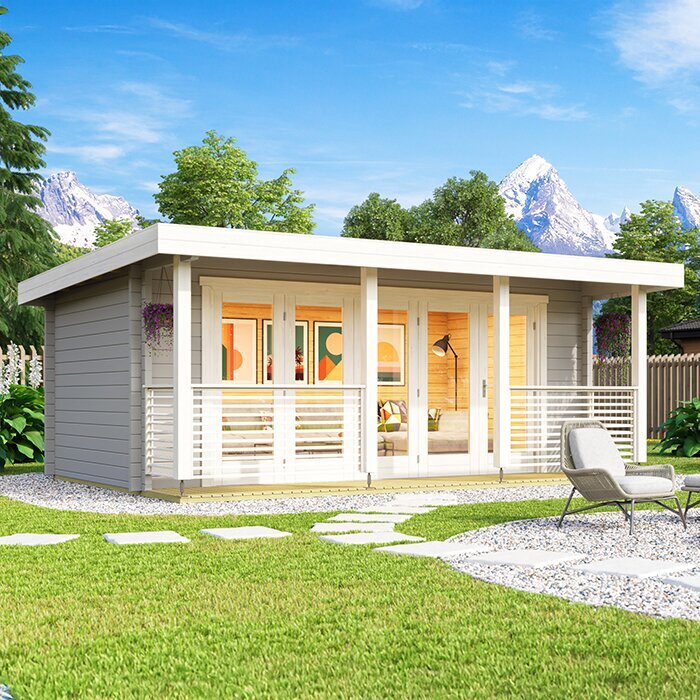
Define the shed’s purpose and project sequence
Begin by defining what the shed must do, rather than choosing a model from a photograph. List the items you expect to store, note the largest ones, and consider how often you will bring them in and out. Seasonal tools, outdoor furniture and maintenance supplies can create different access needs, even when the total volume seems similar. Decide whether you may want shelving or other additions later, but do not assume accessories are included. A clear brief gives you a practical basis for comparing models and for deciding what first use means: the shed is assembled, checked and ready for its intended storage.
Turn the project into milestones, but treat dates as estimates until each dependency is confirmed. A useful sequence is to check site constraints, compare product requirements, order, prepare the base and access route, receive the components, arrange assembly, inspect the result and then load it. Some planning can overlap, but base work should follow the selected model’s requirements, and delivery should follow a realistic site-readiness check. Record who is responsible for each task—the buyer, supplier, installer or contractor—and what must be confirmed before the next stage begins. Leave room for weather and scheduling changes; a target weekend alone is not a dependable completion date.
Choose a model that suits your storage needs
Convert your brief into criteria you can compare. Measure the largest items and think through the space needed to move them through the doorway and place them inside. A shed’s footprint is only one part of the decision: check its documented internal dimensions, openings and any clearance needs against your planned use. Consider how you will organize frequently used items, and whether a clear route to them matters more than fitting in additional storage. If you expect your needs to change, decide which change is realistic rather than buying on the assumption that every future item will fit.
Use the Verdana 1 garden house product page as one comparison entry, not as a shortcut to a decision. Check the documented dimensions, doorway details, included items and the maker’s base and assembly requirements. Compare those details with the other candidates, and ask the supplier about anything that is missing or unclear before ordering. A model name or photograph cannot establish the usable space, what comes in the order or whether the product fits your site. Save the information you relied on, so you can refer back to the same model when coordinating delivery and installation.
Measure the site and delivery route
Measure the proposed location against the exact dimensions documented for the model you are considering. Mark out the footprint temporarily and check the space around it, including room for the door to open and for people to reach the shed during assembly and later use. Account for any overhang or other projections only when their dimensions are confirmed. Look at the ground and nearby obstacles from more than one angle; a space that appears clear on a plan may be difficult to work in once access and assembly are considered. Keep your measurements and a few dated photographs with your project notes.
Measure the route from the place where components will be received to the proposed location. Note gates, turns, changes in level, narrow passages and anything overhead, then ask the supplier what delivery access and handling arrangements require. Do not assume that a delivery vehicle or package can reach the site simply because the garden is accessible on foot. Keep the product details for comparison: the Verdana 2 garden house listing can identify one candidate, but the dimensions and handling information for the exact order must guide your measurements. Resolve access questions before fixing a delivery date.
Check site constraints before ordering
Before committing to a location, check which local requirements apply to your property and proposed project. Ask the relevant local authority or property manager where appropriate, and review any restrictions that may affect placement or construction. Requirements can depend on the specific property and proposal, so do not rely on a neighbour’s experience as a substitute for checking your own situation. If the project involves digging, arrange the appropriate utility locating before ground is disturbed. These checks belong early in the timeline: discovering a constraint after ordering may mean revisiting the location or changing the plan.
Also note the ground conditions and anything that could affect preparation, such as a noticeable slope, soft or uneven areas, or water collecting nearby. These observations do not determine a foundation design, but they help you explain the site to the supplier or a qualified installer. Before choosing a product, including the Durano garden house page as one item on a shortlist, check whether its documentation specifies site or base requirements. Ask a qualified professional to assess uncertain conditions rather than guessing at a solution. Keep any advice with your site sketch so the person preparing the base can work from the same information.
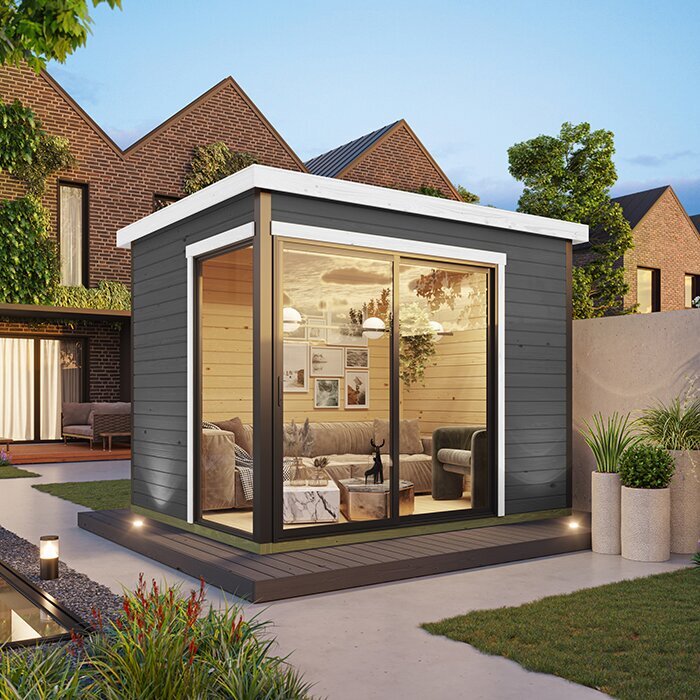
Confirm the order and delivery plan
Once you have a suitable candidate and a workable location, review the order details carefully. Confirm the exact model and any selected options, what components are included, what may need to be obtained separately, and which instructions or documents will be provided. Read the seller’s terms for delivery and for handling changes to an order. Make sure the product description and order record refer to the same choice; if a detail important to your plan is not stated, ask before completing the purchase. Keep the final information together with the measurements and site notes rather than relying on a saved image or a remembered model name.
Set the delivery stage around confirmed information, not an assumed date. Ask the supplier what delivery window is expected, what access is needed, how components are handed over and who should be present to receive them. Clarify who is arranging installation and whether that person needs the shipment checked or stored in a particular way. A listing such as the Veltor 1 garden house page can help you identify a comparison candidate; use the final order confirmation for the exact item and arrangements you have purchased. Add confirmed dates to the timeline, and leave space for adjustments if site work or supplier scheduling changes.
Prepare the base after confirming model requirements
Do not choose or build a base solely for convenience. Its requirements depend on the selected product’s instructions and the conditions at the site. Confirm the maker’s guidance, then discuss the plan with a qualified contractor if the ground, drainage or construction method raises questions. This is not the stage for guessing dimensions or adapting instructions from a different shed. Before work begins, make sure the location matches the approved plan, underground services have been addressed and the person doing the work understands the product requirements. Keep written instructions available so decisions made during preparation can be checked against the right model.
Schedule preparation so the base is ready when the shed and assembly team are expected, while leaving time for any steps specified by the contractor or product instructions. Keep the delivery route clear and avoid storing tools or excavated material where components will need to pass. If your shortlist includes the Orello garden house page, treat it as a separate model to verify rather than assuming its requirements match another candidate’s. The same principle applies after ordering: make sure the base is assessed for the exact shed being installed. If a site concern emerges, pause and ask for qualified advice instead of letting the delivery date drive an unconfirmed decision.
Get the site and components ready for assembly
As delivery approaches, compare the planned arrival with the readiness of the base, access route and assembly area. Clear sufficient working space for the installer or people doing the work, and decide where components can be received without obstructing the route. Ask the supplier how the shipment should be handled and stored if assembly cannot begin immediately; do not assume that packaging can be left exposed or moved in any particular way. Confirm who will be present, how the delivery will be checked and who should be contacted if something appears missing or damaged. Write down the agreed plan rather than relying on last-minute messages.
On arrival, follow the supplier’s directions for checking and handling the shipment. Compare the delivered item with the order record and note any concerns promptly, using photographs where useful. Do not begin assembly with unresolved questions about missing components or instructions. Keep the paperwork, the exact model name and the assembly information together: if your order refers to the Modano garden house listing, confirm that the delivered model matches your record before proceeding. The package contents and handling requirements must come from the supplier’s information, not from assumptions based on a product image. A careful handoff makes it easier to identify the right next action if something does not match.
Schedule garden shed assembly
Agree on who will assemble the shed and what the work involves before setting a firm date. Check the maker’s instructions for the selected model and ask whether the work is intended for a qualified installer or can be completed by the people you have arranged. Confirm who is supplying tools, managing the components and coordinating any separate trades. Do not estimate the work time from another model’s assembly experience; ask the supplier or installer for an estimate based on the actual product and site. Include a buffer for weather or an interrupted workday, and make sure the base and working area will remain accessible during the planned period.
During installation, use the instructions for the exact model and pause if a part, step or site condition does not match what is documented. Avoid improvising a structural change to keep the schedule on track; refer questions to the supplier or qualified installer. If your selected product is the Wooden Garden Shed M product page, request and follow the instructions for that specific model rather than borrowing steps from a different shed guide. Keep any supplied documents and record unresolved issues before the installer leaves. Finishing assembly is an important milestone, but it is not a reason to skip a final check or to load the shed before open questions are addressed.
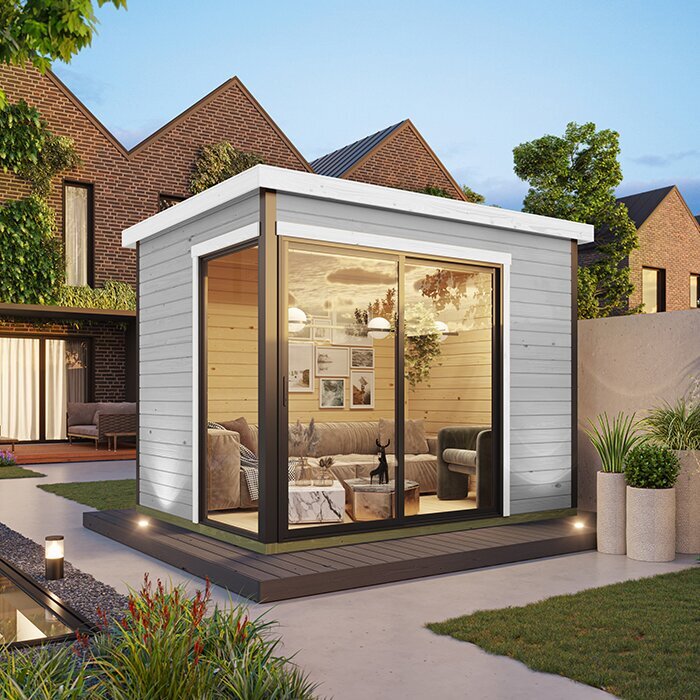
Inspect the completed shed before loading it
Set aside time for a walkthrough once assembly is reported complete. Compare the result with the product instructions and any agreed installation checklist, and ask the installer to explain anything you do not understand. Check that access works as intended and look for incomplete work, missing parts or visible damage. This walkthrough is not a substitute for a professional assessment if something appears wrong. Take photographs and record concerns while the details are easy to identify, then contact the supplier or installer for a response before you start storing items. Resolving an issue while the work is recent is simpler than trying to locate it after the shed is full.
Before placing heavy or bulky items inside, check the documented limits and storage guidance for the exact model. If the documents do not answer a question about loading, ask the supplier rather than assuming a floor or shelf can take the weight. Keep the doorway and access path clear while arranging the first load, and avoid adding fixtures or attachments without confirmation that they are appropriate. If the Wooden Garden Shed S product page is the model on your order, use its model-specific documentation for these checks. The objective is not to fill every available area on day one, but to confirm that the finished space can be used as intended.
Begin using the shed and plan ongoing care
Treat first use as a planned handover rather than simply moving everything outside. Start with the items identified in your original brief, place them so that the entrance remains usable and keep anything that needs special handling in line with its own instructions. Leave room to retrieve frequently used items without shifting an entire stack. If you find that the layout does not work, adjust it before adding more storage. Keep the product documents accessible, especially any guidance on loading, care or changes to the shed. If you intend to add services or make alterations, ask a qualified professional and check the maker’s requirements before work begins.
Add basic care to the ownership calendar using the product’s instructions as the authority. Note when you first used the shed and set reminders for any inspection or upkeep the maker recommends. After severe weather or a change around the site, look for issues that warrant attention, such as a door that no longer works as expected or a change around the base, and contact a qualified installer if you are unsure what to do. Avoid applying treatments or making repairs on the strength of generic advice when the product documentation calls for a particular approach. Keeping records of the model, order, installation and maintenance gives you a useful reference long after the project timeline ends.
Frequently asked questions
How long does a garden shed project take?
There is no reliable single timeframe for every project. Product availability, delivery arrangements, site preparation, weather and the assembly plan all affect the calendar. Ask the supplier and installer to distinguish order and delivery estimates from the time needed for work on site, then allow a buffer for dependencies that are not under your control.
Should I prepare the site before ordering the shed?
You can measure and assess the site while comparing models, but wait to commit to a base until you have confirmed the chosen shed’s requirements and checked site constraints. Before digging or disturbing the ground, arrange the appropriate utility locating and get qualified advice if conditions are uncertain.
What should I confirm before placing an order?
Have your intended use, site measurements and delivery route in hand. Check the selected model’s documented dimensions, installation and base requirements, included components, and any details that affect access or assembly. Also review the order and delivery terms, and confirm who is responsible for receiving the components and arranging installation.
What if the shed arrives before the site is ready?
Contact the supplier as soon as a delay becomes likely. Ask what storage and handling conditions apply, who is responsible for receiving and checking the shipment, and whether the delivery can be rescheduled. Avoid assuming that packages can safely remain outdoors or be moved in a particular way; follow the supplier’s guidance.
When is a garden shed ready for first use?
Wait until assembly and any other steps required by the product instructions are complete. Check the finished shed against the maker’s guidance, make sure access works as intended, and resolve missing parts or concerns with the supplier or installer before loading it. Check documented load limits before storing heavy items.
A useful garden shed project timeline is built around confirmed requirements and handoffs: choose against your storage needs, check the site, order the exact model, prepare for its installation and inspect before first use. Leave dates flexible until suppliers, site conditions and anyone doing the work have confirmed their part. That approach keeps the schedule tied to the actual shed and property, rather than to assumptions made before the order is clear.
