
How to Measure a Site for a Garden Shed Accurately
Garden shed planning
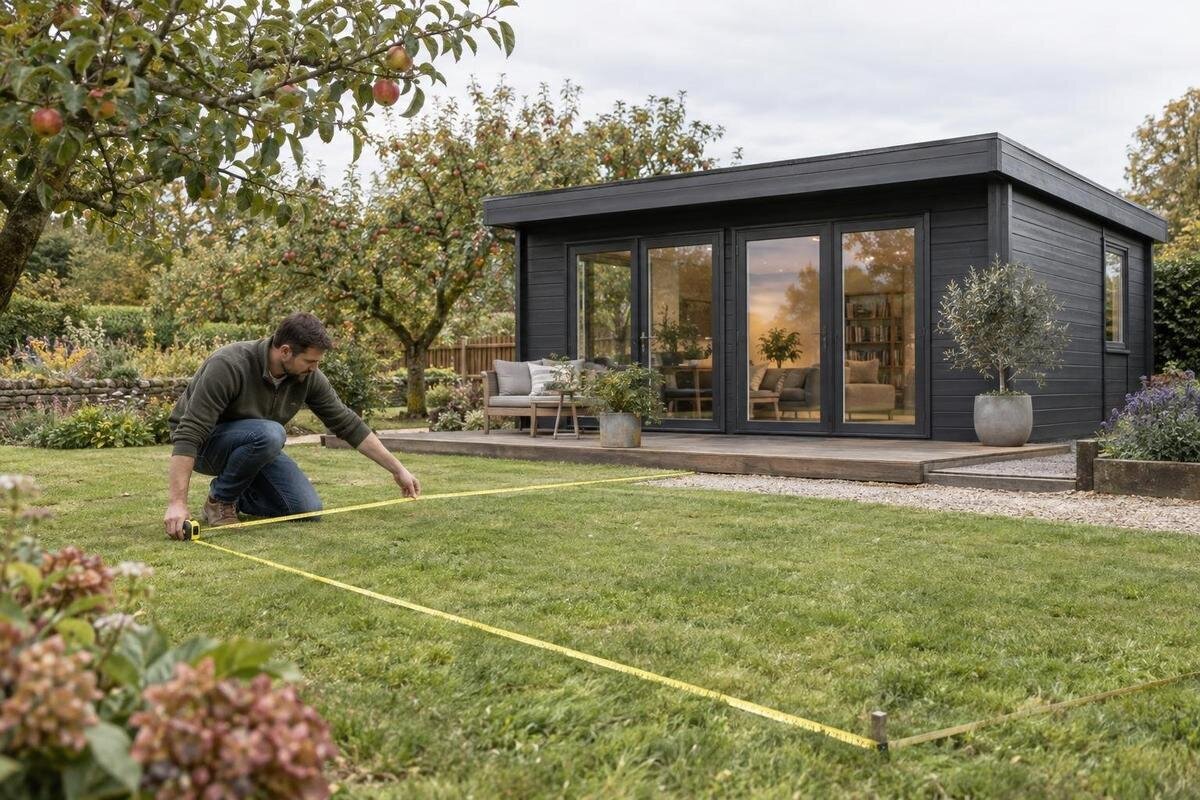
Measuring for a garden shed is more than taking the length and width of an empty patch. The site may narrow at one end, include a slope or drain, or leave too little room for access once the building is in place. A useful plan records the usable area, the candidate shed’s confirmed outside dimensions, the route to the location and any conditions that could affect preparation. A single area estimate rarely tells you whether the shape works. This guide explains how to measure consistently, compare possible positions and identify unanswered questions before choosing a size or placing an order.
Measurement checklist 1
Define the usable area
Begin by deciding what you are measuring: the patch where the garden shed could sit, not the whole yard or lot. Walk the area and identify the physical boundaries a building would have to fit inside, such as a fence, path, tree bed, retaining edge or existing structure. Separate a fixed obstruction from something that could be moved; do not count space behind a permanent feature as usable simply because it lies within the property. This first pass establishes the outline to measure and prevents a generous-looking lawn from hiding a narrow gap. Note any path or working area that must remain open.
Think about the building’s intended orientation while keeping the measurements factual. The same rectangular footprint may fit in one direction and fail when turned, while the entry side may face a path or obstruction. Mark on a sketch which edge you mean by width and which by depth, and show the area that remains free after fixed features are excluded. At this stage, you are screening physical space, not confirming permits, property-line clearances or foundation design; those questions need separate checks. A clear boundary makes later product comparisons easier and prevents width from changing meaning halfway through the plan. If more than one location is possible, outline each separately rather than combining them into one large area.
Choose tools and consistent units
A long measuring tape works well for straight distances; a second person can hold the far end so the tape stays aligned with the points being measured. A laser distance measurer can help where there is a clear line of sight, but check its reading if the beam falls on foliage, a fence edge or another uncertain target. Bring stakes or removable markers, a notebook or phone, a pencil, and graph paper or a simple drawing app. The best tool is one that lets you repeat the same measurement and record exactly where each end was placed. Avoid relying on a visual estimate when a boundary bends.
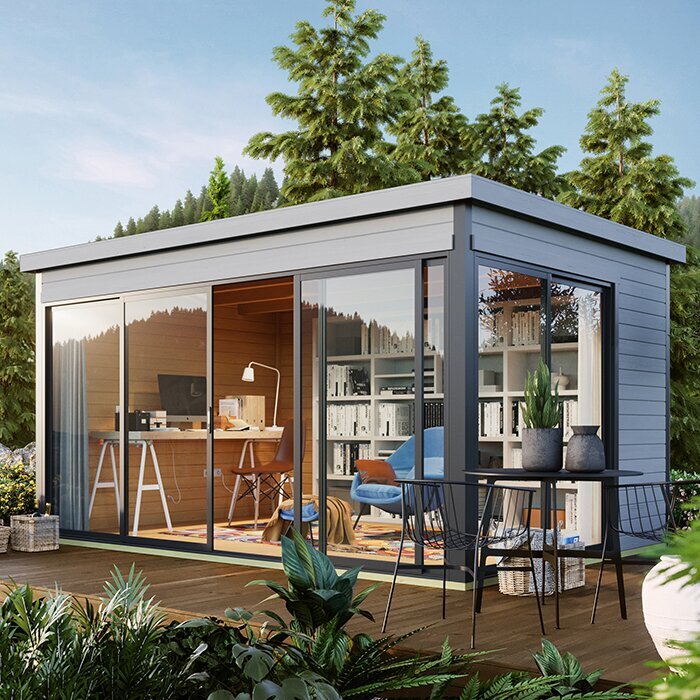
Choose one unit before you begin and use it throughout the sketch. If a product page gives millimetres or centimetres while your notes are in feet and inches, convert the figures carefully and write the converted value beside the original; one inch is 25.4 millimetres. Avoid rounding a tight measurement until it appears to fit. Label every number with its direction and endpoints so you can check it later. When reviewing the page for Verdana 1 garden house, look for dimensions published for that exact item, if shown, and note their units. The name and photograph alone cannot establish how much space it needs. Confirm unclear figures before using them in your plan.
Measurement checklist 2
Sketch the site before measuring
Draw a rough plan before entering measurements. Choose a stable reference point, such as the corner where two fixed edges meet, and label it; then show the limits of the candidate area, paths, fences, trees, steps, existing sheds and other features that may affect the outline. The first drawing does not need to be to scale. Its purpose is to preserve relationships: which feature is on which side, where a narrow section begins, and where each measurement starts and ends. Add a date, and write notes beside the sketch rather than relying on memory after moving to another part of the yard. Keep separate sketches if the possible sites have different layouts.
Measure between identified points rather than from a vague edge, such as the middle of a hedge. For a roughly rectangular area, record each side and both corner-to-corner diagonals as a check on whether the corners sit as drawn; a diagonal is not a substitute for measuring the sides. In an irregular space, divide the outline into clearly labelled segments and note where they meet. If a line of sight is blocked, record that a direct measurement could not be taken instead of silently estimating it. A sketch for Verdana 2 garden house, or any other candidate, is useful only when its figures can be traced to real points on the ground.
Measure width and depth at several points
Once the outline is clear, measure the available width and depth at the intended position. Do not assume that opposite edges are parallel: take width readings near both ends and through the middle if the area changes, and measure depth along more than one line where possible. For a long, narrow strip, its narrowest usable point may set the limit even if the average looks generous. Write the location of every reading on the sketch. If you have a curved or angled boundary, use several short, clearly defined spans to describe it rather than reducing the whole edge to one number.
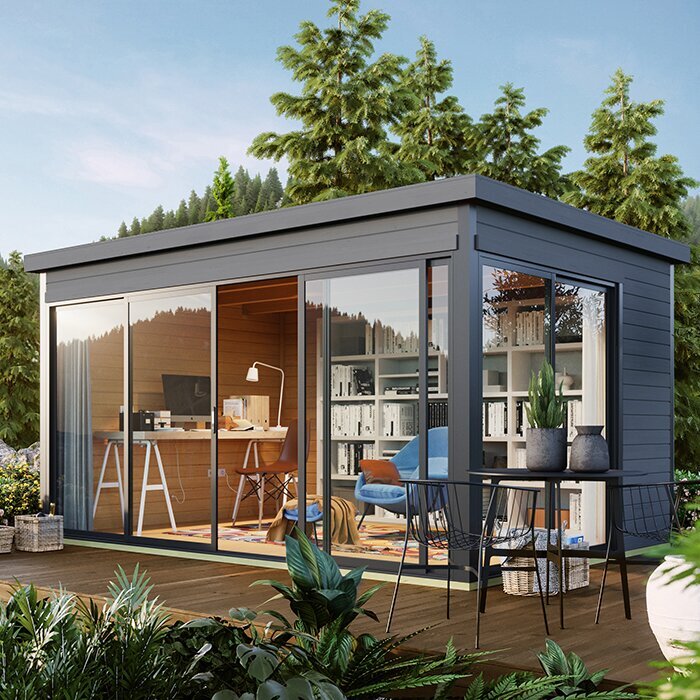
Separate straight-line distance from walking distance. A tape pulled diagonally across the yard gives the distance between its endpoints, but it does not describe the width of a passage that bends around a bed or structure. Measure the actual pinch points that people, equipment or delivered components may need to pass, and note where the route changes direction. For Durano garden house, use the same method as for any candidate: establish the limiting width and depth of each possible position, then compare them with dimensions confirmed for that specific item. Do not treat a product name or image as evidence of scale.
Measurement checklist 3
Record slopes and surface conditions
Dimensions alone do not describe a site that rises, dips or holds water. Note visible slopes, soft ground, uneven transitions, low spots, puddling observed after rain and places where water flows from a roof or paved area. Record where each condition occurs and how far it extends; you do not need to calculate a foundation or decide how to alter the ground. A patch that looks flat may still have a dip at one corner, while a measurement at one point says little about the whole area. Keep these observations on the same sketch as the dimensions so they are considered when you compare positions.
Where the ground is visibly sloped or the surface changes, do not reduce the site to a single width-and-depth pair. Measurements alone cannot settle what base or preparation a particular building requires. Note the direction and extent of the change, and take photographs from a few angles if they help explain it. Ask the supplier or a qualified site professional what information is needed for the candidate. The name Veltor 1 garden house does not establish a base requirement or suitable site conditions. This check is meant to identify questions early, not to prescribe construction or make an engineering assessment.
Compare the site with the shed’s exterior dimensions
Use the candidate building’s confirmed exterior measurements, not the room you hope to have inside it. A seller’s information or drawing may distinguish a floor or base measurement from an overall outside measurement; those figures answer different questions. For site fit, identify the largest exterior extent relevant to your chosen orientation, and confirm what the stated figure includes. If a drawing shows a roof projection, eave, trim or another part extending beyond the base, account for it where it affects the space you need. Do not infer an overhang or the full footprint from a photograph.
Keep a record of the exact model name and the drawing or product information you used, along with the date you checked it. If the page for Orello 1 garden house gives more than one dimension, do not select the smallest figure just because it fits your site. Ask which measurement represents the full exterior extent and whether any additional projection matters. Note the intended entrance orientation if the current product information shows it. This makes the comparison about the specific item being considered rather than an assumed rectangle or a measurement remembered from another model.
Measurement checklist 4
Measure the access route
A site can have enough room for a building and still be difficult to reach. Trace the route from the likely unloading point to the possible position, measuring the narrowest gate, passage and turn rather than measuring only a straight section. Record steps, changes in surface and overhead obstructions that could affect people or equipment moving along it. If the route curves, note each segment and the tightest turning area. These measurements help reveal access constraints, but the product’s packaging and delivery method must be confirmed. Do not assume an assembled item or its components can follow the same route.
Also note the space needed to work around the site during assembly or upkeep, where the seller’s instructions specify it. This is different from the building’s footprint: a narrow gap between a fence and the proposed shed may fit on paper yet leave little room to reach one side. For Modano 1 garden house, as for any named option, check the product information for any stated assembly or access needs rather than inferring them from a photograph. If the seller does not explain how the item arrives or how much working room is needed, ask before committing to a position. Your route measurements make that question specific.
Map obstacles and recurring site conditions
Add features that may not show up in a simple width-and-depth reading. Mark tree trunks and planting beds, existing posts, low branches, downspouts, windows that open into the area, outdoor taps, air-conditioning equipment and other fixed or occasionally used features. Distinguish what could be moved from what should remain accessible. A tree’s trunk is only part of the space it may occupy as it grows, so note overhanging limbs and likely growth rather than drawing the trunk as the full obstruction. Avoid basing the plan on a temporary arrangement, such as stored bins, unless you know that arrangement can change.
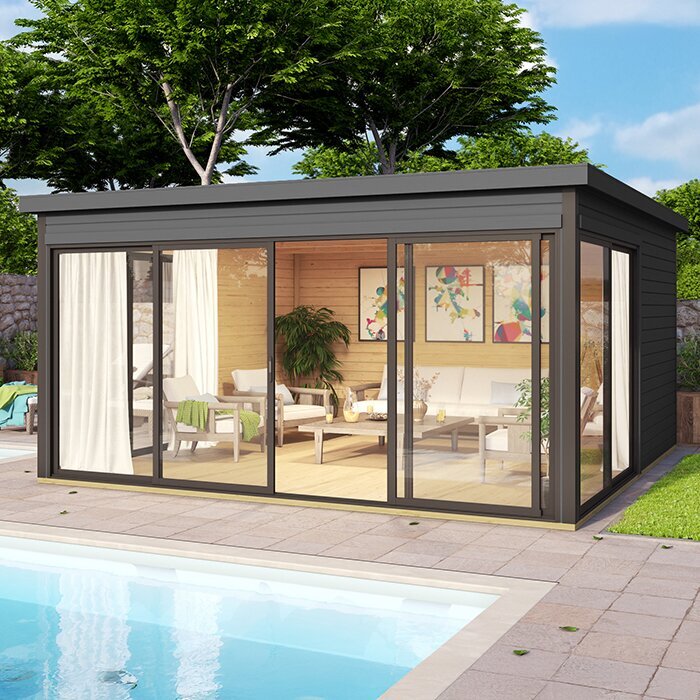
Record recurring water paths and seasonal changes that affect the usable patch, such as an area that becomes muddy after rain or a route routinely used for yard care. A clear sketch can include the location and approximate extent without making assumptions about drainage performance or structural suitability. When comparing garden shed M, or another candidate, use the same site record and verify the item’s actual dimensions and requirements. Its label alone says nothing about how it will interact with a particular tree, surface or obstruction. If a feature is difficult to assess, leave it flagged for follow-up rather than omitting it.
Measurement checklist 5
Compare candidate positions on one plan
Make a separate record for each possible position, even if two spots look similar. For each one, enter the narrowest usable width, the usable depth, the shape of the area, obstructions, surface observations, route measurements and the direction an entrance would face. Beside those figures, list the candidate shed’s confirmed exterior dimensions in the same units, along with any projections or access requirements stated by the seller. This side-by-side comparison shows which position is too narrow, which has an awkward route and which still needs clarification. It is more informative than a total area estimate, because equal areas can have very different shapes.
Do not aim to use every centimetre simply because the outline appears to fit. Space for the door to operate, a path to the entrance, access for upkeep and any clearances specified by the seller or applicable local requirements may extend beyond the building footprint. There is no single extra margin that works for every model and property, so record the space you need and confirm requirements for the particular design. garden shed S can be one comparison point, but its identity does not tell you its outside dimensions or the room needed around it. Re-measure any position whose fit depends on guessing.
Repeat the checks before ordering
Before settling on a position, return to the site and repeat the measurements that control the fit: the narrowest width, depth, corners, route pinch points and any uncertain distances. Keep the tape aligned with the same endpoints and compare the new figures with your sketch. If two readings differ, take another and record the range rather than choosing whichever number is convenient. Check that the drawing still reflects current conditions, especially if plants, stored items or yard features have changed since your first visit. A second person can review whether the labels and orientations make sense.
Then match the measurement sheet to the exact product name and the dimensions currently stated by the seller, if available. Confirm the overall exterior extent, any base information and route or assembly notes; ask for clarification where details are missing. Do not fill gaps with measurements estimated from a photograph or borrowed from another model. Keep the plan, unit conversions, product references and unanswered questions together. That gives you a traceable reason for choosing a location and size, and makes the decision easier to revisit if the candidate or site changes. Careful measuring cannot replace local placement checks, but it can prevent avoidable mismatches.
Frequently asked questions
What should I measure first?
Start with the usable patch where a garden shed could sit, then record its width and depth at several points. Mark permanent boundaries and obstructions first. The total open area of a yard does not tell you whether a particular footprint will fit within its shape.
Is measuring the area in square metres enough?
No. An area total can hide the shape: a long, narrow strip and a compact square can have the same area but fit very different footprints. Record usable widths, depths, corners and access points, then compare those measurements with each candidate shed’s confirmed exterior dimensions.
Should I use floor dimensions or overall exterior dimensions?
For site fit, use confirmed exterior dimensions and check what each figure includes. A floor or base measurement may differ from the full outside extent. Include projections shown in the seller’s drawing if they affect the available space; do not use interior measurements to judge the site fit.
How should I measure an uneven or sloped site?
Measure the available width and depth in more than one place, and note where the slope, low spot or surface change occurs. Keep those observations with your sketch. Measurements alone cannot determine whether a base or site preparation is suitable, so ask the supplier or a qualified site professional about any uncertain conditions.
How much clearance should I leave around a garden shed?
There is no single extra distance that suits every shed and property. Consider access to the entrance, room for upkeep, any assembly space stated by the seller and applicable local requirements. Measure the space you need for those uses, then confirm model-specific requirements before settling on a position.
A useful site measurement is a small map, not a single pair of numbers. It shows the usable outline at its narrowest points, the ground and obstructions, the route in and the space required by the specific shed. When the seller’s current dimensions match that map—and any unclear site or installation condition has been resolved—you can compare locations on evidence rather than appearance. Keep the notes with the product details; they remain useful if you reconsider the position or choose a different model.
