
How to Mark Out a Garden Shed Before Ordering
Garden shed planning
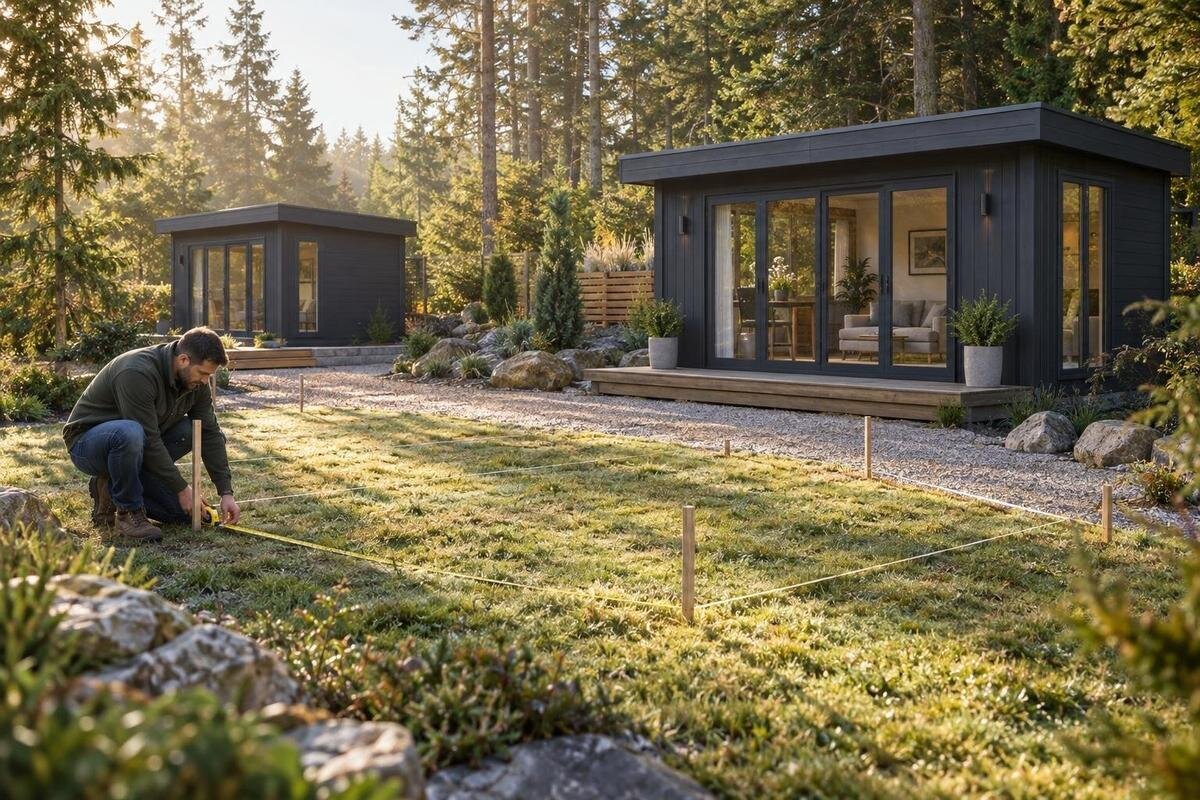
To mark out a garden shed site before ordering, use a full-size outline rather than judging fit from a picture. It lets you test whether the proposed position leaves room for the entrance, an access route and practical clearance around the building. The exercise is simple, but the result is only as reliable as the dimensions you use: a product photo is not a scale drawing, and a model name is not a measurement. Confirm the relevant dimensions, mark them temporarily, then test the location and note anything that still needs checking.
Which dimensions belong in the outline?
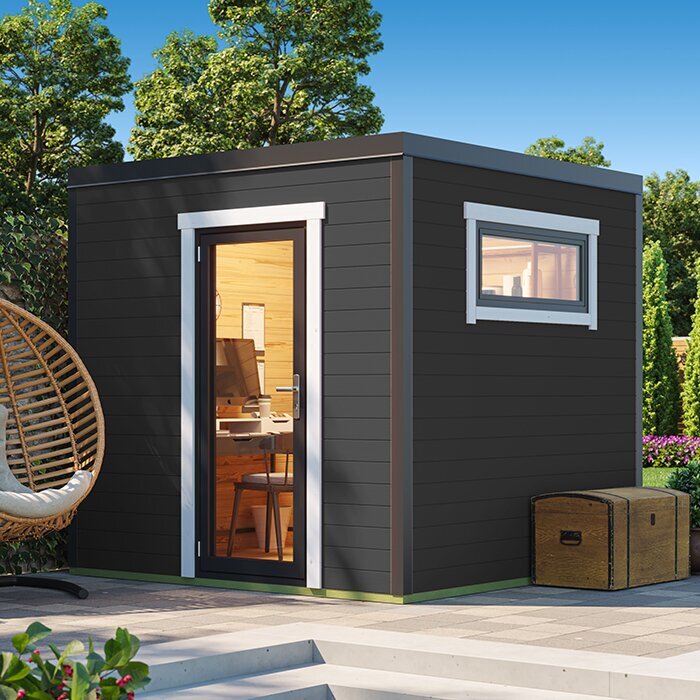
Before drawing anything, choose the exact garden shed you are evaluating. Copy the stated outside length and width from the current product information, then note what those figures describe. A base or wall measurement may not represent the same boundary as a roof projection; use a dimensioned plan where one is available. Do not estimate the footprint from a product photo, a model name or an interior measurement. If the information does not make the measurement reference clear, ask the retailer which outside dimensions need to fit on the ground. A carefully drawn outline can still mislead you if it represents the wrong part of the structure.
Keep a dimension card with the model and version, the measurements, and any configuration you have chosen. Record a projection or accessory separately if the documentation shows it extending beyond the main outline. Use one unit throughout, copy the figures without rounding, and avoid mixing details from different options. If two product pages look similar, make a separate card for each and confirm the measurements for both. A mark-out only tests the version represented by those notes. If the configuration changes, check the lines on the ground again before relying on them. Note the date of the check as well. Product details can be updated, and a dated card makes it easier to spot when an older outline needs to be checked again.
A full-size footprint outline
Use the confirmed plan to trace the footprint at full scale. Four temporary stakes at the corners and taut string make a clear rectangle; removable chalk or suitable markers can work on a hard surface. Mark every side, not just the corners, so you can see how much area is occupied. Label the outline with the model name and dimensions, especially if you plan to test more than one option. Keep strings and markers out of a frequently used walkway while you are working, then remove them so they do not become a trip hazard. There is no need to dig or make permanent marks just to test a position. Measure the two diagonals between opposite corners before treating the outline as final. Matching diagonals help confirm that a rectangular footprint has been set out squarely rather than skewed.
Represent the same boundary your measurements describe. If the plan shows an eave, roof edge, step or other projection beyond the base, mark it as a second line and label it. That makes it easier to distinguish the building footprint from any clearance area. Where turf makes a straight line hard to see, lay cord flat or place markers at intervals along the edges. Walk around the complete outline to make sure it has not shifted. When testing the Verdana 1 garden house listing, base the line on confirmed dimensions for that exact option, not on its title or product image.
Testing a position against the yard
Place the outline where the shed is intended to stand, then walk along each side rather than judging the fit from one viewpoint. Look for conflicts with a fence, hedge, garden bed, path, bins, an existing structure or space needed to open a gate. A footprint can clear a fence at both ends and still leave an awkwardly narrow strip along its length. Check both the boundary and the space people use: a path that looks generous on a sketch may feel pinched once the full outline is visible. Note features that need to remain reachable, such as an outdoor tap or a route through the yard.
Test another position or orientation if the first forces a compromise. Move the whole outline, keeping its dimensions intact and rotating it only in a way that suits the confirmed plan. Repeat the walk-around from the house, the path and the access gate. If the Verdana 2 garden house listing is another candidate, draw a fresh outline from its own confirmed measurements; do not assume a similar name or appearance means it has the same footprint. A labelled photo can help you compare locations later, but record the dimensions too. A photo by itself is not a scale drawing. Stand at the places from which you most often view the yard, including nearby windows if relevant. This can reveal whether the proposed position interrupts a route or changes the usable feel of another area.
Door access and working space
A building outline is not enough if the entrance cannot be used. Find the door position and opening direction in the product information, then mark that area separately on the ground. For a hinged door, sketch its swing zone; for another opening arrangement, show the side or area that needs to stay clear according to the confirmed plan. Do not infer the door type or location from a photo. Allow room for a person to stand, turn and move items through the entrance, not just the width of the opening itself. This is a test of ordinary use, not a reason to enlarge the shed footprint. Also consider where an opened door would leave a person standing while they unlock it or set down an item. A usable approach should not depend on stepping into a bed, hedge or neighbouring path.
Walk through the marked entrance with something similar to an item you expect to store, such as a bin or wheelbarrow. Check whether the door area meets a fence, wall, parked equipment or raised bed, and whether there is room to handle the items you plan to bring inside. Keep any swing or standing area visually distinct from the building outline. If the Durano garden house listing is under consideration, use its confirmed layout and check the entrance details before deciding how much room is needed.
The route from delivery point to site
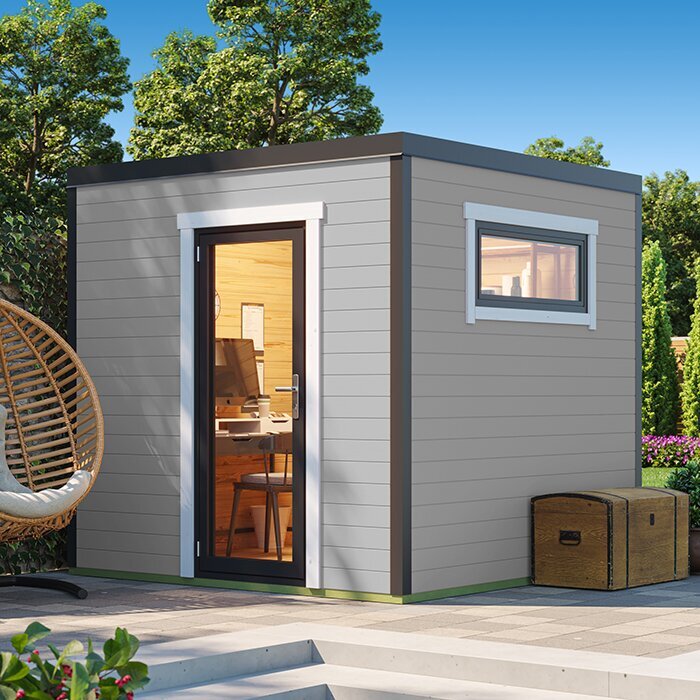
Trace a possible route from the place where a delivery could be unloaded to the proposed shed site. Check gates, narrow passages, turns, steps, uneven ground and overhead branches. A route that looks clear from the patio may be blocked by a gate that cannot open fully or a tight turn between buildings. If the unloading point has not been agreed, identify the likely location and ask the retailer what access is needed for the exact item. Do not use the finished shed’s outside dimensions to guess the size or handling needs of its delivery packages.
Walk the route yourself and note the narrowest or most awkward points. If a measurement could affect access, record it so you can compare it with delivery information once confirmed. Ask whether you will need to move packages from the unloading point to the site, and whether any part of the route needs special access arrangements. For example, when reviewing the Veltor garden house listing, ask about the delivery format for that option rather than assuming it from the finished building’s outline. Delivery details are a separate part of the order decision. Include temporary obstacles in your notes, such as stored materials, planters or vehicles, and decide whether they can realistically be moved when needed. A route is only useful if it remains available on the intended delivery day.
Practical clearance around the shed
Separate the shed’s footprint from the space you want for reaching and working around it. A narrow gap may leave no easy way to get behind the building, use a side entrance or carry out tasks recommended in the product guidance. Use any clearance information provided for the exact model; do not copy a gap from a different shed and treat it as universal. Keep practical access separate from formal local requirements, which need to be checked for your address through the appropriate local source.
Think about the jobs you may want to do around the shed, such as clearing leaves, checking the area beside it or reaching a storage item near the back. Mark those working spaces with a second colour of tape or a separate line so they are not mistaken for the building itself. If your yard has seasonal growth or snow to clear, consider whether the route and entrance will remain usable without pushing material against the shed. When comparing the Orello garden house listing, keep any clearance stated for that exact option distinct from the walking space you want for everyday access. Consider where a ladder, garden tools or a wheelbarrow would be placed temporarily during ordinary yard work. You do not need to reserve space for every possible task, but the outline should not create an avoidable pinch point.
Overhead space and shed orientation
The footprint is drawn on the ground, but the space above it can affect whether the location is practical. Look up from each corner and along the planned access route for low branches, building eaves or other obstructions. Consider whether they could get in the way of reaching the site, installing the chosen product or maintaining the area. If overhead wires or another potential hazard are nearby, do not guess at a safe distance or handle anything; ask a qualified professional for guidance.
The direction the shed faces can also change how the yard feels and how you approach the entrance. Compare the confirmed layout with the path you expect to use, and consider what an opening would face if that matters to your plans. Product photos cannot show the view from your yard. For the Modano garden house listing, or any other candidate, use confirmed product information to understand the layout before choosing an orientation; do not assume a particular opening or view from the listing image. Visit the outline at different times of day if sunlight, shade or privacy affects how you plan to use the surrounding yard. This is a placement observation, not a substitute for confirmed product details.
Ground conditions and seasonal changes
A marked outline shows the proposed location, not whether the surface or base is suitable. Walk inside and around the outline and note soft spots, exposed roots, uneven areas or low points. If possible, observe the site after rain and note any standing water. Compare what you see with the base requirements provided for the exact product. If the ground is notably uneven, drainage is a concern or the requirements are unclear, ask the retailer, installer or a qualified site professional before ordering. Do not treat a temporary outline as an assessment of the ground. Keep the notes factual: describe where water collects or where the surface changes rather than deciding on a remedy yourself. Clear observations give an installer or site professional useful information to assess.
Consider how the area changes over the year. Trees, fences and buildings can affect shade at different times, while plants and branches may grow into a route that is clear today. A path that feels firm in dry weather may be harder to use in wet conditions. When considering the wooden garden shed M listing, mark its confirmed dimensions first, then inspect the whole proposed area rather than judging the site from one corner. Make a note of conditions that could change access or make the chosen position awkward later.
Comparing candidate sizes and positions
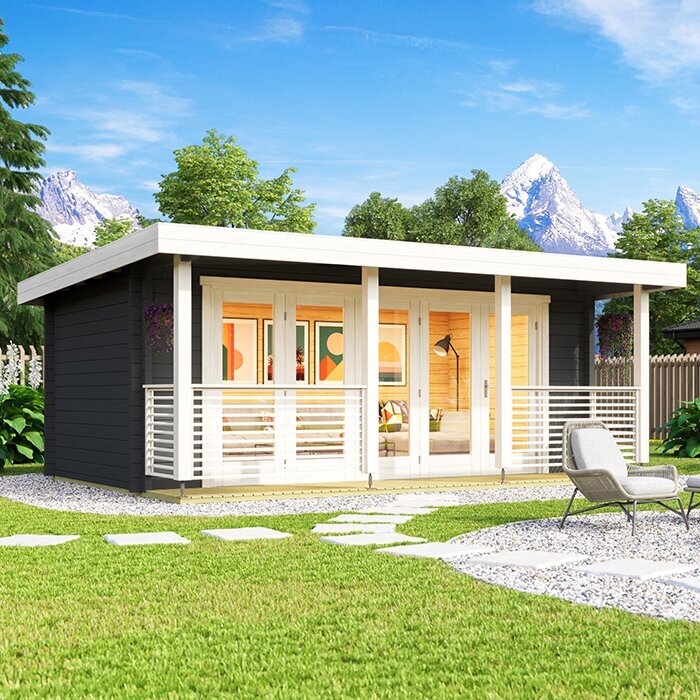
If you are deciding between options, mark each footprint separately using the dimensions confirmed for that model. Use different-coloured string or tape, or remove one outline before laying out the next, so the boundaries do not become confusing. Label every version and compare the space it occupies, the entrance zone and the access route together. A smaller-looking outline is not automatically the better choice if it blocks a path, while a larger option may leave too little working clearance. Make the comparison against the yard you actually have, not only against the product images. Keep a short comparison list beside the outlines, covering access, entrance use, clearance and features that would become harder to reach. This prevents one attractive location from outweighing a practical problem you noticed elsewhere.
The garden shed S listing should be compared using its published dimensions, not the title or a screen image. A letter or model label is not a measurement. If one footprint fits only by reducing a useful route or eliminating clearance you need, try another position or revisit the options rather than quietly changing the outline. You can also use a simple yard sketch alongside the temporary mark-out, noting what remains accessible in each arrangement. This gives you a clearer basis for choosing a size and placement before ordering.
A site sketch for the order decision
Record the final test in a simple sketch. Include the shed outline, the measurement reference, the door position, any marked projection, practical clearance and the route from the likely delivery point. Add nearby features that affected the choice, such as a fence, gate, tree or path. Label what you observed separately from what still needs confirmation. A few photographs from different sides can help, but keep the written dimensions and model version with them so the record remains useful when you compare product information later.
Before ordering, match the chosen option and configuration to the notes you used to draw the outline. Confirm any dimensions, opening details, clearance guidance or delivery access information that was unclear. If the product details have changed or you select another version, repeat the mark-out rather than carrying over an unverified outline. Keep local requirements and any concerns about the ground or base as separate checks; a sketch cannot resolve them. This record helps you see which parts of the decision are settled and which still need an answer. Retain the sketch until the order details are final, including any changes made during discussions with the retailer. It provides a straightforward reference for checking that the selected option still matches the tested location.
Frequently asked questions
What can I use to mark out a garden shed footprint?
Use temporary stakes and string on grass, or removable chalk or tape on a hard surface. Mark all four sides so the outline is easy to read, and label it with the model and dimensions. Keep strings and markers out of walkways, then remove them after the test.
Should I mark the shed base or the roof edge?
Use the dimensions that correspond to the area that must fit on the ground, and check what the product information means by each measurement. If the plan shows a roof projection beyond the base, mark it separately. Ask the retailer if the dimension reference is unclear.
How much space should I leave around a garden shed?
Use any clearance guidance provided for the exact model, and allow practical room to reach the sides and use the entrance. Formal local requirements are a separate check; confirm them for your address rather than relying on a gap used for another shed.
Should the door opening be part of the outline?
Keep the building footprint and the entrance area distinct. Mark the confirmed door position and, if relevant, its swing or the space needed beside it. Then test whether a person and the items you expect to store can pass without meeting a fence or other obstruction.
Does a full-size outline prove the site is ready for installation?
No. It tests the planned position and access, but does not establish whether the ground or base suits the product, whether delivery access is adequate, or whether local requirements have been met. Check the product guidance and get qualified help with site concerns that need an assessment.
A marked outline turns an estimated fit into something you can assess in the yard. It shows whether the chosen exterior footprint, entrance area, route and working clearance suit the position before you commit to an order. If the outline forces a compromise, such as a blocked path or awkward door access, try another location or compare another confirmed size. Keep unresolved product or site questions with your sketch so the final choice is based on the actual option and placement you intend to use.
