
Ordering Windows and Doors at the Right Point in a Renovation
Set the Renovation up for a Reliable Order
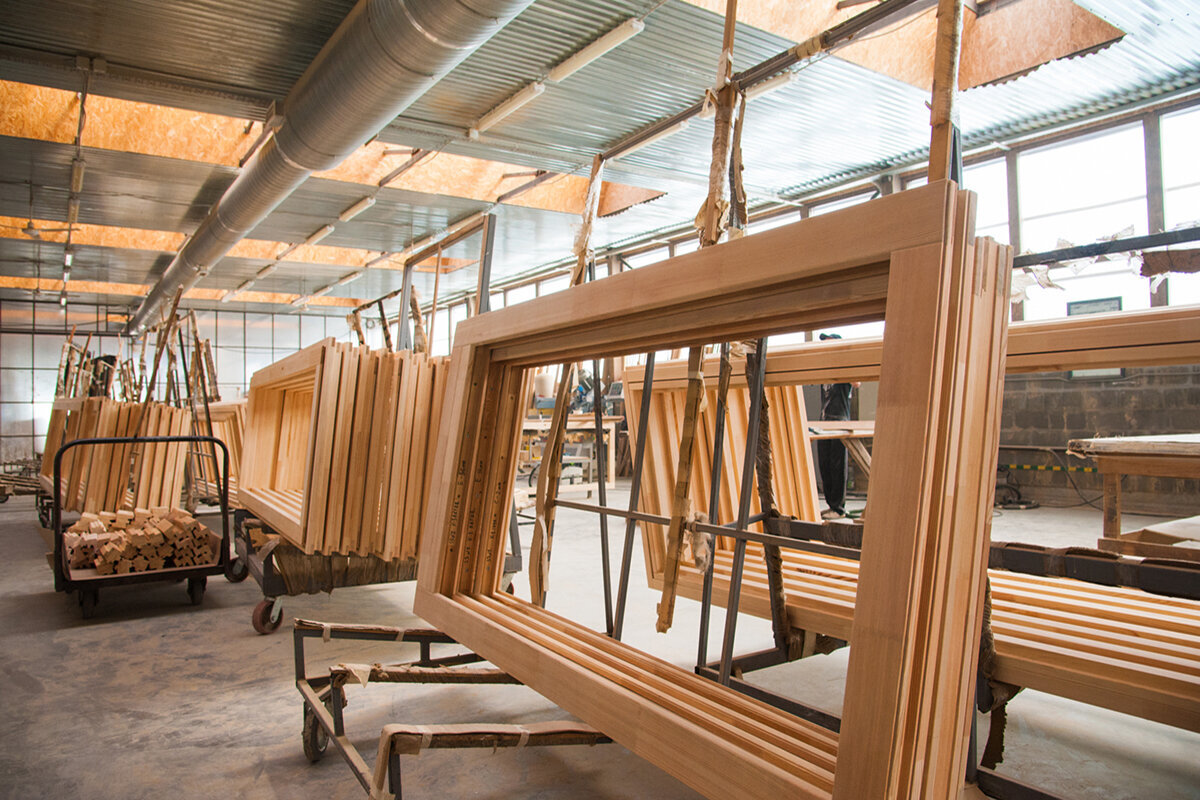
Treat the window and door order as a project decision gate rather than a late purchasing task. New floor assemblies, exterior insulation, waterproofing, electrical work and plans for a patio can all alter the required size or position of an element. Approve the order only after the existing openings, finished wall and floor levels, opening directions and installation details are settled, but before dependent construction begins. Delivery is 4 to 6 weeks from order confirmation. Your schedule also needs room for site measurement, technical questions, trade coordination and arranging installation.
Build the Order Date into the Construction Sequence
Start with the proposed installation and trace every dependency backwards. The opening must be accessible, damage or structural work must be resolved, and the wall, waterproofing and insulation interfaces must be designed before installation. Interior reveals, sills, plaster or drywall finishes, façade work and floor transitions may follow, but each can depend on the chosen frame position. If the alteration affects the structure or the opening itself, consult the municipal permit office before finalizing the unit. Applicable requirements depend on the provincial or territorial framework and local adoption rather than one Canada-wide permit rule. Record what must precede and follow each element so the general delivery period becomes a workable order window.
Replacing a few windows does not create the same schedule as renovating an entire home. A single order for work progressing through the roof, exterior and interior may simplify design coordination, yet it can leave finished units stored on site for longer. Separate phases can work when dimensions, appearance and connection details remain consistent from one stage to the next. Account for occupied rooms, the areas that must be made weather-tight first and any temporary weather protection. The specification is ready when later design decisions can no longer change an ordered frame.
Confirm Measurements after the Work That Can Change Them
The manufacturing size cannot be taken from one width and one height alone. Check uneven jambs, existing stops or rebates, lintels, sills, reveal depths and any masonry that will be removed or added. Opening up the building may expose damage, while levelling work or revised exterior layers may shift the reference surfaces. Assign responsibility for measuring, define the finished or fixed surfaces used as references and identify who approves the result. Labelled photos showing a tape measure, the room and the exterior elevation help connect later questions to the correct element. Measure critical openings at several points and document variation rather than relying on an average. Diagonals and visible distortion can be important where an opening is not square. The responsible person should derive the order size from these records and the installation design, clearly distinguishing site readings, design dimensions and confirmed manufacturing dimensions.
There is no need to wait for minor cosmetic work, but the structural opening, future wall assembly and reference levels must be stable. For patio and exterior doors, include the final height of any new interior floor. Where exterior insulation is planned, agree how the frame relates to the insulation plane and how the reveal will be finished. Measuring before those choices are made leaves the uncertainty on the job site; it does not transfer it to the manufacturer. At the measurement visit, identify which figures describe existing conditions, which come from the design and which are no longer permitted to change.
Plan the Entire Opening
Resolve the Frame Position with the Wall Assembly
Frame position connects the interior finish, structural wall and exterior face. It affects reveal depth, interior and exterior sills, shading, waterproofing and façade transitions, so it cannot be left as a minor installation choice. Sketch a section through the complete assembly, including the existing wall, levelling layers, insulation, interior finish, exterior finish, frame and sash. Add rolling-shutter housings or other shading components where relevant, and mark old versus new layers. A simple section is enough to uncover missing decisions, but one typical detail should not be copied across unlike openings. Foundation transitions, bay windows, additions and walls altered at different times may each require a separate entry in the element schedule.
Use the section to coordinate responsibilities between trades. The window professional needs the opening and installation plane; the façade and waterproofing teams need the frame geometry and connection approach; the interior finisher needs the end points for reveals and sills. A deep reveal can change access to the handle, cleaning and shading compared with a more flush installation. Have the professionals responsible for the project design the final connections. Before approving the order, identify the finished interior and exterior faces, the layer meeting each side of the frame and the person responsible for every transition.
Check Sash Movement against the Finished Room
Correct dimensions do not guarantee convenient operation. Place the proposed sash swing on the actual room plan and account for furniture, cabinetry, radiators, sinks and curtains. Confirm that handles and hardware remain accessible. Inward-opening units need space inside, while outward-opening units need an unobstructed area beyond the opening. One option is a single-sash inward-opening window when the room layout provides enough clearance. Its name describes the operating direction, not universal suitability. Define the viewing side used for left and right handing. A cardboard template or a swing arc marked on the floor can reveal conflicts that a dimension list misses. Check deep reveals, adjacent handles and planned trim, and give windows in the same room an operating pattern that makes sense for everyday use.
Ventilation and access also shape the choice. Decide whether an opening will be used briefly for fresh air or opened wide for regular cleaning or access. In bathrooms and utility rooms, privacy, nearby services and handle height may affect the layout. For a small opening placed high on a wall, consider an outward-opening top-hung casement window if that operation fits the design. Show the sash arc on the floor plan and mark any conflict with furnishings. Complete this check before accepting the quotation rather than discovering the issue during installation.
Coordinate Doors with Finished Levels and Daily Routes
An exterior or patio door must reconcile the interior floor, threshold, exterior surface, drainage and normal path of travel. Where new screed, subfloor, flooring or a patio assembly is planned, current heights are not a sufficient basis for ordering. Put every level on one section and identify the future top of finished floor. Then test the opening direction against circulation, furniture, planters and patio access. Changing the exterior surface later can require more than a minor adjustment when the door connection depends on it.
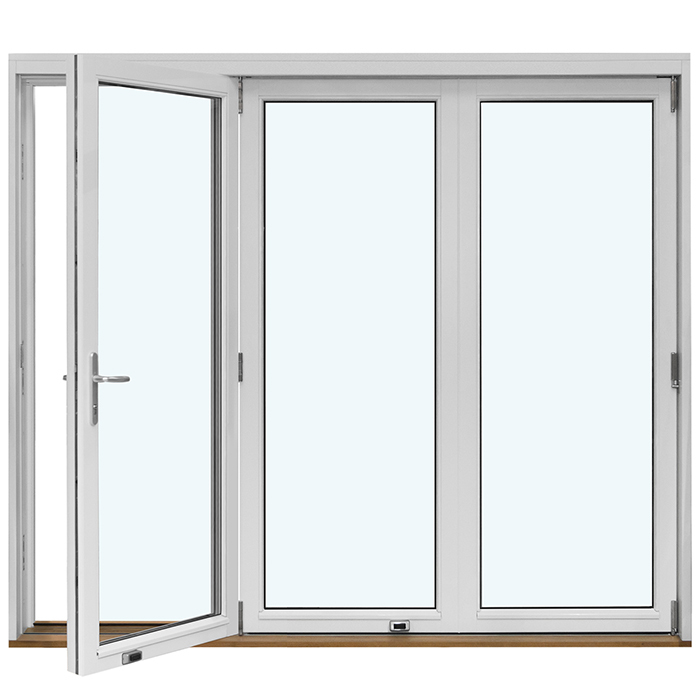
For a living-area connection to a patio, consider an inward-opening single patio door when there is dependable indoor swing clearance. A different opening direction or sliding arrangement may suit a plan where the outdoor area must remain open for use. Test the passage with ordinary tasks such as carrying a tray, moving outdoor furniture, parking a stroller and entering in wet weather. Before ordering, confirm whether each quoted dimension refers to the frame, the opening or the clear passage.
Give Large Glazed Openings a Separate Workstream
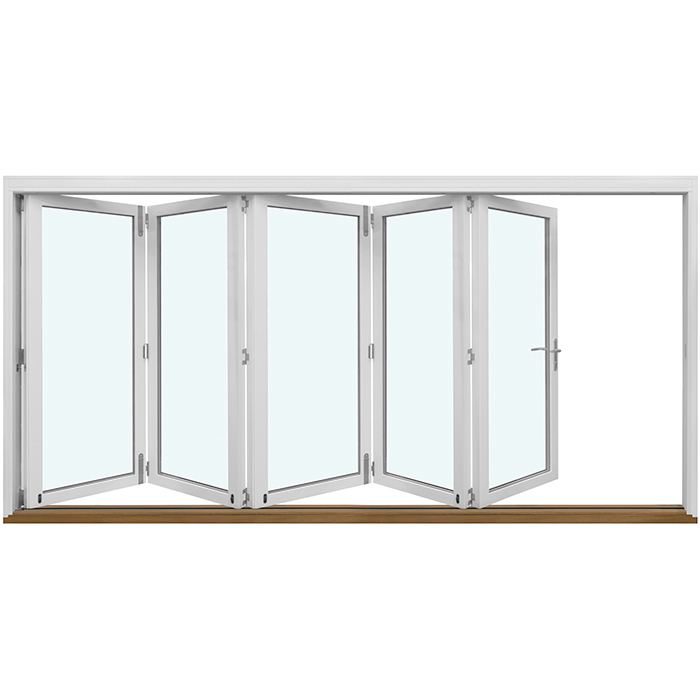
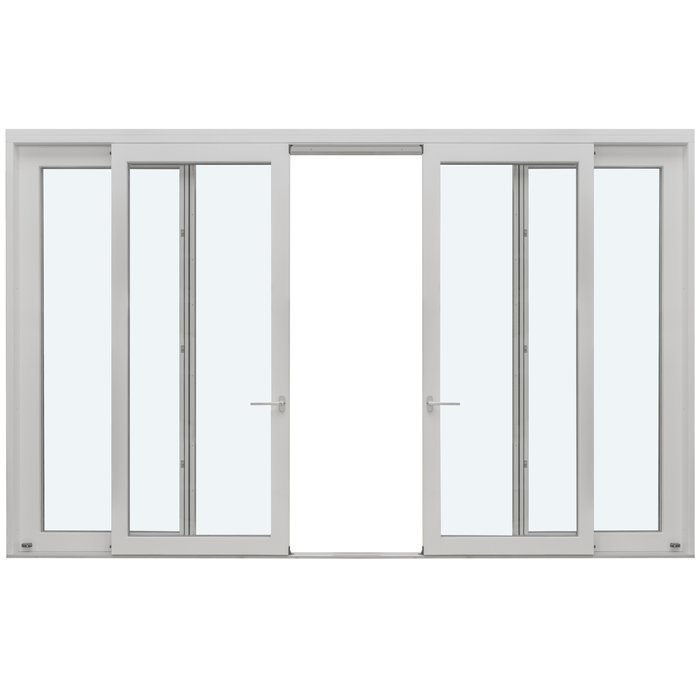
A broad opening to a garden or balcony can affect the structure, façade composition, shading and floor transition, so it needs decisions earlier than a standard window. Verify the available width and establish whether construction above or beside the opening will change. Define the purpose as well: daylight, passage or the ability to open a large portion of the wall. The Patio Life lift-and-slide door is a lift-and-slide configuration, but measurements, connection design and the intended use determine whether it fits a particular wall assembly. Make that assessment while structural decisions can still respond to it.
Plan how a large unit will physically reach the opening. Property access, routes through the building, working space and the order of other trades can all constrain installation. Ask the installation team when the opening must be ready, how the work area will be protected and which nearby tasks need to pause. Integrate the fixings and guides for shading with the façade design instead of adding them after the window order. Approve the large element only after structure, opening size, frame position, floor levels and operation have been reviewed together.
Plan the Entire Opening
Define Special Shapes and Traditional Detailing Early
Round, triangular and sloped openings need an unambiguous record of radii, angles, dimensions and reference points. A fixed triangular and angled window is intended for a corresponding non-rectangular opening, but the product description cannot establish the site's geometry. Record the overall width and height, all relevant corners and the orientation shown in elevation. Drawings should carry the element number, clearly labelled interior and exterior faces, and an unmistakable top edge so the shape cannot be manufactured as a mirror image.
Glazing bars, sash divisions and visible profile proportions must also be settled before release. Applied glazing bars and glass-dividing bars may produce a related appearance, but they describe different constructions. For an existing building, compare photographs, elevations and nearby elements when preparing the exterior design. An outward-opening heritage-style “Kombi” casement window can be included where that operating direction and traditional character suit the brief. Put every appearance requirement in writing before approving manufacturing information, because later changes to divisions or special shapes can disrupt the schedule.
Assign a Purpose to Every Fixed and Opening Section
Some glazed areas are better left fixed when their purpose is light or a view and ventilation is available elsewhere. A fixed window is an alternative to an operable unit, not a functional substitute for one. For each room, work through ventilation, cleaning and access. In a combined unit, decide which section opens and why before setting divisions and handle positions. Review both elevations: a balanced exterior composition can put a mullion across an important interior view, while a layout designed only from inside may look unresolved outside. Mark fixed sections, sash boundaries and opening directions as well as rough openings. Finally, identify a safe, practical way to clean the exterior faces. Revisit the layout if none is available.
Make this choice before order approval because switching between fixed and operable sections can alter both dimensions and appearance. A broad fixed pane can simplify the view, whereas a moving sash adds access but also requires clearance and changes the divisions. Test the design against a normal day: where fresh air is wanted, where people need to pass, which surfaces require cleaning and what will remain blocked by furnishings. Coordinate shading at the same time. An operable unit selected only for appearance can add hardware and complexity without providing a useful function.
Turn the Specification into an Approval Package
Do not submit a bare list of widths and heights. Prepare an element schedule containing the reference number, room, elevation, opening direction, sash count, divisions and special connection notes. Include photographs of the existing opening and an exterior elevation where appearance matters. For every door, record handing, movement and the planned finished-floor height. At a main entrance, consider an outward-opening entrance door with panel only when that direction works with the approach and entrance area. Leave assumptions out of the approved specification.
Circulate the package to everyone responsible for an interface. The designer can check wall assemblies and dimensions, the installation team can assess site conditions, and the owner can review operation and appearance. Resolve ambiguous quotation language: whether dimensions describe the frame or opening, which face is considered inside, how handing is defined, and which hardware, handles and divisions are included. Store the final approved version with the measurement records so later questions can be answered even if other construction changes between ordering and installation.
Reserve Time for Coordination, Not Unresolved Details
The 4 to 6 week delivery period begins at order confirmation; it is not the whole planning allowance. Site measurement, quotation review, technical questions and coordination with other trades may all occur before confirmation. Installation must then be arranged for a day when the openings and access are ready and the connection work is organized. Add a realistic buffer for these dependencies, but do not use it to postpone decisions about dimensions. Track measurement readiness, technical approval, order confirmation, expected delivery and installation readiness as separate milestones. This shows whether missing information blocks the order or only affects a later task. Do not commit to finishing or installation dates solely by counting backwards from a preferred move-in day.
Recheck the site shortly before installation. Confirm that scaffolding and stored materials do not block the openings, that floor levels, façade layers and reveals still match the approved records, and that someone has authority to answer site questions. Schedule interior finishing and exterior connections promptly after installation so transitions are not left exposed. Bloomcabin provides a 5-year commercial warranty for windows and doors. That promise does not define every consumer remedy: for example, where Quebec consumer law governs, automatic legal warranties are separate. Check which rules apply to the transaction. Careful selection, measurement and connection design are still required, and a short professional review before ordering is preferable to approving an uncertain detail.
Questions to Resolve before Ordering
At what stage should renovation windows be ordered?
Order after the openings have been measured and the wall assembly, floor levels, opening directions and connections are fixed. Delivery takes 4 to 6 weeks from order confirmation. Add separate time for measurement, quotation review, technical questions and arranging the installation date.
Can I ask for a quotation before the final site measurement?
Yes. An early enquiry can help compare options and organize the process. Keep preliminary design dimensions clearly separate from approved site measurements. Do not finalize the order until the structural opening, future façade plane, interior finish and floor heights are sufficiently settled to remain unchanged.
Why do finished floor levels matter when ordering a door?
The finished interior and exterior levels determine how an exterior or patio door meets the surrounding construction. Screed or subfloor, finish flooring, the patio surface and drainage must be reviewed as one detail. Decisions made only after ordering may conflict with the intended threshold and frame position.
Should all units arrive together?
Use the construction sequence to decide. A combined order can make appearance and technical coordination simpler, while phased deliveries may suit openings completed at different times. In either case, rely on confirmed dimensions, protected storage and a clear installation plan for each group.
What belongs in the final order check?
Verify the element number, dimensions, interior and exterior faces, opening direction, sash count, divisions, room assignment and relationship to finished walls and floors. Confirm that shading, sills, façade work and interior reveals all reflect the selected frame position. Resolve every unfamiliar or ambiguous term before approval.
Move from Planning to Approval
The best order date is the point when the design is stable and the site information is dependable. Complete the final measurement, then coordinate wall assemblies, floor levels, frame positions, opening styles and connections. Add a realistic planning allowance around the 4 to 6 week delivery period from order confirmation. Review large openings, patio doors and special shapes as separate packages rather than treating every unit alike. A numbered element schedule, checked drawings and a joint review by the responsible professionals provide a clear basis for approval and reduce avoidable changes during construction.
