
Planning Gutters and Rainwater Collection for a Garden Shed
Garden shed planning
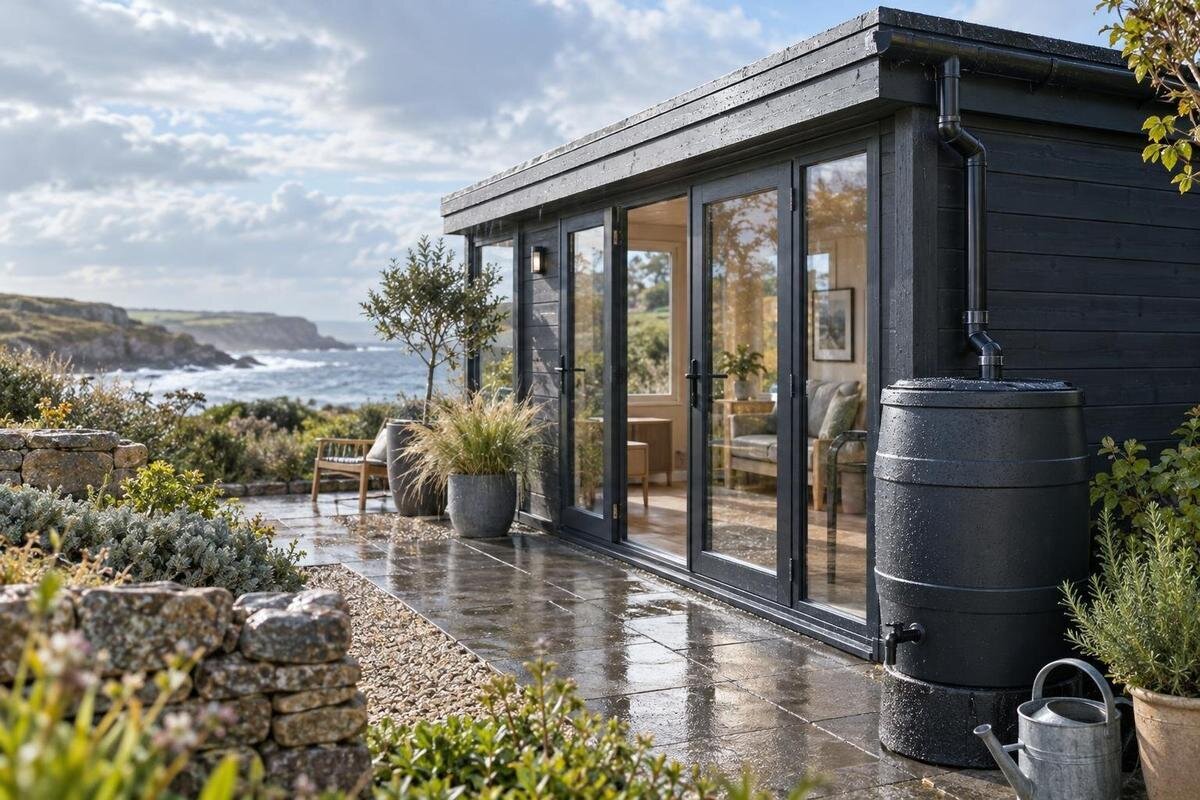
Rainwater control is easy to overlook when choosing a garden shed, but the roof edge determines where water lands, whether you can collect it and what needs attention in winter. Plan the gutter route before ordering components: confirm how the roof drains, match a system to the shed’s documented roof-edge details, choose practical downspout positions, and decide where ordinary discharge and overflow will go. The right arrangement depends on the exact shed and site, not on a generic shed diagram. A little planning helps you compare gutter components, ask the supplier focused questions and avoid sending runoff back towards the shed’s base.
Before you order 1
Map how water leaves the roof
Begin with the roof plan, not the barrel. From the ground, from assembly documents or with help from an installer, identify the roof form and each edge where water naturally leaves. Note the eaves, any valleys and whether one side receives more concentrated runoff. That outline matters because gutters intercept water at the drip edge; they do not correct a roof that sends water somewhere unexpected. Avoid assuming that a small shed needs gutters on every side, or that two roof edges behave alike. If the available drawings do not show the flow path, ask the seller or installer for a roof plan before choosing a gutter run.
Make a simple site sketch and mark the shed doors, steps, paths, fence lines, existing drains, low spots and areas where water tends to sit after rain. Add the direction of each roof slope, proposed gutter runs, possible downspouts, any storage container and its overflow route. Keep roof runoff separate from the question of how the ground drains: an outlet can still leave water pooling if it empties onto flat or saturated soil. Mark which details you have measured and which still need confirmation. This sketch helps you compare layouts without relying on a product photo, and gives a gutter installer a clearer picture of the constraints before recommending a system.
Choose which roof edges need gutters
Choose coverage by following the actual drip lines. A gutter is useful where it can intercept runoff and carry it to an outlet; fitting one along an edge that receives little or no water may add parts and upkeep without solving the wet area. Conversely, leaving a busy eave unprotected can mean repeated splashing near a doorway, stored items or the shed base. Roof shape, edge trim and the surrounding site all affect which sides are worth fitting. The aim is controlled drainage, not a particular number of gutter runs. Coverage also affects how many lengths, corners and outlets you may need, so confirm the proposed layout against the shed instructions and gutter maker’s guidance.
Do not order a full-perimeter kit just because it seems like the simplest default. The suitable arrangement may involve only selected edges, but any omitted side still needs a safe place for its runoff to land. Consider what happens during a heavy shower as well as light rain: water that clears the roof could strike a path, doorway or nearby structure. Check that a gutter can sit at the roof edge without interfering with the covering or trim, and ask about a valley or unusual edge rather than adapting parts by guesswork. Map the discharge point for each run before comparing systems; a roof sketch and site plan are more useful than choosing by appearance alone.
Before you order 2
Check the shed’s roof details before buying
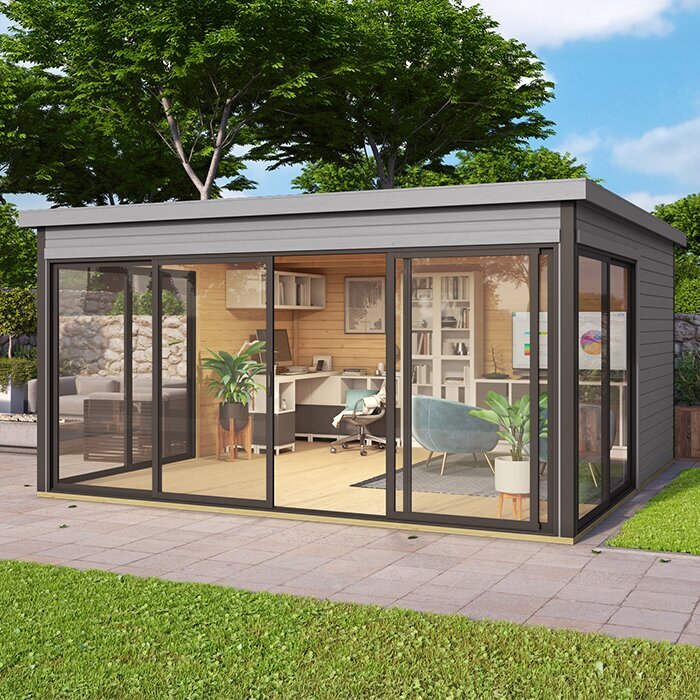
Before shopping, record the roof-edge information the shed manufacturer actually provides: roof outline, eave lengths, edge profile, attachment points and any stated guttering guidance. These details determine whether gutter sections and brackets can fit, so an exterior footprint alone is not enough. When reviewing a product page such as the Verdana 1 garden house listing, look for an explicit roof drawing or installation document. Do not infer dimensions or gutter compatibility from a model name or photograph. Record whether each measurement refers to the roof edge or to the overall shed, and ask for missing details before purchasing, especially if you are ordering the shed and drainage system at the same time.
Also confirm which part of the roof edge is intended to take fittings. Depending on the design, a fascia, trim or another edge detail may affect where components can attach. Ask the supplier or installer to identify the permitted attachment area and any clearances, and whether gutters are supplied, optional or not included. Keep the answer with the product information you use to choose fittings. If roof documentation is unavailable, do not modify an edge based on a guess; have a qualified installer assess compatibility. Sending the exact model information and a clear question before ordering can help avoid buying parts that cannot be attached as planned.
Match gutter components to the roof and climate
Once you understand the roof edge, compare complete gutter systems rather than isolated trough sections. The profile, outlet, downspout, brackets, corners, end pieces and joining parts need to work together, and their fit has to match the shed’s edge detail. Ask whether the components are designed for the same system; a similar-looking part is not proof of compatibility. The Verdana 2 garden house page can be reviewed for any written roof-edge information, but use only details stated in the listing or accompanying documents. A colour or product photograph cannot establish dimensions, materials or suitability. If a required detail is not published, request it instead of choosing by visual resemblance.
Consider local exposure when choosing materials and maintenance requirements. In areas that experience freeze-thaw, snow, ice, wind-blown debris or many falling leaves, ask the gutter maker how the system should be used and maintained in those conditions. Ice or debris can restrict flow, and snow sliding from a roof may affect edge components; do not assume a standard gutter is meant to manage roof snow. Ask an installer whether the roof edge or site calls for a particular arrangement and whether routine clearing will be practical. Check the maker’s notes on cleaning and seasonal use. Choose a system whose documented use matches the conditions, not one selected only for its appearance.
Before you order 3
Place downspouts around doors and routes
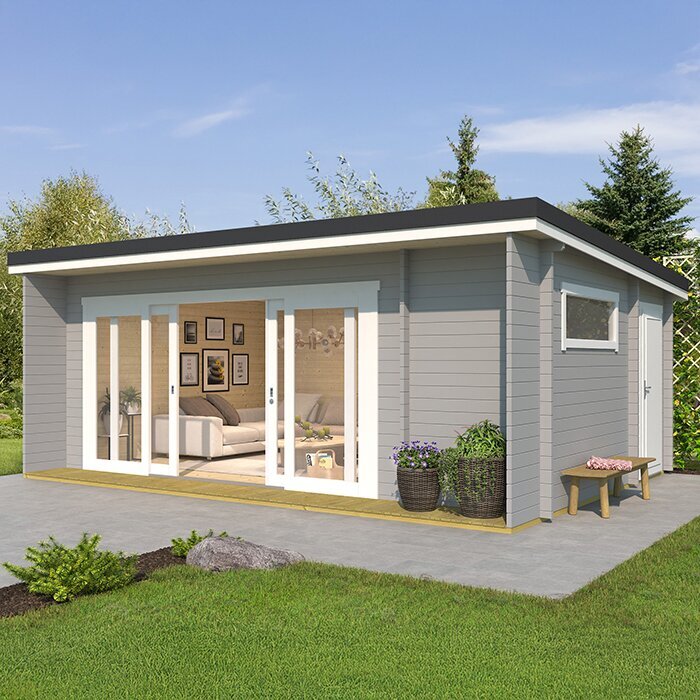
Place downspouts where water can leave the gutter without creating a daily obstacle. Mark doors, steps, paths, work areas and places where snow is piled or garden equipment moves; avoid outlets that discharge across a route people use. A collection barrel may make a nearby outlet convenient, but water must still be directed away from the shed’s base. If you are considering a shed listing such as the Durano garden house page, use its published roof plan and door locations, if provided, to sketch possible outlets. Do not assume the page or photo confirms a particular downspout position. Leave room to reach the outlet for inspection and cleaning.
Outlet count and spacing depend on the gutter layout and the system maker’s specifications, so do not select a quantity from a rule of thumb detached from the actual roof. Note the length of each run, corners, any concentrated flow and the proposed route down the wall; then have the seller or installer confirm the compatible outlet arrangement. Avoid hiding an outlet behind stored equipment or placing it where a bend would be difficult to maintain. In a snowy yard, consider where roof runoff and snow clearing occur, too. A quick sketch can expose conflicts before you order parts, while an installer can confirm the final layout on site.
Choose a rainwater collection setup
Decide whether your goal is to collect rainwater or simply to control runoff. If you want storage, think about what you will use the water for, how often you expect to use it and where a container can sit without blocking access. Roof area and local rainfall affect how much water reaches a container, while seasonal patterns affect when it is available; the shed’s footprint alone is not enough to choose a barrel size. Use the roof dimensions provided for the exact model, and ask a supplier or installer to help estimate a practical setup if details are missing. A listing such as the Veltor 1 garden shed page is useful for this purpose only if it states the relevant roof information.
Choose a container with a clear inlet, an accessible outlet for the intended non-potable use and an overflow that can be routed safely. Consider a lid or suitable screen to limit leaves and debris, and check that the support surface meets the container maker’s instructions; do not improvise a base for a filled tank. Include access for a tap, hose or seasonal disconnection so the shed door and walkway remain clear. Roof runoff should not be assumed safe to drink or use for food preparation simply because it has been collected. If you have a sensitive use in mind, seek appropriate water-quality guidance before buying collection equipment.
Before you order 4
Give overflow a safe route away from the base
Plan overflow before selecting a barrel or gutter kit. A storage container eventually fills, and leaves or ice can interfere with the intended route; if the excess has nowhere safe to go, it can spill beside the shed and defeat the purpose of adding gutters. Direct overflow away from the shed’s base, entrances, paths and places where water could collect. A hose, channel or other outlet may suit one site and be inappropriate on another, so match the method to the ground conditions rather than copying a photo. Make sure the route can still carry water when the container is full; it should not depend on you being available to empty it.
Look at the surface around the shed during or after rain, from a safe position. Note whether water drains away, runs towards the building, collects in a low area or could flow onto a neighbour’s property. Do not rely on a fixed distance from the wall or a generic slope figure; site conditions vary, and no single layout works everywhere. If the ground is flat, saturated, steep, close to other buildings or constrained by a boundary, ask a qualified drainage or building professional how to route the outlet. When reviewing the Orello 1 garden house listing, use any supplied base or installation guidance as product-specific information, not as a substitute for planning the site’s runoff.
Prepare a specification for comparing systems
Before ordering, assemble a short specification sheet: shed model, documented roof-edge measurements, gutter runs, corners, outlet locations, intended storage, overflow destination and access constraints. This gives a supplier the information needed to discuss a matching system and reduces the risk of buying only the visible gutter lengths while overlooking compatible fittings. If two shed options are still under consideration, compare their roof drawings and installation documents rather than guessing which will be easier to drain. For example, review the Modano 1 garden house listing for explicit roof information if it is published, and ask for any dimensions or fitting guidance that the page does not provide.
Ask the gutter supplier to confirm compatibility with the specific shed edge, which components your layout requires, which parts are included and whether any need a separate order. Clarify who is responsible for measuring and whether an installer should inspect the edge before fitting. Also ask about care instructions, winter use and any requirements for changing the roof edge; do not assume how an installation may affect warranty terms without checking the written conditions. Keep the agreed parts list, drawings and instructions together when you place the order. It is easier to resolve an unclear fit before checkout than after a kit arrives.
Before you order 5
Confirm what each purchase includes
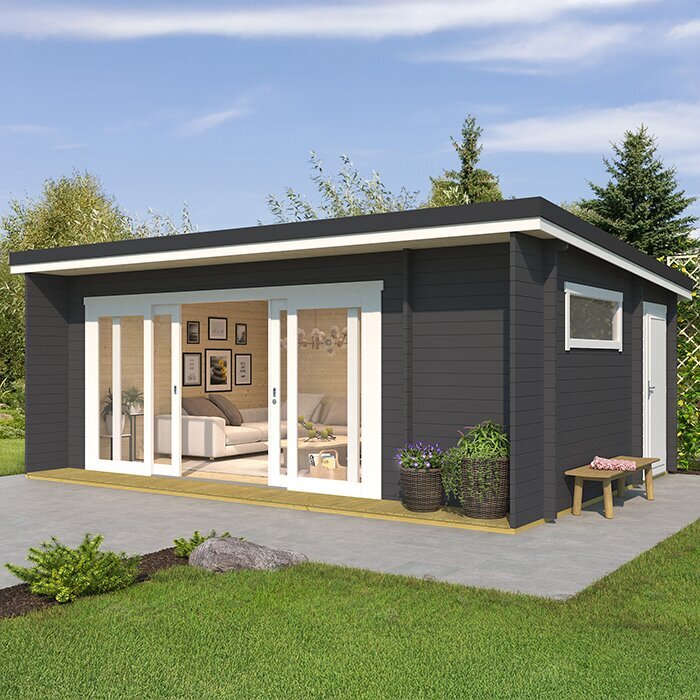
Treat the shed and guttering as potentially separate purchases until the product documentation confirms otherwise. Read the item description and package contents for the exact model; do not assume gutters, brackets, downspouts, rain barrels or installation are included because a picture shows a finished structure. The wooden garden shed M listing can be checked for any explicit statement about included accessories, but the same rule applies to every option: if a component is not named, ask before relying on it. A written list makes it easier to compare complete setups rather than comparing one quote for a full system with another for bare gutter channels.
Before finalizing an order, check that the parts list covers each measured run and all required outlets, corners, end pieces, joins and downspouts, and that every item belongs to the same compatible system. Confirm lengths and quantities against the actual plan rather than adding extra pieces as a buffer without asking about cuts, returns or storage. Review the seller’s current terms for shipping, returns and any separate installation service; do not infer a delivery arrangement from a product listing. If the shed and drainage components come from different suppliers, make sure the proposed fittings have been checked against the shed maker’s details. Save product references and receipts so replacement parts can later be matched to the original system.
Plan seasonal upkeep before installation
Plan how the gutters and collection setup will be inspected and maintained before fitting them. Leaves, needles and other debris can block an outlet, so consider whether each run can be checked and cleared safely from the ground or by a qualified person. Do not build the layout around access that requires standing on a roof or reaching over a slippery edge. Where you expect frequent debris, ask about suitable guards and the maintenance they still require; a screen is not a substitute for periodic inspection. If the wooden garden shed S listing comes with care or assembly information, read it for model-specific guidance rather than assuming all shed edges are serviced the same way.
Include seasonal storage in the purchase decision. Before freezing weather, check the instructions for the gutter system, rain barrel, taps, hoses and detachable components; follow the maker’s directions for draining or disconnecting them. In places with snow or ice, ask a qualified installer how to address the roof edge and inspect it without working unsafely at height. Do not try to force ice from a gutter or treat a water-filled container as a year-round solution unless its instructions allow it. A plan that accounts for leaves, freezing and access is more useful than a kit that merely catches the first rain.
Frequently asked questions
Do all sides of a garden shed need gutters?
Not automatically. Follow the roof’s actual drainage and the places where runoff needs to be controlled. Plan for water from any unguttered sides as well, and check the layout against the shed’s instructions and the gutter manufacturer’s guidance, especially where roof sections meet.
How far should a downspout discharge from the shed?
There is no single distance that suits every site. The outlet should direct water away from the shed’s base without sending it across a path or towards a place where it will pool. Ground conditions and nearby structures matter; ask a qualified professional if the route is unclear.
Can I use rainwater collected from a shed roof?
You can plan for appropriate non-potable uses, but roof materials and debris can affect water quality. Don’t assume collected water is safe to drink or use for food preparation. Check reliable water-quality guidance before choosing equipment for a sensitive use.
Are gutters usually included with a garden shed?
Package contents vary. Check the exact product description or quote for gutters, downspouts, fittings, a storage container and installation. Get confirmation before ordering; a product photo or model name does not establish which accessories are included.
How should I prepare a rainwater collection setup for winter?
Follow the gutter and container manufacturers’ winter instructions. Confirm how to drain or disconnect barrels, hoses, taps and exposed components before freezing weather. If snow or ice may affect the roof edge, ask a qualified installer how to inspect and maintain it safely.
Good garden shed gutter planning ties three things together: the roof’s actual runoff pattern, a compatible set of components and a destination for every drop, including overflow. Before purchase, document the roof edge, confirm the shed-specific fitting guidance and compare complete parts lists. Then check that downspouts and storage fit the site without sending water back towards the base or across a path. If a measurement, attachment point or drainage route remains unclear, pause and get it confirmed for the exact shed. The best arrangement is the one the roof and site can support and that you can maintain through the seasons.
