
A Timber Base for a Garden Shed: Design and Moisture Considerations
Garden shed planning
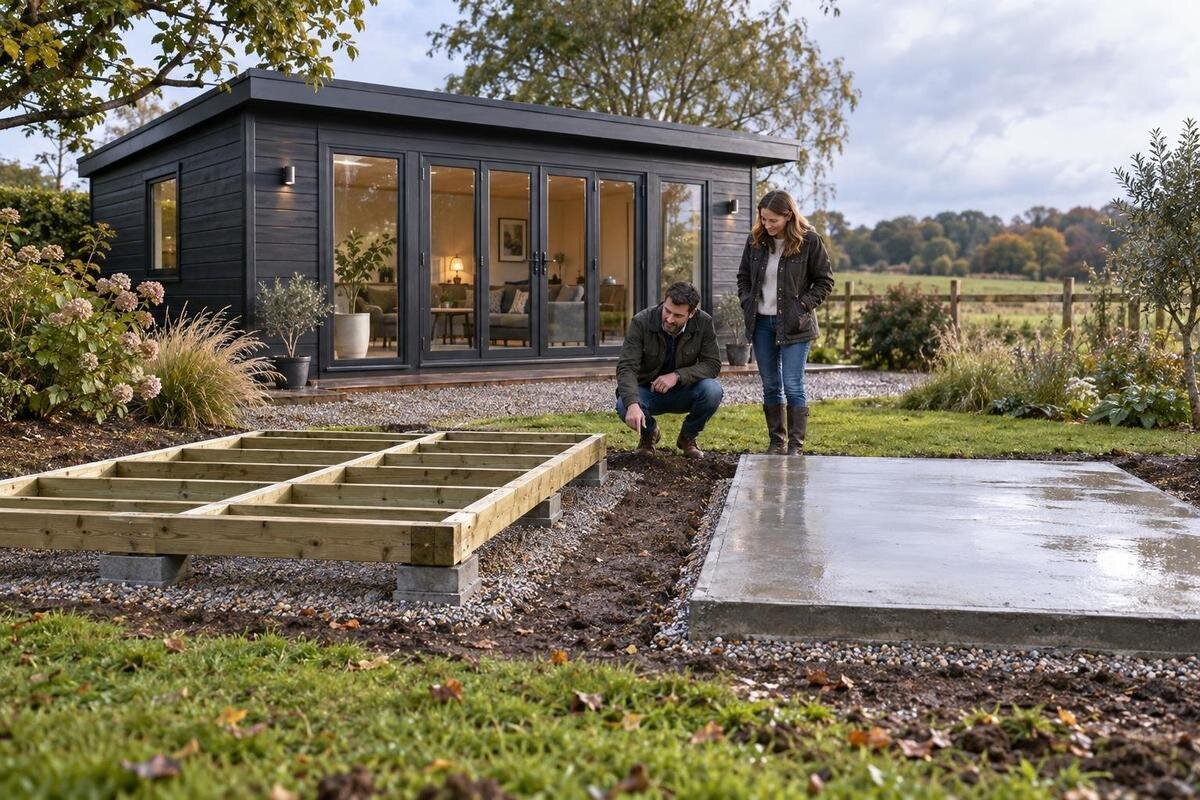
A timber base can be a practical way to support a garden shed, but the timber is only one part of the decision. A durable result depends on a stable bearing surface, a support layout that follows the shed’s installation requirements, and a site that does not keep the frame wet. If water pools around the base or air cannot circulate, even a carefully assembled frame may need more maintenance and may deteriorate sooner. Before ordering, compare the shed’s documented footprint and support points with the actual site, then consider drainage, access, materials and anchoring as one plan. This guide explains the decisions to make without prescribing member sizes or a universal foundation design; those depend on the structure and ground conditions.
Before ordering 1
What a timber base needs to do
A timber base sits between the garden shed and the prepared ground. Its job is to provide the support pattern the shed requires and transfer its weight to bearing points that remain stable. It is not a substitute for site preparation: timber laid over soft, uneven or waterlogged ground may settle unevenly, leaving the frame above it out of alignment. Nor does a timber frame, by itself, make the floor waterproof or stop water entering at the walls. Plan these functions separately: confirm what the shed requires, prepare a suitable bearing surface, and manage surface water and moisture around the structure.
“Timber base” can mean a perimeter frame with internal joists, a grid or timber runners. These descriptions are not interchangeable designs. The appropriate arrangement depends on the shed’s stated bearing points, distances between supports, ground conditions and anchoring method. A useful first decision is therefore not the lumber size, but whether the proposed pattern supports the whole floor as directed. Mark the outer footprint and every intended support line on the ground before construction, so the layout can be checked against the shed documentation. If the instructions are unclear, get clarification from the supplier or a qualified builder before buying materials. A layout that worked for another garden building is not proof that it suits this one.
Start with the shed’s support requirements
Before drawing a timber base, read the installation information for the specific garden shed. Look for the floor footprint, the perimeter or internal support locations, requirements for bearing surfaces, and how the floor and walls connect to the base. Check whether stated outside dimensions include projections; the base should follow the documented support layout, not a guess based on a photograph. If the instructions show a particular pattern, do not replace it with a generic perimeter frame without approval. Clarify ambiguous measurements before ordering cut timber, since a small difference can affect the floor fit or entry. Record the document version and date when possible, because a product page and an assembly document may serve different purposes.
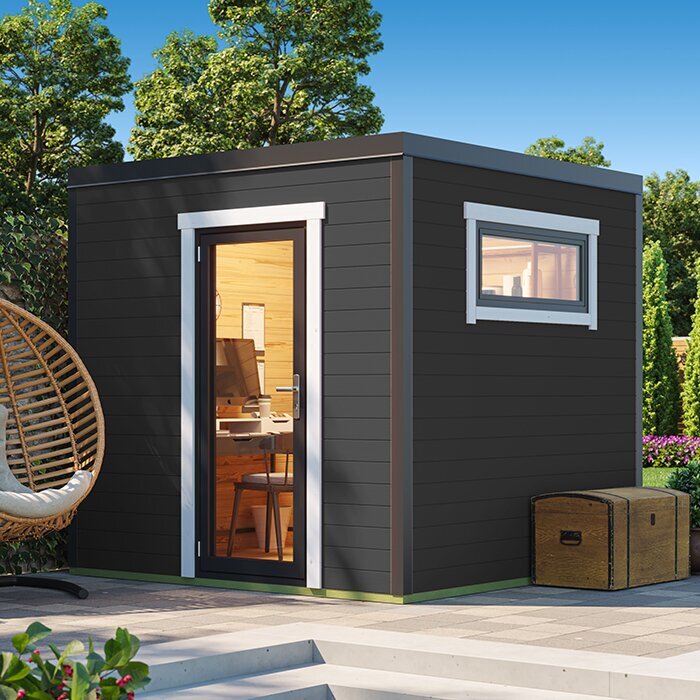
For a candidate such as the Verdana 1 garden house listing, use its current product details and any available assembly documents to confirm the footprint, bearing points and base requirements. Do not infer these from the model name or imagery. Note the model and the document you used on your planning sketch, especially if you are comparing several buildings. If the available information does not show where the floor is meant to be supported, ask the supplier or manufacturer before deciding on joist locations. That detail is more useful for a base plan than an estimate based on the shed’s appearance.
Before ordering 2
Choose a layout that supports the floor
A timber frame needs to carry the floor across the supports shown in the shed’s instructions. A perimeter alone may leave the middle unsupported; adding internal members without a plan can also create uneven bearing or obstruct parts of the floor assembly. Draw the proposed frame to scale and mark each support line, the corners and the intended connection points. Then compare that drawing with the floor layout and assembly sequence. Also identify where installers will need access while the floor is being fitted, so a temporary working area is not mistaken for a permanent support location. This is a way to spot conflicts before construction, not a substitute for sizing the members or calculating their capacity.
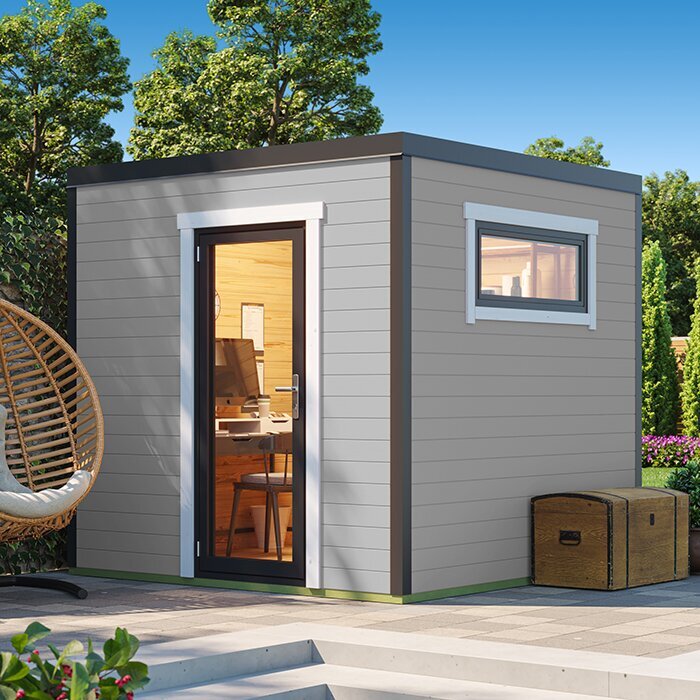
The gaps between supports and the dimensions of the timber affect how the frame behaves, so avoid copying spacing from an unrelated shed or choosing it by convenience. If those details are not supplied, have a qualified builder or other suitable professional determine them for the structure and site. If considering the Verdana 2 garden house listing, make a separate sketch from its own documentation; do not transfer dimensions or support spacing from another model. Keeping each model’s information with its own plan helps prevent mix-ups when ordering materials.
Select timber and connectors for the exposure
Moisture can reach base timber through direct ground contact, splashing rain, damp air or water held against the frame. Lumber intended for a sheltered interior is not automatically suitable for a base exposed to those conditions. Check the product label and manufacturer’s directions for the exposure the design creates, particularly wherever timber touches soil or a persistently damp support. Pay attention to end grain and cut surfaces as well as the broad faces. Keep the material dry and off the ground before installation where practical, since storing it in standing water can create problems before the base is assembled. Selecting material for the actual exposure is more reliable than assuming any timber will last because it is lifted slightly above the ground.
Follow the lumber manufacturer’s instructions for cut ends and any protective coatings, and avoid treating a coating as a fix for poor drainage. Metal connectors and fasteners also need to be appropriate for the timber treatment and outdoor conditions; ask a knowledgeable supplier if compatibility is unclear. The Durano garden house listing can be part of a product comparison, but its model identity alone does not specify base materials or connectors. Check any relevant installation guidance and resolve gaps in it before choosing the timber and hardware.
Before ordering 3
Plan drainage around the footprint
Look at where rainwater and snowmelt go before deciding where to place the shed. A low spot, a downspout outlet or runoff from a nearby slope can keep the base wet even if the timber itself is suitable for outdoor use. Visit the proposed location after rain if possible and note where water gathers or crosses it. Consider drainage on every side of the footprint, not only the area beneath the floor. Notice whether neighbouring paving, paths or garden borders concentrate water at the location during a storm. A site that regularly holds water may need its drainage addressed before a timber base is built.
The ground beside the frame should not be shaped in a way that channels water towards the shed or traps it against the timber. Check that roof runoff has a sensible route away from the base, and do not direct it towards a neighbouring structure or property. Avoid raising soil or landscaping materials against the frame, where they can hold moisture against the wood. When reviewing the Veltor 1 listing, place its confirmed footprint on your site sketch and consider runoff around the proposed location; do not assume the product itself resolves a drainage issue. A thin layer of loose gravel is not a complete drainage plan.
Leave room for airflow and inspection
Where the base design allows clearance beneath the shed, preserve a path for air to move and for the underside to be inspected. A skirt or enclosure can reduce airflow if it seals the space, while stored items, leaf litter and dense vegetation can block openings. Avoid adding barriers without checking how they affect ventilation and water movement. The aim is not to create a particular gap that suits every shed, but to avoid trapping damp air around the base and to keep the timber accessible for inspection.
Airflow and drainage need to work together: an open space does not help if runoff continually wets the same area, and a dry surface can still be poorly ventilated if it is enclosed. Keep plants and debris from building up against the base, and make sure any screening does not block drainage or inspection. Plan enough access to see the edges and support areas during routine checks rather than relying on an inaccessible void beneath the floor. For the Orello 1 listing, use any published installation guidance to confirm required base clearance; a product image cannot establish how much airflow its base needs. If the instructions are silent, ask before adding a skirt or other enclosure.
Before ordering 4
Prepare a stable bearing surface
The ground beneath the timber needs to support it consistently. Grass, roots and soft topsoil can hide uneven or compressible patches, so do not treat an undisturbed lawn as a prepared bearing surface. Clear organic material and check for soft spots, abrupt changes in level and places where water sits. The supporting surface should match the base design and the conditions of the site. A frame can be carefully assembled yet still move if one section rests on firm ground and another on material that compresses.
The preparation method depends on the soil, slope and structure; there is no universal layer or depth that suits every site. A designed granular support may be appropriate in some plans, but loose fill should not be assumed to provide a stable, even bearing surface. Check the prepared area again before setting timber in place, because foot traffic, weather or later excavation nearby can disturb a surface that initially looked even. If the ground is steep, recently filled, unusually soft or otherwise uncertain, seek a site assessment from a qualified professional rather than compensating by adding timber. Before preparing for the Modano 1 listing, check its own support instructions; the model name cannot establish whether a particular site or base arrangement is suitable.
Account for seasonal movement and anchoring
Ground conditions can change through the year. Where freezing and thawing occur, or where soil becomes wet and then dries, support conditions may shift. A base on ground that moves unevenly can lose its level or place stress on the shed. Consider local soil, slope, drainage and seasonal water when choosing a location. Avoid assuming that a timber frame will stay in position simply because it was level on installation day. If movement is a concern, ask a qualified professional to assess the site and recommend a suitable foundation approach.
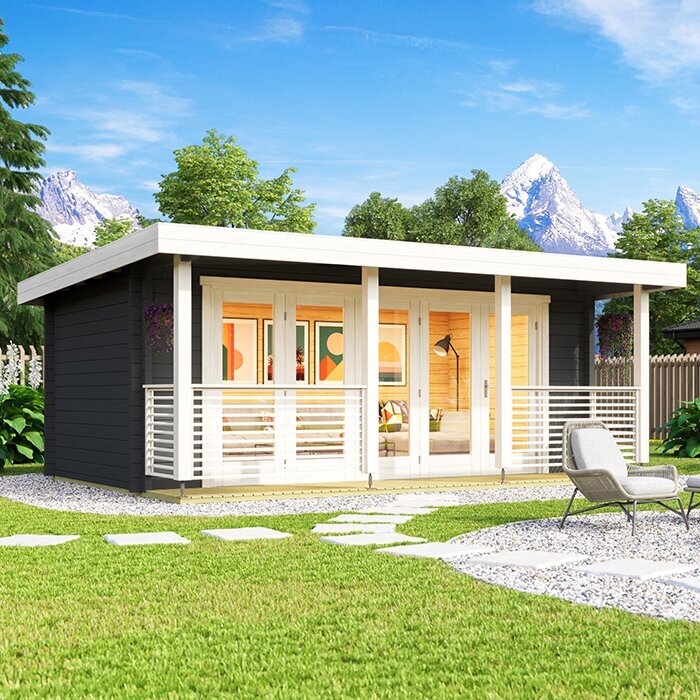
Anchoring also needs to be planned as part of the whole connection from the shed to the base and from the base to its supports. The right arrangement depends on the shed’s instructions and site conditions, including exposure to wind; a generic anchor or the weight of the structure alone does not establish suitability. Consider access to the relevant connections for future inspection, rather than covering them permanently with landscaping or finishes. Do not improvise attachment points where the documentation is unclear. Before selecting an anchor plan for the Wooden Garden Shed M listing, confirm its installation requirements and have uncertain site conditions assessed. This is especially important if the proposed support surface or soil is not straightforward.
Before ordering 5
Confirm ordering and installation details
Before ordering timber, compare the shed’s documented footprint with the space available at the site and the outline of the proposed base. Include the location of doors and any required access space, but do not estimate dimensions from a photograph. Check that the delivery route and assembly area are practical, and that the ground and base can be prepared before the building arrives. Keep the product details, installation information and base sketch together so anyone helping with the work is using the same measurements and support plan.
Ask the supplier to clarify what base preparation and anchoring are required, which dimensions govern the support layout, and what is included or excluded from the order. Confirm details in writing if they affect the materials you need or the way the site must be prepared. If considering the Wooden Garden Shed S listing, compare its confirmed footprint and instructions with delivery access and your base plan rather than ordering by title alone. Resolve any mismatch before cutting material or scheduling assembly; correcting a plan on paper is simpler than adapting a finished frame.
Inspect the base after installation
Once the shed is assembled, check that the base still appears even and that water does not collect against it. Look for damp debris, soil or mulch touching timber, blocked airflow and changes in the surrounding grade. A quick inspection after heavy rain can show whether runoff is following the route you planned. Check that access for inspection has not been closed off by stored items, plants or an added enclosure. These observations help catch moisture problems before they become difficult to see.
Over time, watch for soft or visibly deteriorating timber, shifting supports, gaps that were not present before, or changes in how the floor and entry meet the base. Such signs do not by themselves identify the cause, so do not assume a cosmetic repair will correct a structural issue. Clear leaves and vegetation, keep runoff moving away, and follow product manufacturers’ maintenance directions for lumber and connectors. If the base moves, stays wet or no longer supports the shed as intended, have the cause assessed before making changes.
Frequently asked questions
Can a timber base sit directly on soil?
It can be designed for ground contact, but ordinary lumber placed on persistently damp soil may deteriorate sooner. Check that the timber is rated for its actual exposure and that the supporting ground is stable and drains appropriately. If the base design depends on direct soil contact, confirm the material and construction details with a qualified professional.
Does a timber base need to be level?
It needs to meet the level and support requirements in the shed’s installation instructions. An uneven base can leave parts of the floor unsupported or affect how the building fits together. There is no single tolerance that suits every model, so follow its documentation and have uncertain requirements clarified before construction.
How can I reduce water collecting under a garden shed?
Choose a site that does not collect runoff, check how roof water and snowmelt will travel, and avoid grading or edging that traps water beside the base. A gravel layer alone may not solve a drainage problem. If water regularly pools at the proposed location, address the site conditions before installing the timber frame.
Should the timber be treated?
That depends on how the lumber will be exposed to soil, rain and persistent dampness. Read the product label and follow the manufacturer’s guidance for the intended use; “treated” does not automatically describe every exposure it is suitable for. Also check directions for cut ends and make sure fasteners and connectors are appropriate for the lumber and conditions.
Can I build a timber base myself?
That depends on the shed instructions, your building experience and the site. A straightforward layout may be within your skills, but unclear support spacing, soft or sloping ground, or uncertain anchoring needs warrant professional advice. Do not guess at member sizes or support spacing when the shed documentation does not provide enough information.
Treat the timber frame, prepared ground, drainage and anchoring as one system. Use the shed’s own support instructions to plan the layout, then consider how the site handles water, airflow and seasonal movement. If any key detail remains unclear, pause before ordering materials and have the support requirements or site assessed. A base planned around both the structure and its surroundings is easier to build, inspect and maintain.
