
How to Ventilate a Garden Shed and Keep Insects Out
Garden shed planning
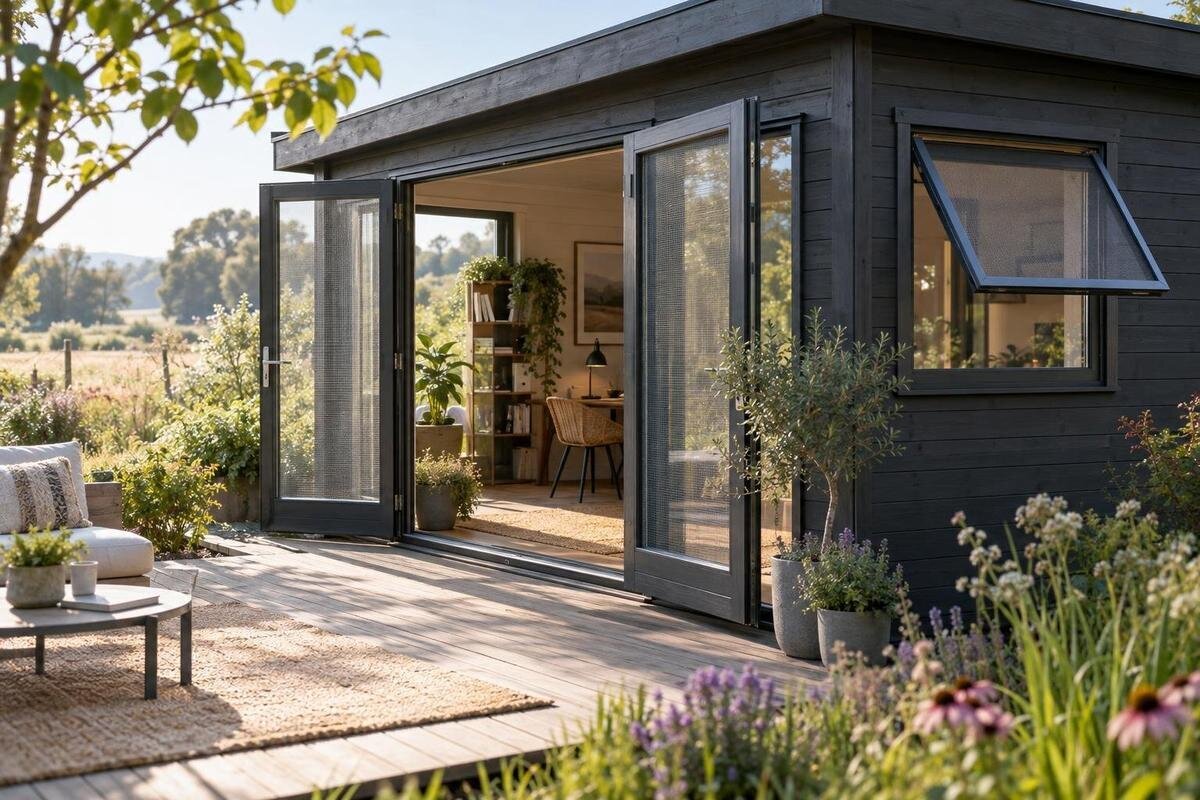
Fresh air matters in a garden shed, but every vent, window and gap can also become an entry point for insects. A practical plan balances both needs: identify a clear route for air, choose screening suited to the pests you want to exclude, and account for the airflow resistance the mesh adds. Whether you are comparing a new shed or considering an alteration, check what the design permits before relying on a vent that may not be included or approved.
Plan ventilation and insect control together
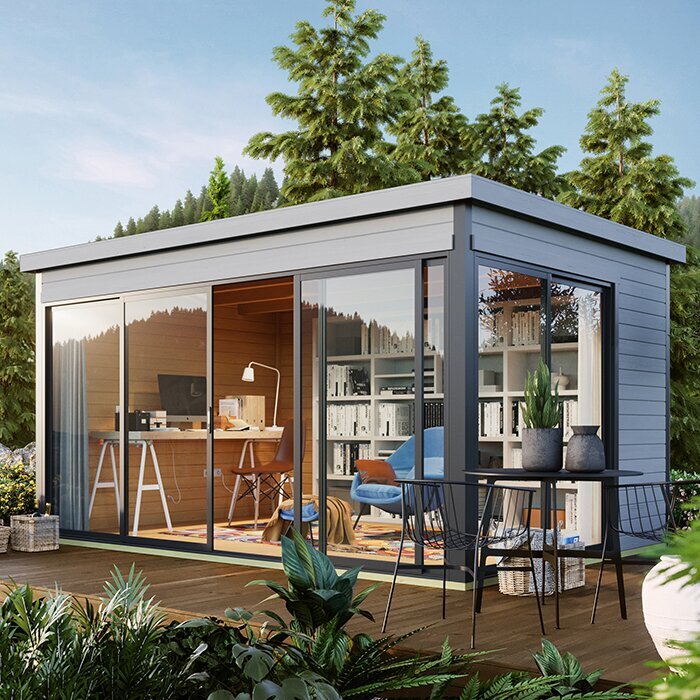
Garden shed ventilation is useful only when air can move through the space, not merely enter it. A route for fresh air can help clear stale odours and moisture released by damp tools or recently stored items, but it will not correct every source of dampness on its own. The same opening that admits air may also admit mosquitoes, flies and other insects. Treat the screen as part of the vent plan from the beginning: gaps around a frame or mesh clogged with debris can undermine the balance. The goal is steady, maintainable exchange, not a promise that no insect can ever get in. Decide what each opening is meant to do before choosing its cover.
Decide whether you need background airflow while the shed is closed, occasional ventilation during use, or both. Opening a door may be convenient for a short task, but it does not protect the interior while it stays open; an unscreened window has the same trade-off. List the items and activities involved, then identify openings that can remain screened and clear. When you review the Verdana 1 garden house page, use its published specifications and assembly information to confirm which openings are actually provided. Assess the arrangement with normal doors closed; the model name or product image cannot confirm it. That distinction matters when comparing a new purchase with a plan to add vents later.
Define what your shed needs to ventilate
Make a quick inventory before comparing models: what will be stored, whether it may be damp when it goes in, how often someone will work inside, and which activities produce odours or loose debris. A shed holding dry tools intermittently has different day-to-day demands from one used for potting, drying gear or frequent hands-on work. This is not a request to ventilate every shed at the same rate; it defines what adequate air exchange means for your use. Note any equipment or stored material with its own ventilation instructions, and follow those directions rather than relying on a general shed vent.
Map the routine as well as the contents: is the shed closed overnight, opened several times daily, or used mostly with doors or windows open? Decide whether insect exclusion must continue when no one is there, and distinguish occasional airing from continuous background flow. That difference can change which openings are useful and whether screens need to stay in place full time. A product listing such as the Garden House Verdana 2 listing should be assessed through its documented opening and assembly details, not through assumptions based on the model name or photographs. Those details also help you compare the setup with your daily use, including whether you would otherwise need to leave a door open.
Map the air path and vent locations
Airflow depends on a complete route: air needs a way in and a separate way out. In a naturally ventilated shed, a lower inlet and a higher outlet can support upward movement as warmer air rises; openings on different sides can also give wind a path across the interior. These are starting points, not a fixed layout. Wind direction, vent location, screen resistance and whether doors are open all affect what happens. One screened opening may admit some air without creating much circulation at the far end, so consider the whole interior rather than counting vents alone.
Sketch the shed, the likely wind exposure, nearby fences or dense planting, and the areas where air could be blocked by shelves or stored items. An opening facing a close obstruction may not exchange air as intended, while openings separated by a clear path may work better in some conditions. No compass direction guarantees a result for every site. Keep proposed locations within the manufacturer’s approved openings and assembly plan; don’t assume a wall or roof panel can be cut wherever convenient. For the Durano garden house page, look for published layout information and instructions before deciding where a screen or added vent could go.
Compare built-in and added openings
Compare the ventilation options that are actually documented for a shed: purpose-made vents, an operable window, or an opening used only when someone is present. A fixed opening can provide a more consistent route than relying on an open door, while a window that can be opened offers flexibility; either option still needs a suitable insect barrier if it is to stay open. Check whether screens are included, sold separately or not specified. Confirm that a window is described as operable rather than assuming it opens from its appearance in a product photograph.
If airflow will depend on a retrofit, pause before ordering tools or cutting a panel. Read the assembly guide to see whether the proposed location is permitted and whether a compatible vent or frame is available. Cutting or fastening in the wrong place may interfere with the shed’s construction or leave an opening that is difficult to seal. Ask the manufacturer or seller about approved modifications; for work that could affect the structure, consult a qualified builder. For the Veltor 1 listing, base your plan on written product details, not a guess about what a standard-looking wall can accommodate.

Choose insect mesh for the pests you want to exclude
Choose mesh by the insects you want to keep out, not by the words insect screen alone. Openings large enough to stop larger pests may not exclude smaller ones, and a finer mesh can reduce airflow more than a coarser screen. There is no single aperture that suits every pest or shed. Check the screen manufacturer’s stated purpose, opening size and outdoor-use guidance, then weigh that information against the vent’s clear area. If the screen specification is missing, ask for it rather than assuming that any mesh blocks mosquitoes or other small insects.
A well-chosen mesh still fails if insects can pass around its edges. The screen should fit the vent or frame with its corners, seams and fastening points secured, without gaps left by an uneven cut or a loose edge. Consider how it can be removed for cleaning or replacement; permanent attachment can make upkeep awkward. Check that any grille, cover or frame is compatible with the screen instead of layering parts that do not seat together. On the Orello 1 product page, look for documentation confirming what screening, if any, is part of the order and which additions are compatible.
Keep screens clean and accessible
Screening changes an opening’s usable area: the mesh threads occupy part of it, and dust, pollen or plant debris can gradually cover more. A vent that seemed adequate when new may therefore move less air if the screen is dirty. Put vents where they can be reached safely for inspection and cleaning, and leave clearance outside so branches, stored materials or other obstructions do not sit against them. Follow the screen or vent manufacturer’s cleaning guidance; forcing delicate mesh or detaching a frame can damage a fit that was keeping insects out.
Plan for the conditions the opening will face, including windblown debris and wet weather, and choose a screen system intended for that exposure. A protective cover may help keep debris away, but it must not block the route for air or make the screen inaccessible. Inspect the mesh after rough weather and when seasonal debris accumulates; repair a tear promptly rather than assuming the surrounding screen still closes the gap. When reviewing the Modano 1 garden house page, look for documented vent options and any details about screening supplied separately.
Check doors and other gaps as well as vents
A screened vent will not keep insects out if other routes remain open. Check door edges and thresholds, operable windows, joints where panels meet, and service openings for visible gaps. The entry point is not always the one you notice first: insects may come in while a door is held open, then be mistaken for a vent-screen problem. Inspect with the shed closed as well as during normal access, and note where insects are seen. That can help you locate the route before changing the mesh on every vent.
Seal unintended gaps with materials appropriate to the shed, but don’t close a designed ventilation path or interfere with a door or window that needs to operate. If you are considering a screen door or window screen, check the dimensions and attachment method, and allow for normal opening and closing. For the Garden Shed M product listing, verify which doors or windows, if any, are described as operable and whether a screen component is listed; neither point should be inferred from images. Consider the whole enclosure, not only the opening where you first noticed an insect.
Match vent capacity to screened airflow
Do not judge vent capacity by outside measurements alone. A grille, louvre, frame and screen each occupy space, so the clear opening for air can be smaller than the vent’s overall dimensions. Fine mesh and multiple layers can add resistance as well. Product information may provide a net free opening or airflow details; if it does, compare the stated information with the installed configuration rather than the bare vent. If it is not available, ask the manufacturer or a qualified building professional. There is no universal vent-area ratio that can be applied to every garden shed.
Keep the route clear inside too: boxes, shelving or long-handled tools placed directly in front of an inlet can interrupt the path you planned. More openings are not automatically better if their location leaves stagnant areas or makes insect screening hard to maintain. Avoid compensating for a restricted screen by cutting extra openings without approval. If a process or appliance has specific ventilation requirements, follow its instructions and consult a qualified professional rather than treating general shed airflow as adequate. For the Garden Shed S product page, compare the documented details and request clarification about openings before finalizing an order.
Confirm what is included before ordering
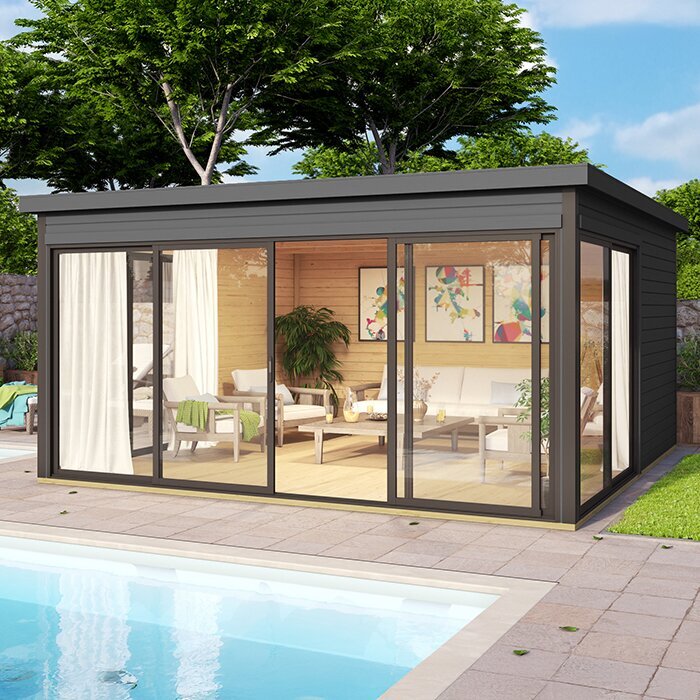
Before paying for a shed or separate ventilation parts, compare the written inclusions with the setup you have planned. Confirm whether vents, screen mesh, frames, fasteners, window screens and door screens are supplied, optional or absent; don’t assume that a photographed component comes in the box. Check opening dimensions, compatible accessories and whether a screen can be fitted without modifying a panel. If an add-on is needed, verify the exact model and version it fits. A clear parts list helps prevent a mismatch between the vent you expect to screen and the hardware you receive.
Read the assembly and care instructions before choosing an installation sequence. They may clarify which panels are intended to accept openings, where screening attaches, and how access for cleaning is preserved. Ask the seller to confirm anything unclear, especially if your plan relies on a separate screen kit or a field modification. Check whether an accessory must be ordered separately and whether it can be fitted during assembly. Review the order details for dimensions and included components, and keep the instructions with the shed for later maintenance.
Check the arrangement after assembly
After the shed is assembled and screened, assess it under ordinary use rather than judging airflow with every door wide open. Make sure the selected inlet and outlet are not covered by stored items, that each screen sits around the full perimeter, and that doors and windows close as intended. You can feel for movement near an opening or observe the path between openings, but airflow changes with wind and weather. One observation is not a technical performance test, so check the arrangement in the conditions and with the access pattern you expect to use.
If the space remains stale or damp, check simple causes first: a blocked screen, a covered vent, no clear route between openings, or a use that adds more moisture than the arrangement can remove. If insects appear, inspect the perimeter of each screen and the door, window and service gaps before changing mesh size. Keep a brief note of what changes help, and clean screens at intervals suited to their exposure. If a new opening seems necessary, return to the product instructions or consult a qualified professional instead of cutting by trial and error.
Frequently asked questions
Should garden shed vents be high or low?
A low inlet and a higher outlet can support upward airflow, while openings on different sides can help create a crossflow. Neither layout works the same way at every site. Consider wind exposure, obstructions and the shed’s approved openings, and check the manufacturer’s guidance before choosing locations.
Does insect screening reduce airflow?
Yes. Mesh takes up part of an opening, and fine or dirty mesh can restrict airflow further. Look for the screen’s specifications and any stated net opening or airflow details. Keep the mesh clean, and don’t assume that a vent’s outside dimensions describe how much air can pass through it.
What screen mesh will keep mosquitoes out?
Choose mesh with a stated opening size or intended use that matches the insects you want to exclude. There is no one screen that suits every pest and every vent. Tighter mesh can affect airflow, so consider its fit and the vent’s usable opening together.
Can I add a vent to an existing garden shed?
Possibly, but first check the assembly instructions or ask the manufacturer whether the proposed opening is permitted. Cutting or fastening into a panel without guidance can create problems with the shed’s construction or with fitting a screen. Consult a qualified builder if the modification could affect the structure.
Is opening the door enough to ventilate a shed?
An open door can let air through while you are using the shed, but it also gives insects a direct route inside. It won’t provide screened background airflow when the shed is closed. If you need ventilation without leaving the door open, plan screened openings and a clear path between them.
Effective garden shed ventilation starts with an intentional route for air and screening that matches the insects you want to keep out. The mesh, vent position, surrounding site and everyday use all affect the result, so consider them together when choosing a shed or planning an alteration. Confirm what the product includes, keep screens accessible, and review the complete enclosure if airflow or insect entry becomes a problem.
