




Limited Edition: Lean-to Greenhouse with Accoya Wood
A refined lean-to greenhouse for a house wall or garden wall
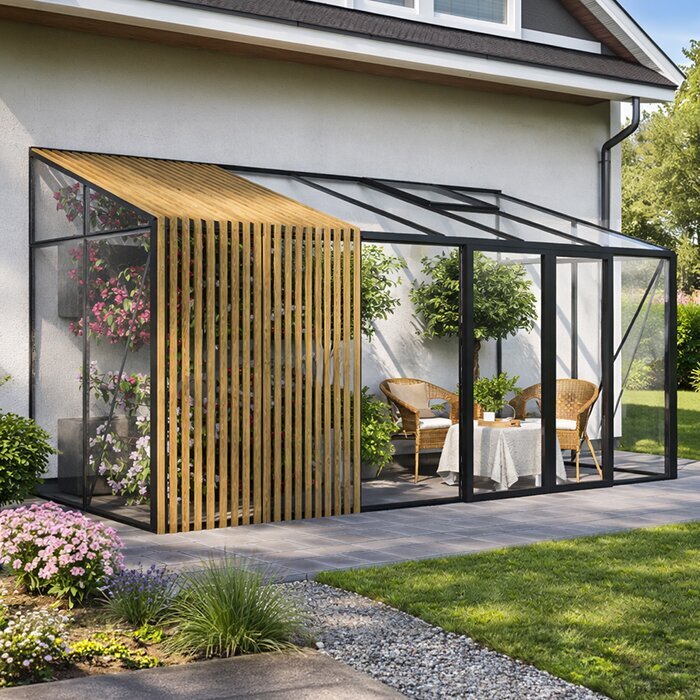
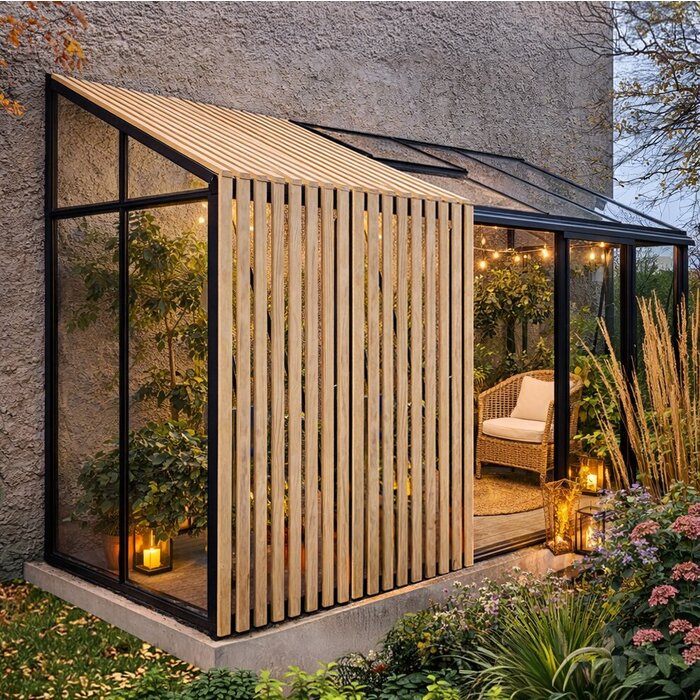
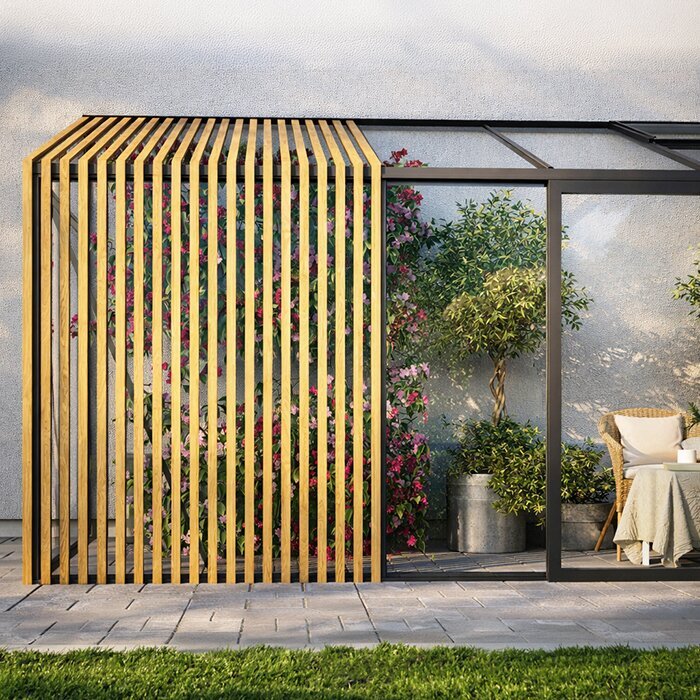
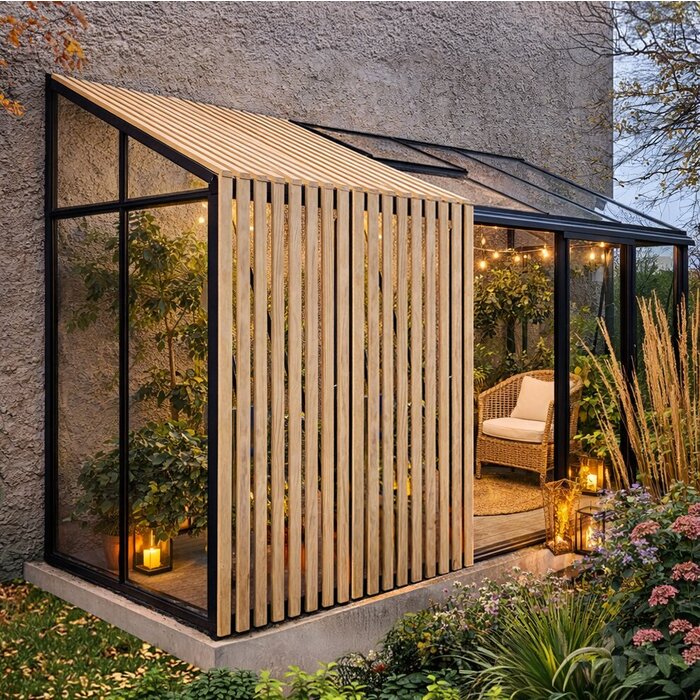
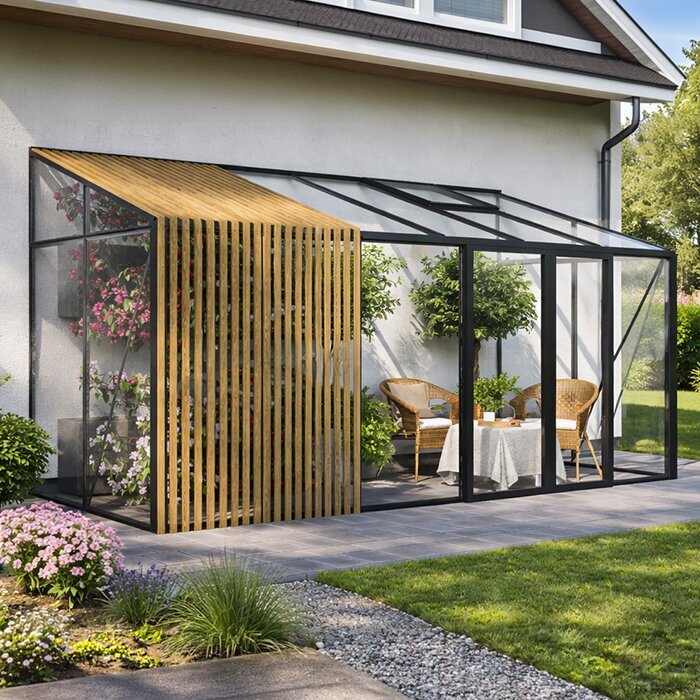
Our Bloomcabin Limited Edition lean-to greenhouse with Accoya pairs the space-saving form of a wall greenhouse with warm, natural design details. On a prominent façade, it creates a more residential look than an all-aluminum lean-to greenhouse.
The model comes in 12 sizes and is available with polycarbonate or 4 mm toughened safety glass. Features include roof vents, integrated gutters, an aluminum base, and a single or double sliding door. Double sliding doors are possible from suitable wall widths of about 3.10 m.
Coordinate the mounting wall, fasteners, foundation, floor junction, ventilation and rainwater drainage before ordering. Ask a qualified local professional to assess the foundation and the site conditions against the product’s wind and snow design values. Check zoning and permit requirements with your municipality, and confirm which provincial or territorial code applies; Canada’s national model code is not automatically in force everywhere. Greenhouses and conservatories.
Premium Wall Greenhouse
A considered lean-to greenhouse for contemporary homes and gardens
This model suits growers who value considered materials and colour choices as much as they value growing plants.
Mounted to a suitable house, garage or garden wall, it makes efficient use of available space and can connect naturally with a patio or kitchen garden.
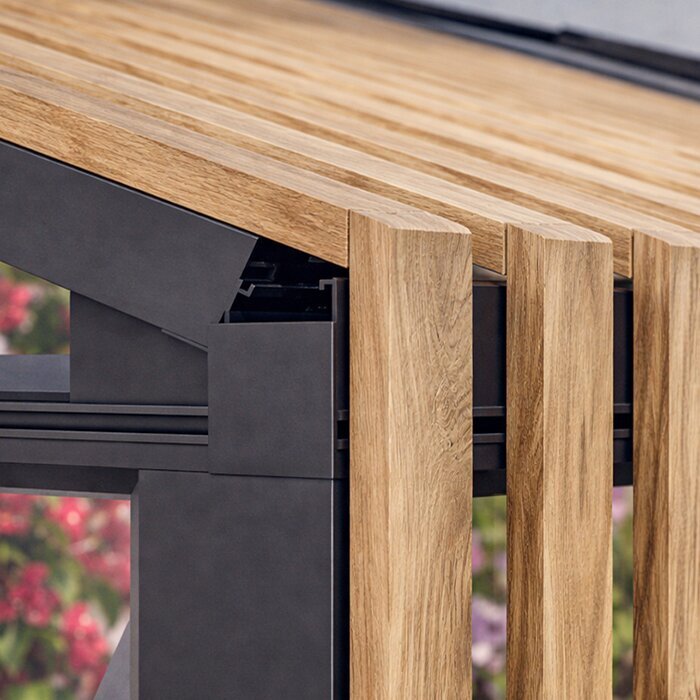
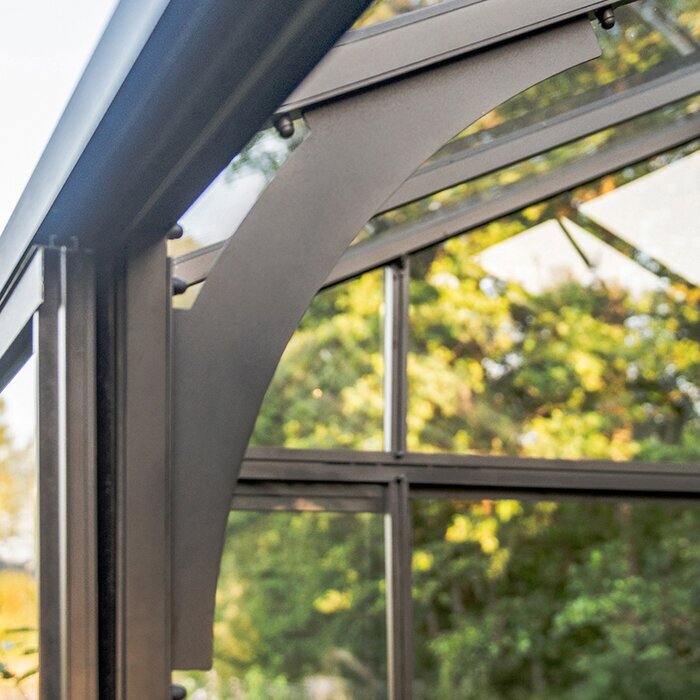
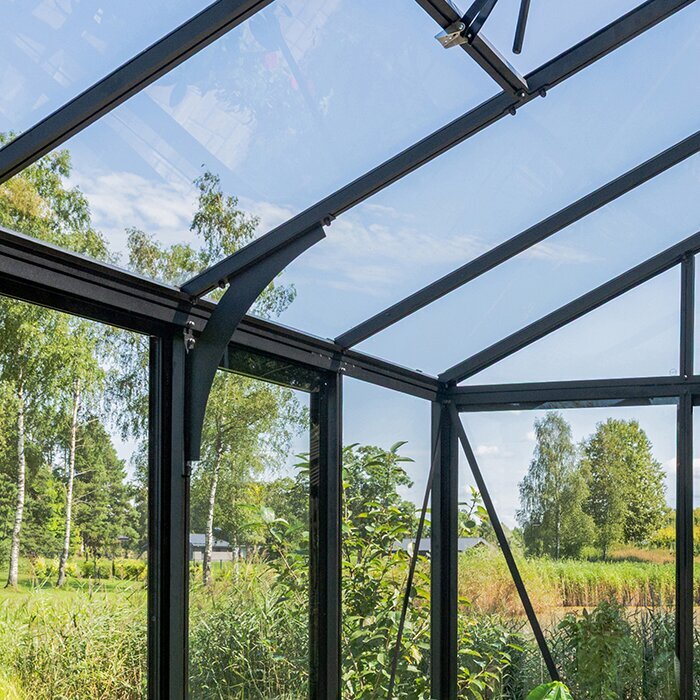
Accoya details add a natural note, while the load-bearing structure is precision-made aluminum.
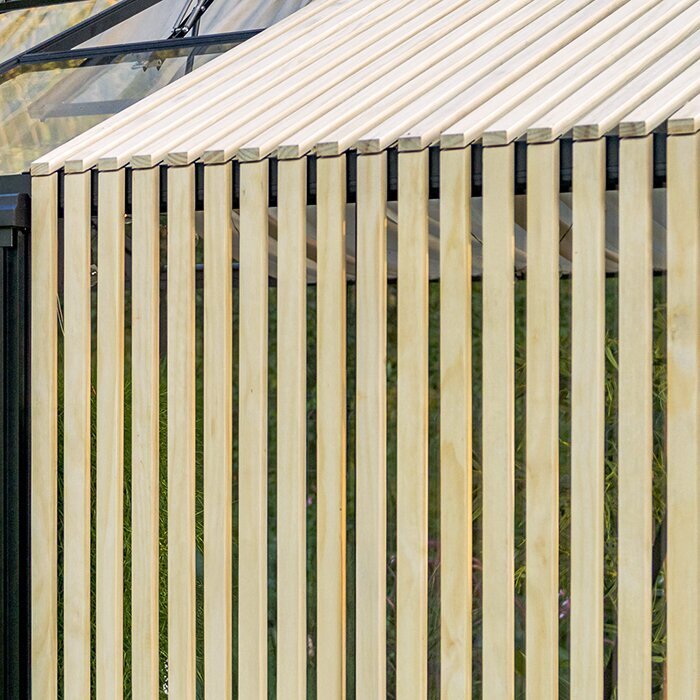
Accoya details
Untreated Accoya creates a warm, natural contrast with aluminum
RAL colour of your choice
Coordinate the aluminum frame with the façade and windows
Glazing for your use
Choose transparency and light quality for the site and plants
Flexible door option
Single or double sliding door to suit the selected wall width
What makes Accoya distinctive?
Accoya gives the aluminum greenhouse a warm, natural character
The wood is a design detail and does not replace the load-bearing aluminum frame.
Its untreated surface shows its natural grain especially well beside a patio or façade.
The result combines a low-maintenance aluminum frame with visible timber accents.
Prepare properly for wall installation
Resolve these four points before ordering
A lean-to greenhouse depends more on the particular building, foundation and access than a freestanding model.
01
Structurally suitable mounting wall
Confirm that the wall construction and fixing area suit the structure.
02
Foundation and height
Prepare a stable, level surface for the integrated aluminum base.
03
Door and access
Align the door position and clear passage with routes from the house, patio or garden.
04
Drain rainwater
Decide where water from the integrated gutters will drain or which container will collect it.
Features and technical details
Key details of the Limited Edition lean-to greenhouse
Model type
Lean-to greenhouse
Aluminum greenhouse for mounting to a building wall, with decorative Accoya elements; designed for a wind speed of 30 m/s and a snow load of 210 kg/m². These product design values do not replace a site-specific assessment.
Size range
12 sizes
Versions for usable wall areas of different lengths
Glazing
Polycarbonate or 4 mm safety glass
Select according to desired transparency, light quality and use
Accoya
Untreated Accoya design elements
A natural contrast with the load-bearing aluminum construction
Doors
Single or double sliding door
Double sliding door for suitable wall widths from about 3.10 m
Ventilation
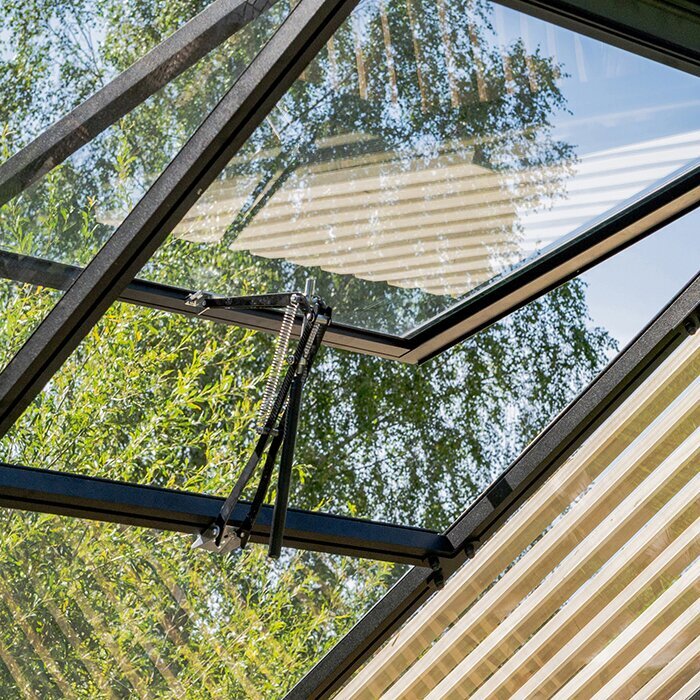
Roof vents
For releasing warm air at roof level
Gutters and base
Integrated gutters and aluminum base
Consider gutter outlets, foundation and floor connection during site planning
Why choose a lean-to greenhouse?
A house wall preserves garden space and connects the greenhouse directly to the building
The wall determines position and orientation. It can keep routes from the kitchen or patio short while preserving more open garden space.
Windows, doors, downspouts, projecting elements and clearance in front of the sliding door can limit the usable wall area.
Herbs, seedlings and more delicate crops also remain easy to keep an eye on in this location.
Ways to use it
Grow plants while enhancing the area beside your home
01
Kitchen garden
Herbs, seedlings and seasonal crops close to the house.
02
By the patio
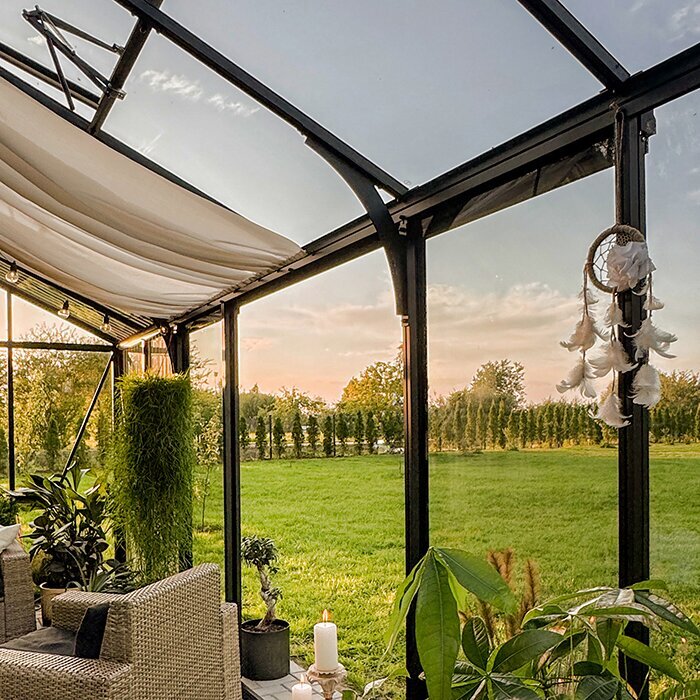
Accoya details create a natural transition between greenhouse and patio.
03
Container plants and prized specimens
Present citrus, decorative planters and specimen plants in an orderly display.
04
Growing and design
Combine edible crops and decorative containers in a clearly arranged interior.
Building and mounting wall
Measure the intended house, garage or garden wall carefully before choosing a size. Beyond clear width, consider wall construction, suitable fixing zones, projections and the space needed before the sliding door. This reveals early which version fits the site without difficult alterations.
Façade and installation setting
Solid masonry, brick, stucco-clad walls and insulated façade systems each need suitable connection and fastening solutions. With exterior insulation, the visible surface must not be assumed to provide structural support. Have the wall assembly and proposed mounting zone assessed by a qualified professional before starting the foundation or finalizing the configuration.
Record windows, doors, sills, exterior lights, outlets, vents, services and downspouts on a dimensioned drawing. Include components that must open, be cleaned or later replaced. A scale sketch helps prevent the roof edge, frame or doorway from restricting existing functions and makes usable wall length visible.
Because the greenhouse sits directly beside the architecture, assess its appearance from normal viewpoints: the garden path, patio and adjoining rooms. The selected RAL colour can echo window frames or metalwork, while Accoya supplies a deliberate natural contrast. Joint patterns, paving direction and nearby planting also shape the final impression.
Condition of the mounting wall
The mounting zone should be sufficiently level, stable and free from loose material along the entire connection line. Local projections or hollows can complicate a clean wall junction and should not be discovered during installation. Check that the work area remains accessible from outside for accurate frame alignment and secure fixing.
Inspect the area for cracks, flaking finish, moisture marks and old repairs. Cladding or insulation may conceal layers requiring separate attention in the fixing plan. Confirm concealed electrical, water or other service routes before drilling. Windows and shutters must remain fully usable.
Complete any repairs to the wall or its base before installing the greenhouse. This includes repointing where needed or having a sound connection zone prepared. Decide as well how the structure will meet the building. Careful wall preparation simplifies installation and reduces later work in spaces that become difficult to reach behind the frame or planting.
Watering inside
A nearby water connection makes watering easier without permanently running a hose through the doorway. Plan the route from the connection to planting areas so neither the sliding door nor passage is blocked. If you mainly use a watering can, allow a stable resting place and a short, trip-free route to the greenhouse.
For drip irrigation, separate planting zones so crops with different needs are not automatically watered together. Lines can run along shelving or beds, but should remain visible for checking and cleaning. Keep connections off walkways and away from moving door parts. The system should be easy to drain before extended breaks.
If collecting gutter water for watering, position the container so it remains accessible without narrowing greenhouse access. Coordinate it with the gutter outlet and watering routes. The overflow needs a controlled route that keeps water away from the façade and foundation.
Site, warmth and ventilation
Orientation, shade, heat from the façade, glazing, planting and the way you use the door and roof vents all shape the interior climate. Observe the location at several times of day before assigning sensitive crops. Across Canada, seasonal light and exposure vary greatly by region and site; nearby trees, buildings and roof overhangs can also change the available light through the year. The longest stretch of direct sun is not necessarily the best position.
Summer heat on south-facing walls
On a sunny wall, direct sunlight, warmed façade surfaces and the enclosed greenhouse combine. Heat may build faster than outdoor temperature suggests. Keep heat-sensitive plants away from the hottest rear-wall area. Clear air paths and a ventilation routine matched to the day help avoid severe heat build-up.
Roof vents release rising warm air, while the sliding door can admit air near floor level. Both opening types should remain reachable without moving heavy containers. Do not wait until evening on warm days to decide whether ventilation is needed. If you are often away during the day, consider the required operation when choosing and arranging plants.
Temporary shading can protect sensitive leaves, young plants and recently repotted crops during intense sunny spells. Fit it so roof vents still work freely and glazing remains accessible without unsafe makeshift arrangements. Permanent heavy shade is not suitable for every use; choose a seasonal approach based on plants and real light conditions.
Façade, frame colour and Accoya
Frame, Accoya details and glazing work with façade colour, window divisions, gutters and patio materials. Compare colour samples at the intended site rather than only on a screen. The same RAL shade can look different beside render, brick or wood in changing daylight. Untreated Accoya adds a natural accent.
A restrained frame colour can continue existing window profiles, while a deliberate contrast gives the structure more presence. Consider the view from indoors too: the greenhouse grid may be prominent from a kitchen or living room. A quieter palette often suits strongly patterned paving; a frame can stand out more confidently against plain render or orderly brickwork.
Untreated Accoya gradually changes appearance with weather exposure. Do not match neighbouring timber solely to its initial colour. Aluminum and glass remain the clear visual framework.
Floor and threshold
The finished interior floor needs a durable, level, easy-clean surface. Set its height in relation to the integrated aluminum base and sliding-door area to avoid an unexpected trip edge. Consider future pots, worktables and floor finishes when establishing the level. Later build-ups must not interfere with door operation.
Paving, slabs, gravel or another suitable surface should drain watering and cleaning water in a controlled way while remaining level and slip-resistant. A slope must not leave tables uneven or direct water towards the building. Check the patio transition too: interior, threshold and outside walkway need planning as one detail.
Mark the proposed finished-floor height on the wall before work begins. This reference line coordinates foundation, base, threshold and adjacent paving. Include the sliding door’s opening and movement area. Early height planning helps prevent later paving from narrowing access or holding water at an unsuitable edge.
Arrange the interior well
A practical interior supports the usual order of tasks: enter, set down tools or a harvest basket, reach plants, water, ventilate and leave. Do not allocate the space only for the maximum number of pots. A continuous path, reachable work zones and clear openings are more valuable than dense furnishing that makes every care task difficult.
Drainage at the building
The greenhouse roof sheds rain beside the house, where uncontrolled runoff should not reach the wall base or patio. Plan the full path from the integrated gutter to the intended outlet, including splashback and the building’s existing drainage routes.
Existing downspouts must not be concealed or made inaccessible for servicing. Where the greenhouse gutter, house drainage and surface slope are close together, keep their functions distinct or coordinate them professionally. Leave room to clean outlets. Leaves, plant debris and deposits must be removable without dismantling shelves or moving delicate plants.
After installation, observe the drainage during rain to confirm that water travels in the intended direction. Puddles beside the base, threshold or wall connection indicate that the slope or drainage needs review. Keep soil, mulch and containers away from drainage routes so you can see whether the connections remain dry and whether the arrangement continues to work as the interior layout changes.
Summer airflow
In summer, adjust ventilation to weather, plant height and humidity. A widely open door does not always replace exhaust through roof vents, because warm air gathers overhead. A closed door also limits low-level incoming air. Watch leaf condition and possible condensation rather than ventilating only by a fixed time.
Do not place large containers, bags or furniture immediately in front of the sliding door. Keep roof vents reachable throughout the season as well. Regularly clear soil, leaves and other obstructions from moving parts so openings can be adjusted promptly when weather changes.
Tall tomatoes, climbing plants or heavily stocked shelves can interrupt airflow between the entrance and roof. Arrange tall crops so they do not screen openings or extend into door tracks during care. Supports need their own secure location and must not attach to vents or moving frame parts. Regular pruning also keeps care routes clear.
Access for cleaning and maintenance
Plan cleaning and inspection while arranging the interior. The inside and outside of the glazing, gutters, door tracks, frame connections and roof vents must remain reachable. The exterior beside a property boundary or side wall can quickly become restrictive. Before choosing a size, confirm that safe access for necessary maintenance will remain available.
Fixed work surfaces must not cover door tracks, drainage points or connections that need access. Place heavy containers where they neither obstruct maintenance routes nor require moving for every cleaning task. Frequently changed seedling pots belong in easier-to-reach areas, reducing rearranging when components need checking or cleaning.
Keep sufficient space around important components for inspection and cleaning at all times. Empty pots and seasonal supplies do not belong there. Allow a suitable standing position for work near the roof. Shelves, containers and load-bearing or moving frame parts are not steps or storage surfaces.
Everyday and seasonal use
Proximity to the house is especially useful when water, growing media, tools and harvest baskets have permanent, accessible places. Keep only regularly used items in the greenhouse and store seasonal equipment elsewhere where possible. Plants stay reachable, the sliding door remains clear, and spilled soil or water can be dealt with quickly.
Short routes to the kitchen garden
Near a kitchen or patio, position herbs and frequently harvested crops in the front, easy-to-reach area. Plants needing less frequent care can sit farther back if they still receive enough light and air. Short distance only helps when furniture, steps or stored garden tools do not unnecessarily obstruct the route.
Build a few simple actions into the daily check: look at plants, test moisture, adjust openings and take ripe produce. Changes can then be noticed early without making every visit a large task. Water according to each crop’s needs rather than giving every container the same schedule.
Access must work when carrying a watering can, container or harvest basket. Check clear passage width with the planned layout in place. Loose hoses, projecting supports and low shelves quickly become obstacles. A designated spot near the entrance makes opening the sliding door easier and prevents items from being placed on the threshold.
Worktables and shelving
Work surfaces suit sowing, repotting and plant checks, while shelving keeps smaller containers organized. Match shelf depth to users’ reach so rear pots remain accessible without continual rearranging. Leave space below or beside the bench for cleaning. Wide shelves should not needlessly reduce light or block air circulation along the glazing.
Choose work height around the most frequent task and the people using the greenhouse. For heavy containers, a lower accessible resting place can be more useful than a high shelf. Leave enough room above the worktop to lift plants and handle tools safely. Structures must not make roof vents or neighbouring glazing unreachable.
Mobile tables or light shelving make it easier to change between propagation, summer crops and sensitive container plants. Wheels or feet need a level, robust surface and must not enter door tracks. Mark clear zones for passage and vent operation where useful, allowing seasonal changes without rebuilding the whole interior.
Seasonal routine
In spring, bright work areas support sowing, transplanting seedlings and repotting. Summer shifts attention to airflow, crop-specific watering and regular harvests. In fall, newly open space can accommodate selected tender container plants. Before winter, remove plant debris, clean the gutters and door tracks, and inspect all accessible components.
Store equipment not needed for the season outside the greenhouse where possible. Empty pots, packaging and unused supports otherwise occupy the exact space needed when changing crops. A small selection of often-used tools may remain close at hand if stored dry and safely. This lets the room adapt to new plant heights and tasks without affecting paths or ventilation.
A flexible layout begins with a few permanent decisions: an open main path, accessible door, reachable vents and unobstructed maintenance points. Within that framework, benches, containers and mobile shelving can be regrouped seasonally. Do not use the building wall for extra fixings without checking; every hole or load must suit the wall construction and planned greenhouse connection.
Confirm these points before ordering
Wall, access and glazing must suit the particular project
Choose the version only after confirming clear wall area, wall construction, floor height and space in front of the sliding door. Also check the delivery route to the installation site and available side working space. This helps you select a size suited to the site and installation setting.
Glazing selection is about more than outward appearance. Clear 4 mm safety glass gives an open view of plants and the interior, while polycarbonate has different light and thermal qualities. Consider how close the greenhouse is to a patio, path or living-room window, and which crops are planned. The decision should suit use, care and the intended architectural effect.
Show the building wall, greenhouse footprint, door position, adjoining routes, water management and possible shading on a site plan. This reveals conflicts easily missed when options are considered separately. Future exterior cleaning and moving larger plant containers also require space. Coordinated planning supports a coherent appearance and easier daily use.
From measuring to furnishing
1
Survey the site
Document clear wall width, suitable fixing areas, obstructions and available working space.
2
Choose the version
Coordinate the appropriate size, glazing, RAL colour and door arrangement.
3
Prepare the site
Build the foundation, floor height and water drainage to suit the aluminum base.
4
Plan the interior
Arrange paths, shelves, watering and planting areas thoughtfully after installation.
Frequently asked questions
FAQ – Limited Edition lean-to greenhouse with Accoya
Can the greenhouse be mounted to an insulated façade?
That depends on the wall construction and intended fixing method. The visible insulation layer is not automatically load-bearing; have the mounting zone professionally assessed before configuring the greenhouse.
How do the glazing options differ in planning?
Safety glass provides a clear view of plants and the interior, while polycarbonate creates a different light effect. The intended use, site and desired exterior appearance are decisive.
How do I choose a suitable frame colour?
Compare the chosen RAL shade directly at the façade where possible. Window frames, brick, render, patio paving and natural Accoya all influence the overall effect.
What matters when positioning the sliding door?
Access should remain direct from the house, patio or garden. Leave enough clear space in front of the door for passage, watering cans, harvest baskets and larger plant containers.
How is the greenhouse ventilated on warm days?
Roof vents allow warm air to escape above, while an open sliding door admits air near ground level. Keep both opening areas clear and adjust ventilation to the weather and plant collection.
Where does water from the integrated gutters go?
Plan a controlled route into existing drainage or a suitable collection container. Direct the overflow as well so water does not return towards the façade or foundation.
What is the role of the Accoya elements?
They provide visual design and a warm wood contrast with aluminum. The aluminum frame remains the load-bearing structure.
How long is the greenhouse warranty? The commercial warranty period for this greenhouse is 12 years; consult the warranty terms for coverage and conditions.
Bloomcabin Limited Edition
Configure the right version for your wall
Start with usable wall space, a suitable wall connection and clear access. Then coordinate size, glazing, door arrangement and frame colour.
Configuration checklist
✓ measure clear wall space and record all obstructions
✓ have the wall construction and fixing area assessed
✓ choose glazing for light quality, use and preferred appearance
✓ set the door position and clear access
✓ coordinate gutter drainage, foundation and floor height
✓ compare the RAL shade at the intended site