
Plan Pergola Seating Shade Around the Garden View
Pergola planning guide
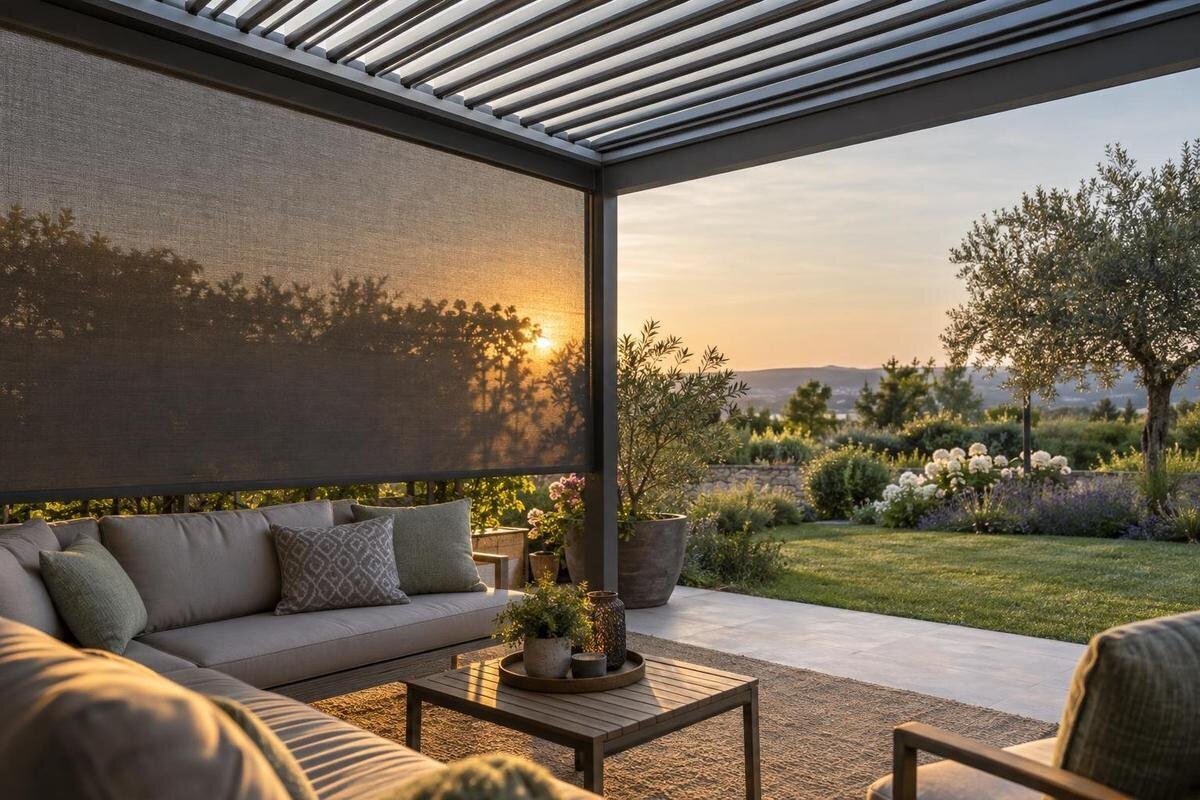
Pergola shade and a clear garden outlook are easiest to balance when you plan from the chair, not from the standing view at the back door. A side panel may stop low sun reaching a seat, yet sit directly across the tree, lawn or border you look towards. The solution depends on the exact seat, target and time of day: record those first, then draw the viewing line and the sun’s direction against the proposed pergola. This guide shows how to test that geometry, compare the compromises and check that any side-shading arrangement is supported for the model you choose.

01
Choose the garden view you want to keep
Decide which part of the garden matters most from your seat. From a particular chair, the main interest might be a mature tree, a gate, a pond or an open stretch of lawn; a glimpse along a border may matter more than the panorama from the doorway. Choose one primary landmark and, if useful, one secondary view. A stable feature is easier to use for comparisons than a changing patch of flowers. Note whether you naturally look straight ahead or over one shoulder. This gives the plan a clear reference point against which to compare different shade positions.
Record whether you want that view while dining, reading or simply sitting outside, and whether the chair faces towards it directly or at an angle. A narrow central sightline may stay open even if the garden’s edge is partly screened; a broad outlook may need a wider clear opening. Decide which matters more before adding shade to the drawing. If a secondary view is less important, note that too: it may be the side where shade can do its job with fewer compromises. If the view follows a path rather than a single landmark, mark the stretch of path you want to keep visible.
Measure the view from the seats you use
Put chairs where you expect to use them, with the usual table arrangement in place. Sit naturally and note the approximate height of your eyes above the finished terrace or paving; an estimate is more useful than measuring from a standing position. Mark each seat’s location and the direction in which you look. If a chair moves, record its normal range rather than treating one temporary position as fixed. Dining chairs on opposite sides of a table can have very different views, even when they are close together. Repeat the mark if another chair changes your posture or eye height.
Tie the drawing to fixed features such as a wall corner, paving joint or garden boundary, so you can put the chair back in the same place during a test. The listing for Bloomcabin Wall-Mounted Pergola gives a range of 9–24 m², but area alone cannot show where side shade would sit relative to your eye-to-landmark line. Compare the proposed footprint and seating positions rather than using model area as a substitute for a layout. If exact dimensions are not yet available, mark the outline as provisional; a rough sketch is not a final clearance check.
02
Draw the sightline in plan and elevation
Draw a plan and a side elevation because each answers a different question. In plan, place the seating, proposed pergola outline, garden landmark and the edge where shade might go. Connect the seated eye point to the target to show the horizontal direction of the view, and mark the opening or part of the garden that should remain visible. The plan shows whether shade would sit across the target, beside it or outside that axis. Include any posts or fixed boundaries shown on the proposal: a clear gap in a panel can still be interrupted by a structural element.
Use the side elevation to show heights as well as distances. Mark eye height, the approximate height of the target and the proposed shade position; the view line rises or falls between them. A panel may leave one part of a scene visible but cover another, especially if ground levels or the target’s height vary. When considering Bloomcabin Pergola, use dimensions for the exact proposal rather than a guessed screen height. Mark any side details that remain undecided, so the drawing distinguishes known positions from possible ones. Read the plan and elevation together: one shows the direction of the view, while the other shows its height.
Record the sun at the times you use the seating
Observe the space at the times you expect to sit beneath the pergola, not only when it is convenient to inspect the garden. Note the date and time, which direction the sun comes from, whether direct light reaches the seat, face or tabletop, and where the shadow falls. Record whether conditions are clear or cloudy, as glare can look different in each. A short log over several visits is often more informative than one midday photograph. Distinguish direct sun from reflected brightness on a pale surface: shade may interrupt a ray without removing all glare.
Sun direction and height change over the day and through the year, so a position that works at one time may miss lower rays at another. If you use a sun-path diagram or app, enter the actual location and date, then compare its estimate with what you observe on site. When considering Bloomcabin Bioclimatic Pergola, record the proposed orientation alongside your observations so you can relate them to the seating arrangement. Keep observations from different dates clearly labelled rather than combining them into a single shade outline. This helps distinguish a layout that suits your usual sitting time from one that works only at the time of your first visit.

03
Relate the shade position to the sun’s angle
Think of direct sunlight as a path from the sun to the person or surface you want shaded. A roof can intercept only rays that meet its covered area; lower-angle sun may pass beneath it from the side. On the plan, note the direction from which unwanted rays arrive at the time in question, then check that same moment in an elevation. A vertical shade helps only when it lies between the sun and the place receiving direct light. This ray test explains why a screen on the wrong edge can leave a seat exposed, even if there is ample space for side shade elsewhere.
Mark the smallest area that needs protection: perhaps a seated person’s face or part of the table, rather than the entire perimeter. If a ray reaches the seat through one opening, a limited side treatment may be more relevant than covering a different edge. Where a chosen system permits a partial-width or otherwise restricted treatment, compare its outline with the view line and other seats. Do not assume that configuration is available; the geometry describes what to ask about, not what a particular pergola includes. A long seating area may also need a different balance from one used by a single chair.
Keep side shade clear of the priority view
Overlay the sightline and the incoming sun direction. If both cross the same proposed panel plane, shade and view conflict at that seat and time; if they cross different parts, there may be room to intercept the sun while leaving the priority opening clear. Test moving the shade position along the edge or reducing its extent, rather than assuming the full side must be covered. A small shift can change what sits behind the panel from a particular chair, so check each revised outline from the seated eye point. Do not judge only from the edge of the terrace.
A see-through material does not necessarily leave a view visually unchanged. Mesh, colour, density, reflections and frame edges can soften or interrupt a landmark, even when the scene remains partly visible. Compare the chosen feature with the wider outlook, as one may remain clear while the other feels closed in. If the bioclimatic pergola listing is on your shortlist, include both priorities in your enquiry: which landmark must remain visible and how much of the surrounding garden you want to see. Relate any proposed side option to those marked sightlines, rather than treating partial visibility as equivalent to an unobstructed view.
04
Try the layout before settling on a position
Set out the proposed seating footprint on the terrace with removable tape or another marking method suitable for the surface. Put the chairs and table where they will be used. At the proposed side-shade position, use a freestanding movable marker to represent the panel’s outline, taking its height from a drawing or confirmed specification. Sit in each priority chair and look towards the target, then shift position enough to see whether the panel edge intrudes. The mock-up tests the panel’s size and position relative to the view; it does not show exactly how the finished material will look or establish whether the installation is suitable.
Take a photograph from seated eye level, then repeat from any second seat and at the observation times that matter. Change one variable at a time—panel edge, width or seat position—so you can tell which adjustment improves shade without compromising the view. When comparing listings such as the regular pergola listing, mock up the exact proposed footprint and side-shade plane; a generic rectangle may put the screen in the wrong place. Keep notes beside the sketch, including the seat, time and target, so you can describe a successful test accurately when discussing the model.
Check other seats and seasonal changes
Repeat the sightline test for every chair that will be used regularly. Someone at the end of a table may look through one side, while a person facing the house looks in the opposite direction; one panel can preserve the tree for one seat and cover it for another. Decide which view has priority and record acceptable alternatives for secondary seats. If chairs are rearranged often, sketch the usual arrangements rather than one ideal pose. This prevents you optimising shade and outlook for a seat that is rarely occupied, and makes any compromise clear to other users.
Use the same method for the parts of the year and times of day when you expect to use the space. The sun may be lower or shifted relative to the panel, and planting can change the visible opening as foliage develops. If comparing the wall-mounted pergola option, draw its proposed position relative to both the house and garden before deciding which side should stay open. Keep the indoor viewpoint separate from the seated patio viewpoint on your sketch: they may look towards the same landmark through different parts of the proposed structure. Check both if both are important to you, and note where their requirements differ.

05
Confirm side-shade compatibility for the chosen model
Before ordering, identify the exact model and the exact side treatment, if any, on which your design relies. Ask the supplier whether that accessory is compatible with the chosen model, what it includes and where it sits in relation to the frame. Request the dimensions or configuration drawing needed to update your plan. For the Wall-Mounted Pergola listing, for example, the product listing identifies a model; it is not confirmation that a particular screen is supplied or supported. Confirm those details for the proposed configuration rather than relying on a name or general product image.
Keep shade function, view effect and everyday use as separate questions. Ask whether a supported option can be limited to the edge you tested and whether any frame parts or attachments change the clear opening; do not infer their location from a photograph. A panel that fits a space in a rough sketch is not automatically compatible with the pergola. If an answer is unclear, leave that accessory marked as unconfirmed and revise the layout around verified information. That is better than planning the garden view around a feature that may not be available.
Keep routes and chair space clear
A useful shade layout has to work around people moving, not just a beam of sunlight. Mark where chairs are pulled back, how someone reaches the garden or house, and which route should remain open. Make sure the part of the seating that needs protection is the part under the proposed shade; covering the table centre alone may not address direct light on a face or a chair at the edge. Include the door and garden access on the plan where relevant, so a screen is not positioned across a route used every day. Look at the arrangement from the approach to the seating as well as from a chair.
Finally, rank the seats and times that matter most. It may not be possible to shade every place through every hour while preserving every angle of the garden; a clear primary outlook, with a less-used seat accepting some direct sun, can be the more workable brief. When comparing the regular Bloomcabin pergola with other options, keep the same priority seats, viewing targets and observation times on each sketch. This makes the compromises easier to compare without changing the brief to suit each proposal. A limited shade area tested from the real seats is easier to assess than a broad panel with an untested effect on the view.
Frequently asked questions
How do I measure a sightline from a pergola seat?
Put the chair in its usual position and sit in a natural posture. Mark your approximate eye height above the paving, then draw a line towards the garden feature you want to see. Repeat for other regular seats; a view from standing height will not show how a side panel affects someone seated.
Will a pergola roof shade the seats from low sun?
A roof intercepts only the rays that meet its covered area, so lower-angle sun may still reach a seat from the side. The result depends on the actual roof coverage and sun angle. Side shade may help if it crosses the ray path, but check that the specific option is supported for your model.
Can side shade leave the garden view open?
It may, if it sits outside the priority sightline or covers a different part of the outlook. The effect also depends on the panel’s size, opacity, colour and frame. Mock up its outline from the seat and confirm that the specific shade is compatible; a product image does not show what is included.
When should I check where the sun falls?
Observe the space at the hours when you expect to use it and, where possible, on more than one date. Record which seats receive direct light and whether the sun is high or low relative to the side. One midday observation cannot establish how the seating will be shaded later.
What should I ask before choosing a side-shading accessory?
Ask whether the exact accessory is compatible with your chosen model and configuration, and request the dimensions and proposed position. Clarify whether it is included, optional or unavailable. Do not assume a screen fits, or is part of the product, because it appears in a photograph or a third-party listing.
A seated eye point, a recognisable garden target and observations of the sun make the shade-and-view compromise visible. Aim to intercept the rays that reach the seats rather than covering an entire side by default, and keep the priority sightline open where the layout allows. Treat any side treatment as a model-specific option to confirm. Once the sketch works from the seats and at the times that matter, you have a clearer basis for choosing a pergola layout.
