
Planning a Pergola for Accessible Outdoor Dining
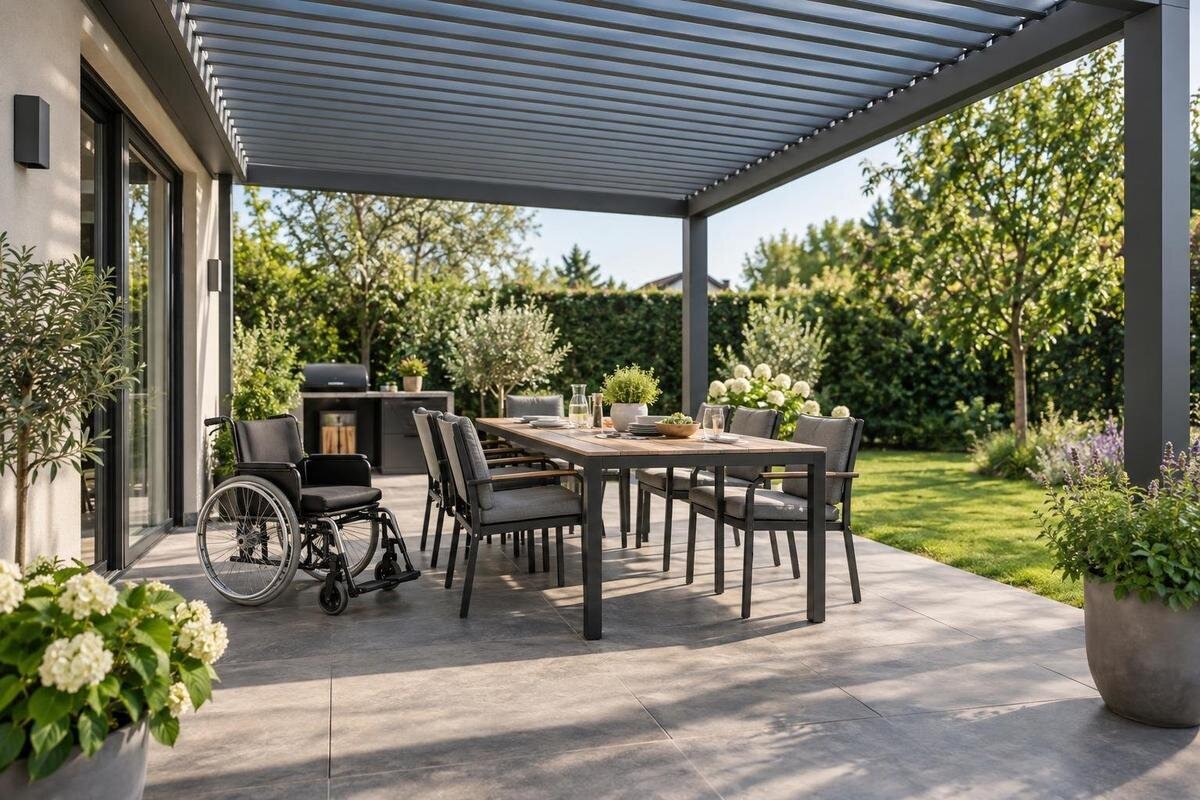
Pergola planning
An outdoor dining area is not accessible simply because the table sits on a level patio. Everyone needs a usable route to the space, room to approach and join the table, and a way to move away again once chairs are occupied. Plan around the people, mobility aids and furniture that will actually be there, then compare the pergola with that measured layout. This is practical comfort planning, not proof that a design meets any particular accessibility requirement.

Map the complete route to the table
Begin with the actual journey, rather than a pergola outline. Mark the point each user normally arrives from—the house, a gate, a parking area or another agreed entrance—and trace the route to the table and back. Include every doorway, gate, turn, change of surface and place where someone must pause or pass another person. A straight line on a sketch can be misleading if a door swings across it, a planter narrows it or chairs occupy the route. Measure usable clear space at the tightest points, and mark corners and turning areas separately. If there is more than one likely arrival point, draw each route rather than treating them as interchangeable.
Ask the people who will use the space how they expect to move through it. A wheelchair, walking frame, sticks, a companion or a combination can change which route feels manageable; actual chair dimensions and turning preferences matter more than a generic symbol. Include ordinary actions such as opening the door, reaching a seat and leaving after the meal, as well as carrying a tray or bringing an occasional extra chair. Put fixed features, furniture and doors on one measured site sketch. It will help expose pinch points before a model is chosen, while remaining a practical comfort plan rather than a declaration of accessibility compliance.
Plan step-free access from the outset
Treat step-free access as an unbroken route from the chosen starting point to the dining position. Check the house threshold, patio edge, gate sill and every change between paving, decking or lawn; one small upstand can interrupt an otherwise easy route. A path that looks broad on a drawing may be awkward if its entrance turns sharply, narrows beside a planter or is crossed by a door swing. Mark doors and gates both open and shut, including the space a person needs to operate them. If the route passes through a door, check that its usable opening and handle operation work for the person using it. Think through the outward and return journeys, not just arrival.
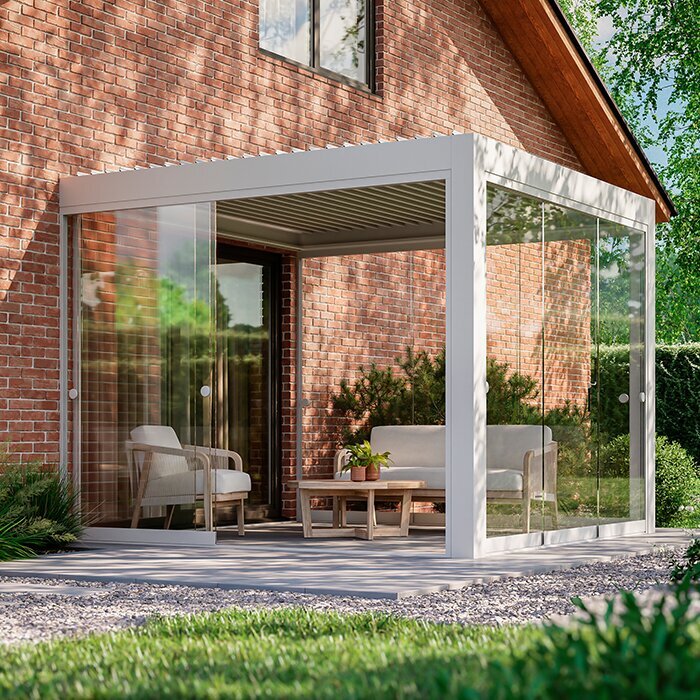
If a threshold or level change cannot be avoided, do not assume that moving the table resolves it. A change to ground level or a threshold may affect drainage and the connection to the building, so ask a suitably qualified builder or access professional to assess the full detail. When comparing a house-adjacent layout with the Bloomcabin Lean-To Pergola, show the doorway and proposed structure together on the site plan. Check where someone can wait while the door opens, whether the approach remains clear and how the route continues towards the table. Resolve the threshold and finished levels before committing to furniture positions that depend on them.
Choose and maintain a usable route surface
Assess the surface as part of access planning, not as decoration added after the frame layout. Consider whether it is firm, stable and even for the people and mobility aids using it. Small gaps, loose aggregate, soft lawn, raised edges or drainage channels can interrupt movement even where the route is otherwise clear. A narrow wheelchair caster or cane tip may respond differently from a shoe, so do not judge the surface only by walking across it. Check turning and stopping places as carefully as straight sections, and consider whether leaves, grit or wet conditions can be dealt with through normal upkeep. Where practical, compare a sample or mock-up with intended users.
Finished levels and drainage also affect step-free arrival. A level seating area that leaves water collecting across the route is not a useful result; changing the ground beside a threshold may create a new lip or awkward transition. Ask a landscaper or builder to assess how the existing ground, proposed surface and drainage will work together before finalising the layout. Avoid assuming that one paving product or a flat-looking lawn will suit every user. Where the route crosses between materials, mark each transition on the plan and check how it feels to travel over it, especially where someone needs to turn, pause or approach the table.
Position the table around an easy approach
Place the table only after you know where someone can approach it. Choose an edge or seat position that can be reached without threading between a support, wall, planter and occupied chair. A wheelchair user should be able to join the group in the position they prefer, rather than being assigned a detached space at the end by default. Draw that position alongside the other chairs, then check the route to and from it. Consider whether someone can arrive, settle in, turn towards the group and leave without asking another diner to move. A clear approach at the start of a meal is not enough if the person cannot move away afterwards.
Measure the real table, including its feet or base, rather than using a generic rectangle. The regular Bloomcabin Pergola listing gives a listed area range of 97–258 ft², but that figure does not show the clear circulation space around a dining set. Place the table and proposed chair positions inside a dimensioned plan of the selected configuration, then mark the space left for approach and movement. Compare alternative table orientations on the same plan: rotating the table may improve access on one side while narrowing the route on another. If a table leg obstructs the preferred wheelchair position, consider a different table base as well as a different pergola size.
Test the wheelchair position at the table
Check the table-to-wheelchair fit with the actual chair and the person who uses it. A place setting is useful only if the chair can approach the edge, the person can sit in a comfortable position, and knees, feet and footrests have room beneath or alongside the table as needed. The base and legs may affect that space, so sketch their real positions rather than measuring only the top. Check how close the user wants to sit, where a plate and drink can be reached, and whether turning to speak to others feels comfortable. Do not assume that removing a dining chair automatically creates a workable position.
Treat a paper drawing as a screening tool, not the final test. Where practical, mark the table footprint and its supports on the surface with removable tape or chalk, then bring the wheelchair into the proposed position and test the approach and departure. Include any tablecloth, cushions or accessories normally used, since these may affect comfort or reach. If a full-size trial is not possible, record the dimensions of the actual chair, footrests and armrests, and note what still needs checking. When considering the Bloomcabin Bioclimatic Aluminum Pergola, request a dimensioned plan of the chosen configuration so that this tested dining position can be placed accurately within it.
Allow for chairs and serving in use
Dining chairs take up more space when people pull them out, sit down or stand up. Draw each chair in its normal occupied position and show how far it moves during use; include armrests and any preferred side for getting in or out. Keep a route available when the table is in use, not just when every chair is pushed in. Check the space behind occupied seats and whether someone can pass without brushing diners or turning awkwardly. A layout that works for an empty table can become a barrier as soon as the meal begins, particularly if the accessible place and the route to it compete for the same area.
Consider how food reaches the table, too. A host carrying plates, a companion walking beside a wheelchair user or a serving trolley may share the route. Test whether they can pass while someone is approaching or leaving the table, rather than assuming both movements can happen together. Decide where temporary items such as a tray, handbag, walking stick or spare chair will go; a chair left in the circulation path can undo the measured layout. When comparing configurations on the Bloomcabin Pergola product page, use a plan showing the dining set during a meal. Include any serving surface you intend to add, with its doors or drawers open as well as shut.
Plan turning and a clear way out
Turning needs separate attention from straight-line clearance. Identify the points where a wheelchair user must change direction: entering through a gate, moving around a support, approaching a table place, turning to leave and getting back through the doorway. The space required depends on the person, chair and manoeuvre, so an assumed circle from an illustration should not be treated as a universal minimum. Measure the actual chair’s turning path or rehearse it with the user. Include room to reverse where turning fully is not possible, while avoiding a layout where reversing is the only practical way out.
Keep a continuous route back to the house or garden exit once people are seated. Do not let the back of one chair seal a narrow passage or put a turning point between furniture that can slide out of place. If reviewing the wall-mounted Lean-To option, plot the wall, doorway and proposed supports together, then trace the return journey from the occupied table. Check whether the user can approach the door handle and wait clear of the opening door. Show the most constrained manoeuvre on the measured plan, not simply the rectangle beneath the structure. Where possible, ask the intended wheelchair user to check the route before the furniture is fixed in place.
Keep posts and fixed features clear of routes
Plot the pergola’s exact support positions as obstacles, rather than relying on an abstract outline. A post can narrow a route, take space beside a chair or sit where someone needs to turn, even when the overall area seems generous. Mark walls and fixed garden features such as planters, steps, downpipes or storage units on the same drawing. Check that a support does not create a tight pinch point beside the table or force someone to make an awkward detour. Include movable objects if they usually stay in one position. Do not count the space occupied by a heavy pot as available circulation space just because the pot could theoretically be moved.
For a configuration considered through the bioclimatic pergola listing, request a current, dimensioned plan showing the supports and any bases that occupy floor space. Compare those locations with the measured table, chair and turning positions, particularly at the entrance to the dining area. Ask whether the drawings show the full extent of each obstruction, rather than only the centre of a post. Keep any proposed side fittings on the same plan and check their occupied space before including them in the layout. If the proposal depends on relocating a fixed feature or changing the ground, have that work reviewed by an appropriate professional before finalising the pergola.

Test the full layout before choosing a size
Bring the measurements together on one scaled plan: the boundary and doorway, approach route, table, wheelchair position, chairs in use, turning area and pergola supports. Mark fixed features and where items used during a meal will be stored. Check the tightest clearance after everything is drawn; do not add separate estimates that each ignore the same post or chair. Show an everyday table arrangement as well as the fuller layout used when guests visit. This makes trade-offs visible—for example, whether a larger table reduces the clear route—before anything is ordered. Record any assumptions that still need confirmation rather than treating them as measured facts.
Then make a full-size trial where possible. Tape the table and chair outlines on the proposed surface, mark the routes and use temporary objects to represent posts or planters. Ask everyone who will use the area to move through it as they normally would, including the turn into the dining position and the route out after sitting. If comparing versions of Bloomcabin’s regular pergola, use a separate layout for each configuration rather than stretching one sketch to fit them all. Record which arrangement works and where movement remains awkward. Label the taped layout and any illustrative drawing as a concept; confirm the selected configuration’s dimensions before ordering.
Keep the dining layout usable over time
A good layout should remain workable through ordinary routines, not just during a one-off test. Give spare chairs, cushions and other loose items storage positions outside the access route, including when the dining area is not in use. If a chair is removed for a wheelchair user, agree where it goes so that it does not become an obstacle elsewhere. Check periodically for furniture that has shifted, plants extending into the route or objects accumulating beside a doorway. After replacing a table or adding a storage unit, revisit the affected clearances. A new piece may fit within the pergola while still obstructing the approach that made the original arrangement comfortable.
For a house-adjacent proposal using the Lean-To Pergola listing, keep the confirmed configuration drawing with the furniture plan and record the positions that need to remain clear. That gives anyone rearranging the space a useful reference, without requiring the furniture to stay permanently fixed. Include access to the surface for cleaning and inspection, particularly around supports and thresholds, so that upkeep does not depend on moving the entire dining set. Have questions about installation, ground levels or the building reviewed by the relevant qualified professional. If your project must meet specific accessibility requirements, ask a qualified access professional to assess the proposal; a measured comfort plan is not a compliance assessment.
Frequently asked questions
How much room should I allow for a wheelchair?
There is no single figure that suits every chair, person and manoeuvre. Measure the wheelchair and the route it takes to approach, turn and leave, with the table and chairs in their real positions. If a particular standard applies to your project, ask a qualified access professional to review the plan.
Does step-free access just mean removing the step at the door?
No. The route includes the threshold, gates, changes of surface, turns and the space needed to open doors. Check the complete journey to the table and back, including how the surface and finished levels work together.
Where should a wheelchair place be positioned at the table?
Ask the person who will use it where they prefer to sit. Plan an approach that does not require moving other diners’ chairs, and check the table base, foot and knee space, reach and route out. The place should feel part of the group rather than separate by default.
Can a pergola’s listed area confirm that my dining layout will fit?
No. An area figure does not show the clear space between supports or around the table, chairs and route. Compare the exact configuration with a measured layout that includes furniture in use and the movements people need to make.
Does a measured plan prove that the layout complies with accessibility requirements?
No. A measured sketch or full-size trial is a practical planning aid, not a compliance assessment. Where your project needs to meet specific requirements, have the finished proposal reviewed by a suitably qualified access professional.
A successful pergola dining layout lets people arrive, join the table and leave comfortably while the space is in use. Measure the complete step-free journey, test the table position and turning movements with the actual furniture and mobility aids, and account for occupied chairs rather than an empty dining set. Compare the pergola’s exact configuration with that working arrangement, then keep the essential routes clear as furniture and routines change. The result should be a sociable dining space whose everyday use has been considered as carefully as its appearance.
