
Buying a Pergola Online: Pre-Order Measurement Checklist
Pergola buying guide
Buying a pergola online is easier when you have measured the garden before comparing sizes. The useful figure is not simply the length of an empty patch: doors need to open, people need to pass, overhead features can limit height and the delivery route can affect what is practical. This pre-order checklist separates the space you have from the space a pergola would occupy, then shows how to compare those measurements with a product listing without guessing at dimensions or clearances.
Define the area the pergola needs to serve
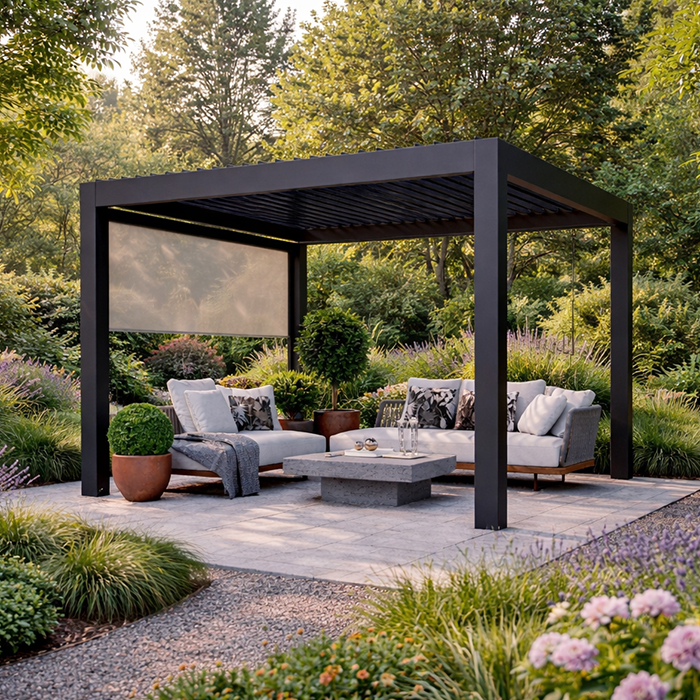
Before reaching for a tape measure, decide what the covered area must accommodate. Sketch the arrangement you actually expect to use: for instance, a table and chairs, a clear passage between house and garden, or space beside existing seating. The point is not to choose a pergola type here, but to avoid measuring a bare rectangle and then discovering that the useful layout needs more room. Note which edges must remain open for access and where people are likely to walk. Also note how many people should fit and whether dining, lounging or both need to work without rearranging the whole garden.
Measure any furniture you plan to keep beneath or beside it, including the space needed to pull chairs out or move items. Use real dimensions where available rather than judging by appearance, and place the outlines on your sketch. If furniture may change, record that uncertainty instead of treating the current arrangement as fixed. If the area has more than one use, draw the most crowded arrangement as well as the everyday one; the larger outline is a useful test of whether the proposed space will remain practical.
A site plan with fixed features marked
Make a simple top-down plan of the proposed site, showing the house wall, boundaries, steps, gates, paths, planting beds and anything that cannot be moved. Add measurements between fixed points and label which side faces the house or garden. A hand-drawn plan is enough if it is legible and uses one consistent scale; choose a convenient scale and keep it throughout. If the shape is irregular, mark each change of direction rather than forcing the outline into a rectangle. Do not rely on a map or old plan for final figures, as it may not show recent changes or small projections at ground level.
Record where each dimension was taken, not just the number. A note such as wall to path edge at the house end is more useful later than an unlabelled figure. Keep a copy of the plan beside the measurements for the Bloomcabin pergola listing you are considering, and write product dimensions on a separate line; this prevents site measurements and product figures being mixed up. If someone else will review the order, a dated sketch with an arrow showing the house-facing side helps them understand the orientation. Where a figure controls the fit, take it twice; if readings differ, measure again and note any uncertainty.
The usable footprint may vary across the site
Measure the full length and width of the area where the pergola could stand, taking readings along the boundaries that matter. Do not assume opposite sides are equal: garden edges, paving and walls can taper. Where a dimension changes, take readings at both ends and at the narrowest point, then add intermediate readings if needed to describe the shape. Record each figure in metres or millimetres and state the unit clearly. For an angled edge, measure each segment separately and show every change of direction on the sketch; a single total can hide a narrow pinch point.
Use the smallest usable width as a constraint, but keep the other readings too; they show where a longer or wider footprint would stop fitting. If an edge is difficult to measure, note how you took the reading and recheck any uncertain figure before ordering. Compare the site sketch with the dimensions for the bioclimatic aluminium pergola listing only after identifying what the listing calls width and depth. Also distinguish usable ground from the visible property boundary: a fence, hedge or retaining edge may limit the practical outline.
Available height and overhead obstructions
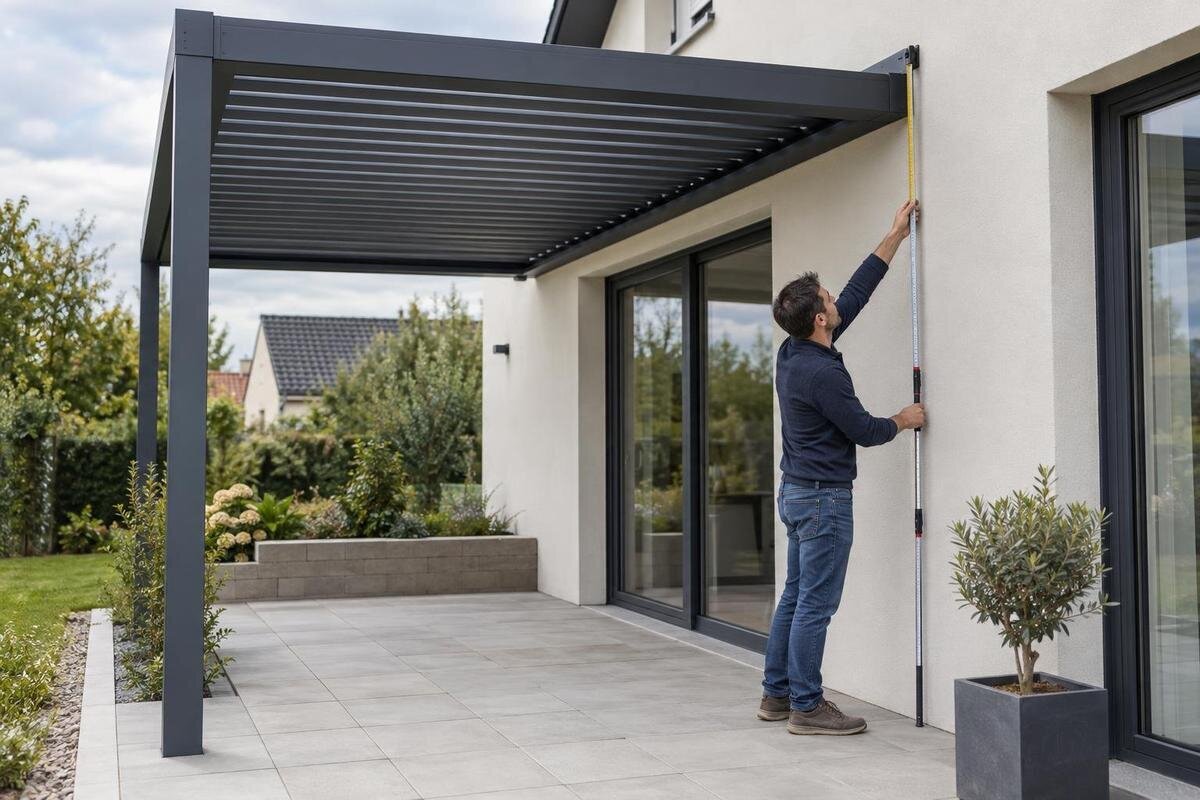
Measure vertical space as well as floor area. Take readings from the proposed ground level to the lowest relevant obstruction at several points, especially where paving changes height or the ground slopes. Note eaves, gutters, projecting window sills, pipes, overhanging branches and any other feature near the planned position. Record what each height is measured from; a figure taken from a raised patio is not interchangeable with one taken from the lawn beside it. If a tree or other feature may later be removed, note that the plan depends on a change rather than treating the area as clear now.
Compare your readings with the product’s stated overall height and any clearance or installation notes supplied for the exact option. Do not estimate height from a photograph or assume that a dimension refers to the highest point. If considering the lean-to pergola option, check whether its product information states the clearance relevant to your layout; the product label alone does not establish its height or required space. Where information is unclear, ask before ordering, particularly if the structure would sit near an opening window or another obstruction. If several obstructions are close together, note each position as well as the lowest height.
Circulation routes and opening space
Outline the proposed footprint on the ground with removable markers, string or chalk where the surface allows. Then trace the space taken by doors and windows when open, as well as routes used to reach the house, lawn, bins or storage. A pergola can fit within the measured patch and still make a doorway awkward or narrow a path. Your plan should show the clear route you want to preserve, not only the dimensions of the structure. Mark the full path width you need, including any point where someone has to turn or step around furniture, rather than a straight line alone.
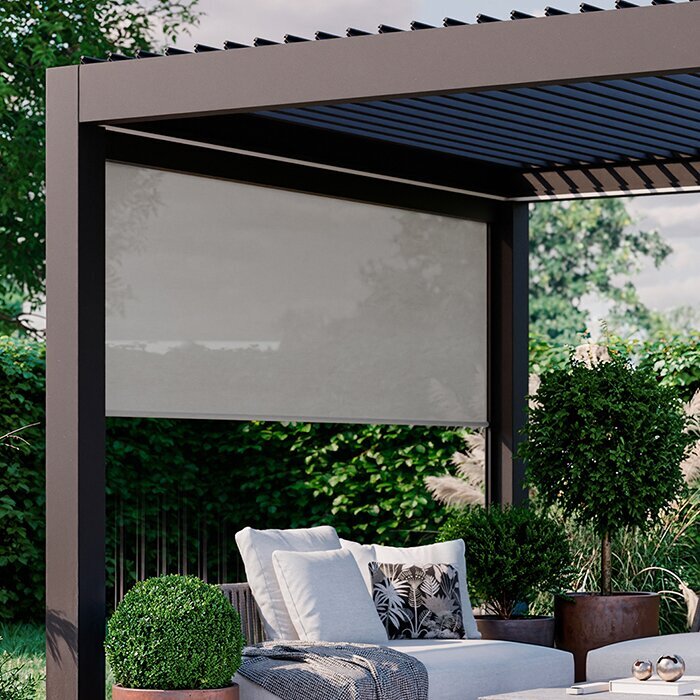
Think about everyday movement with furniture in place: carrying food outside, passing someone seated, bringing a chair through a gate or moving garden equipment. These are practical clearances, not one universal number, so mark the route you need and compare it with the layout drawing and installation information. For the pergola product page, confirm whether the stated footprint includes any projection beyond the supports shown in the drawing and whether any moving parts need room to move. For an outward-opening door or window, use its actual swing as a limit and allow access to its handle.
Ground conditions and possible fixing positions
Write down what lies under the proposed footprint: paving, decking, lawn, gravel or another surface, and note changes in level, edges, steps, drain covers and nearby access points. A photograph can help you explain the site, but it should supplement rather than replace measurements. Mark any point where the ground changes or a fixed feature could prevent a support from occupying the planned position. Indicate existing fixings or edges only as observations; their presence does not prove they can be reused.
Look for product-specific information on site preparation and support. If the instructions do not explain what is expected, request clarification and, where appropriate, ask a competent installer to assess the site. Keep drainage points, service covers and property features visible on your sketch rather than planning to cover them. Do not plan changes to paving, drainage or services to make a footprint work until the implications have been assessed by an appropriate professional. When assessing this pergola listing, look for fixing information; the name alone does not establish requirements or site suitability.
Measurements for a wall-adjacent layout
If you are considering a pergola designed to sit beside a building, measure from the finished wall face to the planned outer edge and note the available width along the wall. Include protrusions such as downpipes, vents, sills, meter boxes or projecting trim; measure their position and how far they extend rather than treating the wall as perfectly flat. Note doors and windows that open onto the same area. This shows whether the proposed layout is interrupted by features a simple wall-to-edge measurement would miss. Take readings at more than one point along a long wall, as an obstruction may occur at just one end.
Check the exact product description and installation documents to establish whether the option is intended for the arrangement you have in mind and how its dimensions are measured. For the listed lean-to design, use its stated diagram or written measurements rather than assuming every wall-adjacent arrangement has the same projection or height. If the product requires a particular relationship to a wall, compare that requirement with the actual building; do not infer compatibility from an image showing a structure near a wall. Add the position of each relevant feature, measured from a fixed corner, so it can be compared with the product information.
Comparing product dimensions on the same basis
Read the dimension diagram and written specification for each option before comparing numbers. Identify the overall width, depth and height, then establish whether the stated footprint refers to the outside of the supports, the roof edge or another point. Check whether a separate internal or usable measurement is given. If the listing does not define the measurement points, contact the seller for clarification instead of assuming an overall figure equals the clear space beneath the structure. If the drawing shows an overhang or projection beyond the supports, include it in the site-space comparison.
Put your site figures and product figures side by side in the same units, and keep required clearances on a separate line. Compare the tightest site dimension with the relevant overall product dimension, then check the other sides, height and obstructions individually. A small table with one row per option and columns for width, depth, height, measurement convention and unknowns makes gaps easier to spot. For this Bloomcabin pergola option, ensure any dimensions you use apply to the exact size or configuration you intend to select; do not transfer figures from a different model, image or page because the products look similar.

Delivery and assembly access
An outdoor footprint is only part of the site check. Walk the route from the place where a delivery could be left to the intended location, including gates, paths, narrow turns, steps and any covered passage. Measure the narrowest clear opening and note overhead restrictions or surfaces that may be difficult to cross. Include the final turn into the garden and any change in surface, not just the entrance width. Delivery and handling arrangements vary, so do not assume a package can be carried through a route simply because the assembled pergola would fit in the garden.
Before ordering, ask what information is available about package dimensions, handling, unloading and access for assembly; do not estimate packed component sizes from the finished pergola’s dimensions. For the product page you are comparing, confirm which delivery details the seller needs and how the item will reach the agreed drop-off point. If an installer is involved, share the route and site plan with them in advance. Also establish where a delivery vehicle can stop and whether items must be moved from that point; use the seller’s stated arrangements rather than guesswork.
A final pre-order cross-check
Before placing the order, bring together the site plan, measurements, photographs and the exact product option you intend to buy. Compare the footprint, height, circulation route, wall or boundary features, ground and delivery route with the information for that option. Make sure the selected size and any configuration are the ones you considered; dimensions should not be transferred between alternatives. Confirm that your measurements refer to the finished surface, and classify temporary items, movable pots and furniture consistently so that an obstacle is not quietly forgotten.
Keep a brief written record of the answers to the important questions: how much space is available, which product dimensions you used, what clearance remains and what still needs professional assessment. That record is useful if another household member or installer reviews the plan, and it gives you a clear basis for comparing options. If an answer depends on an installation method, do not resolve it with an arbitrary allowance; get product-specific guidance before committing. The aim is to confirm that the particular pergola you are ordering fits the measured site and the way you intend to use it.
Frequently asked questions
Should I measure the garden before choosing a pergola size?
Measure the garden first, then compare it with the dimensions for the exact product option. Your site plan shows the limits; the product information tells you what its stated dimensions refer to. Measuring only one side of that comparison can leave you overlooking clearances, height restrictions or access problems.
How much clearance should I leave around a pergola?
There is no single clearance that suits every garden or pergola. Decide which paths, doors and furniture must remain usable, mark those areas, and compare them with the product’s layout and installation information. If the required movement space is not stated, ask for clarification rather than guessing.
Do product dimensions show the usable space underneath?
Not necessarily. An overall footprint may be measured to the outside of the supports or to another point, while the clear area underneath can differ. Check how each dimension is defined and whether a separate usable measurement is given. If that distinction is unclear, get it confirmed before ordering.
What if the ground is uneven or the site has obstacles?
Record level changes, drain covers, steps and anything that could occupy a planned support position. Do not assume a pergola can be levelled or fixed to every surface. Compare the site with product-specific installation guidance, and ask a competent installer or the seller about conditions the information does not address.
Should I measure the delivery route as well?
Yes. Check the route from the proposed drop-off point to the garden, including gates, turns, steps and overhead restrictions. Ask about package dimensions and handling arrangements; finished-product measurements do not tell you whether packed components will pass through. Share access details with an installer if one is involved.
A useful measurement plan shows where a structure would sit, what space needs to stay clear and which product figures you used. Keep uncertain points visible instead of rounding them away, and resolve anything the product information or delivery terms do not explain before ordering. That gives you a firmer basis for choosing a pergola size online: not simply one that fits the garden outline, but one whose footprint, clearances and access can all be reconciled with the site.
