
DIY Greenhouse Assembly vs Professional Installation
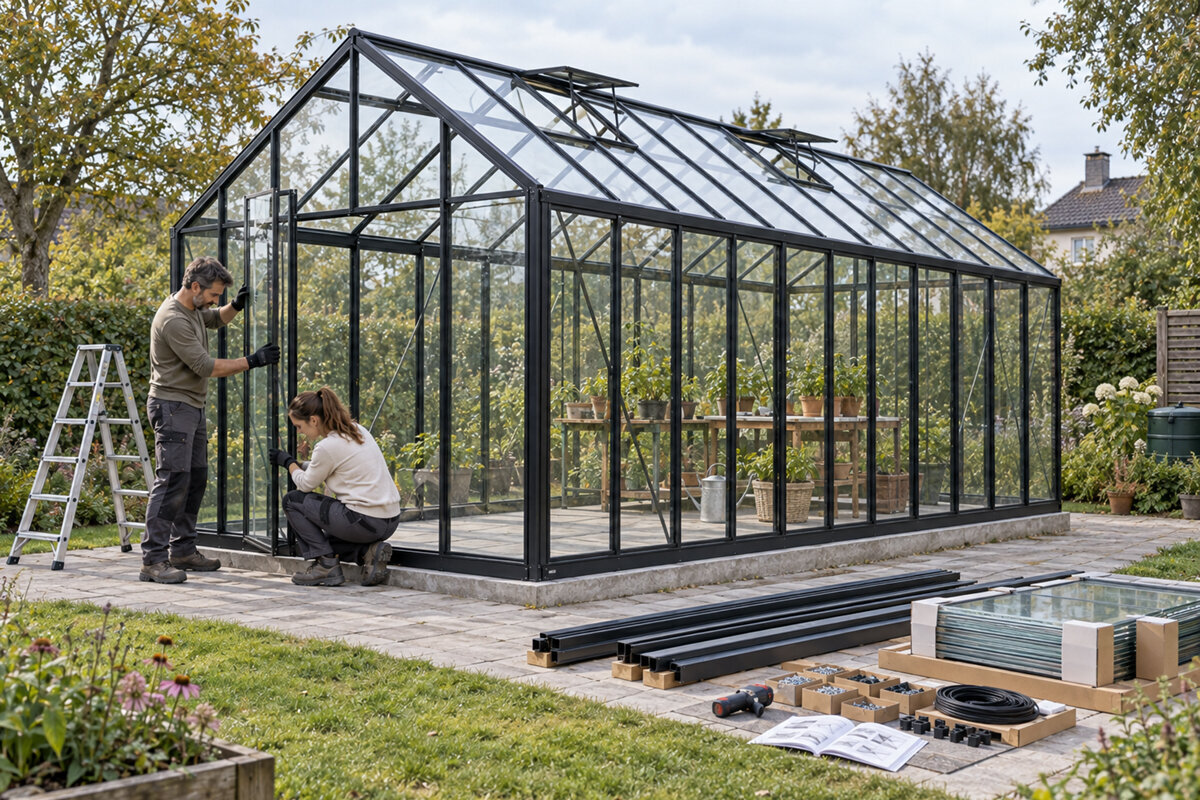
A greenhouse kit can look straightforward on paper, yet its final stability, alignment and day-to-day usefulness depend on decisions made well before the first frame is lifted. This guide helps British homeowners weigh DIY greenhouse assembly against professional installation with a clear view of preparation, costs and risk.
The choice between DIY greenhouse assembly and professional installation is not simply about who holds the spanner. It affects how you prepare the base, organise access, inspect components and respond if the site proves less level or more exposed than expected. A well-chosen route matches the greenhouse, the garden and the people responsible for the work.
DIY can be satisfying for practical gardeners who enjoy careful construction and can work methodically without rushing. Professional fitting may suit a complex garden, a larger structure or anyone who would rather hand over the physical build. Neither route removes the need for good planning: the owner still needs to make sound decisions about position, groundwork and access.
Before deciding, read the product documentation, assess the proposed location honestly and discuss the project with everyone involved. Think beyond the build day. Door clearance, paths, drainage, growing layout and future maintenance all influence whether a greenhouse feels like a useful garden room rather than an awkward object at the end of the lawn.
Start with the site · 01
The base decides more than the build method
A greenhouse frame can only perform as well as the surface beneath it. For DIY assembly, you need confidence that the base is square, level, suitably sized and fully ready before unpacking begins. Small discrepancies can become obvious when doors, glazing or roof sections are fitted. A professional installer may identify concerns, but should not be treated as a substitute for agreed groundwork unless that work is explicitly included.
Consider how rainwater moves through the garden, whether roots or services may affect excavation, and how close the greenhouse sits to boundaries, mature planting and everyday routes. A sheltered-looking corner can still be difficult to work in if there is little room to carry long components. Resolve questions about the base design with the appropriate tradesperson or supplier guidance before selecting an assembly route. If the base is being laid by someone else, agree how its finished dimensions and level will be checked before the assembly team or DIY helpers are booked.
- Check the proposed footprint, diagonals and levels before delivery, rather than trying to correct the geometry while building.
- Allow working space around every side so panels, tools and people can move without pressing against plants or fences.
A straightforward plot may make a standard Classic greenhouse kit a realistic hands-on project, provided the base is ready.
Know the work · 02
DIY demands orderly, patient assembly
To assemble a greenhouse successfully, you need more than basic familiarity with household tools. The work involves sorting parts, protecting glazing, keeping fixings organised and checking alignment repeatedly as the structure develops. Instructions should be read in full before starting, not interpreted one stage at a time under pressure. Set aside an uncluttered staging area and protect components from being misplaced, scratched or damaged in the garden.
DIY is often most comfortable when one person leads the sequence and another helps with lifting, holding and checking. Weather, fatigue and interruptions can turn a manageable task into a frustrating one, particularly when glass or elevated sections are involved. Stop rather than force a connection that does not sit correctly. If the build exposes an unexpected issue, seek clarification instead of improvising a structural solution.
- Sort and label components before construction, keeping small fixings contained and glazing safely supported until required.
- Plan helpers around tasks that need steady lifting, accurate positioning or a second check of the frame.
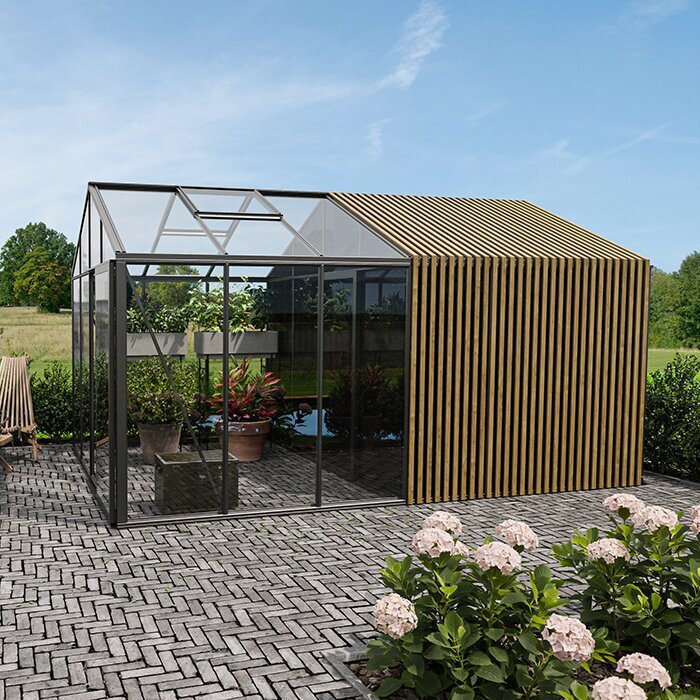
For an experienced self-builder, a full-size regular Lean-To greenhouse kit still requires especially careful sequencing at the adjoining side.
Assess your capability · 03
Skills are practical, not merely enthusiastic
A realistic DIY assessment considers physical confidence, not just enthusiasm for garden projects. Can you work accurately from instructions, measure repeatedly, carry awkward materials safely and remain patient when a step takes longer than expected? Consider whether you have suitable hand tools, safe access equipment where needed and a dry place to stage items. Being able to call on a capable helper is different from assuming someone will be available when the build reaches a difficult stage.
Professional installation does not imply a homeowner lacks ability; it can be a sensible allocation of time and responsibility. It may be particularly attractive where you cannot take time away from work, where lifting is unsuitable, or where the greenhouse is one element of a wider landscaping project. The useful comparison is between your own likely process and the scope, exclusions and assumptions set out by the installer.
- List the tasks you can complete confidently and flag any involving lifting, glazing, heights or specialist groundwork.
- Build in a contingency plan if a helper cancels, weather changes or the site reveals an issue.
If you enjoy precise project work, a standard Classic aluminium greenhouse can offer a rewarding structured build rather than an improvised weekend task.
Read the true cost · 04
Compare scope, not an imagined saving
DIY costs are wider than the kit itself. Include any base preparation, tools you need to buy or hire, protective equipment, help you pay for, disposal of packaging and time away from other commitments. If the project is interrupted, consider the practical cost of storing components safely and keeping the area secure. A DIY route can be excellent value, but only when it is measured against a complete, realistic list rather than the headline cost alone.
A professional installation quotation should be read with equal care. Ask which tasks are included, whether the base must meet stated requirements, how access is assessed and what happens if conditions differ from those described. Clarify whether unpacking, assembly, glazing, fixings and final checks form part of the stated scope. Avoid comparing quotations that cover different preparations or leave different responsibilities with the homeowner. Ask for the quotation to identify any assumptions based on photographs or measurements, so a site visit or later discovery does not leave an important task unassigned.
- Create separate lists for site preparation, assembly labour, equipment and contingency, then compare like with like.
- Ask installers to explain exclusions in plain language before treating a quotation as a complete project figure.
When comparing fitting scopes for a full-size regular Lean-To greenhouse model , pay particular attention to wall-side preparation and access.
Manage the risks · 05
Glazing, weather and access deserve respect
Risk management begins before assembly day. Keep children and pets away from the work area, wear appropriate protective equipment and lift according to the guidance supplied with the product. Glass and long aluminium sections need secure handling, particularly in wind or on uneven ground. Do not treat a calm forecast as permission to work unsafely: exposed gardens can change quickly, and partially assembled frames may be vulnerable to sudden gusts.
Professionals bring their own working methods, but homeowners should still prepare a safe, clear site and disclose relevant access constraints. Narrow side passages, steps, slopes, overhead branches and shared routes should be discussed early. Whether you build yourself or appoint an installer, do not modify structural elements or substitute fixings casually. If something appears damaged, missing or unclear, pause and follow the appropriate support process rather than continuing around the problem.
- Keep packaging, tools and loose components controlled so paths remain clear throughout the build and tidy-up.
- Postpone tasks when wind, rain, poor light or unsafe footing makes accurate handling more difficult.
A carefully planned build is essential for any standard Classic garden greenhouse , especially when glazing and roof-level work begin.
Plan the practicalities · 06
Access can change the installation choice
Measure the route from delivery point to greenhouse base, not just the destination. Gates, passage widths, corners, steps and parked vehicles can all affect how materials are moved through a typical British garden. Think about where components can be placed temporarily without blocking a neighbour’s access or damaging borders. A self-build team may need several clear routes at different stages, while an installer needs accurate information before arriving to assess what is workable.
The greenhouse location also needs to support everyday use after installation. Check door swing, room for pots and wheelbarrows, proximity to water and the way sunlight shifts across nearby trees or buildings. A wall-adjacent design introduces further considerations, including the condition of the supporting surface and any obstructions along it. Discuss relevant building, drainage or boundary questions with your local authority or qualified adviser where appropriate.
- Measure gates and tight turns at their narrowest point, including obstacles that may not be obvious on a simple sketch.
- Photograph the route and proposed base when requesting installation information, noting slopes, steps and fixed features.
Site measurements are particularly valuable when considering a full-size wall-attached Lean-To greenhouse beside an existing building.
Share responsibility clearly · 07
Documentation protects better decisions
With DIY greenhouse assembly, the homeowner takes charge of checking the delivery, following instructions, preparing the base and reporting concerns promptly. Keep paperwork, photographs of the base and notes on any conversations about the project. This creates a useful record should you need to revisit a decision later. It also encourages a disciplined approach: verify components before beginning and avoid assuming a later stage will correct an early alignment issue.
With professional installation, ask who is responsible for surveying, base acceptance, assembly and any work outside the greenhouse itself. Written confirmation is more useful than verbal assumptions, particularly where several trades are involved. If you are arranging landscaping, electrics or water separately, coordinate their sequence so finished work is not disturbed. Check with your insurer whether your planned works affect any policy requirements or notifications. Record any agreed changes to the original plan, such as revised access arrangements or landscaping sequence, so everyone is working from the same current information.
- Keep the supplied assembly documents accessible on site and record any clarification received before acting on it.
- Agree handover expectations, unfinished site tasks and points of contact before an installer begins work.
Documentation is just as useful whether you choose a standard Classic greenhouse model for self-assembly or a professionally fitted project.
Make the final choice · 08
Choose the route that lets you build well
The strongest decision is rarely based on pride or pressure. DIY may be right if you can prepare thoroughly, work safely and give the project the attention it deserves. Professional installation may be the more proportionate choice when time, access, scale or physical demands complicate the work. In either case, take responsibility for the decisions only you can make: where the greenhouse sits, how the base is specified and how the finished space will be used.
Before committing, revisit the product information and your own garden plan. Ask what could make the project harder than expected and whether you have a credible response. A thoughtful installation choice helps preserve enthusiasm for the enjoyable part: sowing, potting and spending time under cover. Bloomcabin can be part of that considered process, with the product route matched to a properly prepared site and clear expectations.
- Choose DIY only when preparation, competent help and safe working conditions are genuinely in place, not merely hoped for.
- Choose professional fitting when it reduces avoidable complexity and the written scope answers your site-specific questions.
For a building-side garden project, explore a regular full-size Lean-To greenhouse design once its site and fitting responsibilities are clearly mapped.
Comparison
DIY assembly and professional installation compared
Both approaches can lead to a well-considered greenhouse, but they distribute time, physical work and responsibility differently. Use this comparison as a discussion tool for your own site, then confirm product-specific requirements and the exact scope of any installation service before deciding.
| Decision area | DIY greenhouse assembly | Professional installation |
|---|---|---|
| Site preparation | You organise, measure and verify base readiness. | You still prepare unless groundwork is expressly included. |
| Practical work | You manage sorting, lifting, alignment and glazing. | Fitters manage assembly within the agreed service scope. |
| Time commitment | Your availability shapes the pace and interruptions. | Scheduling depends on the agreed appointment and site readiness. |
| Tools and help | You supply suitable tools and reliable assistance. | Confirm what equipment and access the team requires. |
| Unexpected issues | You pause, investigate and seek guidance as needed. | Clarify beforehand how site variations are handled. |
DIY suits
Homeowners with a sound, level base, patient practical skills and enough help to handle components safely and in sequence.
Professional fitting suits
Gardens with awkward access, intricate layouts or owners who value coordinated assembly and a clearer division of on-site tasks.
The deciding factor
Preparation matters more than optimism. A careful site assessment reveals whether either route is genuinely manageable before components arrive.
A sensible decision plan
Use this sequence before ordering services or setting aside a build date. It keeps the decision rooted in site evidence rather than assumptions about how easy the greenhouse will be to assemble.
01
Survey the location
Measure the base area, access route and working space. Note slope, drainage, overhead growth, wall conditions and obstructions that could affect handling.
02
Read product guidance
Review the supplied requirements for foundations, fixings, assembly and safe use. Match the proposed greenhouse to the conditions you can actually provide.
03
Audit your DIY resources
List skills, tools, protective equipment, helpers and available time. Be honest about tasks that would require advice, extra equipment or a professional.
04
Request a defined scope
If considering fitting, share accurate site details and ask what is included, excluded and required before the appointment can proceed.
05
Decide with contingencies
Choose the route that remains workable if weather, access or groundwork becomes more complicated. Keep a clear contact route for questions during the project.
Before you choose who assembles it
This checklist separates the essential preparation questions from the appeal of doing it yourself or handing the task over. Tick them off before making a firm installation plan.
01. The proposed base has been measured, checked for level and considered alongside the product guidance.
02. The path from delivery point to base is clear, measured and suitable for carrying long components.
03. You understand who will prepare the ground and whether that work is outside any fitting scope.
04. DIY helpers are confirmed for the tasks requiring lifting, steady holding or an additional pair of eyes.
05. You have allowed a safe, protected area for components, glazing, tools and packaging during assembly.
06. The build date has a sensible weather contingency and does not rely on rushed work in fading light.
07. Any wall, drainage, boundary or planning questions have been checked with the relevant local authority or adviser.
08. A professional quotation, if obtained, states assumptions, exclusions, access needs and the homeowner’s responsibilities clearly.
Frequently asked questions
Can I assemble a greenhouse on my own?
Some stages may be manageable alone, but a greenhouse build commonly benefits from capable help for handling, positioning and checking alignment. Read the product instructions before deciding, assess your physical comfort with the work and avoid treating solo assembly as a test of determination. Safe handling and accurate installation should take priority over speed.
Does professional installation include the base?
Do not assume it does. Installation services can differ in what they cover, so ask for a written scope that identifies groundwork, base requirements, assembly and any exclusions. If a base is not included, establish who will create it, which dimensions and tolerances are needed, and when it must be complete.
What should I prepare before greenhouse installation?
Prepare a suitable base, clear access route and enough working space around the site. Remove obstacles, plan safe storage for components and make relevant site information available. If professionals are fitting the greenhouse, share details of gates, slopes, steps, walls and nearby features before the work is scheduled.
Is DIY cheaper than professional installation?
It can be, but the answer depends on the full project rather than a single charge. Consider tools, paid help, groundwork, your time and the risk of delays or remedial work. Compare those honestly with a current professional quotation whose inclusions and exclusions are clearly stated.
Do I need planning permission for a greenhouse?
Requirements can depend on the property, location, dimensions, siting and local restrictions. Do not rely on a general rule or an installer’s informal view. Check the current guidance from your local planning authority and seek qualified advice when your circumstances, boundary position or property status make the position unclear.
Should I tell my insurer about a new greenhouse?
Insurance arrangements vary, as do policy terms concerning garden structures, installation and damage. Contact your insurer before or during planning to ask whether notification is needed and what documentation they require. Keep your policy wording, purchase records and any installation paperwork together rather than assuming cover applies automatically.
Plan your greenhouse project
Build confidence before you build the greenhouse
DIY greenhouse assembly and professional installation are both credible routes when matched to the reality of the project. The useful question is not which method sounds more economical or impressive, but which one gives the site, structure and people involved the attention they require. Start with the base, access and scope; the answer often becomes clearer from there.
A greenhouse should feel like a lasting part of the garden, not a rushed construction problem. Take time to compare your resources with the demands of the site, clarify professional services in writing and seek appropriate local advice where needed. With preparation in place, you can choose an assembly route with genuine confidence.
Explore greenhouse options with your site measurements, preferred location and assembly approach in mind.
