Raised Beds
Price from
252.02 GBP
138.61 GBP

Raised-bed buying guide
A raised bed that fits on paper can still be awkward to tend once it's in place. Start with the edges you'll be able to work from, then choose a shape and wall height that suit the space and what you want to grow.
Single beds, modular combinations and garden kits
3 layout groups
Nominal outer footprint of a compact single bed
100 × 50 cm
Nominal overall footprint of the largest courtyard kit
500 × 500 cm
Accoya timber forms the top wall course
Accoya Fusion
Think about how you'll use the bed through the growing season. One long planting strip might suit a row of salad leaves, while separate bays let you give different crops a place of their own. If you're planning several beds, decide how you want to move between them before you settle on the outline.
Once you have a shortlist, compare the wall materials and work out what's involved in preparing the ground, putting the bed together and filling it.
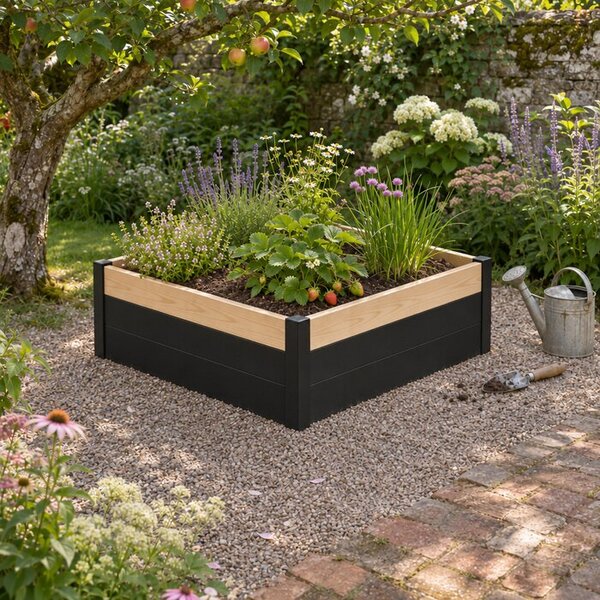
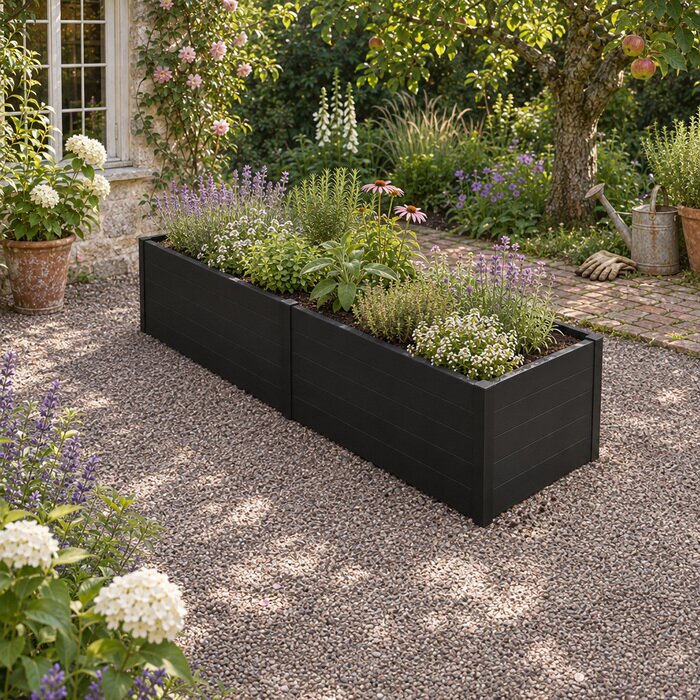
Start with single raised beds if you want one continuous planting area. The range includes narrow, square and rectangular shapes. A narrow bed can make use of a strip beside a path without occupying as much space across it as a square bed. A rectangle gives you a longer run for planting rows; a square may make better use of a spot where there isn't much length to spare.
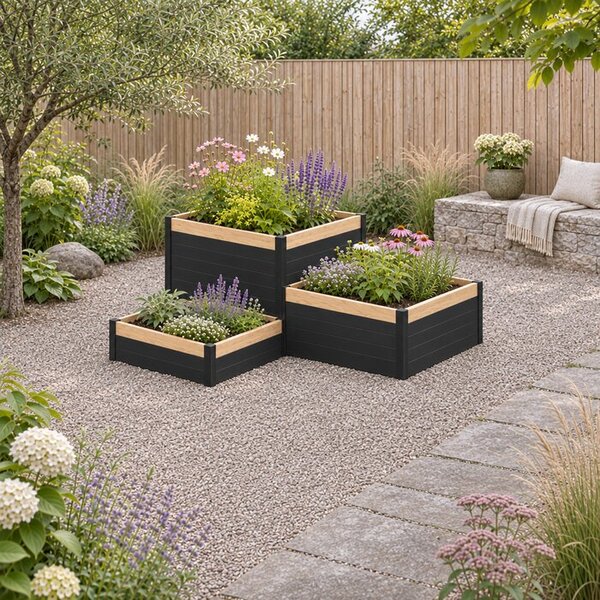
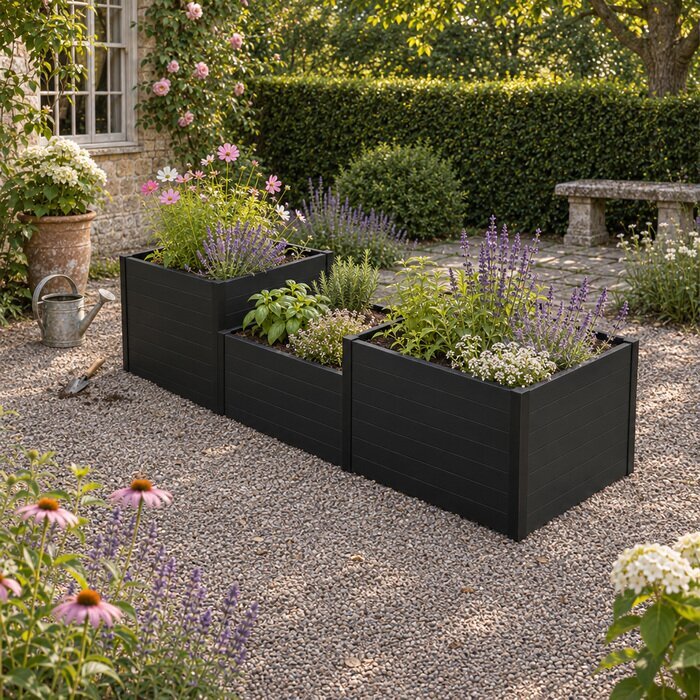
Choose a modular raised-bed combination if you want linked but distinct bays. Two- and three-compartment designs let you give each planting group its own space without putting a path between every compartment. L-shaped combinations turn a corner, and level or stepped versions give you different wall-height arrangements within the same layout.
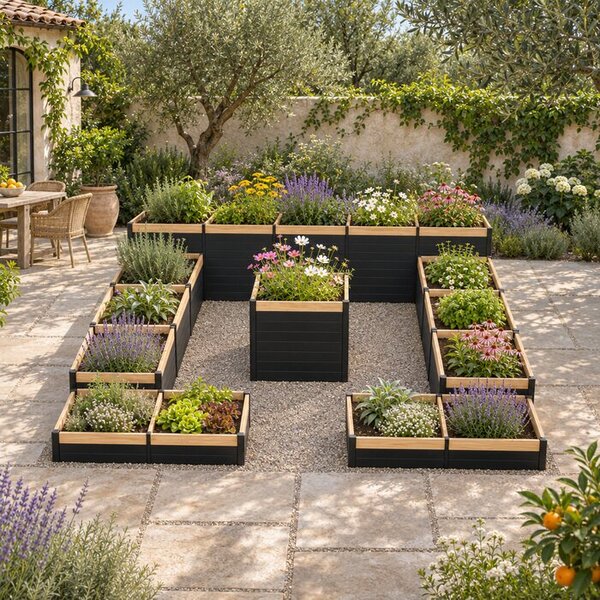
A raised-bed garden kit makes sense when you're planning a whole growing area rather than fitting a bed into a spare strip. The range includes U-, E- and T-shaped layouts, paired L-shaped beds and a courtyard arrangement with a central planting island. Compare how each layout uses the space: an inward-facing arrangement puts several planting edges around one recess, whereas separate outlines may suit a plot crossed by an existing path.
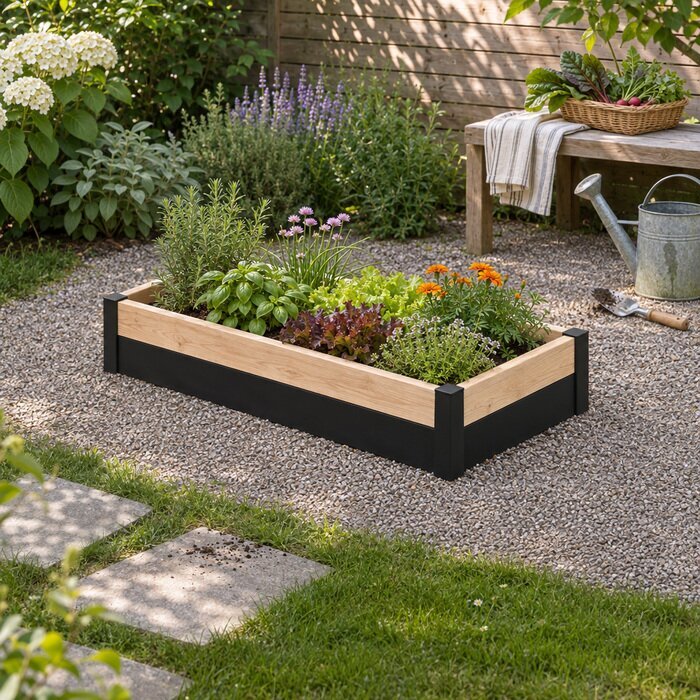
Classic aluminium gives you a metal finish at the top of the wall as well as below it. Accoya Fusion uses Accoya timber for the top wall course rather than making the whole bed from wood. If you like the look of timber but don't want it across the full wall face, the Fusion design is worth comparing. Look at the proportion of wood to metal on the wall height you want.
On the compact Accoya Fusion bed with 20 cm walls, the Accoya boards form the upper 10 cm of all four walls. The lower 10 cm and the corner posts are aluminium. That split is specific to this model: don't assume that timber makes up half the wall on a taller Fusion bed.
Wall construction also matters when you're deciding which design to assemble. On the long, narrow Classic aluminium bed with 60 cm walls, each long side is made from two 100 cm wall sections joined by an aluminium T connector. The long side is therefore not a single panel. On connected layouts, use the component drawing to tell a join along an outer wall from a divider between planting bays.
Use three measurements for different jobs. The nominal outer footprint is the listed size of the whole bed or arrangement. The planting area is the space assigned to growing, listed separately where specified. Clear access is the usable space left once walls, boundaries and other obstructions are accounted for. It can include gaps within a layout as well as room outside it.
The five-bay U-shaped aluminium kit has a nominal overall footprint of 300 × 200 cm and a listed nominal planting area of 5 m². Its nominal 100 × 100 cm notch is part of the overall layout, not another planting bay or a guaranteed clear opening. The small notch in a compact L-shaped combination is not a walking aisle.
Mark the edges on the ground and try reaching towards the middle from the sides you'll actually use. More wall height can reduce bending, but it won't bring the far side of a wide bed closer. For a stepped layout, read the heights in position: the tall triple aluminium example has 80 cm walls at the outer bays and 50 cm walls at the centre. Compare those heights with how you prefer to work.
Choose a spot that gets the light your intended plants need. The four featured models have open bases, with no floor panel between the fill and the prepared ground. For these beds, start with freely draining ground. Clear the proposed outline and check for dips or slopes where the walls will sit. On a multi-bay design, prepare the ground under the dividers as well as around the outside.
Choose suitable topsoil and organic matter for what you intend to grow rather than using the same recipe for every bay. If two compartments will have different planting plans, decide what each needs before ordering the fill. Wall height is a construction measurement, not an instruction to fill to the rim or a universal rooting-depth recommendation. Base the quantity you order on the level you intend to fill to.
Decide where the soil can be set down while you work. With a kit, think through the order in which you'll fill the bays: starting with the hardest one to reach can save you carrying soil past finished sections. Let the soil settle and check the level before deciding how much to top up.
Use the assembly instructions for the model you've selected. For a stepped or multi-bay design, sort the parts by bay and wall height, and identify the corners and divider junctions on the drawing. A front and back that look interchangeable before assembly may put a taller bay in the wrong place for the way you've planned to tend it.
Before adding soil, walk around the assembled bed and check it against the drawing. Look at where the dividers meet the outer walls and whether the frame sits evenly on the prepared surface. If a section is out of position or a connection doesn't sit as shown, put it right before filling, while you can still reach both sides of the wall.
Once planted, check moisture in each bay instead of assuming they all need watering on the same day. Raised beds can dry out faster than surrounding ground, and plants in neighbouring bays may have different needs. During routine tending, notice if a join has shifted or a fitting has loosened. Use the care guidance for the chosen finish before applying any cleaner or treatment to the walls or timber top course.
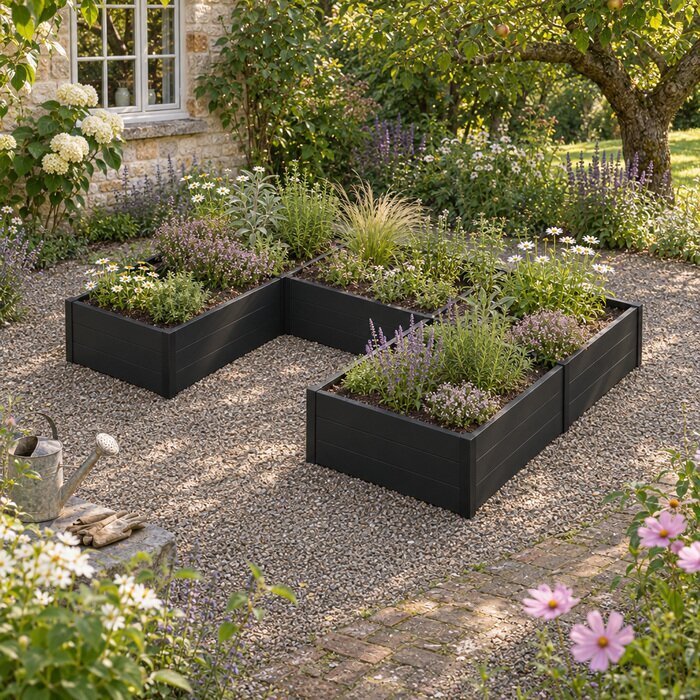
Choose a modular combination for the layout shown, not on the assumption that it can be extended later. The package contains the selected arrangement, not the alternative layouts shown in the collection. If you want to build up the growing area over time, leave space for another freestanding bed.
Sketch the outline in the orientation you intend to use and mark where any taller bays will sit. Turning the whole layout is not the same as mirroring it: if the short arm needs to be on the opposite side, don't assume the supplied sections can be rearranged.
Check the clear width at the narrowest point, not just the nominal dimensions of the recess. Allow room for the handles and for yourself as you turn or reverse. If you can't turn inside the gap, plan where you can stop outside the kit to unload.
An open base is not a container floor, so don't assume a model intended for prepared ground will work on paving. Before buying, establish whether the chosen model is suitable for that surface and how the fill would be contained without obstructing water runoff.
Multiply the internal length, width and planned fill depth in metres, then multiply the result by 1,000 to get litres. For a stepped layout, estimate each bay separately and add the results. If you only have nominal dimensions, treat the result as a rough estimate, not an exact order quantity.
No. The two narrow beds, the stepped triple bed and the five-bay U-shaped kit described here are supplied unassembled. When planning the job, allow space to lay out the wall sections beside the installation site so you can sort them without blocking your route to the bed.
If one planting space is enough, compare narrow, square and rectangular beds and choose a wall height that suits the way you garden.
