
DIY Window Installation vs Hiring a Professional
Window and door buying guide
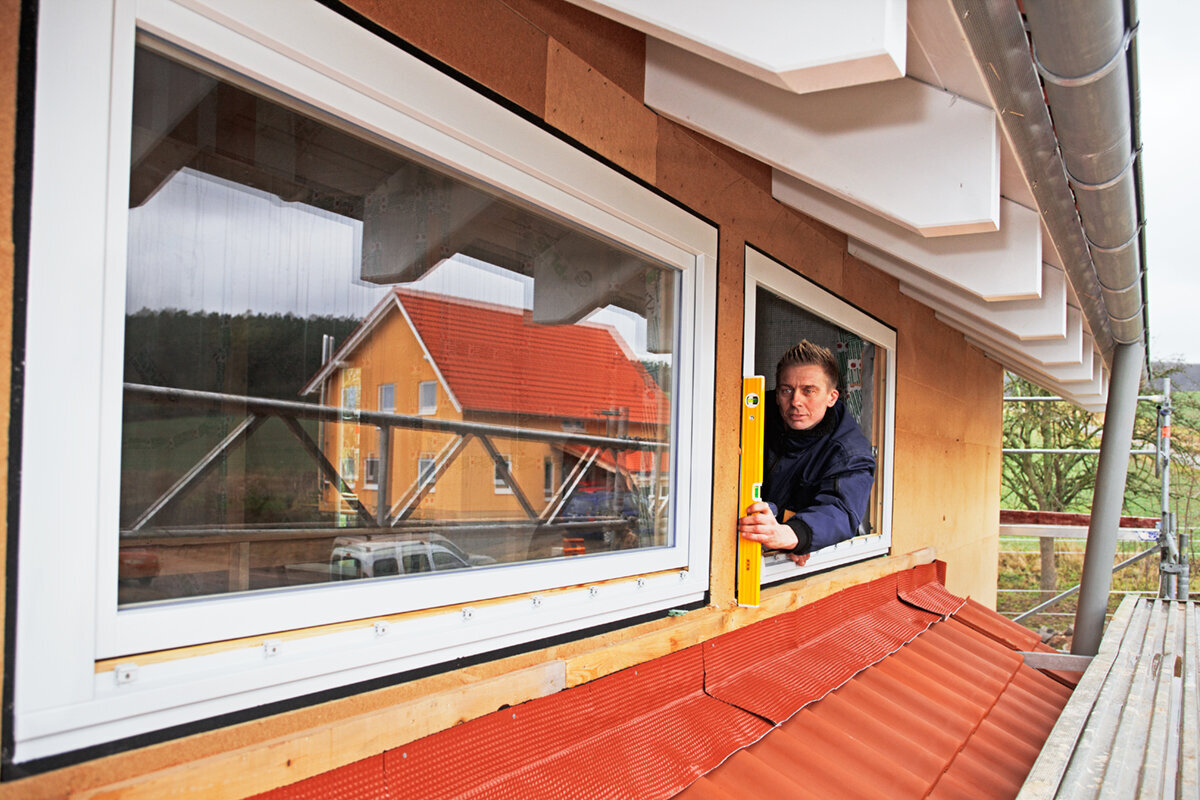
A retrofit window project often becomes more complicated at the moment the old frame comes out. The new unit may be carefully chosen, yet the opening can reveal tired timber, uneven masonry, damaged finishes or an awkward route through the house. That is why the DIY-or-professional decision should be made before ordering, alongside access, opening direction and the condition of each reveal. Replacing an accessible, like-for-like unit in a sound opening is not the same task as fitting a large patio door, changing a window’s operation or working near a roofline. Start by defining the full boundary of the job: removal, preparation, lifting, fixing, perimeter sealing, adjustment, internal finishing and external making-good. Then decide which parts you can competently control and where a professional handover would reduce uncertainty.
Begin with the opening, not the tool list
A list of drills, levels and sealants can create false confidence if the opening itself has not been assessed. Before choosing an installation route, inspect each window or door from indoors and outside. Note whether the frame sits squarely, whether finishes are sound, whether there are signs of moisture, and whether the sill, threshold and surrounding wall look stable. Photograph the four sides before removal so that existing details can be discussed or recreated. A DIY plan is more robust when it includes a clear stop point: if removal exposes deterioration or an unsuitable support condition, pause the work rather than packing out or covering a problem without understanding it.
Separate straightforward replacement from work that changes the building fabric. Retaining a serviceable opening and exchanging a similarly sized unit is a narrower task than enlarging an aperture, altering a threshold or repairing concealed structure. Write a scope for every location, including removal, protection of floors and landscaping, disposal, temporary weather cover, finishing and cleaning. This makes quotations comparable and exposes tasks that neither route should leave to assumption. If the project touches structural support, fire separation, roof work or other compliance-sensitive details, obtain advice from the appropriate qualified professional before proceeding. A confident installer is valuable, but the right expertise must match the condition uncovered.
Treat measurement as a decision checkpoint
A made-to-order window cannot correct an uncertain survey. Measure the opening in more than one place across width and height, check diagonals for squareness, and record depth, sill arrangement and any obstruction that affects the frame or opening sash. Measure from stable reference points rather than from loose trim or irregular sealant. Record each result against a room name and a sketch showing inside and outside faces. If existing openings vary across a row of windows, do not assume one dimension applies to all. The order should reflect the agreed measuring convention and the manufacturer’s stated requirements, rather than a guess based on the visible glass size.
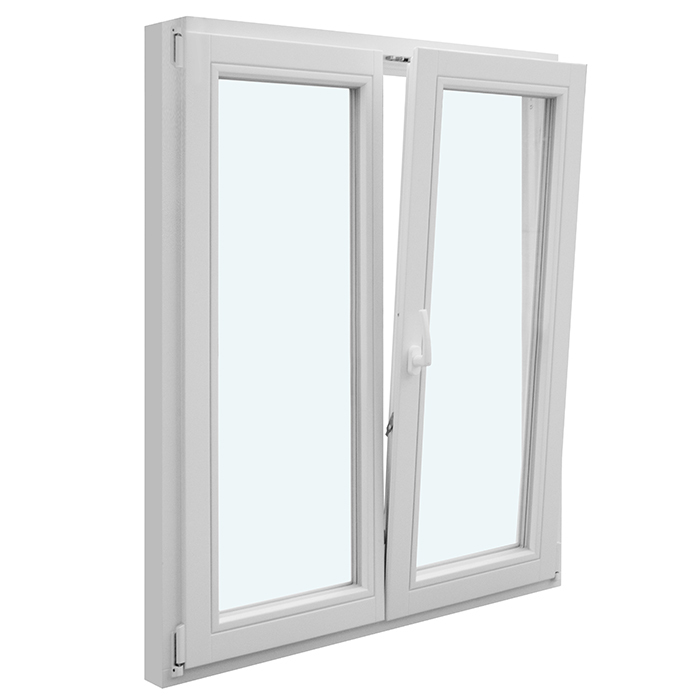
The selected design also changes what must be measured. A two-sash inward-opening window needs adequate internal clearance for both sashes, handles and furniture as well as a suitable opening. A fixed unit has no swing path, but its frame still requires correct support and perimeter detailing. Ask who takes final responsibility for the order dimensions if you employ an installer, and ask whether they want to survey before the order is confirmed. When measuring yourself, keep the original notes, photographs and product configuration together. That file is useful when checking the delivered item and when resolving a mismatch before installation begins.
Match the route to the product’s operation
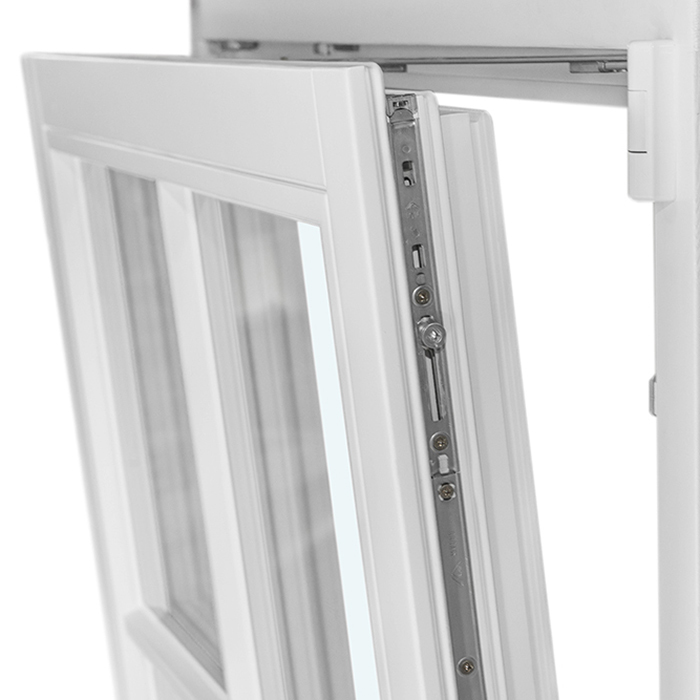
Operation affects more than daily use; it affects handling, fitting sequence and final adjustment. Side-hung windows need their opening arc checked against paths, planting, railings and neighbouring features. Inward-opening designs need space clear of blinds, radiators and furniture. Top-hung units call for attention to reach, opening clearance and how they will be tested once in place. For an single-sash outward-opening side-hung window, establish which side is hinged and where the handle will be before treating it as a simple replacement. A unit that physically fits can still be the wrong choice if its movement conflicts with its surroundings.
Make a room-by-room operation sheet before purchase. Include intended use, likely cleaning access, temporary restrictions during fitting and which person will check the final opening and locking action. This is particularly helpful where several similar windows have different handing. DIY may remain practical when the operation is familiar and the unit can be positioned, secured and tested without rushing. If a change of opening direction, a non-standard shape or a new arrangement creates unanswered questions, professional surveying or installation can be a proportionate middle ground. It is better to clarify the configuration before delivery than to discover a clearance issue after finishes have been removed.
Plan lifting, access and safe temporary storage
The practical limit of DIY is often moving the unit rather than fixing it. Consider its route from delivery point to opening: gates, steps, narrow halls, turns, stairs, finished floors and the place where it can be stored safely if weather interrupts the job. Decide who will receive the delivery, inspect it and move it without putting people or the unit at risk. Do not assume one person can control a large glazed assembly simply because it appears manageable while packaged. A professional team may bring suitable lifting arrangements and a rehearsed sequence, which can matter more than speed.
Access outside deserves equal attention. Ground conditions, planting, extensions, conservatories and height can make it hard to remove an old unit while protecting the area below. A top-hung outward-opening window placed above a lower roof or tight side passage deserves a different access plan from a ground-floor replacement facing a clear patio. If you choose DIY, schedule enough help and avoid relying on improvised support. If you hire a professional, ask how access, protection and removal are included in their scope. The answer shows whether the quoted work covers the real site conditions or only the final fixing stage.
Weather management is a complete perimeter task
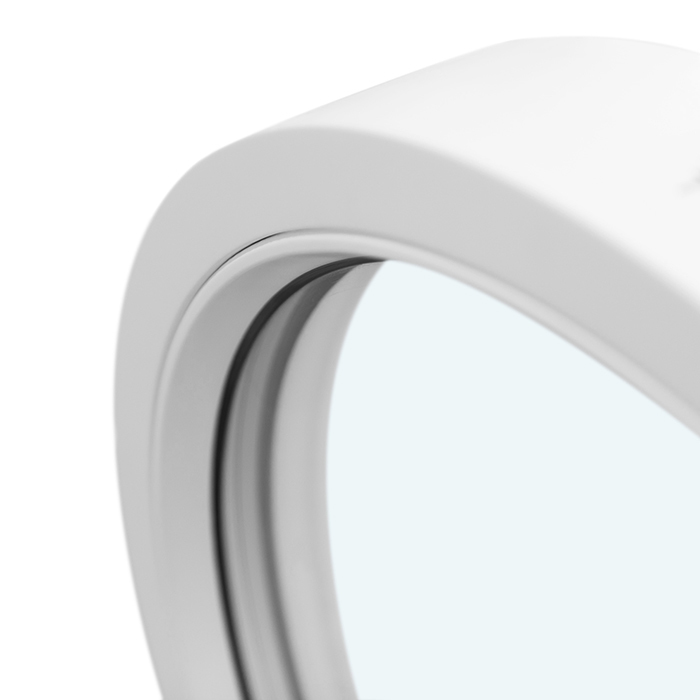
A neat bead visible from outside is not, on its own, a weather-management plan. The frame must be positioned and secured in a prepared opening, with compatible perimeter details arranged in the sequence specified for the product and wall construction. The important question is how water is directed away, how gaps are treated, and how the inside and outside interfaces will be finished without trapping problems out of sight. Read the product installation information before committing to DIY, not after the old window has been removed. If you cannot explain each layer and its purpose, seek an experienced installer or arrange technical guidance.
Existing finishes can complicate this work. Render, cladding, brickwork, tiles and internal linings may all need careful removal and reinstatement around the frame. A fixed non-opening window eliminates hardware adjustment but does not eliminate the need for a continuous, carefully completed perimeter. Ask a professional whether they include removal and replacement of trims, sealant, making-good and any necessary repair discovered once the frame is out. For a DIY project, identify which materials and finishing skills are genuinely within your capability. Leaving a temporary exterior detail through changing weather is rarely a sound substitute for a planned completion sequence.
Doors raise the tolerance for error
Doors combine a larger opening, repeated movement, threshold detailing and a more demanding alignment task. A frame that is slightly out of position can affect gaps, latching, seals and the way the leaf moves. Patio doors also change how people, furniture and water move through the threshold area, so the surrounding surface levels and drainage considerations should be understood early. The installation choice should include the time needed to test operation repeatedly before internal and external finishes conceal adjustment points. Do not treat a door as a bigger window merely because both are glazed assemblies.
For example, outward-opening bifold doors introduce multiple leaves and a wider opening, making coordinated setting and adjustment especially important. A professional installation may be the sensible choice even for an otherwise capable DIYer who is happy to complete subsequent decoration. Alternatively, a homeowner might prepare the room, remove furnishings and arrange final interior finishing while an installer handles the frame, weather interfaces and operational setup. Ask for the installation boundary in writing: who checks the prepared opening, who makes threshold conditions ready, who carries out final adjustment, and who returns if the door does not operate as expected after completion.
Decide who owns repairs and finishing
The most useful comparison is not DIY versus an installer’s fitting fee. It is two complete project plans. One plan may include your time, helper availability, tools, protective materials, waste handling, temporary cover, trim, decoration and the possibility of pausing for repairs. The other may include a professional’s survey, installation, finishing exclusions and separate repair work. Neither will necessarily include every surrounding task. A written breakdown prevents disappointment when an exposed reveal needs plastering, a sill needs attention or exterior finishes have to be matched. It also helps you decide whether a hybrid project is realistic.
A hybrid arrangement can work well when responsibilities are explicit. You might appoint a professional to survey and fit, then complete decorating after the work has been checked; or engage a qualified trade to repair the opening before fitting a unit yourself. Avoid a vague handover where each party assumes the other will solve an issue. For an panelled entrance door outward opening, clarify the exact condition expected at the threshold and what finishing is excluded. Keep dated photos of the opening before, during and after work. They create a practical record of decisions and make it easier to discuss any visible concern promptly.
Check specification before placing the order
Installation cannot rescue an unsuitable configuration. Confirm the product type, overall dimensions, opening direction, handing, glazing arrangement, handles, colour, decorative bars where chosen, and any other selected options against your drawings and survey record. A window that looks similar online may have a different opening pattern or frame proportion from the unit it replaces. Make one person responsible for consolidating the final schedule, rather than allowing measurements from messages, sketches and verbal conversations to compete. Review every line against the relevant opening before authorising production, especially where several rooms use related but not identical designs.
Some choices change both installation planning and the finished room. A Patio Life side-sliding patio door requires consideration of which panel slides, where it stacks and how that arrangement suits access and furnishing. Explain the intended use to the supplier or installer rather than specifying only a width and height. Ask what information they need from you before order confirmation and what fitting instructions apply to the selected configuration. Bloomcabin windows and doors have a 5-year warranty; retain the order details, delivery inspection record and installation documentation so the product and completed work can be identified accurately if questions arise later.
Programme the work around uncertainty
A realistic timetable includes more than the fitting day. Allow time to verify the order, prepare access, arrange assistance, protect rooms, receive the product, inspect it on arrival and coordinate any finishing trade. Bloomcabin delivery is 4–6 weeks, subject to order confirmation, so avoid removing existing units before the confirmed delivery plan and site readiness are aligned. Weather, access and unexpected opening repairs can all alter a DIY schedule. Professional fitting does not remove uncertainty, but it can give the project a defined team responsible for sequencing the installation work. In either case, avoid scheduling irreversible interior work too tightly around delivery.
Create a simple contingency plan. Decide how an opening will be protected if work stops, who can assess a problem, and whether you have spare time before other trades arrive. A pivot roof window adds the need to think carefully about access and exposure at roof level, making a professional route particularly worth considering where you lack proven experience in that setting. Confirm the arrival condition of each product before installation, checking it against the order while any issue can still be raised clearly. Rushing to fit a unit because removal has already started reduces your ability to make good decisions.
Choose accountability that fits your confidence
DIY offers direct control over pace and finish, and it can be satisfying where the scope is contained and your skills are established. It also makes you responsible for measurement, preparation, installation sequence, quality checks and diagnosis when the opening differs from expectation. Professional installation brings a different form of value: an experienced team can take responsibility for the agreed fitting scope and coordinate their work around the product. That does not mean you should disengage. You still need to understand exclusions, approve changes and inspect the result before final finishes hide important details. The strongest choice is the one with the fewest unowned decisions.
Before deciding, ask yourself five plain questions. Can I survey the exact product confidently? Can I move and support it safely? Can I prepare and protect the opening if conditions differ from expected? Can I complete the perimeter details to the manufacturer’s instructions? Can I test and correct the finished operation before decorating? A clear yes to all five may support DIY on an accessible replacement. One uncertain answer is a reason to seek professional input, whether for the complete installation or a defined stage. Get the proposed scope, product schedule and any agreed remedial work written down, then choose based on control and accountability rather than optimism.
Frequently asked questions
Can I install replacement windows myself?
Potentially, if the opening is sound, access is straightforward and you can follow the specific product instructions from survey through to final adjustment. Start with a limited, accessible opening rather than making a complex door or high-level window your first project. If removal reveals damage or uncertainty, pause and obtain suitable professional advice.
Is a fixed window easier to fit than an opening window?
A fixed window avoids sash clearance and hardware adjustment, which can simplify part of the task. It still needs accurate measurement, correct support, secure fixing and well-planned perimeter weather management. Treat it as a simpler operating configuration, not as a shortcut around opening preparation or careful finishing.
What should an installation quotation include?
Ask for the product schedule, survey responsibility, removal, access arrangements, protection, installation scope, finishing exclusions, waste disposal, adjustment and the process for unforeseen opening repairs. Also clarify who supplies or reinstates trims and surrounding finishes. A detailed scope is more informative than a single labour figure when comparing installers.
Should I remove old windows before the new ones arrive?
Usually, avoid removal until the order, delivery arrangements and installation plan are confirmed. Existing windows provide security and weather protection while you inspect incoming products against the order. If an opening must be exposed, have a credible temporary protection plan and enough time to respond if site conditions require repairs.
Can I do the finishing work after professional fitting?
Yes, that can be a practical division of work when agreed in advance. The installer may fit and adjust the unit while you handle decorating or selected trim work afterwards. Define the handover condition precisely, including who completes internal and external perimeter finishes and when the installation is inspected.
Next steps
The DIY decision is strongest when the replacement is accessible, the opening has been properly assessed and you can own every step from measurement to final checks. Professional installation is not simply a convenience purchase; it can provide a clearer route where lifting, access, perimeter detailing, repair risk or complex operation makes the job less predictable. For either route, prepare a room-by-room schedule, confirm the exact configuration, document the opening and set out responsibility for repairs and finishing before the order is confirmed. That preparation protects the project far better than choosing DIY or professional fitting on confidence alone.
