
Front Doors With Sidelights and Toplights: How to Plan the Entrance
UK entrance planning guide
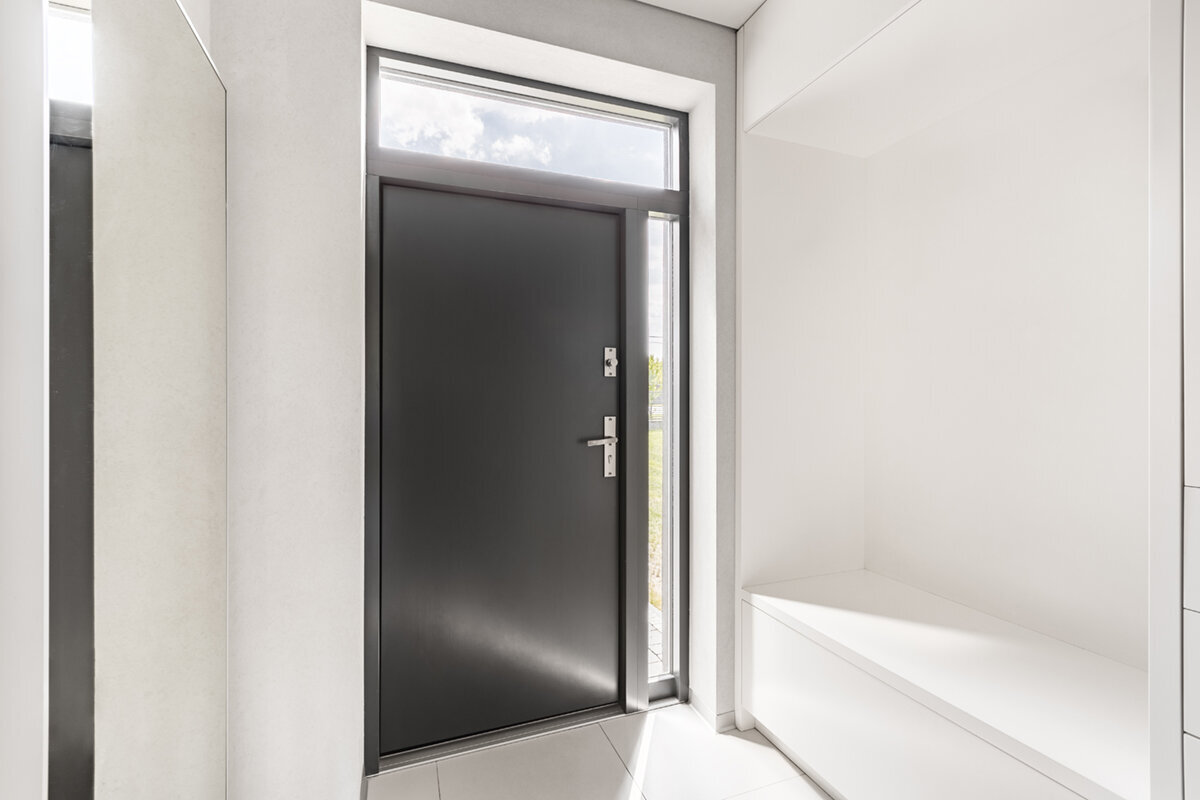
A replacement entrance is often treated as a door swap until the old frame comes out and reveals how much the hall depends on the narrow panes beside it or the glass above it. Sidelights and toplights can bring daylight into a deep hallway, give a modest façade a clearer focal point and retain a practical everyday door leaf. They also turn a simple replacement into a coordinated opening: the threshold, frame lines, swing, privacy, sightlines, internal plasterwork and exterior detailing all need to work together. Start by deciding what must remain easy on an ordinary wet weekday, then test how a wider or taller glazed composition will look from the pavement and feel from inside. The best choice is rarely the most glass; it is the arrangement that makes arrival, security, light and proportion feel resolved together.
Begin with the route through the entrance
Operation comes before appearance. Trace an inward-opening leaf through the hall, checking for a radiator, shoe storage, furniture, mats and nearby doors. Then trace an outward-opening leaf across the landing or path, allowing for visitors, parcels, steps, railings and planting. A fixed sidelight or top light can increase daylight and apparent scale without adding another moving leaf, but the main door must remain convenient for everyday arrivals and the largest routine items brought into the home.
Do not assume that retaining the old door position means the project is straightforward. Replacing within an existing opening, widening into masonry at one or both sides, and raising the head for a top light are different scopes of work. Photograph the façade and hall, note nearby electrical points, pipes, alarm components, flooring changes and trims, and measure from the opening to corners, ceiling and porch structure. A qualified professional can assess the existing wall and proposed alteration. If external clearance makes it the more practical operating approach, compare outward-opening external doors as the active leaf option, while asking separately how fixed glazed companions will be formed around it.
Draw the façade before selecting a glass pattern
Measure more than the aperture. The useful drawing includes the finished threshold level, wall area to each side, nearby windows, porch posts, brick courses or cladding lines, exterior lights and the underside of any canopy. A front elevation makes it easier to see whether a symmetrical pair of sidelights gives a formal centre or whether one sidelight better respects an off-centre path, a boundary wall or a neighbouring window. It also prevents a common disappointment: a door-and-glass set that looks balanced in a product image but leaves an uncomfortably thin strip of wall or mismatched trim on site.
Make two scaled sketches with the same overall outer dimensions. In one, show a wider door with little or no side glass; in the other, show a narrower active leaf framed by sidelights. The first may feel more direct and solid, while the second may create a brighter, more articulated entrance. Then test a top light: it can lift the composition and carry daylight further into a hall, but its horizontal line must have a convincing relationship with the whole opening. Ask for an elevation showing the outer frame, mullions, transom line, glazing bars if chosen, and proposed internal and external finishing lines, rather than approving a door leaf image alone.
Plan the whole opening
Choose side glass for the job it must do
A sidelight can be a narrow daylight slot, a generous glazed panel, or one deliberate asymmetrical counterweight to the door. Its width should arise from the entrance as a whole, not from an attempt to make every component equal. A narrow glazed panel beside a solid-looking door can reveal whether someone is at the entrance and brighten the edge of a corridor. Two larger panels create a more ceremonial composition, yet they also make the interior more visible and increase the number of frame junctions to coordinate. Think about where coats, keys and post accumulate inside; a bright sidelight behind a tall hall cabinet may deliver much less benefit than expected.
Keep the vocabulary exact when discussing the order. A sidelight is usually fixed glazing beside the door, not an additional usable door leaf. Confirm its finished width, whether it is one uninterrupted pane or divided by bars, its glazing choice, and whether it shares the door frame as one assembly. A product category such as single-panel door sidelights is a useful starting point where a clean, single glazed side element is the intended visual effect, but it does not settle the full entrance specification by itself. Request a written list of every component so the quoted door, sidelight, handle preparation and frame configuration describe the same design.
Use toplights to solve height, not merely to add decoration
A top light, often called a fanlight or transom in everyday conversation, is especially helpful where a hall has generous height but limited width for sidelights. It can make a low, heavy-looking door opening feel more vertical and admit daylight above a person’s direct eye line. First establish whether the glass should span only above the door leaf or above the full door-and-sidelight assembly. Those alternatives produce very different frame grids. A top light over the whole composition can read as one calm rectangle; one limited to the door can emphasise the active entrance while keeping side panels visually separate.
Look from both sides before settling the transom height. Outside, alignments with a porch roof, lintel, surrounding windows or a horizontal trim band can make the arrangement seem intentional. Inside, consider ceiling height, cornice, a stair return and the top of the internal doorway. A shallow top light can look crowded against the ceiling, whereas an overly tall glazed zone may change the hall’s sense of enclosure. Where a curved head is genuinely part of the proposed elevation, a semicircular fixed window can be considered as an alternative to a rectangular top light. The supplier should confirm its shape, fixed status, dimensions and relationship to the door frame rather than relying on a catalogue image.
Test privacy at standing height and after dark
Privacy decisions improve when they are tested from real places rather than described in general terms. Stand where a caller, passer-by, neighbour opposite or person on the path can reasonably be, then consider what is visible through each proposed pane. Repeat inside from the hall, stair and any room that opens onto the entrance. Clear glazing may be welcome where the garden approach is private or where seeing the weather and arrivals matters. Obscured or patterned glazing can preserve daylight while reducing detail, particularly at lower side-glass level. A mixed approach is also possible: clearer glass above and more private treatment where people stand nearby.
Night-time deserves its own test. Once the hall light is on and outside is dark, a glazing choice that felt discreet in daytime can expose silhouettes and movement. Curtains, blinds and planting may be options, but each adds an operating and maintenance decision to an entrance used many times a day. Consider sightlines to keys, letter storage, a stair and the route deeper into the home, not just the view of the floor. Take photographs from outside in daylight and at dusk if possible. They give the design conversation a concrete basis without forcing a choice between a gloomy solid door and an entirely transparent entrance.
Coordinate the door leaf with the glazed frame
The door leaf needs enough visual weight to sit comfortably within the larger frame. A solid panelled design can anchor broad clear sidelights, while a partially glazed door may create a lighter overall composition. Neither is inherently better. Compare the proportion of solid and glazed areas, the handle position, letterplate location if required and the line of any panels against the frame divisions. A door with decorative bars should be reviewed together with the sidelight and top-light layout; bars that look pleasing on the leaf can become busy when repeated across several panes. Keep decorative bars distinct from glass-dividing bars, which change the actual pane layout.
For an entrance intended to have a more traditional panelled centre, panelled outward-opening entrance doors provide a relevant door-leaf direction to discuss alongside fixed side and upper glazing. Confirm the outward-opening configuration suits the site rather than selecting it for appearance alone. Colour also works at the scale of the full assembly: review the door, outer frame, mullions, external trim, threshold and visible internal faces together. Ask for the finish description on the order confirmation, and establish which side or face it applies to. A minor difference at a frame junction is much more obvious around a brightly lit entrance than on an isolated door leaf.
Plan the whole opening
Treat frame lines and glazing bars as an elevation grid
Frame divisions are not background details. The verticals at either side of the active leaf, the horizontal of the top light and any glazing bars establish the grid that visitors see first. Aligning those lines with nearby windows can create a composed façade, but copying every division is not always right. Compare plain glazing, decorative bars and glass-dividing bars at the scale of the complete frontage. If a sloping or otherwise non-rectangular head is being retained, fixed triangular and angled windows offer an alternative shape to discuss, but the proposed geometry and frame junctions must be drawn specifically for the entrance.
Hold the drawing at the scale of the actual frontage, or tape the approximate outer dimensions on a wall before committing to a busy pattern. This reveals whether the door’s own panels, a letterplate, a handle and the side-glass divisions compete for attention. If the façade already contains small-paned windows, a related rhythm can be considered through historic-style kombi outward-opening side-hung windows elsewhere in the house, but do not assume matching names mean matching dimensions or construction details. The important question is visual coherence: identify the few horizontal and vertical lines that should align, then let the entrance retain a clear hierarchy.
Plan daylight as part of the hall, not a façade effect
Judge daylight by the part of the hall it needs to serve. Observe where the darkest section lies and whether a cupboard, wall return or deep porch blocks the route from the entrance. A top light can brighten the upper hall and ceiling, while a sidelight can bring light closer to the floor and side wall. Orientation, nearby buildings, porch depth and interior finishes all affect the result, so ask for a design response to the actual setting rather than assuming that a larger glazed area will always feel brighter.
Avoid adding a separate opening element merely to chase more light where fixed glazing answers the brief. A fixed non-opening window illustrates the distinction: a fixed pane is selected for light and appearance, while an opening window introduces ventilation operation, clearance and cleaning considerations. At a front entrance, decide which role each glazed part has before discussing its form. Pale internal walls may help reflect what daylight arrives; a dark painted hall may make even generous glass appear subdued. Plan lighting as well, including how switches, sensors or wall lights relate to the new frame, so the entrance remains legible and welcoming after sunset.
Resolve thresholds, drainage and everyday finishing early
The threshold is where the door, exterior approach and interior floor meet, so it should be considered before the frame size is frozen. Record the existing step, porch surface, mat well, floor finishes and direction water naturally travels across the approach. The installer and relevant qualified professional should determine how the new assembly is fitted and finished for the actual construction. From a buyer’s perspective, the useful questions are practical: where will the weathering details be, how will exterior paving meet the threshold, which trim is included, and who is responsible for making good plaster, paint and flooring? Do not leave those interfaces to an assumption between trades.
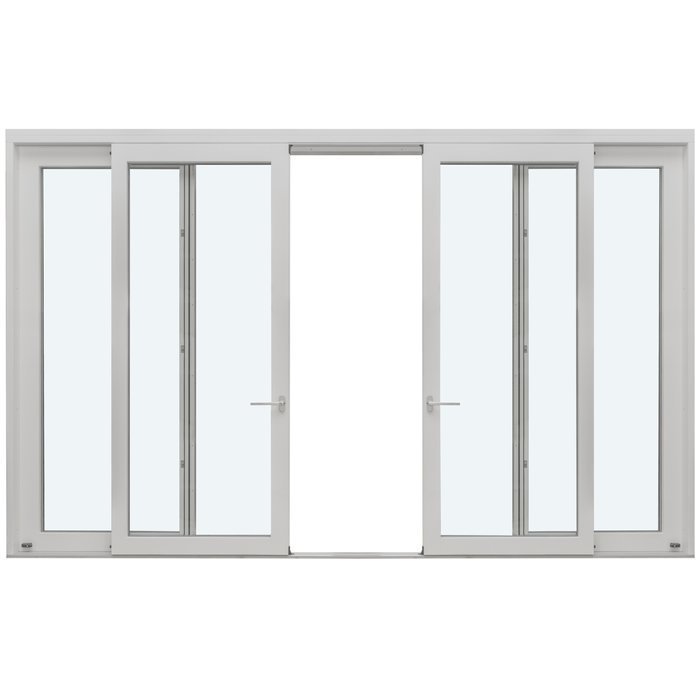
Check door swing again with those surfaces in place. An outward-opening door needs clear ground at the landing; an inward-opening door needs internal mat and furniture space. If a porch creates a tight approach, a simple active door with fixed glazed companions is often easier to understand than a more complex multi-leaf arrangement. Patio products such as single-leaf outward-opening patio doors can be useful as a comparison for the consequences of an outward swing, but a front entrance should be specified as an entrance assembly, with its own threshold, hardware and surrounding fixed panels confirmed. The comparison is not a substitute for a coordinated front-door design.
Turn the concept into an order-ready schedule
Before requesting final pricing or placing an order, prepare one page that names the complete arrangement. Include site photographs, measured width and height at several points, a simple interior and exterior elevation, desired handing and opening direction, door leaf style, sidelight positions, top-light extent, glazing privacy intention, bar layout, colours, handle location, letterplate or other door furniture, threshold expectations and known site constraints. Mark what is an existing dimension and what is a design preference. This document makes it far easier for a supplier to identify unanswered questions and for you to compare alternatives on a like-for-like basis.
Ask for the final proposal to distinguish supplied products from site work and finishing work. Confirm the outer frame size rather than relying only on a nominal door dimension, plus each fixed panel, visible division and finish. Check who will verify final measurements, what information is needed before production and what changes are possible after confirmation. Bloomcabin windows and doors carry a 5-year warranty. Delivery is typically 4–6 weeks, subject to order confirmation, so do not programme removal work solely around an early design conversation. A calm final review of the drawing, component schedule and responsibilities is more valuable than rushing to select the most decorative option.
Frequently asked questions
Are sidelights better on both sides of a front door?
Not automatically. Two sidelights give a balanced, formal composition when the door is centred and there is enough façade width. One sidelight can be more effective beside an offset doorway, narrow path or nearby wall return. Compare the full outer frame and surrounding wall, rather than judging symmetry from the door leaf alone.
Can I have a top light without sidelights?
Yes. A top light can be the appropriate way to add daylight and vertical emphasis where widening the opening is undesirable or impractical. Decide whether it sits above the door only or across the complete assembly, then check its relationship to the porch, internal ceiling and any nearby façade lines.
What glazing gives privacy without making the hall dark?
Obscured or patterned glazing can reduce detailed views while still admitting daylight. The right choice depends on the actual approach, neighbouring sightlines and what can be seen from the hall. Assess it by day and after dark with internal lights on. A mix of clearer upper glazing and more private lower glazing may suit some entrances.
Should the front door open inwards or outwards?
Choose by clearance, not convention. An inward-opening leaf uses hall space and an outward-opening leaf uses landing or path space. Trace the full movement with furniture, mats, steps, visitors and deliveries in mind. Confirm the intended handing and opening direction in the final specification, together with the fixed sidelight and top-light positions.
What should I confirm before ordering a door with sidelights and a top light?
Confirm finished outer dimensions, active door handing, every fixed glazed element, glazing treatment, frame divisions, bars, colour, threshold, hardware preparation and included trims. Also establish who checks final site dimensions and who completes surrounding building and decoration work. Review an elevation from both inside and outside before order confirmation.
Next step
A front door with sidelights and a top light should be planned as a single entrance composition, not as a door with extra panes attached later. Start with daily access and the genuine construction scope, then use a measured elevation to compare width, height and frame-grid alternatives. Test privacy from the approach and from the lit hall at night, and make daylight serve the route through the home. Finally, convert the preferred drawing into a clear component schedule covering fixed panels, glazing, finish, hardware, threshold and site responsibilities. That process leaves room for design choice while reducing the risk that a promising idea arrives as an awkward collection of parts.
