
How to Choose a Strong Greenhouse: 12 Features to Check
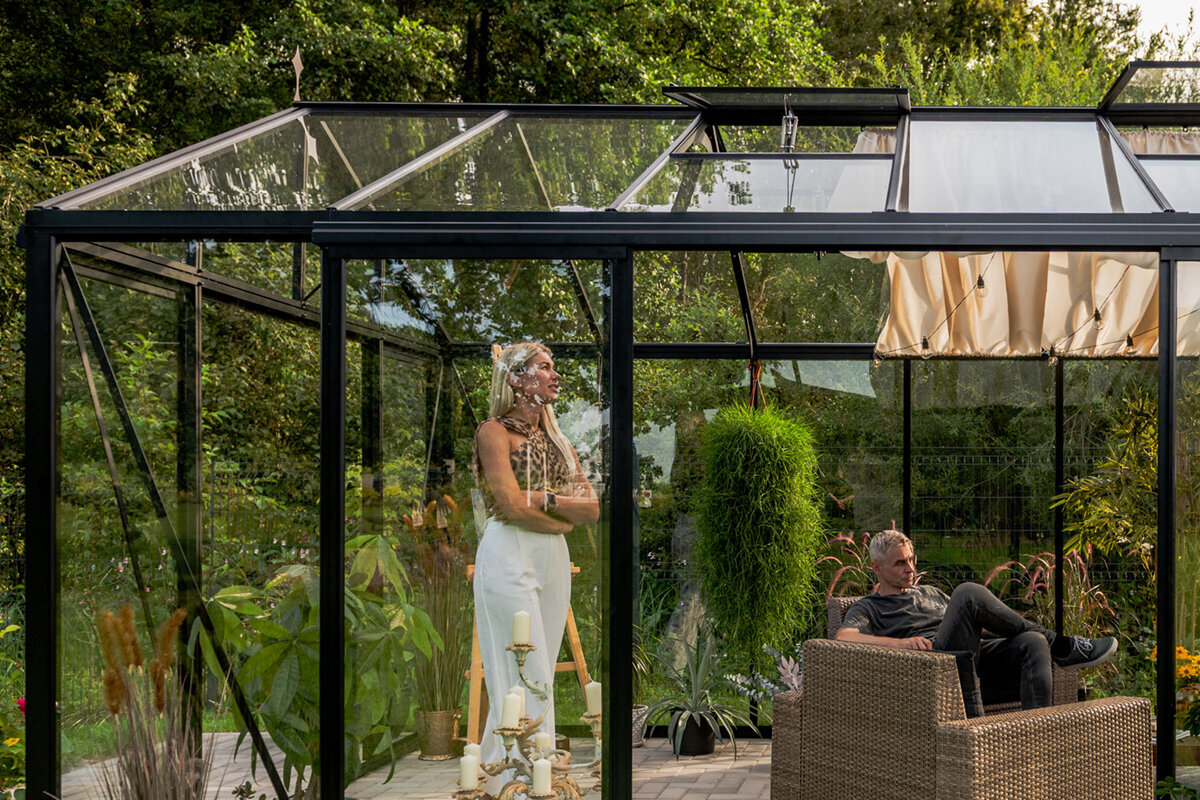
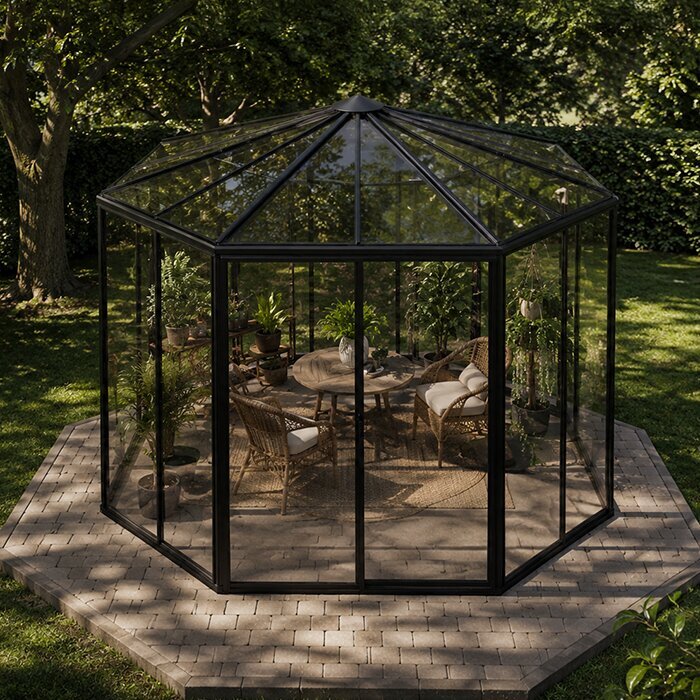
When considering how to choose a strong greenhouse, begin with the whole structure rather than one headline feature. Frame profiles, glazing retention, roof geometry, anchoring and door operation work together. A weakness at a joint or threshold can matter more in daily life than an impressive-looking ridge or decorative finish.
British gardens ask a lot of a greenhouse. An exposed plot, a paving base that is not perfectly level, rain-driven grit and repeated opening of vents all place demands on the building. The right choice is not necessarily the largest or most elaborate one; it is the design whose construction suits its position, use and maintenance routine.
Use this as a practical quality checklist before comparing layouts and finishes. Ask for clear product information, inspect drawings and photographs closely, and discuss the proposed base with the installer or supplier. A considered decision now makes it easier to create a productive, enjoyable garden room later.
Stage one
Read the frame as a complete structure
Frame strength begins with the way loads travel through the greenhouse. Look for a coherent arrangement of uprights, eaves, ridge and roof bars, rather than judging thickness by eye alone. Ask how corners are joined, how the roof is supported and whether the design uses purpose-made connectors. A well-resolved frame should look orderly from inside as well as outside, with components meeting cleanly and consistently.
Material choice deserves a practical conversation too. Aluminium is valued for being suitable for garden structures, but profile shape, detailing and the quality of connections still determine how a frame behaves. Examine close photographs of the eaves and ridge, and compare the spacing of supports across equivalent models. A durable finish is useful, yet it cannot compensate for an under-considered structural layout.
Check whether uprights, roof bars and braces form a continuous structural logic rather than appearing as isolated decorative pieces.
Ask how the frame is secured at corners and at the base, where movement and weather exposure often concentrate.
For a freestanding starting point, explore a Classic greenhouse frame layout before choosing its size or finish.
Stage two
Treat the base as part of the build
A greenhouse is only as dependable as the surface beneath it. The chosen base needs to be level, stable and appropriately sized for the structure, with drainage considered around its perimeter. Before ordering, establish what lies below the proposed location and whether water collects there in heavy rain. A firm foundation helps doors run more smoothly, panels sit properly and the frame remain correctly aligned over time.
Do not assume every garden surface is ready for a greenhouse. Existing paving may be suitable, or it may have uneven joints, settlement or insufficient edge support. Concrete, masonry and professionally prepared bases each raise different practical questions. Discuss the exact requirements for the chosen model, including fixing points and tolerances, before construction begins. It is far easier to correct a base before delivery than after glazing is installed.
Measure diagonals as well as length and width; a base can be the right size yet still be out of square.
Plan drainage routes and finished ground levels so splashback and standing water are not ignored around the threshold.
Where a wall-side position suits the garden, consider a full-size regular Lean-To greenhouse only after confirming the wall and base can be properly prepared.
Stage three
Examine glazing and its retention
Glazing should be assessed as a system: the panel material, the way it sits in the frame, the bars that support it and the parts that retain it. Look for an intelligible method that keeps panels located without relying on vague assurances. Ask whether replacement panels and retaining components can be identified, and consider how readily you could inspect them during routine cleaning. Clear, well-finished edges and even lines are encouraging visual signs.
Your growing plans also influence the glazing decision. Light transmission, privacy, insulation expectations, shading and the likelihood of accidental contact are all relevant, but no single material answers every garden situation. Read the product description carefully and avoid assuming that one term, such as toughened or insulated, explains the whole roof and wall construction. The panel layout and support spacing deserve equal attention.
Inspect images for consistent panel alignment and secure-looking retention at roof edges, corners and around opening vents.
Ask what routine checks are sensible after seasonal cleaning, particularly where dirt can obscure glazing bars and seals.
To compare traditional proportions and glazing detail, look at a Classic greenhouse glazing system alongside the written product specification.
Stage four
Test doors, vents and moving parts
Openings are the components you will handle most, so they should never be an afterthought. A door needs to provide comfortable entry while feeling controlled and properly aligned in its frame. Check the threshold arrangement, handles, hinges or runners, and the clearance needed outside the building. If you will use a wheelbarrow, trays or a watering can frequently, think about the route through the garden as well as the doorway itself.
Roof vents and other ventilation openings need sensible placement and straightforward operation. Their benefit depends on the greenhouse layout, planting density and site conditions, but their construction also matters. Look for robust-looking fixings, clear opening hardware and a design that permits cleaning around the moving parts. Ask how vents are secured when closed and what care is recommended after periods of strong weather or winter inactivity.
Try to visualise everyday movements: entering with compost, reaching a vent and cleaning the inside of the door glazing.
Check that handles, tracks and vent controls are accessible without stretching awkwardly across planted beds or staging.
For access from a patio or rear wall, review the doorway arrangement on a regular Lean-To greenhouse doorway before deciding where paths and beds will sit.
Stage five
Look closely at roof shape and water management
The roof does more than define a greenhouse’s character. Its pitch, ridge, gutters and eaves affect how rainwater is directed and how accessible the structure feels for maintenance. Study where water leaves the roof and whether the proposed location gives it somewhere sensible to go. Overhanging trees, nearby fences and tight boundaries can make cleaning more demanding, so leave enough working room around a freestanding design where possible.
A neat gutter line is not merely cosmetic. It offers a useful clue to the precision of the frame assembly and invites questions about outlets, downpipes and cleaning access. If you hope to collect rainwater, plan that system as part of the layout rather than adding it as an afterthought. Keep expectations realistic: collection capacity depends on roof area, rainfall, storage and how water is used in the garden.
Check the position of outlets against paths, doors and beds, so discharge does not create an inconvenient wet area.
Allow safe access for clearing leaves and checking gutters, particularly if the greenhouse stands near deciduous planting.
A symmetrical roofline can make this easier to assess on a Classic greenhouse roof design when comparing positions in the garden.
Stage six
Match the greenhouse to its exposure
No greenhouse should be chosen in isolation from its site. Walk around the intended position at different times of day and note wind direction, shade, surface water, surrounding walls and trees. A sheltered urban courtyard and an open hillside can ask very different things of the same design. Take photographs and basic measurements to your consultation; they provide a much better starting point than a general description of the garden.
Exposure also affects how you plan installation and aftercare. Make sure there is adequate access for building work and future cleaning, and avoid placing the structure where falling branches or unstable boundary features are a concern. If the site is particularly exposed or unusual, seek advice based on the precise model, base and location. Product suitability should be confirmed for the actual project rather than assumed from appearance.
Record prevailing wind, seasonal shade and areas of pooling water before finalising the orientation or greenhouse footprint.
Keep clear space around the structure for maintenance, and consider how nearby vegetation may change as it matures.
A wall-side option may suit a compact plot, so assess a Lean-To greenhouse for sheltered gardens in relation to its specific supporting wall and exposure.
Stage seven
Compare finish, fittings and maintainability
A greenhouse earns its place through repeated use, so consider how its details will age in view and how easy they are to care for. Choose a colour and style that work with the house and garden, then look beyond the finish at practical items: shelving support, staging positions, rainwater accessories and places where debris may gather. A handsome structure is more likely to be enjoyed when routine cleaning does not feel unnecessarily difficult.
Ask what is included and what is optional, but compare those lists with purpose. One buyer may need broad, uncluttered growing space; another may value integrated staging or a particular door arrangement. Avoid adding fittings simply because they sound useful. Instead, sketch where you will stand, pot up, store tools and place plants. That exercise can reveal whether a layout supports daily gardening without putting pressure on doors, glass or pathways.
Choose accessories around your growing routine, leaving sufficient circulation space for watering, cleaning and carrying trays safely.
Look for accessible surfaces and fixings that allow normal washing and inspection without dismantling the greenhouse.
For a versatile freestanding layout, browse a Classic greenhouse for everyday growing and map your preferred staging before selecting extras.
Stage eight
Use documentation to make the final decision
The final quality check happens before purchase: gather the documents, drawings and answers that allow a fair comparison. Confirm overall dimensions, base requirements, glazing arrangement, included components and installation responsibilities. If something important is unclear, ask for it in writing. This is not about turning a greenhouse purchase into a technical exercise; it is about ensuring that the design you admire is the one that can be properly installed in your garden.
Planning and household insurance can be relevant, particularly for larger structures, boundary locations or unusual sites. Requirements and policy terms vary, so check with the relevant local authority and insurer rather than relying on broad online guidance. Obtain a current quotation for the exact configuration, and review all applicable written product terms before committing. A clear record of choices also helps when coordinating groundwork, access and installation.
To complete the twelve-feature quality checklist, add these final checks to the eight points above. Feature nine: confirm that the roof pitch, ridge and eaves form a coherent weather-management design. Feature ten: check that gutters, outlets and any intended water collection can be reached and maintained. Feature eleven: assess the proposed position for wind, shade, trees, drainage and adequate working space around the greenhouse. Feature twelve: ensure drawings, specifications, base guidance, included components and installation responsibilities all describe the exact configuration under consideration. Together, these checks help turn a visual comparison into a more reliable decision about everyday ownership.
Keep one comparison sheet covering dimensions, base preparation, access, glazing, ventilation and the accessories genuinely needed for your routine.
Confirm responsibilities early: who prepares the base, checks site access and resolves any practical questions before installation.
When the project depends on a house wall, specify the Lean-To greenhouse configuration clearly in every drawing, quotation and site discussion.
Comparison
What to compare before choosing
Use this matrix to keep your research focused on construction, not just appearance. Compare evidence for each point across the models on your shortlist, and note where site conditions make one option more appropriate than another.
| Quality area | What to inspect | Useful question |
|---|---|---|
| Frame layout | Joints, bar spacing and roof support | How do the main components connect? |
| Foundation interface | Fixing points, level tolerance and drainage | What base preparation is required? |
| Glazing system | Panel support, retention and replacement route | How are panels held securely? |
| Doors and vents | Alignment, handles, tracks and accessible controls | Can these be used comfortably every day? |
| Roof drainage | Gutters, outlets and cleaning access | Where will rainwater be directed? |
A practical buying sequence
Move from site evidence to a final specification. This sequence reduces the risk of falling for a layout that later proves awkward to install, access or maintain.
01
Survey the location
Measure the footprint, access route and clear working space. Photograph walls, boundaries, trees and ground levels, then record sun, shade and wet areas.
02
Define daily use
Decide what you will grow, how many people will use the space and whether pots, staging or a wheelbarrow need regular access.
03
Shortlist by structure
Compare frame arrangement, glazing retention, openings and roof drainage on similar-sized models before becoming absorbed by finishes and accessories.
04
Confirm the base
Check the exact foundation guidance for the selected configuration. Resolve levels, drainage and anchoring before scheduling any installation work.
05
Review the paperwork
Read drawings, inclusions and written terms carefully. Check planning or insurance questions with the relevant organisations where they may apply.
Greenhouse quality checklist
Take this list to a showroom, keep it beside online product details, or use it when discussing a project with a supplier or installer.
01. Frame components create a clear, continuous route from roof to base.
02. Corner, ridge and eaves connections look purposeful and consistently finished.
03. The proposed base is level, stable, drained and correctly dimensioned.
04. Glazing is supported and retained by an understandable system throughout.
05. Door access suits daily gardening, including bulky pots and equipment.
06. Vents, handles and controls are reachable and straightforward to inspect.
07. Gutters and outlets can be cleaned without creating awkward access risks.
08. Written drawings and site responsibilities match the chosen configuration exactly.
Frequently asked questions
What makes a greenhouse frame strong?
A strong frame relies on the complete arrangement of profiles, joints, roof support and base fixings. Look for a design with a clear structural logic, carefully resolved corners and consistent support across the roof and walls. The quality of assembly and the suitability of the foundation are as important as the apparent heft of individual bars.
Is a larger greenhouse always stronger?
No. Size changes the demands on the structure, but it does not automatically indicate better construction. Compare models by their intended configuration, frame layout, glazing system and installation requirements. A greenhouse that is well matched to its base and exposure is a more sensible choice than one selected mainly for its dimensions.
What should I check about greenhouse glazing?
Check the material, the panel layout and, crucially, how panels are supported and retained. Inspect images of edges, corners, roof bars and opening vents. Ask how replacement parts are identified and what routine care is expected. Your choice should also reflect growing needs, privacy, light and the practicalities of the site.
Why does the greenhouse base matter so much?
The base establishes the level and stability for every component above it. If it is uneven, undersized or poorly drained, doors may not operate as intended and glazing or frame alignment can be compromised. Confirm the exact base requirements for the selected greenhouse before starting groundwork or assuming existing paving is suitable.
Do I need to think about planning permission?
Possibly, depending on the property, location, dimensions and other circumstances. Planning rules can be nuanced and individual projects differ, so do not rely on a general rule of thumb. Check the current position with the relevant local authority before proceeding, especially for boundary, conservation or listed-property considerations.
How can I compare greenhouse quotations fairly?
Make sure each quotation describes the same overall dimensions, glazing choice, doors, vents, accessories, base assumptions and installation scope. Ask for unclear items to be explained in writing, then compare the complete configuration rather than a headline figure. This makes omissions and practical differences much easier to spot.
Explore greenhouse options
Choose the details that will matter every day
A strong greenhouse is the result of connected decisions: a suitable site, a properly prepared base, a considered frame, secure glazing and openings that work comfortably. Looking closely at these features gives you a more useful basis for comparison than style alone, while still leaving room to choose a design that feels at home in your garden.
Bring your measurements, site photographs and growing priorities to the next stage of research. Bloomcabin can help you explore greenhouse layouts with a clearer brief, but always confirm the final configuration, groundwork needs and applicable local requirements for your own project.
Start with the layout that suits your site, then compare the construction details with confidence.
