
How to Measure Windows for Replacement
UK replacement-window survey
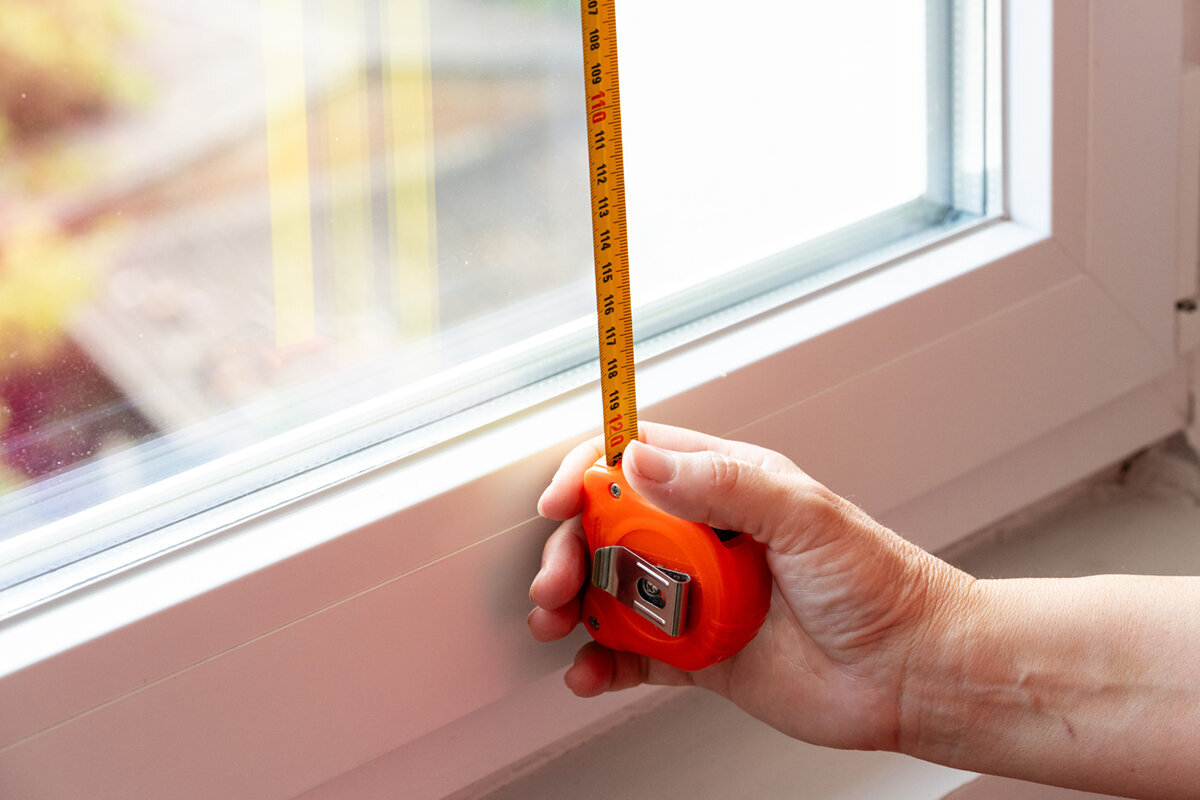
Measuring a replacement window begins with coordinating the retrofit, not stretching a tape across the nearest visible edges. First establish what is likely to remain: the existing frame, the surrounding reveals and sill, or only the wall opening after complete removal. That decision changes the surfaces from which useful measurements are taken. It also affects access, making good photographs and condition notes as important as width and height. Work through the property opening by opening, using permanent labels and millimetres. Record the existing operating style, nearby obstructions and anything that may complicate removal or finishing. The result should be a clear survey pack for comparing quotations and arranging final verification, rather than a homeowner’s attempt to calculate production dimensions before a product and installation method have been agreed.
Decide what the replacement measurement represents
Write a short scope beside every window before measuring. State whether the proposal is likely to retain the existing frame, remove the complete unit, or reconsider the opening and adjacent finishes. A measurement inside a frame that remains cannot be compared directly with one taken across an opening after removal. Some construction may also be concealed behind trims, boards or render. Record uncertainty rather than selecting convenient edges simply because they are easy to reach. If the project involves altering the opening or surrounding construction, use the survey to brief an appropriately qualified professional rather than treating it as sufficient design information.
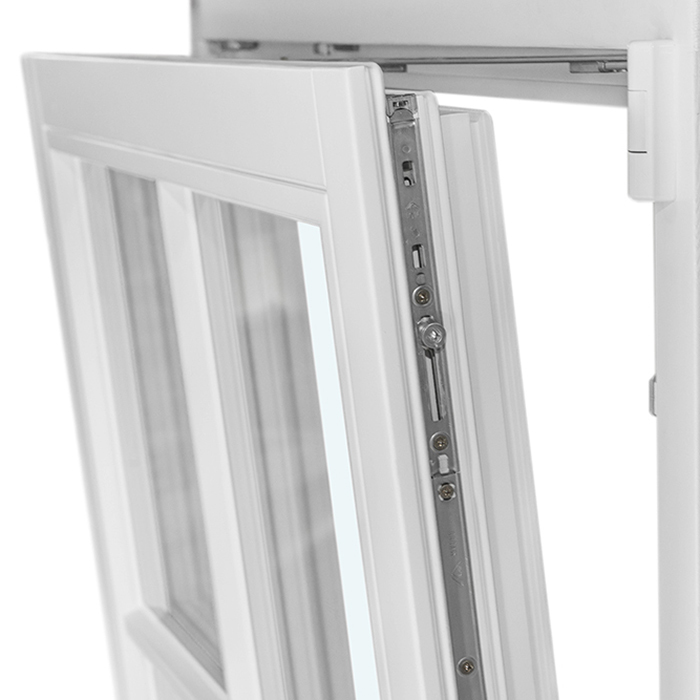
Record the current and preferred operation at the same time. An inward-opening, outward-opening, pivoting, top-hung or fixed window has different clearance and use questions even if the wall opening is unchanged. A single-sash inward-opening window, for example, needs enough room for its internal swing, so show worktops, blinds, radiators, furniture and nearby doors in the notes. Explain what the existing window does poorly, such as being difficult to reach or conflicting with a fitting. This connects the dimensions to the buying decision and prevents an unsuitable operating style being selected solely because it fits the measured rectangle.
Create one reliable record for every opening
Give each opening an unmistakable identifier, such as “Kitchen rear left” or “Bedroom 2 side elevation”. Put that label on the floor plan, sketch, measurement sheet, photographs and quotation request. Add the survey date, measurer’s name and a note that dimensions are recorded width by height. Use millimetres throughout and retain the figures actually read from the tape. Similar-looking windows should still be measured separately: plaster, trims and sills may differ even within one elevation, and copying a dimension can transfer an unnoticed error to several order lines.
Take a straight-on internal photograph, an external overview where it is safe and practical, and close views of the head, sill, jambs and corners. Include wider images of anything affecting access, such as steps, a narrow passage, a conservatory roof, planting or fitted furniture. Photograph staining, cracks, loose finishes and damaged sealant as visible observations without diagnosing their cause. On the sketch, use arrows to show where the tape touched. This makes it possible to distinguish a dimension between retained frame members from one between plastered reveals when the survey is reviewed later. A useful photograph set should preserve scale and orientation without pretending to be a calibrated measurement. Stand square to the opening for the main view, avoid wide-angle distortion where possible and include one image showing the window in the context of the room or elevation. If you place a tape or ruler in a close view, keep the actual junction visible. Do not rely on photographs alone for dimensions: their purpose is to explain reference points, condition and access when someone reviews the written schedule away from the property.
Measure width at three levels
Measure the relevant opening at the top, centre and bottom, keeping the tape straight and as level as possible. Write down all three readings beside their positions. The smallest value identifies the tightest measured point, but it is not automatically the dimension to order: fitting allowances, retained components and the selected window system still have to be considered. Describe the end points in plain language, such as “inside retained frame”, rather than leaving an unexplained number. Repeat any surprising result, ideally with another person holding the opposite end of the tape.
Do not force a sash, remove fixed trim or dismantle a blind merely to reach a concealed edge. Mark any inaccessible area on the sketch and photograph it instead. With a layout such as a two-sash inward-opening window, overall width is only part of the specification. The sash division, meeting point and internal swing must also make sense in the room. Your measurement sheet need not decide those details, but it should show the clear opening and anything that constrains them. That allows a supplier to propose a layout without mistaking an assumed sash split for a surveyed fact.
Take height from clearly named surfaces
Measure height at the left, centre and right, using consistent reference points. State whether the tape runs from a retained frame, finished sill, underside of the head or another defined surface. A straightedge or helper can make the top line easier to establish. Avoid measuring from a sloping internal board and recording the result simply as “window height”. Where tiles, boards or other finishes meet the frame, photograph the junction and say whether they are expected to remain. This small clarification can prevent disagreement about what the recorded height includes.
Inspect the sill and lower corners while working. Note visible distortion, cracks, soft areas, heavy linings, tile returns and water marks, but leave diagnosis to the appropriate professional. If reveal depth is relevant to the proposed retrofit, measure it at several points rather than assuming it is uniform. Depth can affect how the window meets internal finishes and whether blinds, handles or shutters have usable space. Photograph the exterior sill or cill and its relationship with the surrounding finish where accessible. Replacement planning concerns these interfaces as well as the opening seen from inside.
Check diagonals and irregularity
Measure from one corner of the selected reference opening to the opposite corner, then repeat across the other pair. Keep both values. Similar diagonals indicate a more regular rectangle, while a clear difference suggests that the opening or chosen reference points need closer examination. Diagonals do not reveal the cause of distortion or determine the manufacturing size. If a rounded reveal, damaged corner or projecting trim prevents the tape from seating properly, label the reading as approximate or unavailable instead of claiming precision that the opening does not support.
Repeat doubtful measurements and describe what made them difficult: uneven masonry, a bowed frame member, layered paint or an obstructed corner. Visible lines may not be parallel even when the opening appears regular from across the room. Choosing a single-sash outward-opening side-hung window does not by itself resolve an irregular surround; it only identifies an operating configuration. Your record should let the supplier or installer decide whether closer investigation, local repair, different finishing details or another fitting approach must be considered before dimensions are approved for manufacture.
Survey reveals, depth and clearances
Width and height do not describe how the unit sits within the wall. Measure internal reveal depth from the finish face to the frame where that interface matters, checking the head and both sides if the reveal is uneven. Note whether it is square, splayed, tiled, lined or partly concealed. If external measurements can be taken safely, identify those reference surfaces separately rather than combining them into a generic wall-thickness figure. These observations help clarify sightlines, finishing work and whether retaining the existing frame is a realistic option.
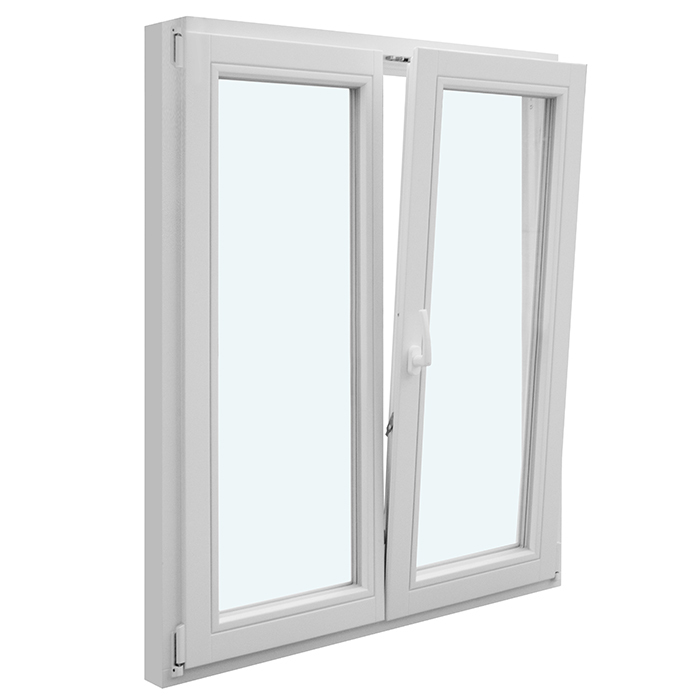
Map obstructions on both sides of the opening. For a two-sash outward-opening side-hung window, inspect the exterior for downpipes, gutters, lights, railings, planting, paths and other projections. Indoors, record deep blinds, curtain poles, shelving and furniture. Do not estimate clearance from the product name; actual sash sizes, hinges and handle positions need confirmation for the proposed specification. Note which sash is expected to open most often and any preferred handle side. A conflict discovered during product selection is easier to address than one found after the order has been confirmed.
Match the survey to everyday use
Ask who will operate the window, from where and for what purpose. A bathroom may need convenient day-to-day ventilation, while a kitchen window above a worktop can be difficult to reach or may conflict with a tap. A landing window can present different access issues again. Record if the current opening part is rarely used because it is awkward, and consider whether every replacement unit genuinely needs an opening sash. A top-hung outward-opening window is one alternative configuration, but its projection, location and reach still require project-specific assessment.
List functional priorities separately from the dimensions. They might include privacy, an uninterrupted view, ventilation, cleaning access, a consistent elevation or a particular arrangement of panes. Distinguish decorative bars from glass-dividing bars and ask for the proposed pattern to appear in the drawings or order documents. Identify shutters, blinds, sensors and other fittings that may need to remain compatible, without assuming they can be transferred. This short use brief gives quotations a common basis and avoids automatically reproducing an inconvenient existing design merely because it occupies the same opening.
Measure shaped and fixed openings carefully
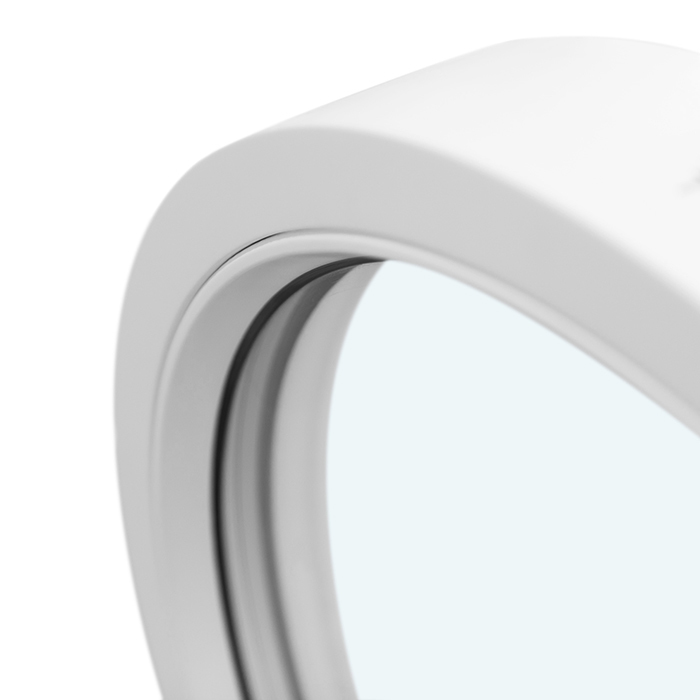
Do not reduce an angled, triangular or curved opening to one width and one height. Draw the shape, mark its widest and highest points, identify straight sections and show where slopes or curves begin. Record angles or radii only when they can be established reliably. Take a square-on photograph of the complete opening and close images where the shape changes. A fixed triangular and angled window is a non-opening option to consider when it suits the design and ventilation is addressed elsewhere; its configuration does not remove the need to verify the surrounding opening and finish lines.
For a circular opening, take the diameter in several directions and mark the apparent centre. Record trim, render or a sill that interrupts the visible circle. Rectangular openings also deserve an explicit note about function: if a fixed window is being considered, confirm that non-opening glazing is an intentional choice rather than an omitted sash. Cleaning access, external reach and visual proportion still matter even without hinges or handles. Do not assume a homemade cardboard template is acceptable manufacturing information. Ask the supplier what survey method is required and arrange site verification where the shape meets irregular existing fabric.
Plan installation access as part of the survey
Record the storey, internal route and external approach to each opening. Note narrow passages, steps, shared areas, roof obstructions, fragile planting and rooms where furniture or fitted finishes restrict working space. Include photographs taken from far enough away to explain the route. This does not replace an installer’s access assessment, but it allows access questions to be raised before product selection is treated as complete. If an area cannot be inspected safely, identify the missing information and ask whether a further visit or specialist access arrangement is needed.
Future use and cleaning should also be considered without making assumptions from an opening style. An outward-opening pivot window has a defined pivoting configuration, but suitability still depends on its position, external clearance, reach and intended use. Describe the floor level and current access arrangements so those issues can be assessed for the selected unit. Do not lean outside, climb on unsuitable furniture or improvise supports to obtain an exterior dimension. Keep other people and pets away from the working area, and leave measurements at inaccessible height for an appropriately equipped surveyor.
Build a schedule that can be checked before ordering
Create a schedule with one row per opening. Include the three widths, three heights, both diagonals, relevant depths, named reference surfaces, shape, current and desired operation, visible condition, access notes and photograph filenames. Keep preferences distinct from verified measurements. If you want to discuss a particular performance-led or visual configuration, identify it as an option rather than implying that the opening has already been approved for it. A structured schedule lets quotations be compared against the same scope and exposes missing assumptions before they become order details.
Check the quotation and order acknowledgement against the schedule line by line. Confirm the opening label, handing, inward or outward direction, sash arrangement, fixed sections, colour, glazing and any bar pattern. Ask which dimensions form the installation reference, what is expected to remain and which details require final site verification. Bloomcabin windows and doors have a five-year warranty, and delivery is four to six weeks subject to order confirmation. Keep the approved schedule, drawings and confirmation together so the project relies on a shared written record rather than recollections of the measuring visit.
Frequently asked questions
Should I order using the smallest width and height?
No. Those readings identify the tightest measured points, but they are not automatically manufacturing dimensions. The final size depends on the retained frame or finishes, fitting method and selected product. Supply every reading with its location and reference surfaces, then have the order dimensions confirmed before manufacture.
Can I measure a replacement window from the glass?
Glass size does not show the usable opening, frame condition, reveal variation or how the replacement will meet surrounding finishes. Measure between clearly named frame or opening surfaces instead. A glass measurement may be retained as an extra descriptive note, but it should not replace the opening survey.
How precise should my measurements be?
Record measurements in millimetres and read the tape as accurately as conditions allow. Clear reference points and repeatable readings are more useful than unsupported precision. Repeat unusual figures. If a corner or exterior surface cannot be reached safely, label that part of the survey unverified and arrange an appropriate site check.
Do inward- and outward-opening windows require different surveys?
The opening still needs systematic width, height, diagonal and depth measurements, but the clearance review changes. Inward-opening sashes need room inside; outward-opening sashes need room outside. Photograph blinds, furniture, paths, downpipes, lights and other obstructions so the chosen operation can be checked against the actual location.
Which photographs should accompany a quotation request?
Provide an overall internal view, an external view where safely obtainable, and close photographs of the head, jambs, sill and corners. Add images of unusual shapes, damaged finishes, deep reveals, obstructions and access routes. Use the same opening identifier in each filename and on the measurement schedule.
What to do next
A useful replacement-window survey explains what was measured, why those surfaces matter and how the window must work after installation. Label every opening, retain the three width and three height readings, compare diagonals and document depths, finishes, condition and access with photographs. Keep product preferences separate from verified dimensions, particularly where frames may remain or openings are irregular. The final step is not rounding your notes into an order size; it is checking the written specification, opening direction and installation assumptions with the supplier or installer before manufacture is authorised.
