
Making a Window Opening Larger: What to Plan First
UK window alteration guide
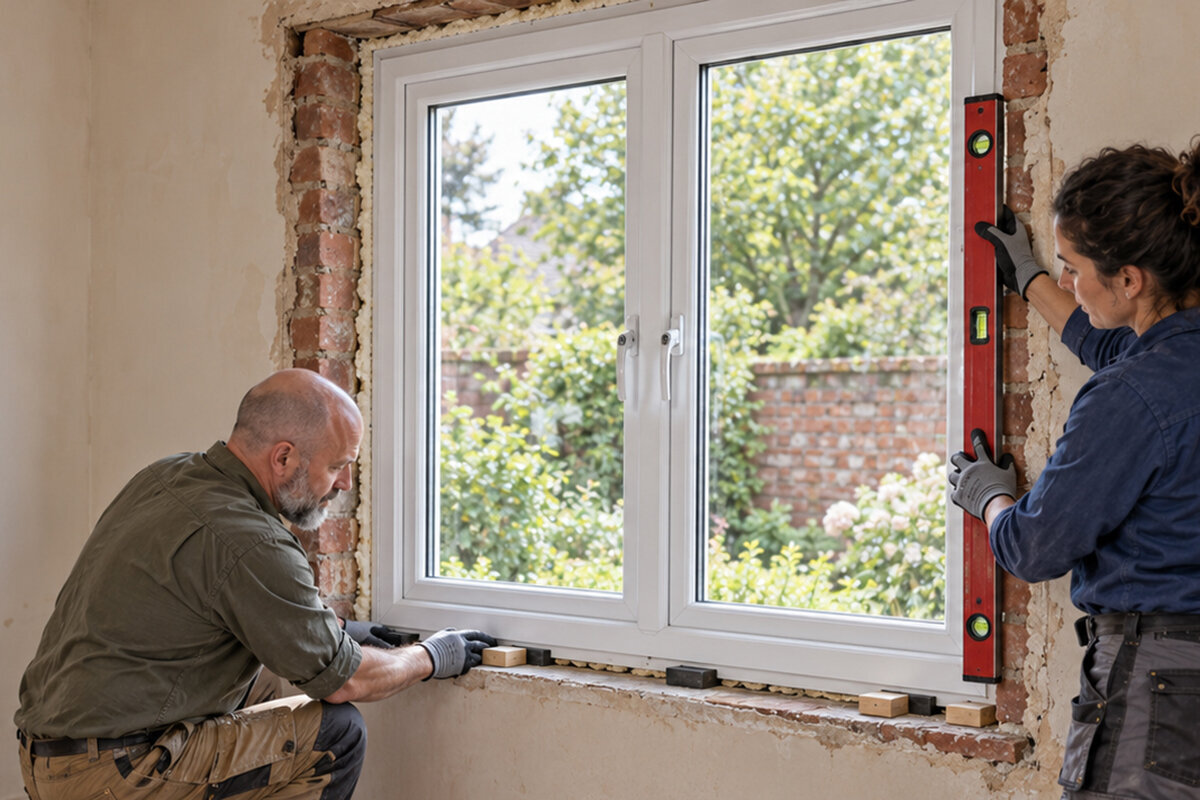
The appealing part of enlarging a window is imagining the brighter room. The difficult part is coordinating everything the larger opening interrupts. Removing even a modest strip of wall may affect structural support, insulation, external weathering, radiators, sockets, curtains, furniture and installation access. It may also reveal old repairs or services that were invisible during the first survey. Begin with the building rather than a preferred catalogue size. Record the wall construction, opening position, internal layout and outside approach, then obtain appropriate professional input on structure and project compliance. Only after those points are understood should you settle the width, height, sill level and opening method. The right window is not simply the largest one that fits the elevation; it is the configuration that the wall can support, the installer can fit and the household can use comfortably.
Begin with the load-bearing question
First distinguish replacing a window within its existing opening from removing additional wall. An enlargement can change how loads pass around the opening and may require new support, suitable bearing at each end and temporary support during construction. An appropriately qualified structural professional should assess the wall, the building above it, nearby openings and evidence of previous alterations. A lining or hollow sound inside does not prove that the construction behind is non-structural. Likewise, a lintel visible above a neighbouring window does not establish what is needed for this opening. Record assumptions as questions rather than allowing them to become an informal design.
Prepare an existing-and-proposed elevation with the opening width, height and sill level shown in millimetres. Add its distance from wall corners, adjacent openings, floors and ceilings so the structural review has context. Internally, note changes in wall thickness and any chimney breast, boxed beam or altered ceiling nearby. Externally, photograph cracking, patched masonry and differing brick or render finishes. The goal is not to design the support yourself, but to give the responsible professional enough accurate information to specify it. Do not release a window for manufacture while the supporting arrangement or finished opening remains provisional.
Test the composition from both sides
An opening that looks balanced on the façade may be awkward in the room. Mark the proposed perimeter temporarily and inspect it from normal seating, working and circulation positions. Check whether a lower sill improves the outlook or merely exposes paving, parked vehicles or a neighbouring boundary. Consider the wall space lost beside wardrobes, kitchen units and radiators. A taller opening may affect a curtain pole, coving or ceiling-mounted blind; a wider one can leave narrow, difficult-to-finish strips of wall. Test the proposal in daylight and after dark, when privacy and reflections may change how the extra glass feels.
Separate the overall structural opening from the visible glass area. Frames, opening sashes and vertical divisions all occupy space, so two windows with the same outside dimensions may give different views. Where daylight and an uninterrupted outlook are the priorities, a fixed non-opening window is one option to compare. It still requires a plan for room ventilation and exterior cleaning. Ask for dimensioned drawings showing frame edges, sash lines, mullions and glass rather than relying on a product photograph. Review the drawing within the complete elevation so that the enlarged opening relates deliberately to nearby heads, sills and façade features.
Investigate services before demolition
The wall may contain electrical cables, water or heating pipes, data wiring, alarm components or ventilation routes. Surface fittings show where some services end, not necessarily how they travel. List sockets, switches, radiators, wall lights and pipe boxing inside, then inspect the outside for meters, taps, lights, downpipes and equipment. Relevant trades should determine how services will be located, isolated, rerouted and tested. Moving a radiator, for example, affects pipework, decoration and the usable wall around the new sill. Include that work in the programme instead of treating it as an incidental discovery once cutting has started.
Older or repeatedly altered walls may also conceal redundant flues, timber grounds, patch repairs, uneven cavities or gaps in insulation. Agree who will inspect the exposed construction and who can approve any revised detail. A planned pause after careful opening-up can be valuable when the wall history is uncertain, provided the site can remain secure and weatherproof. Photograph exposed layers with a scale or labelled dimension before they are covered. These records can help the structural professional, installer and finishing trades understand what was found and avoid contradictory assumptions about fixing positions, insulation continuity or the depth of the completed reveals.
Coordinate support and window installation
The structural support and window installation perform different jobs but must be designed together. The support carries building loads around the opening. The frame needs a suitable position in the wall, reliable fixings and coherent junctions with insulation, internal linings and external weathering. Ask for a section drawing through the head, jamb and sill rather than separate sketches that happen to show similar dimensions. The drawing should identify the structural opening, frame location, finished surfaces and intended water-shedding geometry. Sealant can complete a properly designed joint, but it should not be expected to rescue an unclear or poorly formed perimeter.
Agree how site dimensions will become manufacturing dimensions. The survey record should distinguish unfinished masonry, completed structural opening and final visible finishes. Tolerances and fitting clearances must be confirmed with the supplier and installer, not guessed by the builder. If the enlargement incorporates a gable or sloping feature, discuss a fixed triangular or angled window with the structural designer before the surrounding construction is finalised. Its non-opening configuration does not determine the glazing, support or fixing specification. For every unit, record a unique opening reference, orientation, frame position and any coupling arrangement so drawings, quotations and labels can be cross-checked.
Choose operation from everyday use
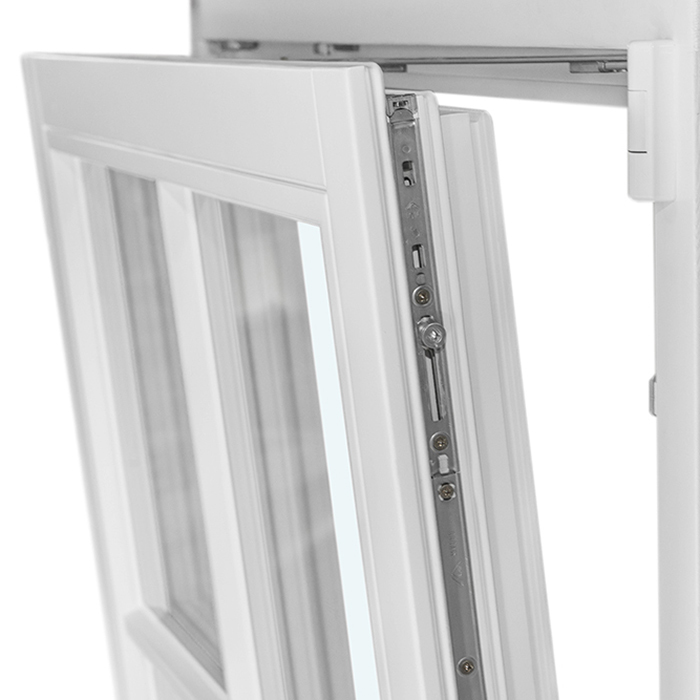
List what the household actually needs the window to do. Requirements might include brief ventilation, an opening reachable behind a worktop, straightforward exterior cleaning or a clear view from a seated position. Then draw the sash movement at full size on plan and elevation. Outward-opening leaves need exterior clearance from planting, paths and furniture; inward-opening leaves need clear room space. Top-hung and pivot formats create different gaps and movement zones. Check the handle height and likely reach from the finished floor, particularly where a desk, sink or deep reveal stands between the user and the frame.
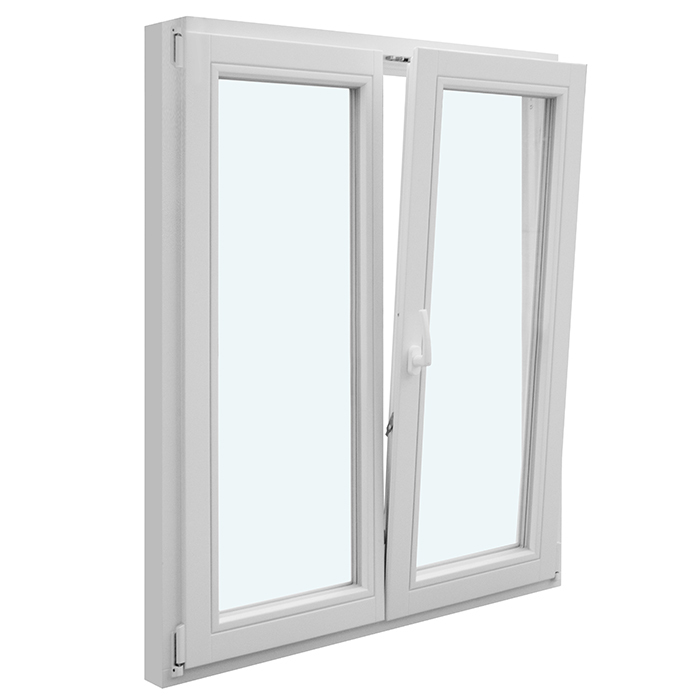
For a tall, relatively narrow opening, a single-sash outward-opening side-hung window may provide one useful opening light without an internal swing. A broader opening might instead be divided as a two-sash inward-opening window, provided both leaves can move without striking blinds, furniture or fittings. These are alternatives rather than equivalent specifications. Ask the order drawing to show handing, handle position, opening direction and frame divisions. Imagine routine use on a wet or windy day, not only the fully open arrangement shown in a presentation. A configuration that is easy to operate slightly open may be more useful than one chosen solely for its maximum aperture.
Balance daylight, outlook and privacy
More glass can brighten a room, but aperture size is only one influence on comfort. Orientation, nearby buildings, roof overhangs and trees affect where light enters and what can be seen. Consider glare on screens or worktops, privacy from adjoining spaces and the nighttime view when internal lights are on. Changing the sill height, shifting the opening sideways or combining fixed and opening areas may solve a problem more effectively than simply increasing width. Draw the likely positions of desks, sofas and dining tables so eye level and sightlines are tested against the proposed glass rather than an empty room.
Where ventilation is wanted without a side-hung leaf sweeping across the elevation, a top-hung outward-opening window is an alternative to explore. Its suitability still depends on exterior clearance, handle access, cleaning and the relationship with curtains or blinds. If the larger opening needs visual subdivisions, decide whether the design uses decorative bars or genuine glass-dividing bars; they create a different appearance and should be represented accurately on the elevation. Compare drawings at a consistent scale. A close-up can make every option look convincing, whereas the full façade reveals whether the new proportions align, intentionally contrast or leave an awkward remnant of wall.
Resolve weathering and access early
Enlargement cuts through existing brickwork, render, cladding, paint and drainage details. Survey the head, jambs and sill as a connected perimeter. Note roof runoff, downpipes, paving levels, splash zones and changes of wall material. If the new opening extends downwards, determine how the former sill area and adjacent finishes will be rebuilt. Agree the extent of external making good, because a technically neat narrow patch may remain visually obvious in weathered render or older brickwork. Record pre-existing cracks and staining before work so they are not confused with installation damage or left unexamined during the alteration.
Map the physical route from the delivery point to the opening. Measure gates, side passages, stairs, turns and restricted working areas, and identify where equipment, removed masonry and packaging can be placed. Larger glazing may need a handling method that affects the practical size or subdivision of the unit. A Kombi combination window can organise fixed and opening sections across a broad opening, but joining details, finished sightlines and handling remain project-specific matters to confirm. Access planning should also cover temporary protection for paving, floors and planting. A design is not ready merely because it fits the wall on paper; it must be deliverable and installable at the property.
Specify internal making good
Internal disruption often extends beyond the visible perimeter of the new frame. Widening can disturb plaster, insulated linings, skirting, coving and decoration. Lowering the sill may affect a radiator, flooring, joinery or fitted furniture. Decide whether the quotation includes local repairs, finishing the entire wall or a wider room refurbishment. Photograph mouldings, wallpaper, tile layouts and textured surfaces before demolition, and retain samples where practical. Specify reveal form and window-board treatment rather than leaving them as improvised finishing decisions. Their depth influences blind space, cleaning access and how much of the frame is visible from the room.
Coordinate curtains and blinds while the opening is still being designed. Recessed blinds need sufficient planned space, surface tracks need sound fixing positions, and opening leaves require an unobstructed path. Check whether handles clash with a blind rail and whether curtains cover useful glass when stacked. Furniture should be shown on the same plan used to assess operation. Also define dust separation, room access and temporary protection during work. If the room must remain in use, identify which activities need relocating and when finishes can safely be reinstated. This turns vague expectations about “making good” into a scope that contractors can price and sequence consistently.
Treat a full-height opening as a door project
Extending glazing to floor level changes the decision from a window alteration to a threshold and circulation project. Establish internal and external levels, the route people will take and the space required near the opening. Consider drainage, door movement, furniture and the everyday closed appearance. A side-sliding patio door arrangement may avoid leaves projecting into the room or garden, but it needs an appropriate layout for moving panels and must be specified with its track and threshold details. Confirm the exact configuration with the supplier and relevant project professionals rather than inferring construction details from the product category.
Folding leaves offer a different balance between the closed elevation and the area opened on suitable days. Consider outward-opening bifold doors only after drawing the space required outside for the leaves and checking paths, planting, level changes and garden furniture. Compare sliding, hinged and folding options in their routine positions, not solely at maximum opening. Ask how the room will be ventilated when a full opening is unnecessary, where people pause while using the door and whether the arrangement compromises dining or seating space. The best choice supports ordinary movement throughout the year as well as the occasional desire to open a broad section of wall.
Create a controlled sign-off sequence
Ask appropriately qualified advisers which consents, notifications, inspections or project-compliance steps apply to the property, location and exact scope. Do this before authorising manufacture, because requirements and responsibilities cannot safely be inferred from another household’s project. Keep the existing survey, proposed elevations, structural information and wall sections together as one coordinated issue. If access crosses shared space or the property has a manager or other stakeholder, establish the necessary coordination early without assuming approval. Record decisions, revisions and the person responsible for each sign-off so that an outdated opening size does not remain in a quotation or manufacturing drawing.
Obtain quotations against a common scope covering investigation, temporary works, structural support, masonry alteration, frame supply, fitting, sealing, insulation reinstatement, external repair, internal finishes, waste and access equipment. Identify exclusions and who takes the final dimensions. Before ordering, compare the signed drawing with the site references, operation, colour, glazing choice, divisions, sill or threshold and delivery route. Bloomcabin windows and doors have a 5-year warranty. Delivery is typically 4–6 weeks, subject to order confirmation. Programme that period only after the opening and specification are settled; an attractive lead time does not compensate for manufacturing to an unresolved dimension.
Frequently asked questions
Can the window be ordered before the enlarged opening is formed?
Early product discussions are useful, but manufacture should wait until the support strategy, frame position and finished structural opening are confirmed. The responsible parties should agree who takes final dimensions. Check the resulting order drawing against the site reference, opening direction, sill detail, visible divisions and any coupled units.
Is a fixed pane suitable for a larger opening?
A fixed pane can suit a project focused on daylight and an uninterrupted outlook. It does not provide ventilation, however, and exterior cleaning access still needs consideration. Compare it with a combination of fixed and opening sections using drawings that show actual glass area, frame widths and sightlines.
What should the initial survey record?
Record the wall on both sides, opening dimensions, nearby corners and windows, internal and external levels, visible services, drainage, finishes and the delivery route. Include context photographs and close-ups of cracks or previous alterations. Mark radiators, sockets, furniture and blind positions on a measured room sketch.
How should I compare a larger window with patio doors?
Decide whether people genuinely need to pass through the opening. A window may retain useful wall area and offer simpler everyday operation, while patio doors introduce threshold, drainage and circulation decisions. Compare each option closed, partly open and fully open, with furniture and outside obstacles shown on plan.
What belongs on the final buyer’s check?
Verify structural-opening and manufacturing dimensions, frame position, opening method, handing, handles, visible divisions, decorative bars if selected, glazing choice, colour, sill or threshold, coupling details and access. Match every item to the current approved drawing and site reference rather than relying on a verbal description or earlier quotation.
What to do next
A successful enlargement begins with investigation, not a larger product size. Understand the wall and hidden services, obtain suitable structural and compliance advice, and test the proposed opening against the room, façade and outside access. Then resolve frame position, operation, weathering, finishes and delivery before confirming dimensions. One coordinated drawing and a clearly divided scope help the structural professional, builder, installer, supplier and finishing trades work towards the same result. That discipline protects the design intent and reduces the chance that extra daylight is accompanied by awkward operation, unfinished junctions or avoidable changes on site.
