
Planning a Pergola for Outdoor Exercise
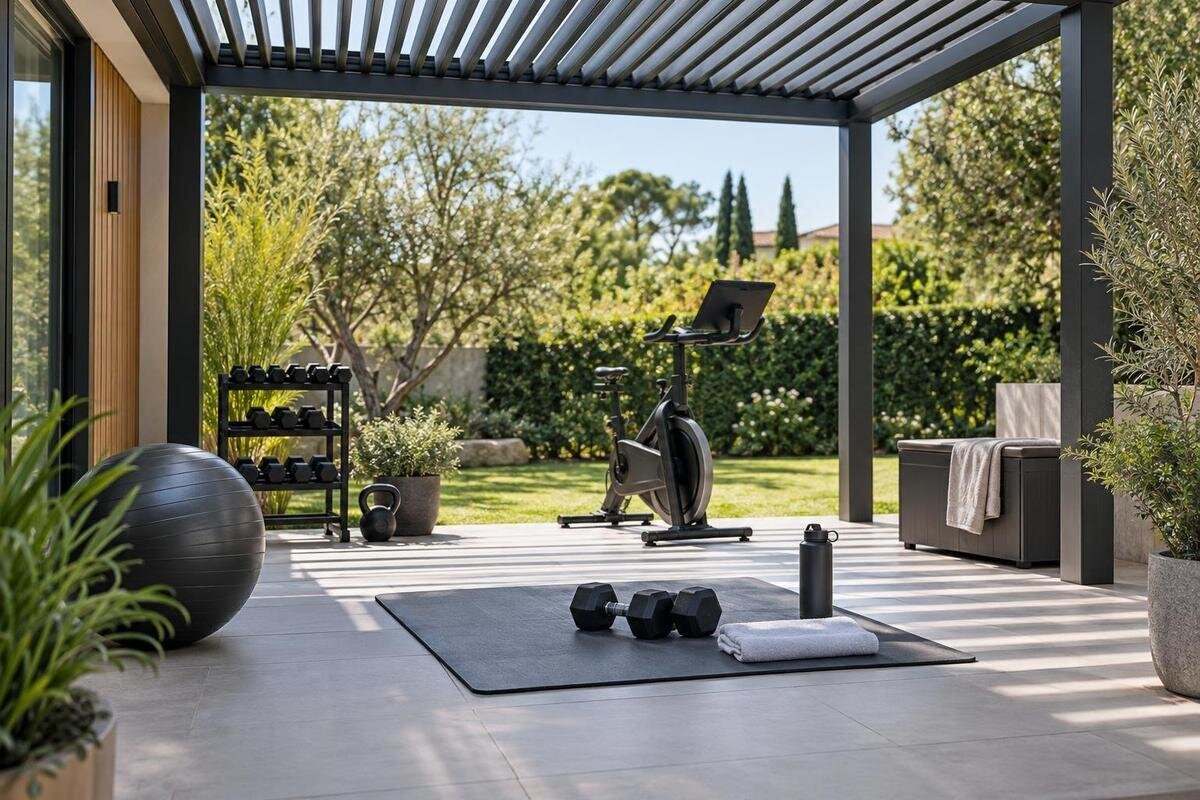
Pergola planning
An outdoor exercise area needs more than enough room for a mat. Each activity requires a different amount of movement space, equipment needs clearance around it, and the floor may be exposed to rain, leaves and changing light. Plan the usable area first, then compare it with a pergola’s actual dimensions and post positions. A pergola does not automatically provide a dry, enclosed workout room, and it is not an exercise anchor unless the exact structure has explicit approval for that use.
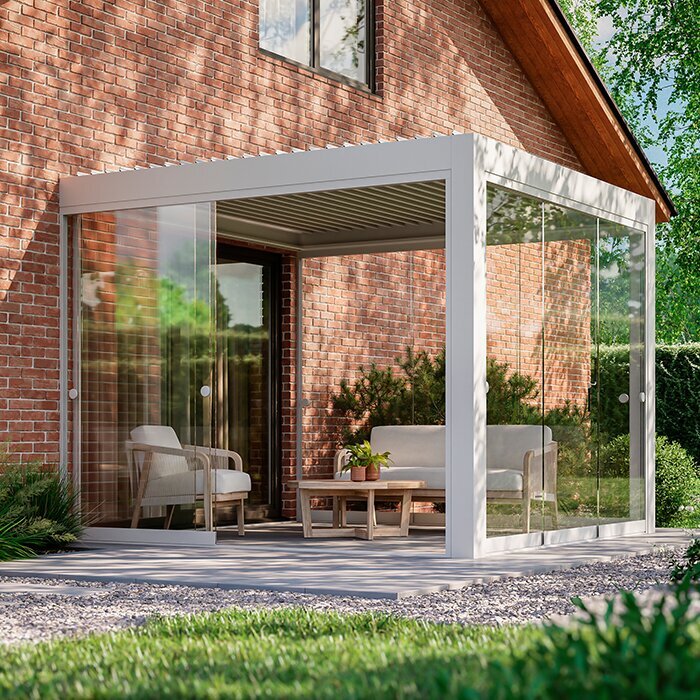
Define the activities the space needs to support
Write down the sessions the area must accommodate before drawing the structure. A mat-based routine, standing stretches, step patterns and an exercise bike do not occupy the same space, even when each begins in a small footprint. Note the equipment you genuinely expect to use, whether it stays outside, and whether one or more people will exercise at once. Include the movements around each activity: setting up, changing position, stepping off a machine and putting equipment away. This turns “a workout corner” into a set of measurable tasks, rather than a vague label that can hide competing requirements. Record whether activities happen one at a time or concurrently; the objects may fit side by side while the people using them do not.
If regular access from the house matters, put the relevant doorway and its opening arc on the first sketch. Include a wall-mounted option such as the Bloomcabin Lean-To Pergola in your comparison if you are considering a position beside the house, subject to confirmation of the wall and site requirements. Also decide whether exercise takes priority over outdoor dining or play. If both must happen at the same time, draw separate areas; if they take turns, show where furniture and equipment will go in each arrangement. Those choices affect the clear floor you need more than a generic description such as “home gym” does.
Measure the full movement area
Measure the complete movement area, not just the mat or machine base. On the terrace or lawn, mark where you will stand, then map the reaches, turns, sideways steps and floor-level positions in the activities you have listed. Use the actual equipment and its maker’s stated operating clearances where relevant; a product footprint rarely includes the room needed to approach, adjust or use it. Measure the outer limit of each planned movement, including any extended arms or legs, and leave enough room to stop without meeting an obstruction. The result should describe your intended use rather than a standard exercise-room dimension.
Do this marking on the ground before choosing a pergola size. Chalk, removable tape or a drawn plan can show the active zone and the route around it; label any shared drawing as a concept, not a construction or structural drawing. Compare the marked area with the chosen configuration’s dimensions and post positions. The Bloomcabin Pergola size range is a useful starting point, but the area stated for a product does not itself show the clear space between posts or account for your movements. Confirm the exact configuration measurements before treating any published area as usable exercise floor.
Allow room for equipment and storage
Put each piece of equipment into the drawing at its real size and mark the space its manufacturer requires for use. Allow for moving parts, getting on and off, adjustments and access to controls; do not place a bench or rack inside a zone needed for stepping or floor work simply because it fits when unused. For equipment that folds or rolls, note where it will stand when ready for use and where it can be moved without crossing another person’s active area. If an activity alternates between a mat and equipment, show both positions and the route between them. A shared space can work as a sequence of layouts, but only if the changeover is practical.
Storage counts as part of the plan. Mats, weights, bottles and small accessories need a stable place outside movement and exit routes; equipment left at the edge can still narrow the area or become a trip hazard. Decide whether items will be brought inside after use or stored outside, and check the equipment maker’s advice on outdoor exposure. Where substantial equipment will sit on a raised deck or other constructed surface, ask a qualified professional about the surface’s capacity rather than estimating from the equipment footprint. Keep that question separate from overhead attachments: what supports equipment on the floor and what supports a person above it are different checks.
Choose a stable floor with suitable grip
Grip depends on the surface and the conditions at the time, not on the pergola above it. Look for a firm, even base that behaves predictably under the footwear and movements planned. Rain, standing water, wet leaves, algae, frost, grit, loose joints or damaged boards can change how the floor feels underfoot. Inspect the actual site in the weather in which you expect to use it, including drainage and any change in level at the edge. If a surface becomes slick or unstable when wet, do not treat overhead cover as a remedy; plan to leave the area unused until conditions are suitable.
An exercise mat may make a small work area more comfortable, but it cannot correct an uneven or slippery base. Check that any mat is intended for the activity and outdoor conditions, lies flat on the chosen surface and does not slide or curl at the edge. Loose rugs and unsecured coverings can shift during movement. If your plan relies on a temporary mat, allow for somewhere it can dry and be stored so it does not sit damp on the floor. Ask a flooring supplier or installer how the existing surface behaves when damp and how it should be maintained; no finish guarantees grip in every weather condition.

Match the pergola footprint to usable floor area
Compare the pergola footprint with the measured activity zone, not with the terrace’s headline area. Posts, boundary clearances, a door swing, existing furniture and the route to the garden all reduce the floor that is actually available. Draw the outside dimensions and post locations to scale, then place the movement zone inside them with the clearances you have recorded. The listed areas for available Bloomcabin Pergola options range from 97 to 258 sq ft. That range describes the product area stated in the listing, not a promise that the whole footprint is unobstructed or that a particular layout will fit. Verify the selected model’s exact measurements before comparing it with your site.
Think about minimum clear width as well as total area. A long, narrow pergola may have enough square footage on paper yet leave no sensible route around a mat or machine; a larger footprint can still lose useful space to posts or stored furniture. Measure the narrowest point, the space between the active zone and the edge, and the approach to the equipment. On an irregular terrace, take measurements at the narrowest points rather than assuming a rectangular outline. If the remaining width cannot accommodate the planned movements and passage, change the layout or rethink the use rather than squeezing the clearance.
Keep entrances and routes clear
Plan the entrance as carefully as the exercise rectangle. A route from the house or garden gate should remain clear when equipment is in use, and it should not cut through the movement zone. Mark door leaves, steps, drains and any level changes that affect how people enter; show where portable equipment will be carried in and out. If the pergola is beside the house, check the selected post positions against the doorway and wall details. For a wall-mounted option, the Bloomcabin Lean-To Pergola product page identifies the model, but the actual attachment and site requirements need confirmation from the supplier and a qualified installer. Check the route with the door fully open and equipment being carried, not just with an empty floor.
Check height as well as plan dimensions. Overhead members, lights or roof components could limit raised-arm movement even when the floor is generous, so compare the model’s clear headroom with the movements and freestanding equipment you intend to use. Do not equate overall height with clear space beneath the structure. Avoid placing equipment where someone could rise into an overhead member. If the available dimension is unclear, request the relevant drawing or product measurement before purchase; do not infer it from a photograph.
Account for shade and changing weather
Shade and weather exposure change through the day. Observe where direct sun falls at the times the space is likely to be used, and whether nearby trees or buildings cast a moving shadow. Pergola coverage depends on the chosen design and the conditions around it, so do not assume the floor or every edge will stay shaded. If the marked zone moves into direct sun, glare or heat during likely use, reconsider its position or your expectations; an open garden structure does not provide indoor conditions. Check the area at more than one time of day and, where relevant, in different seasons rather than relying on a single moment of shade.
Rain and wind need separate checks from shade. Open sides can leave an exercise area and portable equipment exposed, and rain may reach the floor even when there is a roof. The name of a roof style does not establish rain protection, ventilation or a particular operating method; check the specifications for the exact configuration. The Bloomcabin Bioclimatic Aluminum Pergola details are one place to review model-specific information, but do not assume that the name makes the exercise area weatherproof. Decide where equipment will be stored between sessions and follow its maker’s advice about exposure; do not leave portable items where wind could move them.
Get structural approval before hanging equipment
Do not hang suspension straps, rings, a punching bag, a pull-up bar or similar equipment from a pergola unless the manufacturer and a qualified structural professional explicitly approve the exact structure, fixing point, equipment and intended movement. Pergolas are not automatically gym frames. A person’s movement can impose changing forces; visual strength, a thick-looking beam or a general statement about strength cannot confirm that a specific attachment is suitable. The same caution applies to a wall or fence: appearance is not structural approval. Do not test a beam by hanging from it or use body weight as a trial.
Prepare a specific request for approval: identify the proposed equipment, intended movements, attachment location and exact pergola configuration. Ask what supporting documentation is needed and whether the assessment covers the structure, connections and supporting base. The Bloomcabin Bioclimatic Aluminum Pergola product page can help identify the model for that enquiry, but does not establish approval for hanging equipment. Keep the written assessment with the equipment instructions so its permitted use and any restrictions are clear. If approval is unavailable, plan without overhead attachments. A freestanding unit is a separate option to assess against its maker’s outdoor-use instructions, space requirements and the suitability of the supporting surface.

Sharing exercise space with other activities
If the terrace serves several purposes, distinguish activities that can happen together from those that need the space to themselves. Someone seated at a table needs room to pull out a chair, while a person exercising may step beyond the mat; draw both occupied areas rather than just the furniture outlines. Consider privacy and noise when deciding where each activity belongs. Repeated footfalls or equipment noise may carry towards a neighbour’s seating or an open window, and a position that feels private when seated may be exposed when standing. Observe the site during the times you expect to exercise. Do not assume that a pergola will screen views or reduce sound.
For a terrace used for exercise and seating at different times, test the changeover with the actual furniture. Record what needs moving, whether it can pass through the available gaps and whether one person can handle it in accordance with its maker’s instructions. Compare the exercise arrangement with the everyday seating arrangement, including space for occupied chairs rather than chairs tucked beneath a table. When reviewing the Bloomcabin Bioclimatic Aluminum Pergola listing, use the dimensions of the selected configuration to check both arrangements. A layout that requires dismantling furniture before every session may be less practical than a smaller dedicated exercise area. Choose the arrangement you can realistically maintain, rather than the one that looks most spacious when empty.
Check the measured layout against the selected model
Before ordering, make a measured concept plan. Show the site boundary, the pergola’s outside measurements and posts, entry routes, door swings, active zone, equipment in use and in storage, plus any furniture that will remain. Mark the clearances required by the equipment manufacturer and by the movements you actually plan to make. Measure the site itself rather than relying only on a photograph or rough online sketch, particularly where walls or paving edges are not square. Label a shared sketch “concept only”: it is not an installation layout, structural drawing or confirmation that a surface can carry the equipment. Revisit it after considering shade, rain exposure and floor grip.
Then compare the sketch with the exact product configuration rather than relying on a category name or image. Confirm dimensions, clear height, post placement, roof information and site-specific fitting requirements from the relevant product documentation; ask a qualified installer or another suitable professional about anything the documentation cannot resolve. The Bloomcabin Pergola configurations can be reviewed as part of that comparison, but a product listing cannot establish that your activities fit or that the structure can carry an attachment. If the plan only works by removing a required movement clearance, blocking a route or assuming unapproved support, revise it before proceeding.
Frequently asked questions
How much space do I need under a pergola for exercise?
There is no universal area that suits every activity. Measure the full space needed for the movements you plan to make, then add equipment clearances, access routes and room around posts or furniture. Compare that layout with the exact dimensions of the configuration you are considering.
Can I hang suspension straps or rings from a pergola?
Only if the manufacturer and a qualified structural professional explicitly approve the exact structure, attachment point, equipment and intended use. A pergola’s appearance or a general statement about its strength is not enough. If approval is unclear, do not attach exercise equipment to it.
Will a pergola keep the exercise floor dry?
Not necessarily. Rain can reach the floor from the sides, and coverage depends on the selected design and the site. Check the details for the exact configuration and assess the surface before use; do not assume that a roof makes the space weatherproof.
What flooring is best under a pergola?
There is no single best surface for every site. Look for a firm, even floor with suitable grip in the conditions in which you expect to exercise. Check how the existing paving or decking behaves when damp, and ask its supplier or installer about any surface or maintenance concerns.
Can I leave exercise equipment outside under a pergola?
Do not assume the pergola protects equipment from rain, wind or sun. Check the equipment maker’s guidance for outdoor use and follow its instructions for storage, covering or securing it. Keep stored items clear of movement and access routes, and seek professional advice if substantial equipment will sit on a raised surface.
A useful pergola exercise area has a measured activity zone, a clear route in, enough room around people and equipment, and a floor suited to the conditions in which it will be used. Let the intended movements shape the footprint rather than asking a product image to stand in for a layout. Treat weather exposure and suspended equipment as separate checks: one affects everyday usability, while the other requires explicit structural approval. With those points settled, you can compare model dimensions against a plan that reflects how the space will actually be used.
